

The Molaktula Gatekeeper is the hardest of the three Gatekeepers in Deep Rock Galactic: Rogue Core, and it earns that title. Locked behind Depth 03, this fight throws constant enemy waves at you while the boss cycles through a toolkit of ranged barrages, floor eruptions, and homing projectiles that punish anyone standing still. This guide breaks down every ability and every phase so you know exactly what to do when the arena starts glowing red.
What attacks does the Molaktula Gatekeeper use?
Understanding the boss's four attacks is half the battle. Each one triggers under specific conditions, so learning those conditions lets you dictate the terms of the fight.
Molaktula Gatekeeper arena layout
Tentacle attack
The Tentacle Attack only activates when you step into melee range. The damage output is high, and there is no good reason to let it land. Keep your distance and the boss simply won't use it. Treat this less as an attack to dodge and more as a boundary to respect.
Homing Shard Attack
Stay at range and the boss switches to its Homing Shard Attack, firing large volleys of projectiles that track a single player. Each individual shard does modest damage, but the sheer volume means the hits stack up fast if you stop moving. Keep circling and the salvo becomes manageable.
Rising Spike
This attack only appears after Phase 2 ends. The boss causes spikes to erupt from the floor across the arena, dealing massive damage on contact. The ground glows red in the affected zones before each eruption, giving you a short window to move out. The key detail: this attack fires constantly during Phase 3, so you cannot stop moving for any extended period.
Yellow Orb
Also unlocked after Phase 2, the Yellow Orb is a slow-moving projectile with roughly 300 HP that homes in on one player. The orb itself deals no direct damage, but when it reaches a player or hits the ground, it triggers a chain of spike eruptions that continue for as long as the orb stays alive. Destroy every orb the moment it appears. Letting one survive turns the arena into a spike field almost immediately.
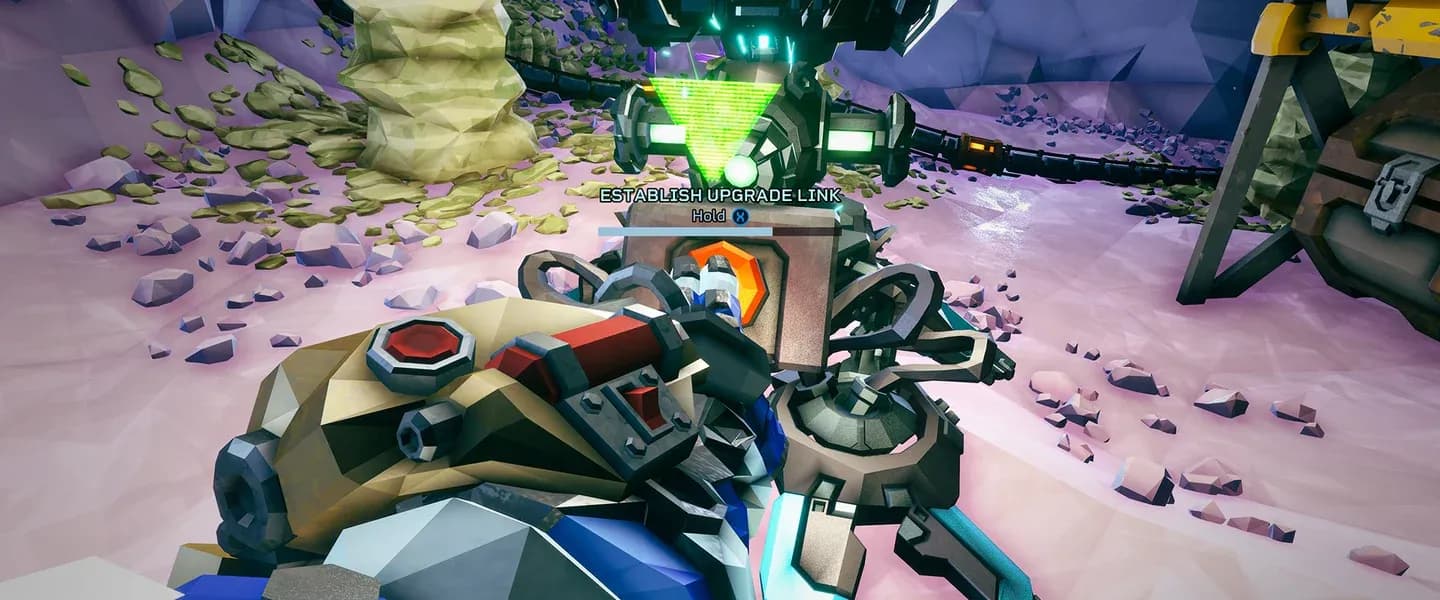
How to prepare before the fight starts
Scattered around the arena are a large number of ammo crates. These refill both ammunition and armor, and they are the only reliable recovery tool available during the fight since Red Sugar does not appear in boss arenas. Save every crate for the boss phases themselves. Burning them on the enemy waves during the buildup phase leaves you resource-starved when the real pressure begins.
Phase-by-phase strategy
Phase 1: Stay mobile, stay distant
Phase 1 is the most straightforward section of the fight. The Molaktula Gatekeeper only uses its Tentacle Attack and Homing Shard Attack here, so the strategy is simple: stay out of melee range and keep moving to avoid the homing volleys. Enemy waves begin spawning immediately, so do not get tunnel-visioned on the boss. Thin the minions enough to avoid getting surrounded, but keep your primary focus on the boss's health.
Phase 2: Zero gravity orb collection
Every time you deplete the boss's Shield Bar, Phase 2 begins. The boss becomes fully invulnerable, zero gravity activates across the entire arena, and the boss itself goes stationary and inactive. The catch: the minions do not stop.
The boss splits a single orb into three separate pieces and scatters them around the arena. Each piece is frozen inside a rock, making them visually distinct. A tether from the boss points toward each piece, so navigation is not guesswork. Collect all three pieces and throw them into the gate to trigger the next phase.
This Phase 2 transition repeats every time you strip the Shield Bar, so you will cycle through it multiple times before the fight ends.
Phase 3: Controlled chaos
Phase 3 is where the fight gets genuinely demanding. The Rising Spike and Yellow Orb attacks both come online, layering on top of the existing minion waves and homing shard volleys. You are now managing four simultaneous threats.
The priority order looks like this:
- Yellow Orbs first, always. Destroy them on sight.
- Ground positioning second. Watch for red glows and move before spikes erupt.
- Minions third. They respawn continuously, so you cannot clear them permanently, but letting them pile up creates a fifth threat you cannot afford.
- Boss damage fourth. Keep pressure on the boss between everything else.
Constant movement is the single most important habit in Phase 3. Players who stop to aim carefully get punished by spike eruptions. Players who keep circling while shooting give themselves the time and space to handle every threat in order.
Red glow warns of spike eruptions
Once you deplete the Shield Bar in Phase 3, the boss returns to Phase 2 and the cycle repeats. Stay patient, keep the orb collection clean, and Phase 3 gets shorter each time as your team's positioning improves.
Quick reference: Molaktula Gatekeeper attacks
Build and team considerations
This fight rewards builds that can deal burst damage quickly, since the Yellow Orb's 300 HP needs to come down fast and the boss's Shield Bar needs to be stripped efficiently to minimize Phase 3 exposure. If you want to optimize your squad before attempting this fight, the best team composition guide covers role distribution and build synergies in detail.
For individual build power, check the full Expenite upgrades breakdown to identify which upgrades give you the most return against high-HP targets like the Molaktula Gatekeeper.
If you are running into performance issues that affect your reaction time during Phase 3's spike eruptions, the best graphics settings guide can help you lock in stable frames before attempting this fight.
For more boss strategies, build guides, and mechanic breakdowns, the full Deep Rock Galactic: Rogue Core guide collection has everything you need to push deeper into the game.