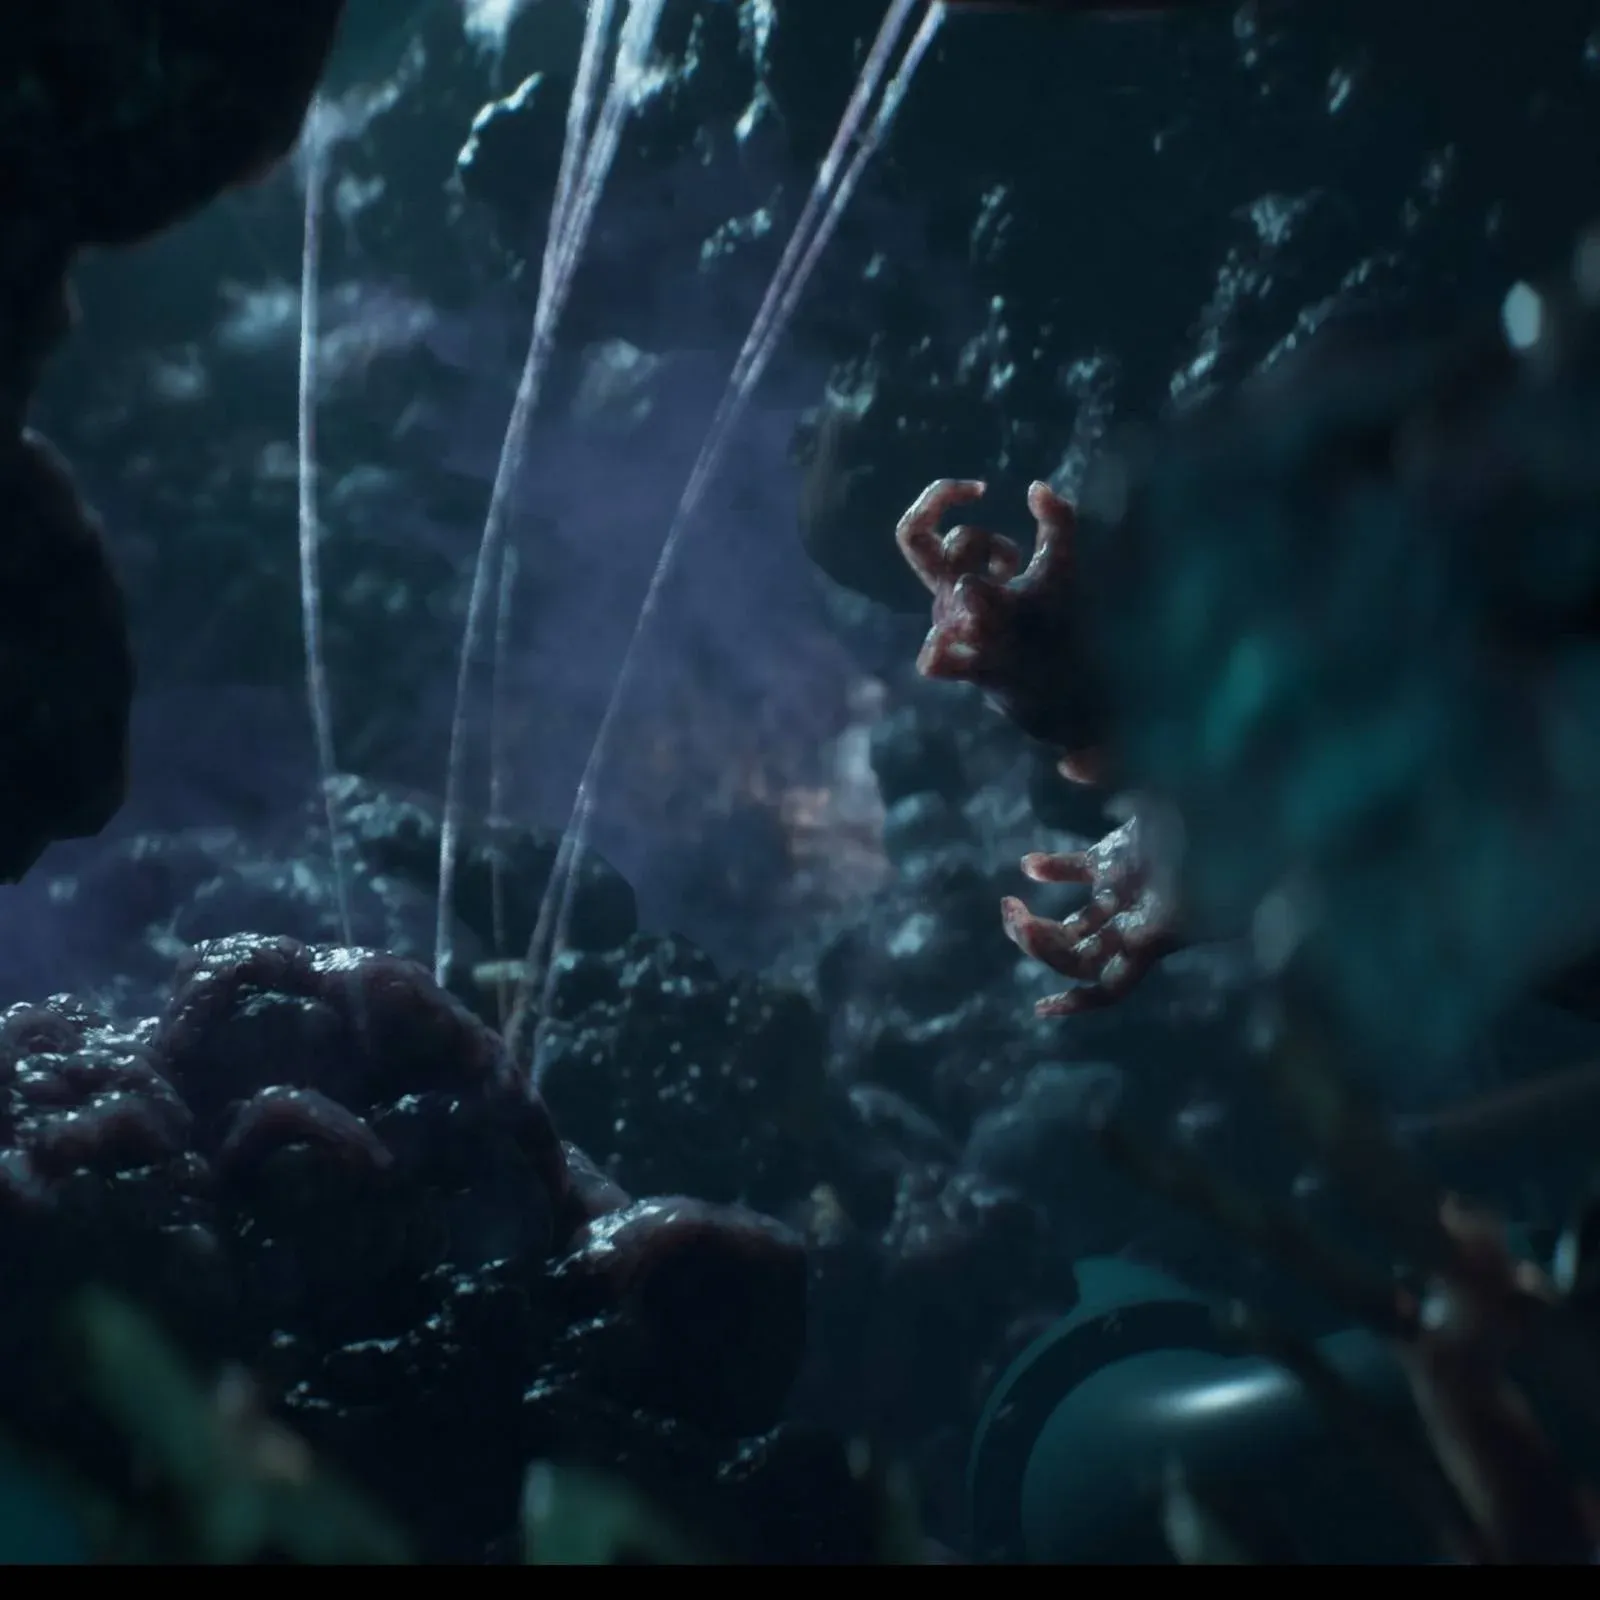


Episode 4 of Directive 8020 is where the crew's paranoia turns into full-blown survival mode. Dragnet opens with a tense stealth sequence, escalates through a crew strategy meeting loaded with branching outcomes, and ends with Young fighting for her life in the dark. Every decision you made in the first three episodes ripples through this chapter, so what you see here may look different from someone else's playthrough.
How to survive the opening stealth sequence as Cooper
The episode opens hours after the events of Episode 3, putting you in control of Samantha Cooper while Anders monitors the situation remotely through surveillance cameras. The goal is to slip past Williams without being spotted.
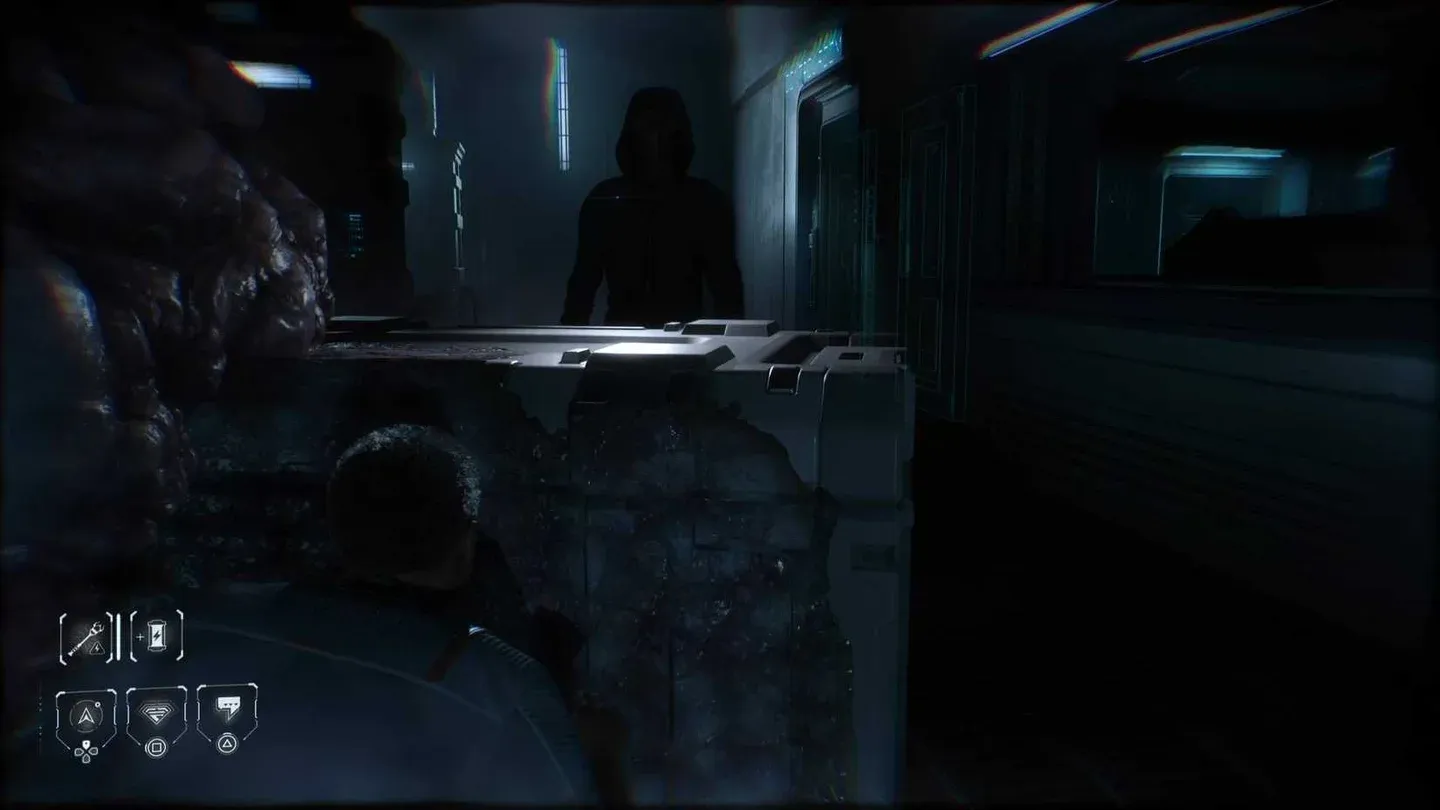
Cooper's Overwatch stealth section
Here's the step-by-step path through the Overwatch scene:
- Interact with the panel on the wall near the doorway to trigger a distraction. On controller, that's RT on Xbox or R2 on PlayStation. This pulls Williams away from his position.
- Once he moves, duck behind the boxes to the right of the doorway and wait for him to turn his back before moving.
- Enter the first door on the right, as Anders instructs. In this room, go right and climb into the vent.
- Follow the vent tunnel but stop before exiting. Williams will walk directly past the vent opening. Wait for him to clear, then exit left and hide behind the desk next to the kitchen door.
- When Williams leaves the kitchen, go inside and get behind the counter. He'll approach the doorway. Hold position until he turns away, then exit through the back-left window.
- On the other side, stay behind the long desk. Williams patrols this room and checks both ends. Let him finish and leave through the door ahead.
- Use the Wedge tool to open the sealed door on the left. The moment it opens, run with Anders through the door across the hall to safety.
The outcome of this scene depends on choices from earlier episodes:
What happens at the crew meeting in Episode 4?
After the flashback sequence resolves, the game returns to the present and you take control of Eisele. The crew discusses their next move, and several dialogue choices here push character traits in specific directions.
You'll pick from two sets of Personality Direction options:
- Honor: Rest in peace.
- Implore: We need to take action.
- Doubt: Correlation is not causation.
- Consider: You could be right.
The bigger decision comes next, but only under a specific condition: if Carter left a message for the crew and Cooper found it in Episode 3, proving Simms was responsible for Carter's death, a Turning Point appears.
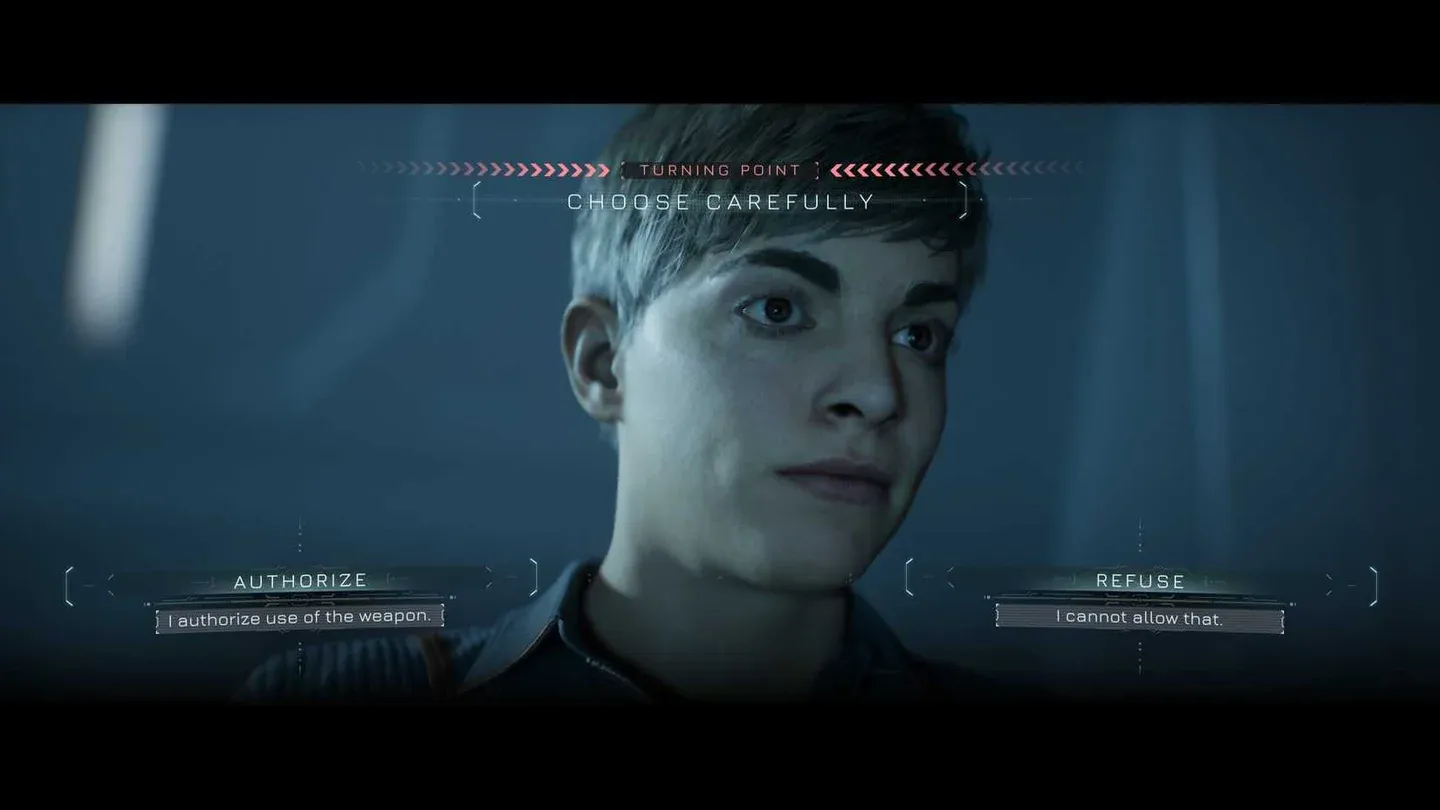
Eisele's crew meeting choices
Should you authorize the gun or refuse?
This is the Loaded Question Turning Point, and your call here has downstream consequences:
- Authorize: Approve the use of a firearm aboard the Cassiopeia. This unlocks the Right to Bear Arms achievement and means the gun becomes available later in the episode.
- Refuse: The crew proceeds using only Wedge Tools as weapons.
The three branching paths through the meeting section are mapped out below:
If Stafford is alive, there's also an optional scene after the meeting where you play as Stafford talking to Williams. Two more Personality Direction choices appear here that continue building his character traits.
How to navigate the vent section as Young
With the plan set, you switch to Young to carry out the mission. Before following Cooper across the walkway, climb back up the ladder to find a collectible.
Mary's Poppet (4/8): From the upper walkway after climbing the ladder, go around the railing and look up and to the left between two large pipes. The doll is tucked between them. For a full breakdown of all 60 secrets across every episode, check the complete secrets location guide.
From the upper walkway, you can also cross to a CCTV screen showing a moment between Mitchell and Anders, which lets you send messages through the Messenger System.
After collecting the doll, go back down and follow Cooper. You'll reach a locked vent that needs power. Find the blue electrical symbol on the wall, interact with it, and move the left stick to the left to redirect the power flow toward the vent door.
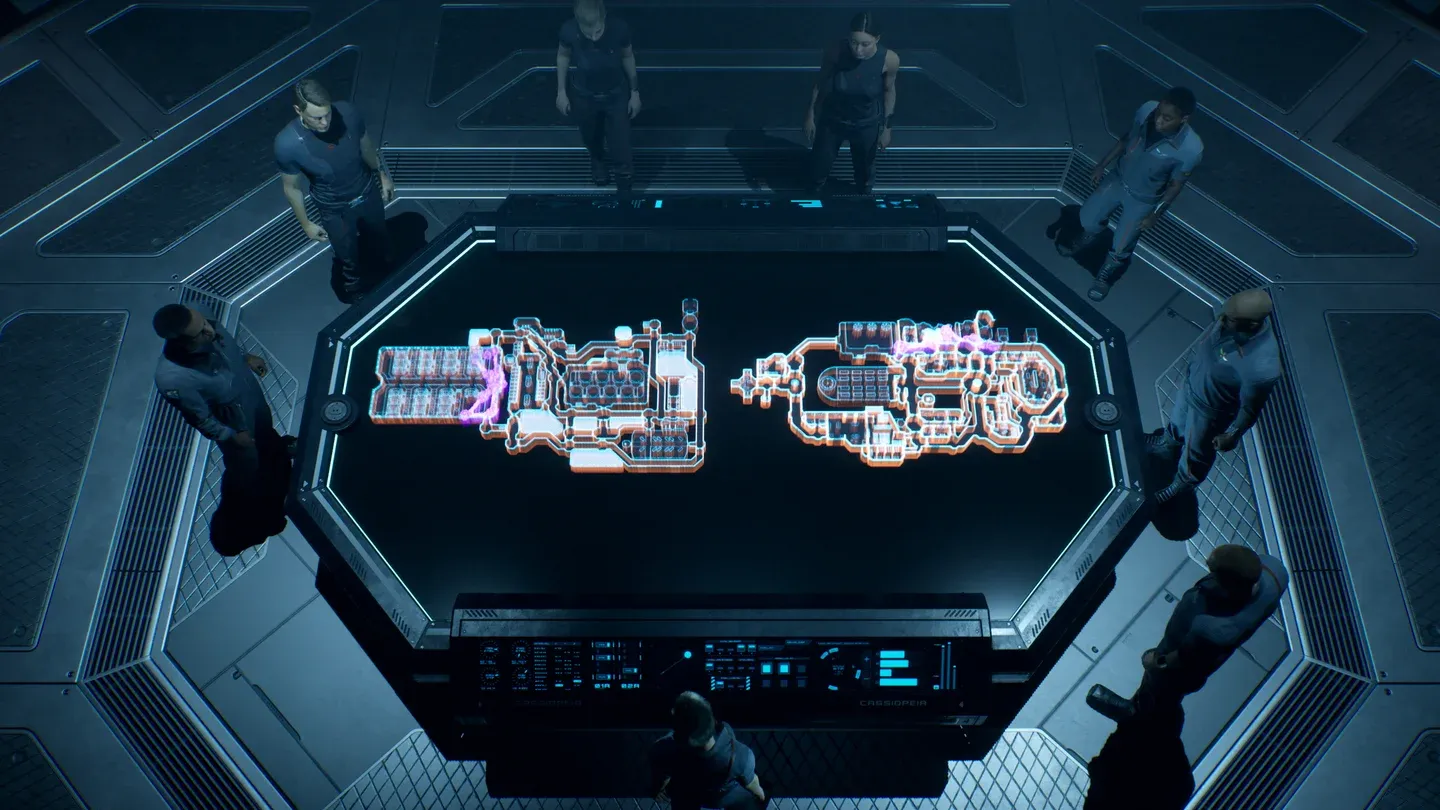
Power redirect to open vent door
Once the vent opens, crawl inside (B/O to crouch) and follow the linear tunnel. Cooper and Eisele open each vent gate as you reach them, so there are no navigation decisions here. At vent 3, you'll make a significant discovery. Continue to the beam, press A/X to move it, then hold A/X to exit at the end.
How to escape the monster and extend the drawbridge
After Young emerges from the vents, the Ambush scene triggers. Young is attacked from behind and separated from Cooper, falling to a lower level of the ship. Cooper tells her she needs to extend the drawbridge to escape.
This section, called Drawbridge, takes place in dark, narrow corridors. The monster actively pursues Young, so you need to keep moving while checking your waypoint and scanner.
Follow these steps in order:
- Loop around the area and follow the waypoint to the Bridge Control panel.
- The panel has no power. Double back to the battery box marked on your waypoint. It's on the left side of the room through an open door.
- Use your Wedge tool to override a sealed door. You need enough distance from the monster to complete this. If it's close, the override won't finish in time.
- Once the sealed door is open, grab the Power Cell from the ground outside. You'll automatically duck behind a crate.
- Wait for a safe gap, return to the Control Room, and insert the Power Cell. The monster will detect you. Hide behind the consoles.
- When clear, exit back the way you came, go down the stairs, and use the Utility Strap to extend the bridge.
The monster can catch Young during this sequence. Fighting it off is possible through QTEs, but you only have a limited number of chances to stun it before those opportunities run out.
What are the QTE outcomes at the end of Episode 4?
Once Young reaches the bridge, the Fight scene begins. There are three QTE inputs to complete: two single button presses followed by a button spam. On PlayStation, that's O, Square, then spam Square. On Xbox, it's B, X, then spam X.
The final outcome of the chapter depends on two variables: whether Stafford is alive and whether Young evaded or was spotted by the monster during Drawbridge.
For a full breakdown of how these outcomes connect to each character's long-term fate, the character destinies guide covers every trait, key episode, and decision across all five crew members.
Key decisions summary for Episode 4
Episode 4 is one of the more consequence-heavy chapters in the game, and the branching here feeds directly into the back half of the story. For puzzle solutions in later episodes, the Anders chemical agents puzzle guide covers exactly what you need for Episode 5. The full Directive 8020 guides collection has walkthroughs for every episode if you need to reference earlier or later chapters.