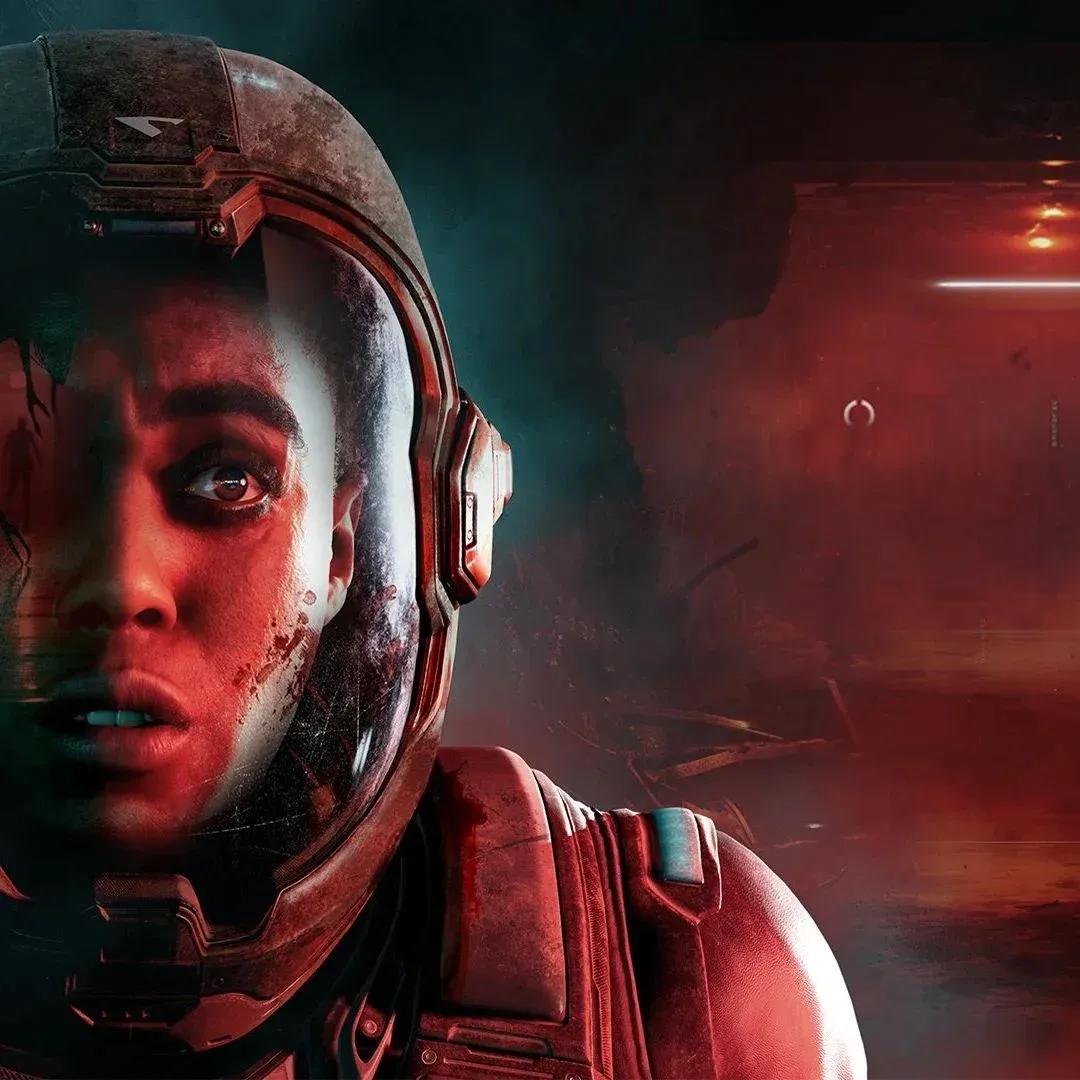

Supermassive Games has built Directive 8020 around 44 possible crew deaths across eight episodes, but most of them are preventable with the right choices. The catch: two characters—Carter and Simms, the sleep technicians from the opening—are locked into scripted deaths no matter what you do. Everyone else, including the three non-playable crew members Anders, Mitchell, and Williams, can make it to the end credits if you navigate the decision tree correctly.
Who can you actually save in Directive 8020?
Before we get into the episode breakdowns, here's how the crew shakes out:
- Playable characters (5): Stafford, Young, Eisele, Cernan, Cooper
- Non-playable characters (3): Mitchell, Anders, Williams
- Unavoidable deaths: Carter, Simms
All eight of the first two groups can survive. That's the goal. The game includes a Turning Point system that lets you rewind to key moments. Explorer Mode gives you unlimited access. Survivor Mode locks it until you've beaten the game once.
The single most important decision in the game
Episode 2's Power Games section sets up a chain reaction that affects both Stafford in Episode 3 and Mitchell in Episode 5. Playing as Young, you'll have to disable either the Landing Computer or the Fire Control System. This one choice branches into two different survival paths.
Here's how it plays out:
The safer path is to disable the Landing Computer. Fire Control stays online, which means Mitchell survives Episode 5's blaze without any additional input from you. If you disable Fire Control instead, you can still save Mitchell by actively choosing to rescue him when prompted, but that adds another decision point where things can go sideways.
Also in Episode 2, during the Little Faith Turning Point, pick Dismiss when Mitchell asks Stafford if he trusts Anders. This stops Stafford from monitoring Anders later, which lets Anders sedate Williams in Episode 5 without interference.
Episode-by-episode survival guide
Episode 1: Little Star
Two deaths are possible here, both involving Carter and Simms. Since they're scripted to die later anyway, the goal is just to keep them alive long enough to reach those story beats.
- During Disaster, pass the QTE to catch Simms when she slips during the spacewalk.
- During Chased, outrun the Simms creature back to the Crew Quarters. Getting caught kills Carter before he can record his message on the wrist strap, which becomes relevant later.
You can start building Carter's Caretaker Destiny here, though it has less impact on the final ending than other characters' Destinies.
Episode 3: The Sample
Only one character can die here, but it's a major one. Commander Stafford can be killed during the Crash sequence when the Cassiopeia crashes into Tau Ceti F.
- If you disabled the Landing Computer in Episode 2, force Stafford to sit down when he tries to reboot the system. Letting him attempt it kills him.
- If you disabled Fire Control instead, Stafford can safely reboot the computer as long as you pass the QTE sequence to get him back to his seat.
Also in this episode: as Cernan, sneak through the No Games section without getting spotted by Williams. He won't die if caught, but getting through cleanly helps set him up for Episode 6. As Cooper, find Carter's Utility Strap in the Mess Hall at the end of the chapter. Listen for the beeping, lift the damaged shutter, and squeeze through. Missing this collectible locks out a critical dialogue option in Episode 4.
Episode 4: Dragnet
No characters can die in this chapter. That said, two decisions here are required for the best ending:
- When Stafford asks Eisele to authorize a firearm in Loaded Question, choose Refuse. This option only appears if you avoided Simms in Episode 1 and found Carter's Utility Strap.
- Survive the Drawbridge and Fight sequences as Young by passing all QTEs.
This episode is also where you should actively build trait scores. Young's Loyal trait and Eisele's Sympathetic trait are the two most important for unlocking the Destinies needed for the best ending. Use every dialogue opportunity and the messages feature to push these traits higher.
Episode 5: Mr. Williams
This episode contains the most consequential branching decision in the entire game.
The Experiment: As Cooper, complete the lab puzzle by entering 1-6-8 as the code. While talking to Anders, choose Consider, then Approve, then Question. This leads Anders to sedate Williams, which is required to prove he's human in Episode 6.
Under Pressure: Young must choose to save either Anders or Mitchell when both are in danger at the same time.
- If Fire Control is online (you disabled the Landing Computer in Episode 2), choose to save Anders. Mitchell survives the fire automatically because the suppression system handles it.
- If Fire Control is offline, choose to save Mitchell directly. Cooper will step in to save Anders, though Anders may be injured depending on whether you pass the door minigame.
Later in the episode, when Stafford asks for backup, volunteer Eisele, not Cernan.
Waste Management: At the start of the episode, Eisele must activate three breakers while avoiding Stafford. If she gets caught here, she's injured. Getting caught twice across Episodes 5 and 6 will kill her.
Cooper's Rogue Destiny unlocks here if her Playful trait is above halfway. Cooper has the fastest Destiny to unlock of any character.
Episode 6: Hostile Takeover
This is the episode where several threads converge and where it's easiest to lose multiple characters at once.
Close Encounter: Stafford and Eisele must sneak through the dark room and escape via the ladder. Getting caught here is fatal depending on injury status.
Point Blank: Do not shoot Williams. The biometric scanner will confirm he's human, and if Anders sedated him back in Episode 5, the sedative shows up in the scan as additional proof.
The Scanner: After Stafford sends everyone through the scanner, a second Eisele enters the room. The real Eisele is the newcomer who arrived separately. Choose the Test option, then when forced to shoot, shoot the original Eisele (the one who arrived with the group), as she's the doppelganger.
Alternatively, you can order both through the scanner to avoid the choice entirely, which also keeps both Eisele and Cernan alive.
Stafford's Destiny: The Father Destiny unlocks when Young pleads with Stafford at the Bridge during The Crown Falls. Make sure you do this.
At the end of the episode, when Stafford must decide how to respond, choose Save Our Souls (the distress call option). This is required for the best ending path.
Episode 7: Revelation
Three crew members go out on the away mission and all three can die here.
Search Party: Anders gets separated. Use your comms to track the real Anders. The alien impostor will contact you through an unknown contact. Ignore it. When you reach a fork, go right to find a cave with stalactites on the ceiling where the real Anders is waiting.
Pod Room: Young must stay hidden from the creature and restore power to the locked door to escape. Getting caught and failing the QTE kills her.
Geoscience and The Hunt: Cernan must stay hidden and then outrun the creature. Failing here kills both Cernan and Anders.
Also in this episode, when Young reaches the Charybdis pod, send the SOS signal.
Episode 8: Come True
More than half of the game's 44 total deaths are in this final episode. Almost all of them are QTE-based, so sharp reflexes matter more here than any single decision.
Second Chances: When given the option regarding Williams, choose Order to insist he comes with the crew. Leaving him behind kills him.
Atrium: Do not approach the crying Mitchell. This is a trap.
Snap Decision: When a crew member gets grabbed, help them immediately and pass the QTE.
Knock Knock: If Mitchell is still alive, playing as Cooper you'll have a choice to let him in or leave him. Let him in. He's the real Mitchell.
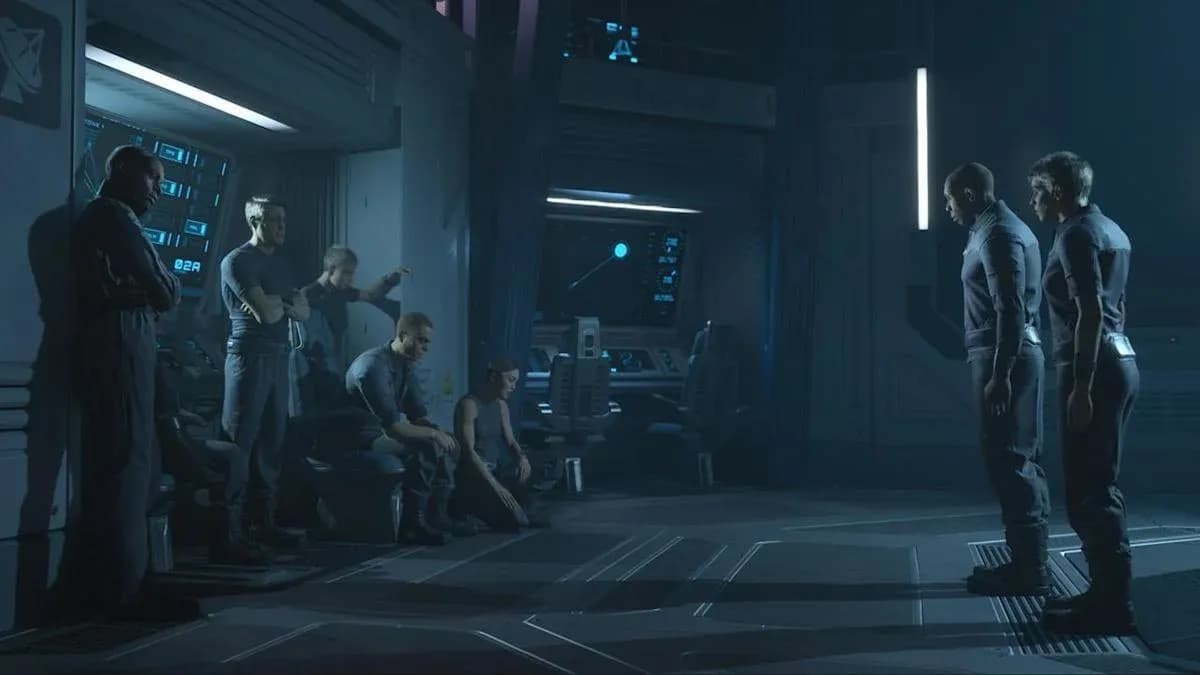
The escape sequence then cycles through multiple characters in quick succession. Here are the specific QTE scenes where deaths occur:
- Redirect: Pass the QTE to escape the Eisele mimic. Stafford dies if you fail.
- Atrium: Escape the same mimic again. Real Eisele dies if caught.
- Mess Hall: Third encounter with the mimic. Eisele dies here if she survived the Atrium but is caught now.
- Shoggoth: Run from the creature. Eisele dies if caught.
- Tentacle Flail / Creeper: Pass QTEs for Stafford and Eisele. Stafford falls during the escape; help him and pass the QTE to save both. Running abandons Stafford. Trying to help but failing the QTE kills both Stafford and Eisele.
- Return of the Beast: Cooper closes a door with a QTE. Fail and she dies.
- Uncontained: Young dodges containers. Fail and she's crushed.
- Teardown: Eisele avoids a ceiling beam. Fail and a tentacle takes her.
- Fueled Up: Eisele removes a fuel line. Fail and she dies.
- Seal the Exits: Cernan closes the exits. Failing this kills everyone still aboard.
- Grappled: Cooper throws an O2 tank into the creature's mouth and detonates it. Pass both QTEs to clear the final obstacle.
Episode 8 escape QTE sequence
How to unlock the Destinies for the best ending
Surviving physically is only half the requirement. The true best ending requires Eisele to unlock The Humanitarian Destiny, which causes her to expose the cloning program in the finale. This is what ends the cycle. Without it, you get a survival ending but not the canonical best outcome.
Here's the full Destiny table for all five playable characters:
In Episode 8, during the Why You Started section, Young should feel conflicted about the mission. With her Loyal trait above halfway, her Hero Destiny unlocks. At the Wish prompt, choose Humanity First. This locks in the good ending path.
The game concludes with Eisele's final decision. With The Humanitarian unlocked, she exposes the cloning program. This also unlocks the Humanitarian and NDA Breaker achievements.

Eisele's Humanitarian Destiny
Quick-reference decision checklist
For players who want a fast reference before starting:
- Episode 1: Pass the Disaster QTE, survive the Chased sequence
- Episode 2: Disable Landing Computer (recommended), Dismiss Mitchell at Little Faith, build Young's Loyal and Eisele's Sympathetic traits
- Episode 3: Force Stafford to sit during crash (if Landing Computer is off), find Carter's Utility Strap as Cooper
- Episode 4: Refuse the firearm as Eisele
- Episode 5: Enter code 1-6-8 as Cooper, choose Consider/Approve/Question with Anders, save Anders during Under Pressure (if Fire Control is on), volunteer Eisele as backup
- Episode 6: Do not shoot Williams, shoot the original Eisele (doppelganger), choose Save Our Souls
- Episode 7: Go right at the fork to find the real Anders, pass all stealth QTEs
- Episode 8: Take Williams, let Mitchell in, help fallen crew members, pass every QTE
For more puzzle solutions that feed into this survival run, the guide to Anders' sedative puzzle in Episode 5 covers the exact chemicals and keypad code in detail. If you got stuck on Carter's PC back in Episode 2, the Carter's PC code guide has the solution and where to find the clue. For everything else the game throws at you, the full Directive 8020 strategy guides collection has you covered from launch day through the final episode.