

GRIME II gives you five core stats to invest in, three resource bars to manage, and a handful of secondary numbers that quietly shape every fight. Spend points without understanding what each stat actually does and you'll hit a wall fast. The world punishes bad builds, and respeccing isn't always an option early on. Here's a full breakdown of what every number does, how weapons interact with your stats, and which resources you absolutely cannot afford to ignore.
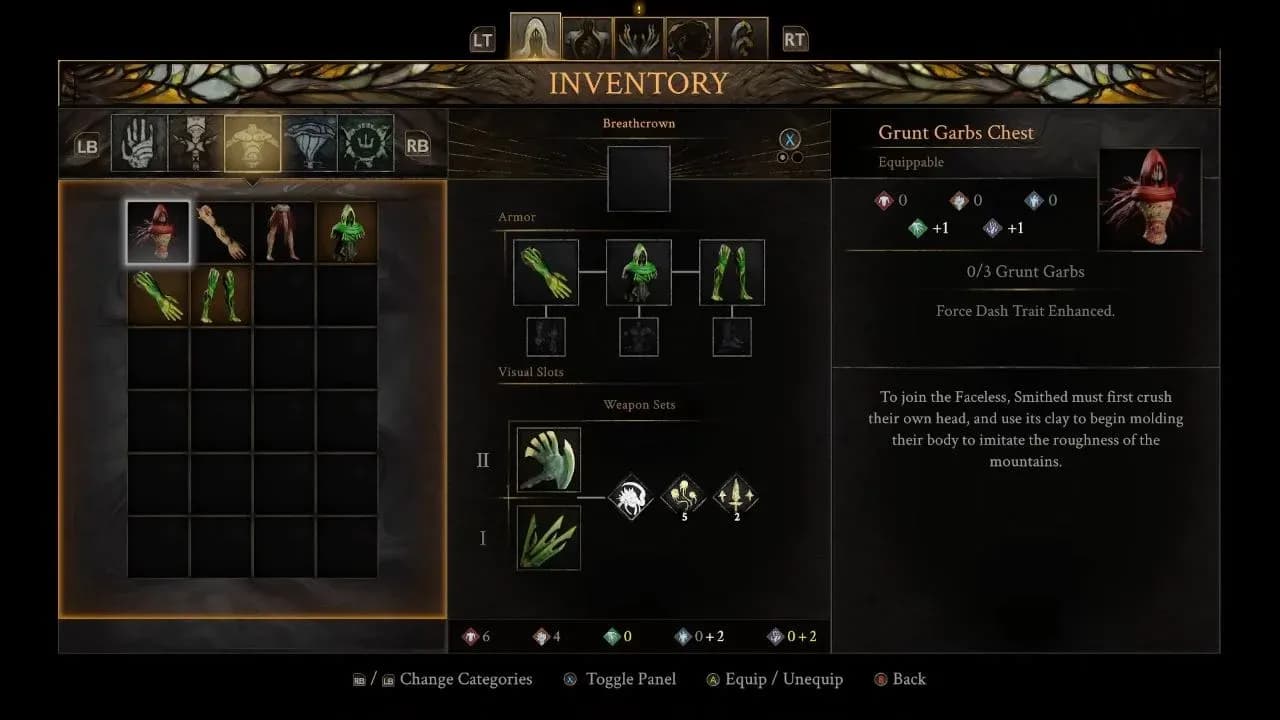
Growth stat screen in Surrogate menu
What are the five core stats in GRIME II?
Your Smithed has five primary stats that take direct point investment. Each one shapes a different slice of your combat toolkit.
Health
Health is straightforward: more points equal more hit points, which translates to more breathing room when you mess up. GRIME II layers environmental hazards over enemy pressure, so a shallow health pool becomes a serious problem as you push deeper. Dropping at least 5 points into Health early gives you a functional cushion. For reference, 7 points brings your actual HP total to 127.
Strength
Strength powers red weapons: slow, heavy tools that sweep wide arcs and carry effects like knockback and stuns. If you want to play aggressively and trade damage, Strength backs that approach. It also unlocks heavier armor sets, which raises your defense ceiling alongside your offense.
Dexterity
Dexterity drives green weapons, including daggers, bows, and hybrid weapons that split scaling between Dexterity and Strength. A Dexterity build trades raw per-hit damage for attack speed and precision. Daggers reward well-timed power attacks with backstab damage, and bows let you deal damage from ranges where most enemies can't touch you.
Diverging
Diverging is the purple stat, and it works differently from Strength and Dexterity. Raising it boosts damage from Molds in its category and adds a percentage increase to weapons with Diverging scaling. Some weapons are classified as Diverging weapons while also pulling partial scaling from Strength or Dexterity, so reading weapon descriptions carefully matters here.
Pliability
Pliability mirrors Diverging but operates in a separate category, marked in blue. It governs a distinct set of Molds and weapons. The Bloodmetal Scythe is the clearest example of how demanding these hybrid weapons can get: it pulls equally from all four damage stats and requires 3 points each in Strength, Dexterity, Diverging, and Pliability just to equip.
Both Diverging and Pliability also affect Talent effectiveness, which separates them from the three simpler stats and makes them worth considering even in builds that don't focus on them.
How do secondary stats work?
On the Growth screen inside the Surrogate menu, you'll spot a cluster of secondary stats in the upper right corner: Health, Parry, Force, and Burst Dash. These don't take direct investment. They rise automatically as you put points into your primary stats. There's no separate allocation for them, so don't look for a way to boost them independently.
What do weapon stats actually mean?
Every weapon in GRIME II lists three stats in its description.
There's also a hidden stat called Paint Cost, which only appears on Molds themselves. It shows up as small grey lines in the Mold description. More powerful Molds carry a higher cost, so pairing high-cost Molds with weapons that have strong Paint Gain keeps your ability rotation moving.
How do the three resource bars work?
Stats tell you how hard you hit. Resource bars tell you how long you can keep hitting.
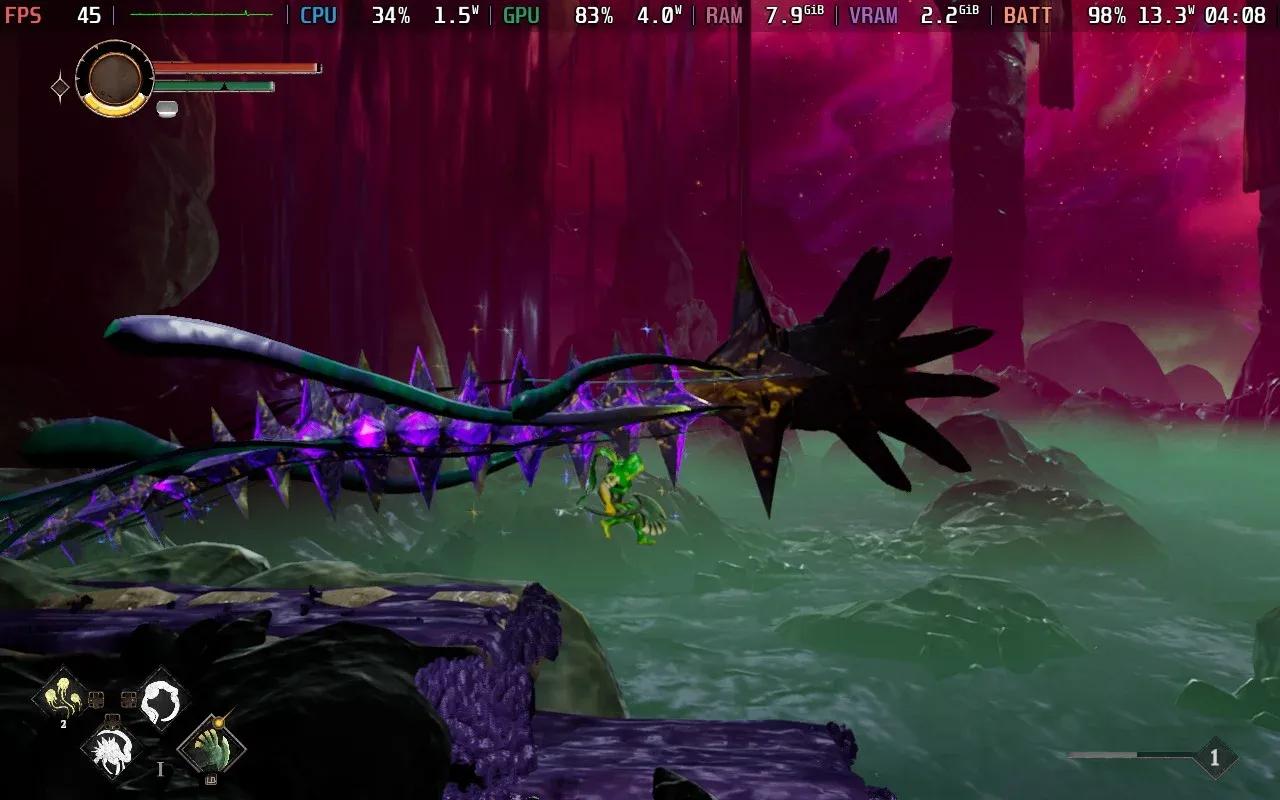
Force bar drains as you attack
Force
Force is the deep green bar that depletes as you attack and move. Attacking while it's full deals green damage, which hits harder than grey damage, the output you're stuck with when the bar runs dry. Special attacks cost more Force but hit harder than standard attacks. You can expand your total Force capacity by finding hidden objects in the maps and interacting with them using Grasp. Certain Talents also restore Force through specific actions like well-timed dashes.
Paint
Paint is the grey bar that powers your Molds. No Paint means no abilities. Your Paint bar grows by defeating and absorbing strong bosses, most of which appear through the main story path. There's no shortcut here early on.
Breath Capacity
Breath Capacity is your healing resource and ties into the Breath Ward system. Managing it carefully keeps you functional through longer exploration stretches and back-to-back boss attempts.
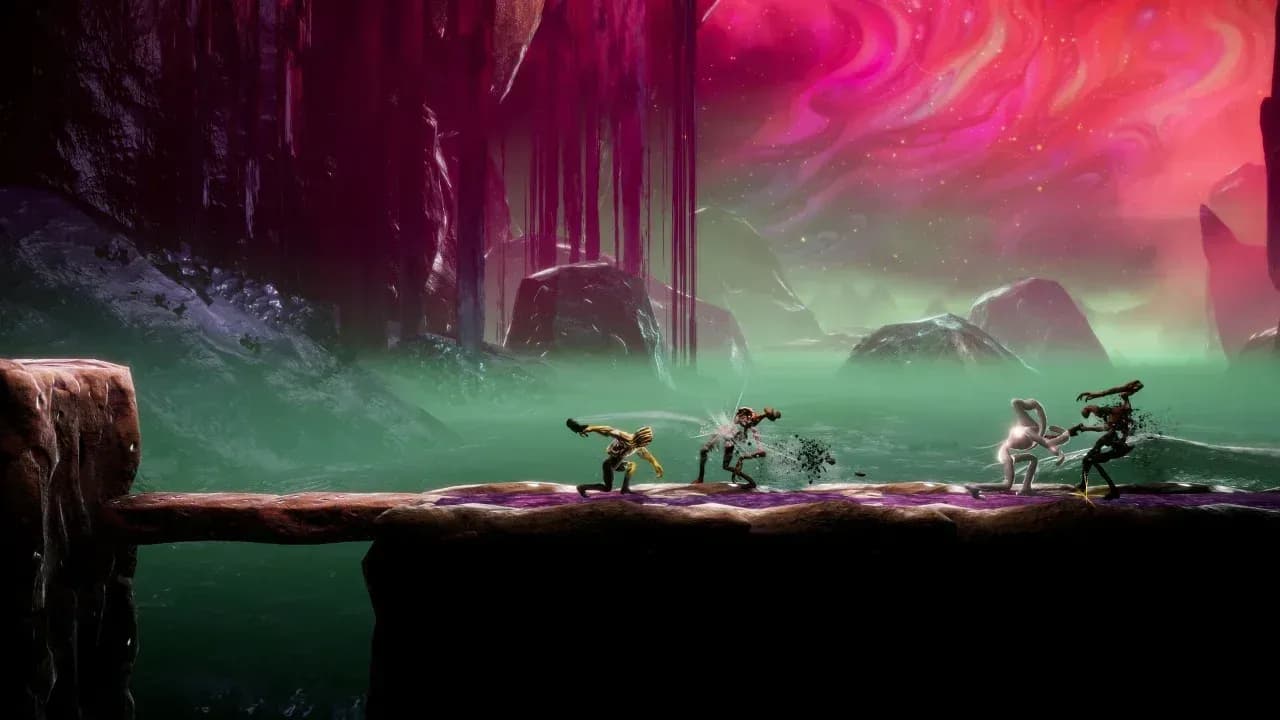
Paint bar fuels all Mold abilities
Which stats should you prioritize?
The honest answer depends on your weapon choice, but there are a few universal principles worth following regardless of build direction.
- Put at least 5 points into Health before the game opens up. Environmental damage compounds quickly.
- Pick either Strength or Dexterity as your primary damage stat and commit. Splitting early wastes points.
- If you plan to use Molds regularly, invest in whichever of Diverging or Pliability matches the Molds you've found. Both also improve Talent effectiveness, so they're never dead points.
- Check every weapon description for the white plus sign before spending points. The primary scaling stat is the one that moves your damage number.
- Keep your Force bar healthy during fights. Green damage versus grey damage is a meaningful gap, not a minor rounding difference.
For more guides covering GRIME II and other action RPGs, browse more guides on GAMES.GG to keep your builds sharp.