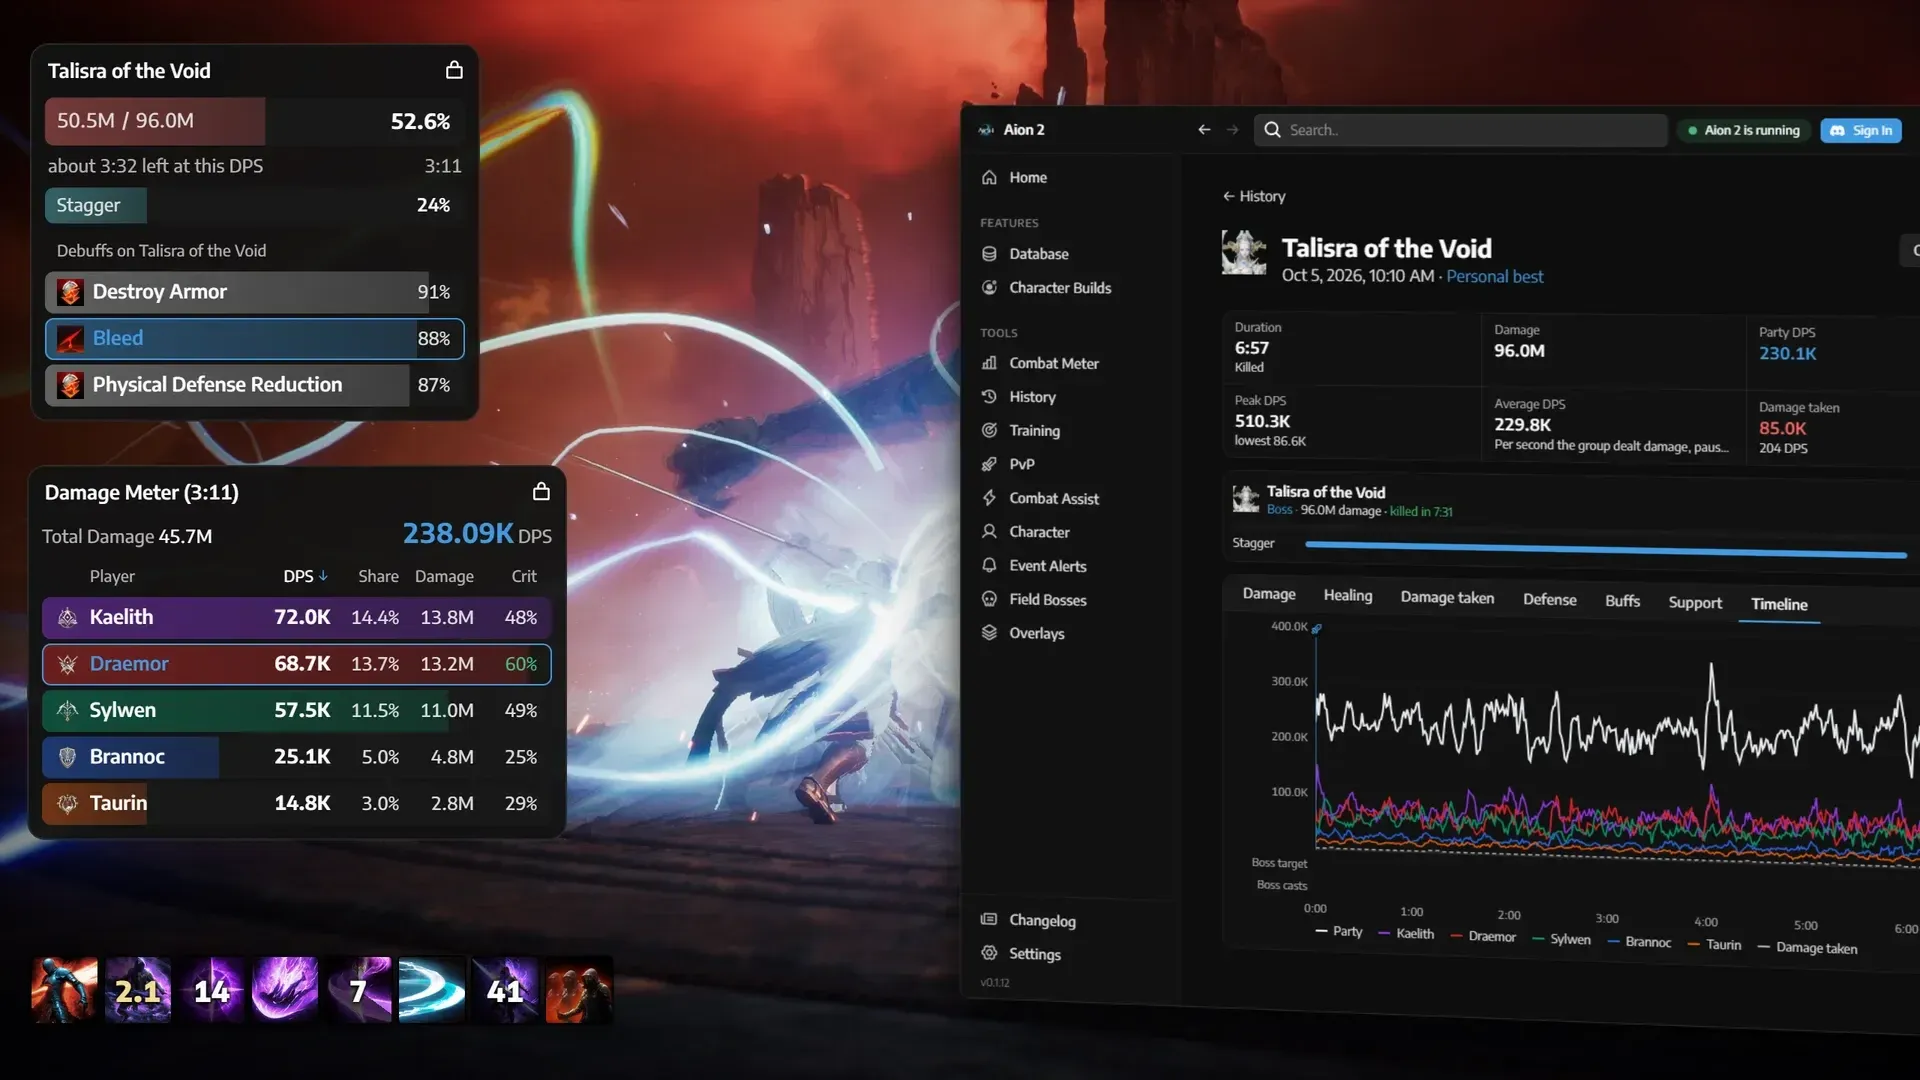

Aion 2 का Sorcerer एक ranged magical DPS है जो Spellbook का इस्तेमाल करता है और Fire और Water attacks को कंबाइन करता है। इसका damage ceiling काफी high है, लेकिन यह class माफ़ करने वाली नहीं है: कम HP और Defense का मतलब है कि हर pull पर positioning बहुत मायने रखती है, और rotation तभी बेस्ट परफॉर्म करती है जब आपके skill interactions सही तरीके से कनेक्टेड हों। अगर आप इन कनेक्शन्स को सही कर लेते हैं, तो आप bosses को उनके पहले mechanic को पूरा करने से पहले ही delete कर देंगे। अगर आप गलतियाँ करते हैं, तो आप casting करने के बजाय cooldown timer देखने में ही ज़्यादा समय बिताएंगे।

Sorcerer skill tree overview
Sorcerer का damage असल में कैसे काम करता है?
छोटा जवाब: Fire Mark ही इसका इंजन है। Fire attacks में target पर Fire Mark apply करने का मौका होता है, और Blaze को fire करने के लिए उस mark की ज़रूरत होती है। Flame Arrow basic-attack chain को शुरू करता है, हर cast पर 100 MP restore करता है, और skill level 16 पर इसके Pyroclasm hits Blaze के cooldown को reset कर सकते हैं। level 12 पर Firestorm, Hellfire के cooldown को हर fireball के साथ 2 seconds कम कर देता है। level 16 पर Wish of Concentration का इस्तेमाल करने पर सभी skill cooldowns 10 seconds कम हो जाते हैं। ये चार interactions इस गाइड की हर build की backbone हैं।
Hellfire आपका सबसे बड़ा बटन है: यह charge level के आधार पर 1,137 + 339.25% Attack से लेकर 3,412 + 1,017.75% Attack तक Fire damage देता है, 4m के दायरे में 4 enemies तक को hit करता है, और 45-second cooldown के साथ 200 MP खर्च करता है। वह cooldown ही वह नंबर है जिसे कम करने के लिए आप लगातार काम कर रहे होते हैं।
Water side पर, Ice Chain groups को 5 seconds के लिए 40% तक slow कर देता है, Bittercold Wind में 3 seconds के लिए Root करने का 60% chance होता है (100% NPCs के खिलाफ), और Frost में target को freeze करने का 50% chance होता है (NPCs के खिलाफ 100%)। ये पहले control tools हैं, damage बाद में।
Grace of Enhancement आपको 20% PvE Damage Boost और 10% PvP Damage Boost देता है, बशर्ते आपका MP 25% या उससे ऊपर रहे। यही कारण है कि mana management optional नहीं है।

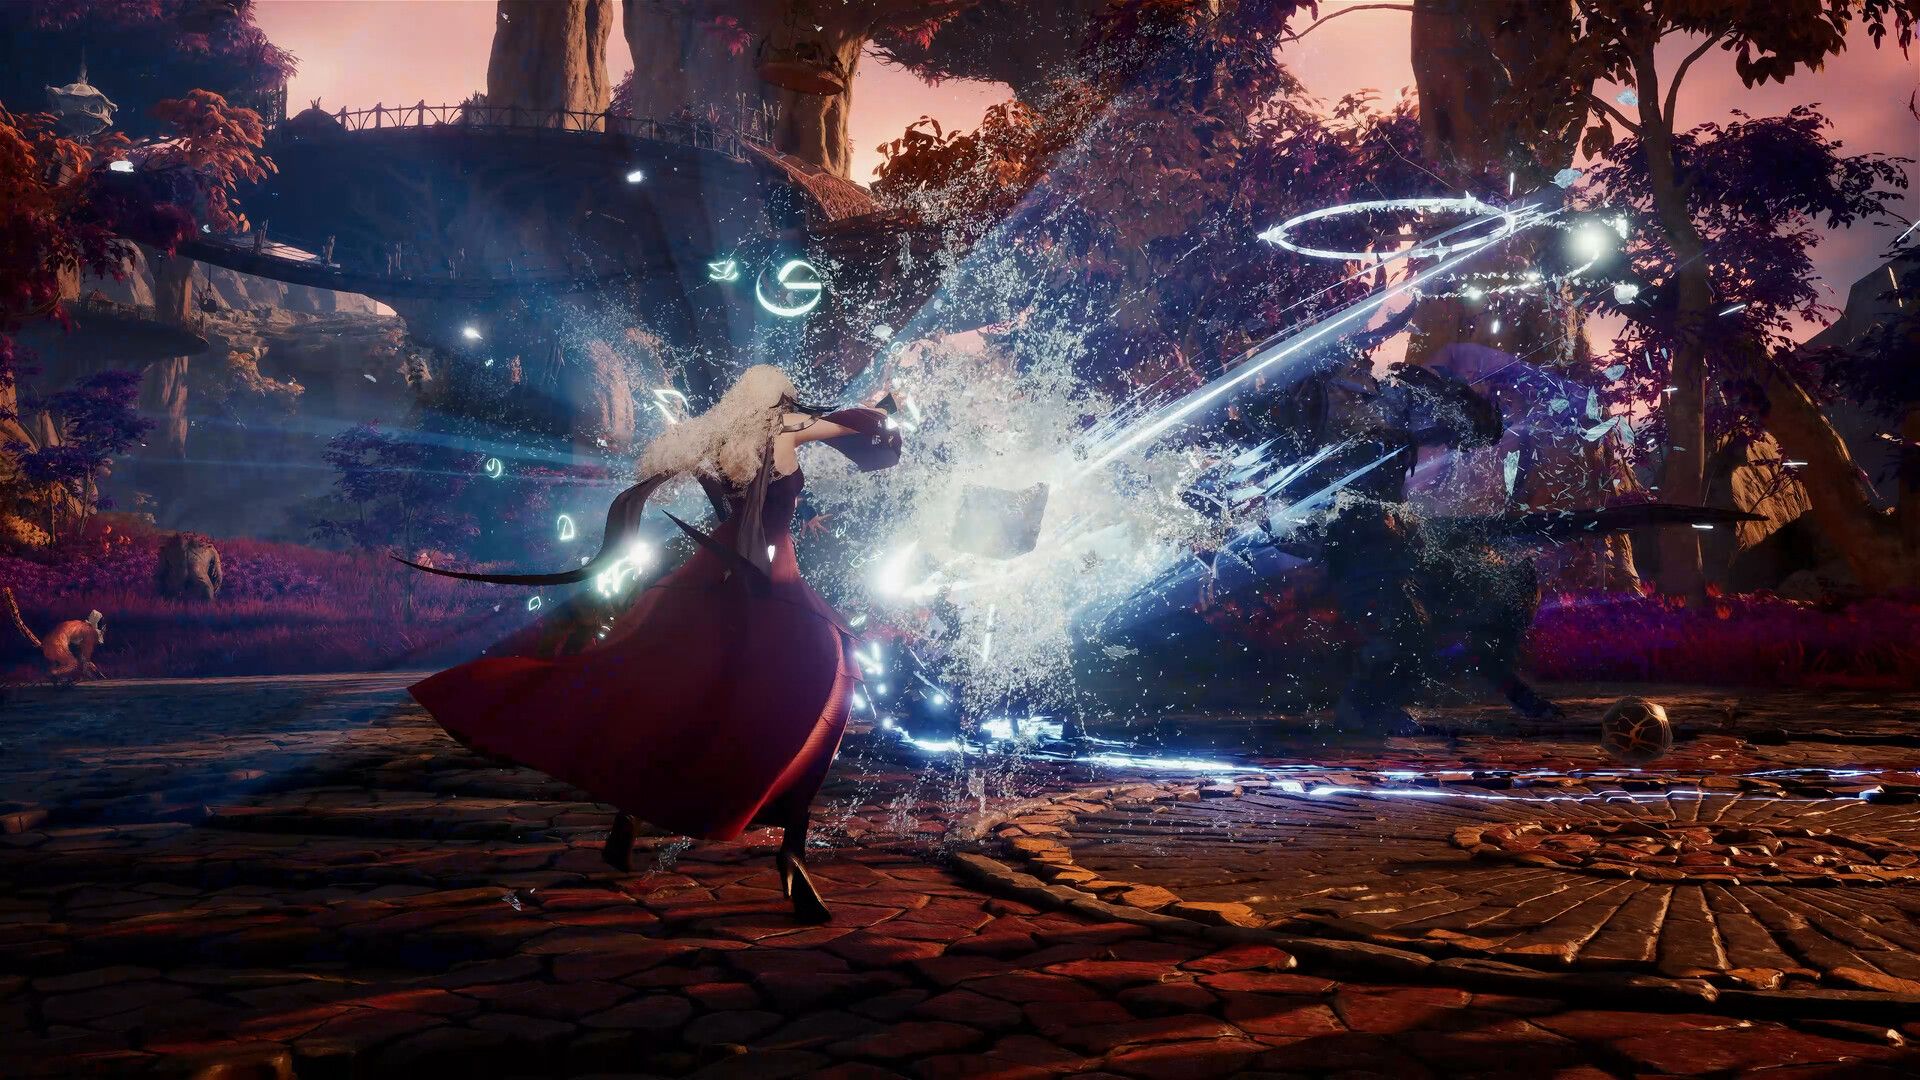
Build selector: कौन सा setup आपके content के लिए सही है?
| Build | Core purpose | Key skills | Stat focus |
|---|---|---|---|
| PvE boss DPS | Dungeon bosses, coordinated damage windows | Hellfire, Firestorm, Blaze, Wish, Bittercold Wind | Accuracy, Attack, PvE Damage Boost, cooldown reduction |
| AoE farming | Grouped enemies, solo pulls | Ice Chain, Bittercold Wind, Frost, Firestorm | Attack, Combat Speed, MP sustain, enough HP to survive |
| Defensive PvE | Learning encounters, difficult solo content | Steel Barrier, Arctic Armor, Defiance, mobile Hellfire | HP, Damage Tolerance, Accuracy, then offense |
| Arena control | Duels and small-group fights | Frost, Bittercold Wind, Soul Freeze, Hibernation | Accuracy, status resistance, HP, PvP damage |
| Abyss backline | Large-scale group PvP | Fire Wall, Cold Storm, Bittercold Wind, Steel Barrier | PvP Damage Tolerance, status resistance, area damage |
Sorcerer की कौन सी skills को prioritize करना सबसे अच्छा है?
Aion 2 में skill investment तीन categories में बंटी है: साधारण active और passive skills के लिए Mastery points, gear, Arcana, और Daevanion tiles से मिलने वाले external skill levels, और अलग Stigma selection के लिए Stigma Shards। अपने totals की planning करते समय इन्हें आपस में न मिलाएं।
Core active skills और specialty targets
नीचे दिए गए सभी level targets Global 1.0.21.0 skill layout का इस्तेमाल करते हैं। Specialty slots levels 8, 12, और 20 पर खुलते हैं, और 12 व 16 पर अतिरिक्त विकल्प मिलते हैं।
- Flame Arrow: Target level 16. level 16 पर, वह specialty चुनें जो Pyroclasm hits को Blaze reset करने देती है। यही वह चीज़ है जो Hellfire windows के बीच आपकी rotation को चालू रखती है। जब तक आपका mana cycle unstable है, तब तक Flame Arrow की MP recovery specialty को बनाए रखें।
- Blaze: Target level 16, फिर 20. Delayed damage, hit पर Multi-Hit, और Wish of Concentration के cooldown में 3-second की कमी, ये level 20 पर तीन विकल्प हैं। Solo content के लिए, HP absorption specialty delayed damage option की जगह ले सकती है।
- Firestorm: पहले level 12 को target करें, खास तौर पर उस specialty के लिए जो Hellfire के cooldown को हर fireball के साथ 2 seconds कम करती है। फिर fireball damage बढ़ाने के लिए 20 की तरफ बढ़ें।
- Wish of Concentration: Target level 16. इस्तेमाल करने पर सभी skill cooldowns में 10-second की कटौती वह interaction है जो पूरी rotation को जोड़ता है। level 20 पर, Combat Speed और extra Attack जोड़ें।
- Hellfire: Target level 16, फिर 20. Skill Speed, Multi-Hit के साथ Block और Evasion को bypass करना, और 15-second cooldown reduction, ये level-20 के तीन विकल्प हैं। PvP में cooldown reduction की जगह mobile casting ले लेती है।
- Bittercold Wind: Target level 12. वह specialty जो Block और Evasion को bypass करती है और critical hit की गारंटी देती है, वह PvE के लिए बेस्ट है। जब रुककर cast करने से नुकसान ज़्यादा हो, तब mobile casting एक विकल्प है।
Passive skill priorities
Robe of Flame पहला passive है जिस पर सीरियस investment करना चाहिए, एक बार जब आपकी active skills की ज़रूरी specialties सेट हो जाएं। यह Accuracy और damage effects को सपोर्ट करता है, और Stigma level 10 पर Element Enhancement को इसके साथ एक interaction मिलता है। Fire Mark और Grace of Enhancement को शुरुआती allocation में रखें। Absorb Essence landed attacks के ज़रिए MP वापस लाता है और repeated pulls वाले content में ज़्यादा मायने रखता है। Grace of Enhancement को active रहने के लिए 25% MP चाहिए, इसलिए mana sustain को एक ज़रूरी चीज़ मानें, न कि बाद में सोचने वाली बात।
Mastery points सबसे पहले कहाँ खर्च करें
Base level 1 से 8 तक कुल Mastery cost 13 points प्रति skill है, और 1 से 10 तक 21 points है। Levels 2 से 4 तक 1 point, 5 से 7 तक 2 points, और 8 से 10 तक 4 points लगते हैं।
एक प्रैक्टिकल पहली allocation में Flame Arrow, Hellfire, Firestorm, Blaze, Bittercold Wind, Wish of Concentration, और Defiance को base level 8 पर रखें। बिना external bonuses के, इन सात skills की कुल cost 91 points है। जैसे-जैसे character-level requirements अनलॉक हों, वैसे-वैसे levels बढ़ाते जाएं। अगर equipment पहले से ही 2 Flame Arrow levels दे रहा है, तो base level 6 ही total 8 तक पहुँच जाएगा और 13 के बजाय 7 points ही खर्च होंगे, जिससे 6 points किसी और चीज़ के लिए बच जाएंगे। खर्च करने से पहले हमेशा चेक करें कि gear क्या योगदान दे रहा है।
Skill setup और hotbar configuration के लिए, Aion 2 hotbar guide active skills, consumables, और Stigma abilities को काम के presets में बांधने के बारे में बताती है।
Sorcerer को कौन से Stigmas इस्तेमाल करने चाहिए?
Stigma Shards एक सीमित resource हैं, इसलिए हर defensive slot की एक असली कीमत होती है। Rank के हिसाब से shard cost है: level 5 तक 1, 10 तक 2, 15 तक 4, और 20 तक 8। बिना सीखे level 20 तक पहुँचने के लिए एक Stigma पर 75 shards लगते हैं। optional विकल्प विकसित करने से पहले उन चार abilities को अनलॉक करें जिनकी आपके मौजूदा content को ज़रूरत है।
| Content | Recommended four Stigmas | When to swap |
|---|---|---|
| Boss DPS | Element Enhancement, Delayed Explosion, Fire Wall, Cold Storm | अगर survival की वजह से casts रुक रहे हों, तो कमज़ोर area skill की जगह Steel Barrier लें |
| AoE farming | Element Enhancement, Fire Wall, Cold Storm, Steel Barrier | छोटे direct-damage pulls के लिए Glacial Smite |
| Defensive PvE | Element Enhancement, Delayed Explosion, Steel Barrier, Arctic Armor | Add-heavy fights के लिए Fire Wall; emergency immunity के लिए Hibernation |
| Arena | Element Enhancement, Steel Barrier, Soul Freeze, Hibernation | लगातार आने वाले pressure के लिए Arctic Armor |
| Abyss | Element Enhancement, Fire Wall, Cold Storm, Steel Barrier | असाइन की गई control duty के लिए Soul Freeze |
Element Enhancement 10 seconds के लिए 20% Fire Attack और 20% Water Attack देता है। Stigma level 10 पर इसे Robe of Flame के साथ interaction मिलता है, जो इसे किसी भी damage-focused preset के लिए पहला बड़ा shard investment बनाता है।
Delayed Explosion 4-second delay के बाद 1,116 + 189% Attack Fire damage देता है और उस दौरान target को आपसे 15% ज़्यादा damage लेने पर मजबूर करता है। level 10 का milestone इसके cooldown को कम करता है, level 15 इसे AoE coverage में बदल देता है, और level 20 damage-taken effect को बेहतर बनाता है।
Arctic Armor 10 seconds के लिए 20% PvE Damage Tolerance और 10% PvP Damage Tolerance देता है। इसका Magic Displacement effect, जो incoming damage का 50% HP को और 10% MP को redirect करता है, तभी activate होता है जब आपका MP 50% या उससे ऊपर हो। इस पर भरोसा करने से पहले अपना mana bar चेक करें।
PvE boss DPS build: damage rotation कैसे सेट करें
यह setup उन encounters के लिए बनाया गया है जहाँ tank boss को एक जगह रखता है और आप जानते हैं कि अगला damage window कब खुलेगा। mobile fights में जहाँ placed effects मिस हो जाते हैं और charge windows रुक जाते हैं, वहाँ इसकी value तेज़ी से गिरती है।
Opening sequence: pull से पहले position लें, Element Enhancement activate करें, Delayed Explosion apply करें, फिर अगर boss पूरे charge के लिए एक जगह रहेगा तो Hellfire चार्ज करना शुरू करें। Fire Wall और Cold Storm को वहाँ रखें जहाँ boss असल में रहेगा। इसके बाद Bittercold Wind का इस्तेमाल करें, फिर Fire Mark active होने पर Blaze, और फिर Firestorm। range में भागते हुए खर्च करने के बजाय, छोटे damage window को बढ़ाने के लिए Winter's Shackles का इस्तेमाल करें।
Wish of Concentration timing: cooldown-reduction specialty अनलॉक होने से पहले, इसे अपने सबसे बड़े attacks से ठीक पहले इस्तेमाल करें। एक बार जब वह specialty active हो जाए, तो इसे बड़े cooldowns शुरू होने के बाद इस्तेमाल करने पर विचार करें ताकि 10-second की कटौती उन skills पर काम करे जो पहले से ही cooldown पर हैं।
During Stagger: Flame Scattershot उपलब्ध हो जाता है। window का इस्तेमाल इसके damage या cooldown benefit के लिए करें, लेकिन चेक करें कि क्या वापस आया Hellfire priority पर होना चाहिए। Flame Scattershot को Staggered target चाहिए; condition खत्म होने के बाद भी इसे cast करते रहने से बस failed inputs ही बनेंगे।
इस build के साथ ज़्यादातर खिलाड़ी यह गलती करते हैं कि वे movement phase के दौरान offensive buffs खर्च कर देते हैं या boss के पीछे ground effects लगा देते हैं जो पहले से ही दूर जा रहा है। mobile encounter पर, Hellfire और Bittercold Wind को उनकी mobile-casting specialties पर स्विच करने से अक्सर एक और offensive stat roll जोड़ने से ज़्यादा damage रिकवर होता है।
AoE farming build: solo pulls के लिए क्या बदलता है?
एक farming preset को उनके बीच लंबे recovery के बिना कई pulls पूरे करने होते हैं। प्रैक्टिकल लिमिट उस pack का साइज़ है जिसे आप clear casting lane रखते हुए control कर सकते हैं।
Ice Chain को अपने repeatable area attack के तौर पर रखें जब तक यह आपके काम का बड़ा हिस्सा कर रहा है। जब यह susceptible enemies को इकट्ठा करने में मदद करे, तब Bittercold Wind के pull का इस्तेमाल करें। Stigma के चौथे slot के लिए boss setup से Delayed Explosion को Steel Barrier से बदलें। अगर ground effects के योगदान देने से पहले ही packs मर जाते हैं, तो direct area विकल्प के रूप में Glacial Smite आज़माएं।
Pack sequence: एक central target चुनें, केवल उन्हीं enemies को इकट्ठा करें जिनसे आप लड़ना चाहते हैं, उनके कनेक्ट होने से पहले खुद को सुरक्षित करें, फिर उनके रास्ते में area effects लगाएं। अगले full pull के लिए ज़रूरी cooldown खर्च करने के बजाय, लगभग मर चुके survivor को एक सस्ते उपलब्ध attack से खत्म करें।
Mana के लिए, ज़रूरी होने तक Flame Arrow की recovery specialty को active रखें, अगर बार-बार casts से bar खाली हो रहा हो तो Firestorm के कम-cost वाले विकल्प का इस्तेमाल करें, और Frost की MP-return specialty पर विचार करें। एक बार में एक ही बदलें। अगर recovery specialty हटाने से बार-बार रुकना पड़ रहा है, तो replacement ने farming build को बेहतर नहीं बनाया है, चाहे hit numbers कैसे भी दिखें।
Arena और PvP builds: क्या अलग है?
Arena की सफलता cast करने का मौका बनाने से शुरू होती है। एक असली opponent control तोड़ सकता है, cover के पीछे जा सकता है, या charge के दौरान आप पर pressure डाल सकता है। दूसरा फैसला लेने के लिए पर्याप्त hit reliability और durability बनाएं, फिर अपने बनाए हुए मौके को भुनाने के लिए damage में invest करें।
Four-slot Stigma template: Element Enhancement, Steel Barrier, Soul Freeze, Hibernation। अचानक burst के बजाय लगातार आने वाले pressure के खिलाफ, Hibernation की जगह Arctic Armor ले सकता है। जब कोई teammate भरोसेमंद तरीके से आपकी रक्षा कर रहा हो, तो सबसे कम ज़रूरी defensive slot को Delayed Explosion से बदल दें।
Practical sequence: पीछे हटने के रास्ते (retreat route) के साथ position से शुरू करें, हर tool को खर्च किए बिना pressure डालें, और opponent की प्रतिक्रिया देखें। escape या defensive cooldown को मजबूर करने के लिए Frost या Bittercold Wind का इस्तेमाल करें। उस प्रतिक्रिया के खत्म होने के बाद, अगला मौका बनाएं और उस damage के साथ Wish of Concentration खर्च करें जिसे आप असल में land कर सकते हैं। अगर तैयारी के दौरान opponent नज़दीक आ जाए, तो failed opener जारी रखने के बजाय खुद को सुरक्षित करें और reposition करें।
Abyss group PvP के लिए, काम बदल जाता है: area damage वहां apply करें जहाँ आपका group उसका फायदा उठा सके, जबकि आप सुरक्षा और healing range के भीतर रहें। Fire Wall और Cold Storm का इस्तेमाल enemy formation के उस हिस्से पर करें जो पहुंच में रहेगा। कम-health वाले enemy का पीछा करने के बजाय अपने group के target call का पालन करें।
अगर आप अभी भी तय कर रहे हैं कि PvP में कौन सा faction लेना है, तो Elyos vs Asmodian breakdown server structure और PvP implications में असली अंतर को कवर करता है।
Macro templates: क्या automate करना चाहिए और क्या नहीं?
एक उपयोगी macro movement, control, और survival को तुरंत सुलभ रखते हुए repeated input को कम करता है। ये इन-बिल्ट Skill Macro system के लिए priority templates हैं, न कि importable scripts।
| Template | Suggested macro queue | Keep manual |
|---|---|---|
| Simple boss practice | Blaze, फिर conditions अनुमति देने पर Firestorm | Flame Arrow, Hellfire, Wish, Stigma buffs, ground effects, सभी defenses |
| Sustained damage line | Bittercold Wind, Blaze, Firestorm, Wish of Concentration | Hellfire, Delayed Explosion, Element Enhancement, Fire Wall, Cold Storm, emergency skills |
| AoE farming | MP स्थिर होने पर ही Short Ice Chain input | Pack gathering, Frost, area Stigmas, recovery decisions, movement |
| Arena and Abyss | कोई fixed opening queue नहीं | Target selection, control, offensive timing, Defiance, shields, Hibernation |
Defiance, Steel Barrier, Arctic Armor, Hibernation, और targeted PvP control को किसी भी repeatable damage input से बाहर रखें। Hellfire को interrupt या hold करना आसान होना चाहिए। एक लंबा macro जो केवल stationary target पर ही ठीक से काम करता है, वह पूरा combat solution नहीं है।
Global के लिए कोई verified universal millisecond delay value नहीं है। अगर आपका ping 60ms से ऊपर है, तो macro lines के बीच एक छोटा delay skills को trigger होने से फेल होने से बचाने में मदद करता है। target dummy पर test करें और manual play के मुकाबले completed casts, बचे हुए MP, और movement पर प्रतिक्रिया की तुलना उसी gear के साथ करें।
Gear, stats, और Manastones: किसे prioritize करें?
marginal damage जोड़ने से पहले unreliable hits को ठीक करें। अगर attacks मिस हो रहे हैं तो Accuracy पहले आती है। उसके बाद, PvE के लिए priority order है Attack और लागू damage bonuses, Critical Hit और Critical Damage, Combat Speed और cooldown support, फिर MP और recovery। HP और Damage Tolerance को encounter की survival requirement को पूरा करना चाहिए, न कि इतना ज़्यादा कि आप असली damage की कुर्बानी दे रहे हों।
Weapon पहले। एक अपर्याप्त Spellbook सबसे आम कारण है कि Sorcerer की rotation खराब परफॉर्म करती है। weapon के बाद, उस सबसे कमज़ोर हिस्से को ठीक करें जो उपयोगी content को रोक रहा है। फिर accessories पर उन skill-level combinations को देखें जो planned build thresholds को पूरा करते हैं। Flame Arrow, Blaze, Wish of Concentration, या Firestorm को levels देने वाली rings, raw offensive stats वाली rings से पहले जांचने लायक हैं।
Manastones: अगर मिस हुए attacks समस्या हैं तो Accuracy stones का इस्तेमाल करें, फिर PvE के लिए relevant offensive stones। PvP के लिए, defensive और resistance effects boss preset की तुलना में ज़्यादा मायने रखते हैं।
किसी melee character के Frontal Damage setup की पूरी तरह नकल न करें। Sorcerer अलग positional व्यवहार वाले placed effects और attacks का इस्तेमाल करता है। जब तक आप यह verify न कर लें कि आपकी असल rotation का कितना हिस्सा directional stat से लाभ उठाता है, तब तक व्यापक रूप से लागू होने वाले offensive bonuses को प्राथमिकता दें।
Daevanion board: कौन से nodes सबसे ज़्यादा मायने रखते हैं?
Daevanion points को board को समान रूप से भरने के बजाय उपयोगी routes को पूरा करना चाहिए। Global planner में, साधारण stat tiles की cost 1 point, passive-skill tiles की 2, active-skill tiles की 3, और major stat tiles की 4 points है। Connecting tiles कुल route cost में जुड़ते हैं।
Nezekan board: Hellfire, Firestorm, और Wish of Concentration skill tiles देखें, फिर Combat Speed और Cooldown Reduction के routes की तुलना करें। Robe of Flame और Absorb Essence offense और resource ज़रूरतों को सपोर्ट करते हैं।
Zikel board: जब कोई tile specialty threshold पूरा करे, तो एक किफायती Hellfire, Firestorm, या Wish tile को prioritize करें। Damage Boost की तुलना Damage Tolerance से करें। Grace of Enhancement offensive configuration को सपोर्ट करता है; Grace of Resistance और Revitalization Contract PvP के लिए ध्यान देने योग्य हैं।
Vaizel board: Critical Damage Boost की तुलना उस skill route से करें जिसकी आपके loadout को अभी भी ज़रूरत है। Hellfire, Firestorm, Wish, और Bittercold Wind active-skill विकल्पों में शामिल हैं; defensive routes में Critical Damage Tolerance शामिल है।
Ariel board के लिए budget न बनाएं। यह निरीक्षित Global 1.0.21.0 layout में मौजूद नहीं है।
Boss route priority: जब एक किफायती route interaction को उपलब्ध कराए, तो पहले Firestorm 12, Wish 16, या Blaze 16 पूरा करें। AoE route priority: जब Ice Chain या Bittercold Wind आपका ज़्यादातर काम कर रहे हों, तो उन्हें आगे बढ़ाएं। PvP route priority: जब मौतें आपको offensive build इस्तेमाल करने से रोक रही हों, तो पहले Defiance या control threshold पूरा करें।
Pets, Wings, और Pantheon: शुरुआत में क्या समय देने लायक है?
Pet collection bonuses relevant stat source हैं, न कि mounted creature का दिखावा। offensive collection के लिए, Biruta level 3 पर 30 HP, 2 Critical Hit, और 1 Might लिस्ट करता है। hit support के लिए, Basilisk level 3 पर 30 Mount Ground Move Speed के साथ 2 Accuracy Bonus और 1 Dexterity लिस्ट करता है। Superior Wind Spirit level 3 पर 9 Stamina, 2 Critical Hit Resist, और 1 Precision प्रदान करता है, जो direct MP recovery से अलग ज़रूरत को पूरा करता है।
जब आप पहले से ही attacks land कर सकते हों और content में survive कर सकते हों, तो Biruta के साथ शुरू करें। जब आपके hits unreliable हों तो Basilisk को आगे बढ़ाएं। जब movement resources और incoming critical damage बड़ी समस्याएं हों तो Superior Wind Spirit को prioritize करें।
Pantheon के लिए, उपयोगी collectibles रखें जो आपके पास पहले से हैं और उन content से सुलभ rewards का पीछा करें जिन्हें आप वैसे भी gear के लिए चला रहे हैं। Global test data से Artwork: Fire Temple उदाहरण रखने पर 4 Destiny (Marchutan), 4 Life (Yustiel), और 4 Wisdom (Lumiel) points प्रदान करता है। ये God-stat points सीधे damage percentages नहीं हैं; equipment bonuses के साथ तुलना करने से पहले उनके परिणामस्वरूप होने वाले character effects को पढ़ें।
Wings के लिए, equipped stat effect को दिखावे से अलग चेक करें। sources और upgrade path content tier के हिसाब से अलग हो सकते हैं, और wings को मौजूदा data में +10 तक enhance किया जा सकता है। यह न मानें कि कई pairs रखने से उनके सभी equipped effects stack हो जाते हैं। हर wing और उन्हें पाने के तरीके के पूरे breakdown के लिए, Aion 2 wings list देखें।
Sorcerer की आम गलतियाँ जिनसे बचना चाहिए
- Ice Chain, Winter's Shackles, या Wish of Concentration को Stigmas मानना और एक असंभव equipped selection बनाना।
- Target पर Fire Mark active होने से पहले Blaze की कोशिश करना।
- यह मानना कि level 16 तीन specialty slots खोलता है। तीसरा slot level 20 पर खुलता है।
- Flame Scattershot का इस्तेमाल उसकी Stagger condition के बाहर करना या Frost Burst का उसके ज़रूरी setup के बिना इस्तेमाल करना।
- Boss के untargetable होने से पहले या group के reposition होने के दौरान हर offensive buff खर्च करना।
- Mana cycle के उनके replacements को sustain करने से पहले recovery specialties को हटाना।
- Defiance, Steel Barrier, या PvP control को automatic damage queue में डालना।
- Ariel board या card slots के इर्द-गिर्द planning करना जो Global 1.0.21.0 layout में मौजूद नहीं हैं।
- Abyss में opponents का पीछा करना क्योंकि उनकी HP कम है, और allied protection से बाहर निकल जाना।
Sorcerer FAQ
क्या Sorcerer Spellbook का इस्तेमाल करता है या Orb का? Spellbook का। Orb Spiritmaster के साथ जुड़ा है। weapon खरीदने से पहले item class restrictions चेक करें।
क्या मुझे tab targeting का इस्तेमाल करना चाहिए या action targeting का? Tab targeting शुरुआत के लिए ज़्यादा भरोसेमंद विकल्प है क्योंकि यह skills के बीच basic attacks को अपने आप चालू रखता है। Action targeting काम करता है लेकिन आपके attack chain में अनचाहे gaps से बचने के लिए manual ध्यान देने की ज़रूरत होती है।
क्या Elyos और Asmodian Sorcerers अलग core builds का इस्तेमाल करते हैं? Global class data अलग faction-exclusive skill trees स्थापित नहीं करता है। उपलब्ध sources और localized items factions के बीच अलग हो सकते हैं, लेकिन केवल faction choice basic rotation बदलने का कारण नहीं है। commit करने से पहले पूरी तुलना के लिए, Elyos vs Asmodian guide हर सार्थक अंतर को कवर करती है।
क्या Hibernation हर घातक mechanic को रोक सकता है? नहीं। कुछ शक्तिशाली encounter attacks इसे bypass कर देते हैं। scripted mechanics को पूरा करने के लिए patterns मानें, न कि ऐसा damage जिसे आप immunity के साथ हमेशा ignore कर सकते हैं।
ये values सितंबर 2026 में test किए गए Global 1.0.21.0 से हैं। 5 अक्टूबर को आधिकारिक Global launch के बाद skill tooltips और specialty costs को verify करें, क्योंकि test builds और live release के बीच balance changes संभव हैं।
अधिक class comparisons के लिए और Sorcerer के लिए commit करने से पहले सही शुरुआती बिंदु खोजने के लिए, पूरी Aion 2 strategy guides collection गेम की हर class और system को कवर करती है।