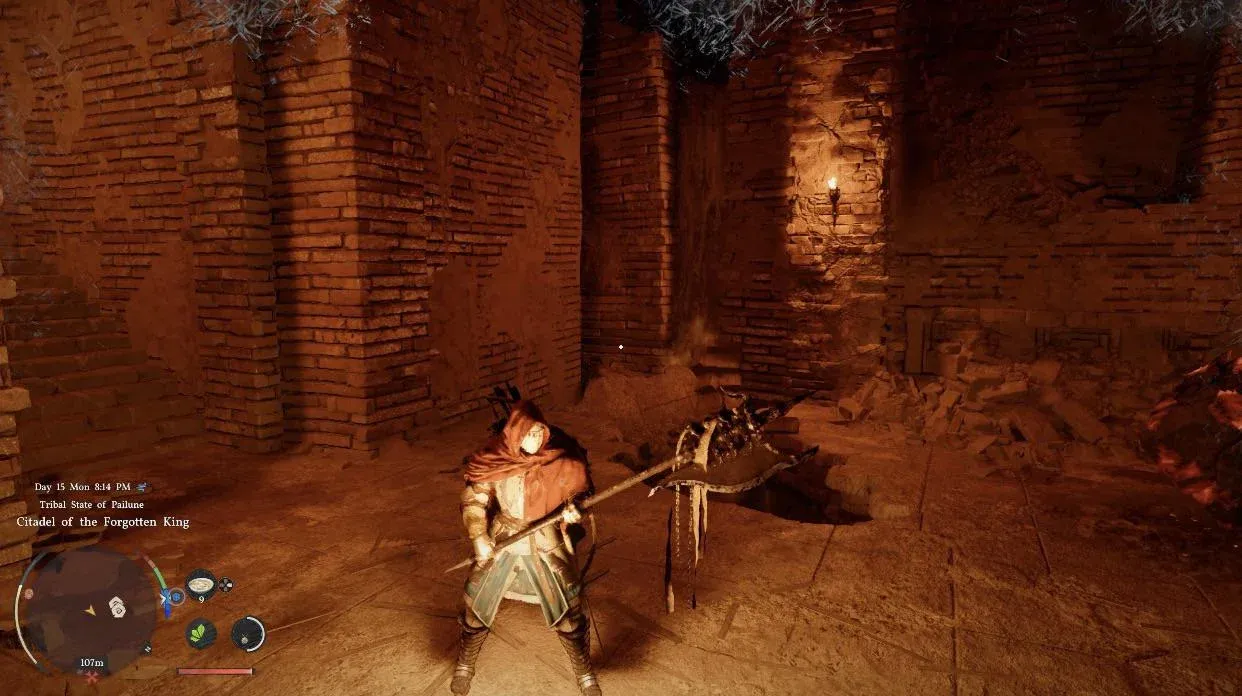


Vow of the Dead KingCrimson Desert के सबसे बेहतरीन early two-handed weapons में से एक है, और ज़्यादातर players उस dungeon के पास से गुज़र जाते हैं जहाँ यह मिलता है। इस halberd तक पहुँचने के बीच कोई बड़ा boss नहीं है — बस एक frozen citadel है जो traps से भरा है, एक flooded passage है, और एक बेहद unpleasant rock worm encounter है। इसका payoff एक ऐसा weapon है जिसमें solid base damage है, high critical rate है, और game के सबसे common enemy types के खिलाफ triple bonus है।
Vow of the Dead King कहाँ है?
यह weapon Citadel of the Forgotten Kingdom के अंदर है, जो Tribal State of Pailune के northern हिस्से में Frostveiled Castle Ruins के भीतर दबा हुआ है। ये ruins Silverwolf Mountain के पास कई पहाड़ों के बीच छुपे हैं — अपने map पर बड़े ruined stone structure को देखें और सीधे वहाँ जाएँ।
Ruins तक पहुँचने के लिए Wayward Woods से होते हुए north की तरफ ride करनी होगी, जहाँ wolf packs और ambush enemies छुपे रहते हैं। इस zone में ठंडा मौसम stamina को normal से ज़्यादा तेज़ी से drain करता है, इसलिए mountain climbs पर time लें और flat ground देखते रहें जहाँ रुककर recover कर सकें। रास्ते में ज़्यादातर enemies को ride करके bypass किया जा सकता है — इस stage पर उनसे लड़ना time की बर्बादी है।
Vow of the Dead King कैसे पाएँ — पूरा step-by-step walkthrough
Citadel में उतरने से पहले, उस bandit camp को clear करें जिसने ऊपर ground level पर castle ruins पर कब्ज़ा कर लिया है। उनमें से कई दर्जन हैं, लेकिन individually वे threatening नहीं हैं। बड़े groups को efficiently handle करने के लिए kick, Force Palm, और Focused Repulsion ability (जो 360-degree radius में सभी enemies को hit करती है) का use करें। Chapter 3 के आसपास area test करने के बाद, bandits ने minimal resistance दी — असली challenge underground शुरू होती है।
जब surface clear हो जाए, तो वह staircase ढूँढें जो citadel की depths में उतरती है। नीचे जाने से पहले अपना lantern equip करें। unstable ceiling sections से गिरते rocks से सावधान रहें: warning के तौर पर आपका lantern red glow करता है। जब red glow दिखे, तुरंत backtrack करें ताकि hit से बच सकें।
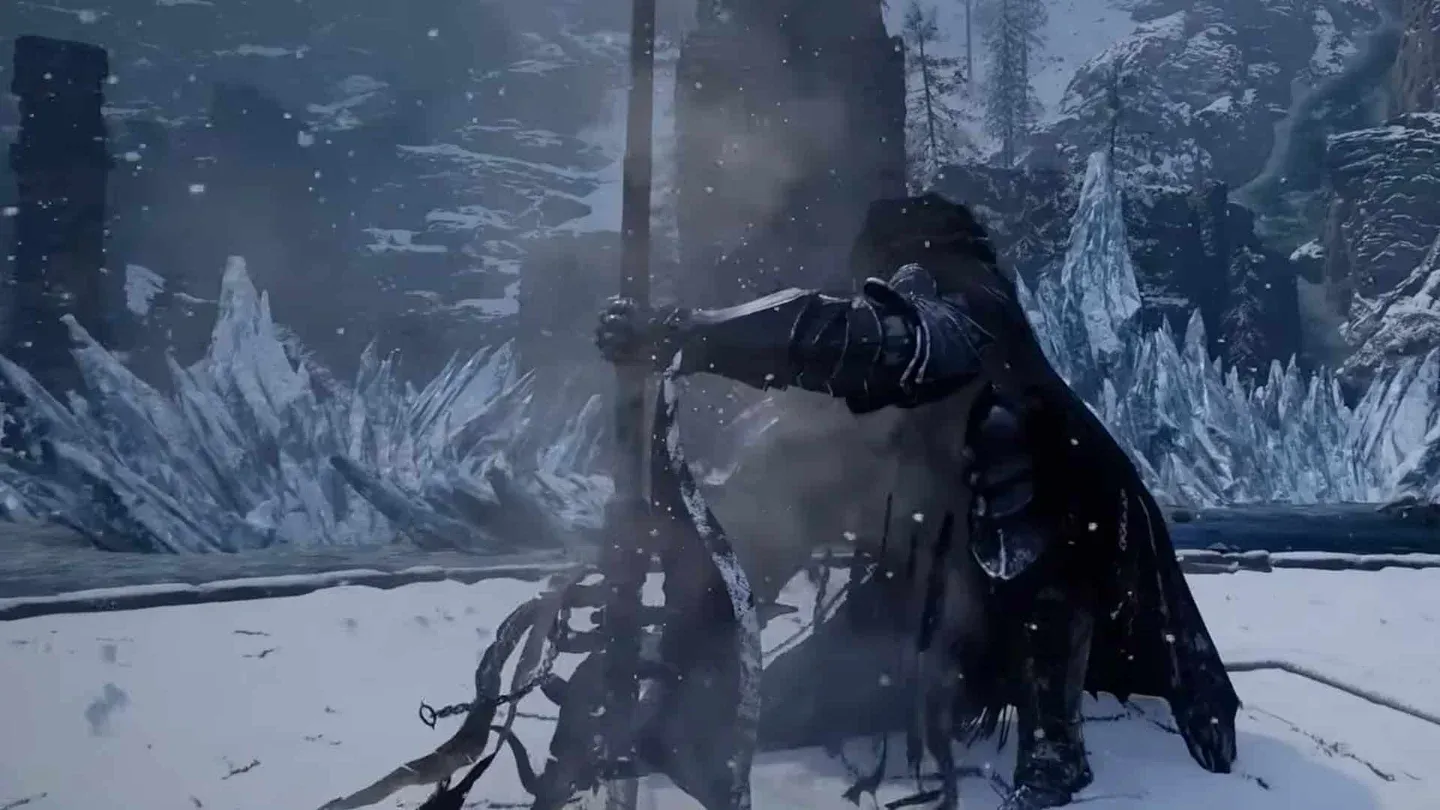
Frostveiled Castle Ruins entrance
Step 1: Spiked floor traps को पार करें
नीचे उतरने के बाद पहली obstacle spiked floor sections की एक series है जो रास्ता block करती है। आप इन्हें पैदल cross नहीं कर सकते। दोनों sections को safely bypass करने के लिए किसी भी wall के सहारे climb करें और shimmy करते हुए पार जाएँ। दीवारों पर लगी torches आपको आग नहीं लगाएंगी, इसलिए उनकी चिंता न करें। यहाँ stamina management ही एकमात्र concern है — जल्दबाज़ी न करें और shimmy के बीच में खुद को drain न करें।
Step 2: Flooded section cross करें
Spikes clear करने और आगे नीचे उतरने के बाद, एक flooded corridor आता है जो आगे बढ़ने का रास्ता block करता है। सबसे clean solution आपकी flight ability है: height gain करने के लिए initial jump के बाद R3 press करके double jump करें, फिर दूसरी तरफ के door तक glide करें। अगर आपने अभी तक flight unlock नहीं की है, तो jump-and-glide combination भी बिना ज़्यादा trouble के gap cover कर लेता है।
Step 3: Fire-thrower corridor navigate करें
यह वह section है जो ज़्यादातर players को पहली run में trip करवाता है। दो fire-thrower traps corridor में लगे हैं, और ये एक cycle पर activate होते हैं।
- Flames के पूरी तरह बुझने का wait करें
- आपके पास roughly 2-second window है move करने की
- Flames drop होने के बाद पाँच count करें, फिर एक continuous run में दोनों traps के through sprint करें
- पहले trap को duck करके निकला जा सकता है; दूसरे को running start के साथ jump करके पार किया जा सकता है
- Straight through sprinting भी viable है क्योंकि fire damage massive नहीं है, खासकर अगर कोई fire resistance gear equipped हो
- अगर आग लग जाए, तो Force Palm Focus quick healing देता है
Step 4: Stone-earth Vein creature को handle करें
अगले room में एक Stone-earth Vein है, एक golem-type mini-creature जो अगर आपने इसे मौका दिया तो hard hit करता है। यहाँ आपके पास दो options हैं।
पहला है इसे पूरी तरह skip करना: room में enter करते ही right hook लें और उस side के door से सीधे निकल जाएँ। दूसरा है इससे लड़ना, जो loot के लिए worth it है। Hwando इस enemy type के खिलाफ अच्छा perform करता है — distance बनाए रखें, इसके attacks को bait करें, और recovery window के दौरान strikes के लिए move in करें। इसका swipe attack significant range का है और आपको knock down कर देगा, इसलिए इसे respect करें।
Step 5: Candle जलाएँ और weapon claim करें
Room के पीछे आपको weapon के साथ एक barred chamber मिलेगा। Room के left side में एक candle देखें। उसके पास जाएँ और उसे जलाने के लिए interact button hold करें। इससे chamber entrance को block करने वाले metal bars नीचे आ जाते हैं। अंदर जाएँ और Vow of the Dead King उठा लें।
Ruins में enter करने से लेकर weapon claim करने तक का पूरा run roughly 10 से 15 minutes लेता है, एक बार जब आपको पता हो कि क्या करना है।
क्या Vow of the Dead King early में लेना worth it है?
हाँ, बिना किसी ज़्यादा debate के। High critical rate, triple damage bonuses, और Abyss Gear compatibility का combination इसे Crimson Desert के सबसे complete early weapons में से एक बनाता है। Dungeon combat power की बजाय traversal skill माँगता है, जिसका मतलब है कि किसी भी reasonable level का player इसे complete कर सकता है।
एकमात्र legitimate downside attack speed है। जो players fast, aggressive playstyle prefer करते हैं उन्हें adjust करना होगा। इसे stamina builds या heavy armor setups के साथ pair करने से यह offset होता है — slower rhythm एक tankier approach के लिए suit करता है जो heavy hits और positioning पर lean करता है।
Crimson Desert में और weapon guides और exploration tips के लिए, mid-game से पहले और क्या grab करना worth है यह जानने के लिए GAMES.GG पर latest guides browse करें।