Resident Evil Requiem में Care Center को navigate करने का मतलब है बहुत सारे बंद दरवाजों से सामना करना, और तीन ID Wristbands उनके पार जाने के आपके टिकट हैं। हर एक अलग method से जुड़ा है, जिसमें simple exploration से लेकर game के ज़्यादा involved puzzles में से एक को solve करना शामिल है। चाहे आप Level 2 Wristband पर stuck हों या बस उन्हें ज़्यादा efficiently grab करना चाहते हों, यह walkthrough हर step को cover करता है।
Resident Evil Requiem में ID Wristbands का इस्तेमाल किस लिए होता है?
ID Wristbands Care Center के tiered access system के तौर पर काम करते हैं। इन्हें पहले के Resident Evil titles के classic card key sets का spiritual successor समझें। Capcom हमेशा इन collectible unlocks के लिए एक नया theme ढूंढता है, और Requiem में ये clearance levels से जुड़े wristbands हैं।
हर tier facility में दरवाजों का एक specific set खोलता है:
| Wristband | Clearance Level | Key Areas Unlocked |
|---|---|---|
| Level 1 ID Wristband | Basic access | Blood Lab, Waiting Room Closet, Filing Room, Custodian's Office |
| Level 2 ID Wristband | Mid-tier access | Isolation Ward, Security Manager's Office |
| Level 3 ID Wristband | Full access | Emily's cell, adjacent cell with Mr. Raccoon collectible |

Level 1 ID Wristband कैसे प्राप्त करें
पहले wristband को grab करने से पहले, आपको East Wing Keycard की ज़रूरत होगी। इसे प्राप्त करने के लिए West Wing की दूसरी मंज़िल से एक छोटा detour लेना होगा।
सबसे पहले East Wing Keycard कैसे प्राप्त करें
East Wing को unlock करने का sequence यहाँ दिया गया है:
- West Wing की दूसरी मंज़िल पर जाएं और Chairman's Office में enter करें।
- Table पर Unicorn Trinket Box ढूंढें, उसे examine करें, और उसे shake करें ताकि Red Jewel बाहर निकल आए।
- Central Hall के ठीक बाद पहले मंज़िल के hallway में वापस नीचे आएं।
- Parlor को खोलने के लिए Red Jewel को door indentation में slot करें।
- East Wing Keycard को pick up करने के लिए कटे हुए हाथ को check करें।
Level 1 Wristband ढूंढना
Keycard हाथ में लेकर, East Wing में जाएं और दूसरी मंज़िल तक अपना रास्ता बनाएं। Examination Room, Treatment Room, और Blood Lab से गुज़रें, फिर गलियारों का पीछा करें जब तक आपको ऊपर की ओर मुड़ता हुआ एक staircase दिखाई न दे।
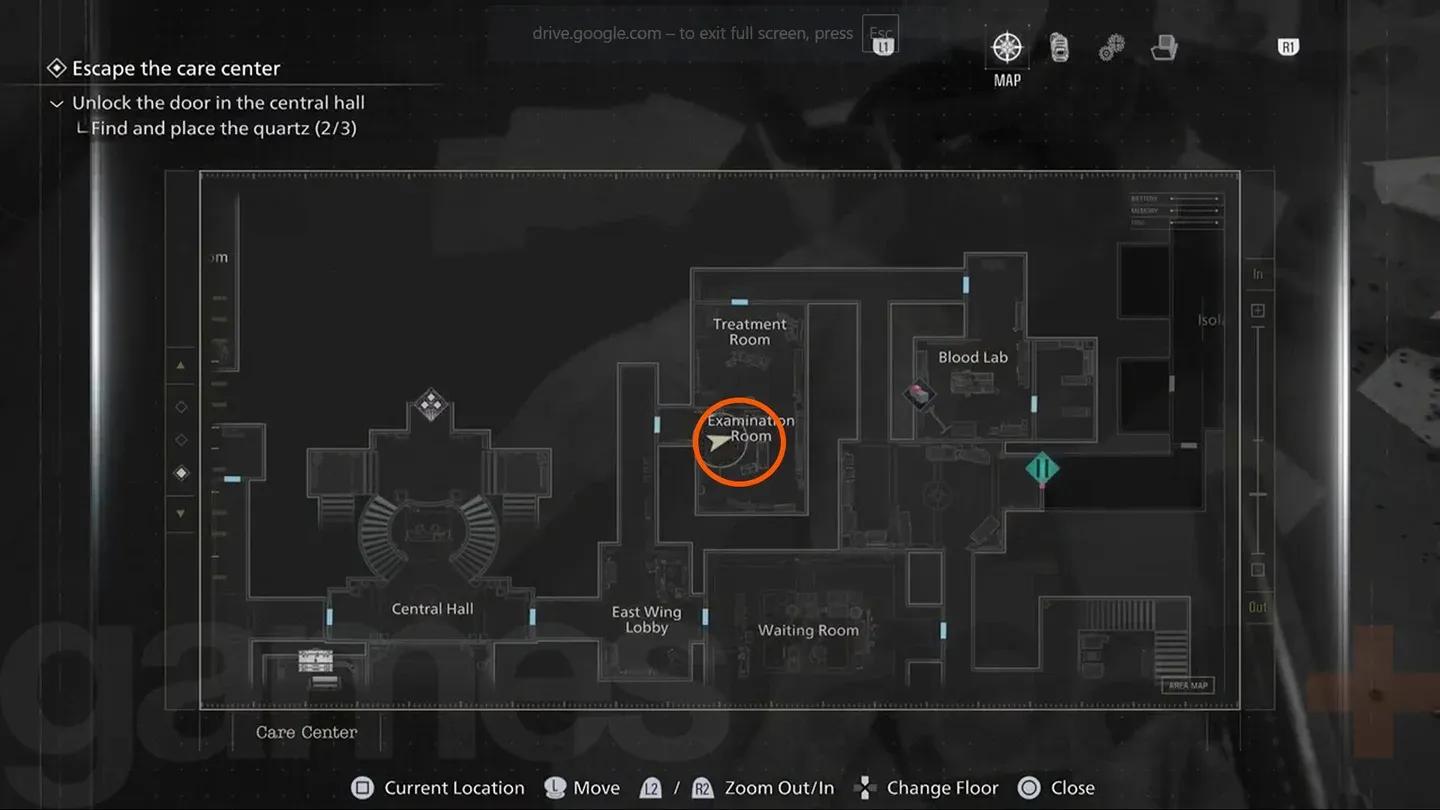
Level 1 Wristband location
Level 2 ID Wristband कैसे प्राप्त करें
इसके लिए सबसे ज़्यादा काम करना होगा। आपको Organ Transport Box puzzle को solve करना होगा और दो specific items ढूंढने होंगे: Artificial Heart और Artificial Lungs।
Artificial Heart प्राप्त करना
- Custodian's Office (Level 1 clearance से unlock) से Wrench grab करें।
- West Wing 1F के उत्तर-पश्चिमी कोने में वापस जाएं।
- Cold Storage के दरवाज़े को ज़बरदस्ती खोलने के लिए Wrench का इस्तेमाल करें।
- अंदर से Artificial Heart pick up करें।
Artificial Lungs प्राप्त करना (Organ Transport Box Puzzle)
सबसे पहले, East Wing 2F Lead Researcher's Office में दूसरा Puzzle Box पूरा करें। आपको मिली फ़ाइल में Organ Transport Box को खोलने के लिए ज़रूरी clues हैं।
फिर इन steps को follow करें:
- West Wing 1F के Garage में जाएं और Organ Transport Box collect करें। बुलडोजर चला रहे infected से सावधान रहें।
- Box को examine करें और इन actions को क्रम में करें:
- Dial को Auto से Hand पर घुमाएं
- Right-hand switch को gauge के ठीक middle level तक raise करें
- Switch #5 दबाएं, फिर switch #2 दबाएं ताकि दोनों नीचे हो जाएं
- Dial को Hand से वापस Auto पर flip करें
- Container को rotate करें और Artificial Lungs को retrieve करने के लिए खोलें।
Level 2 के लिए Organ Puzzle पूरा करना
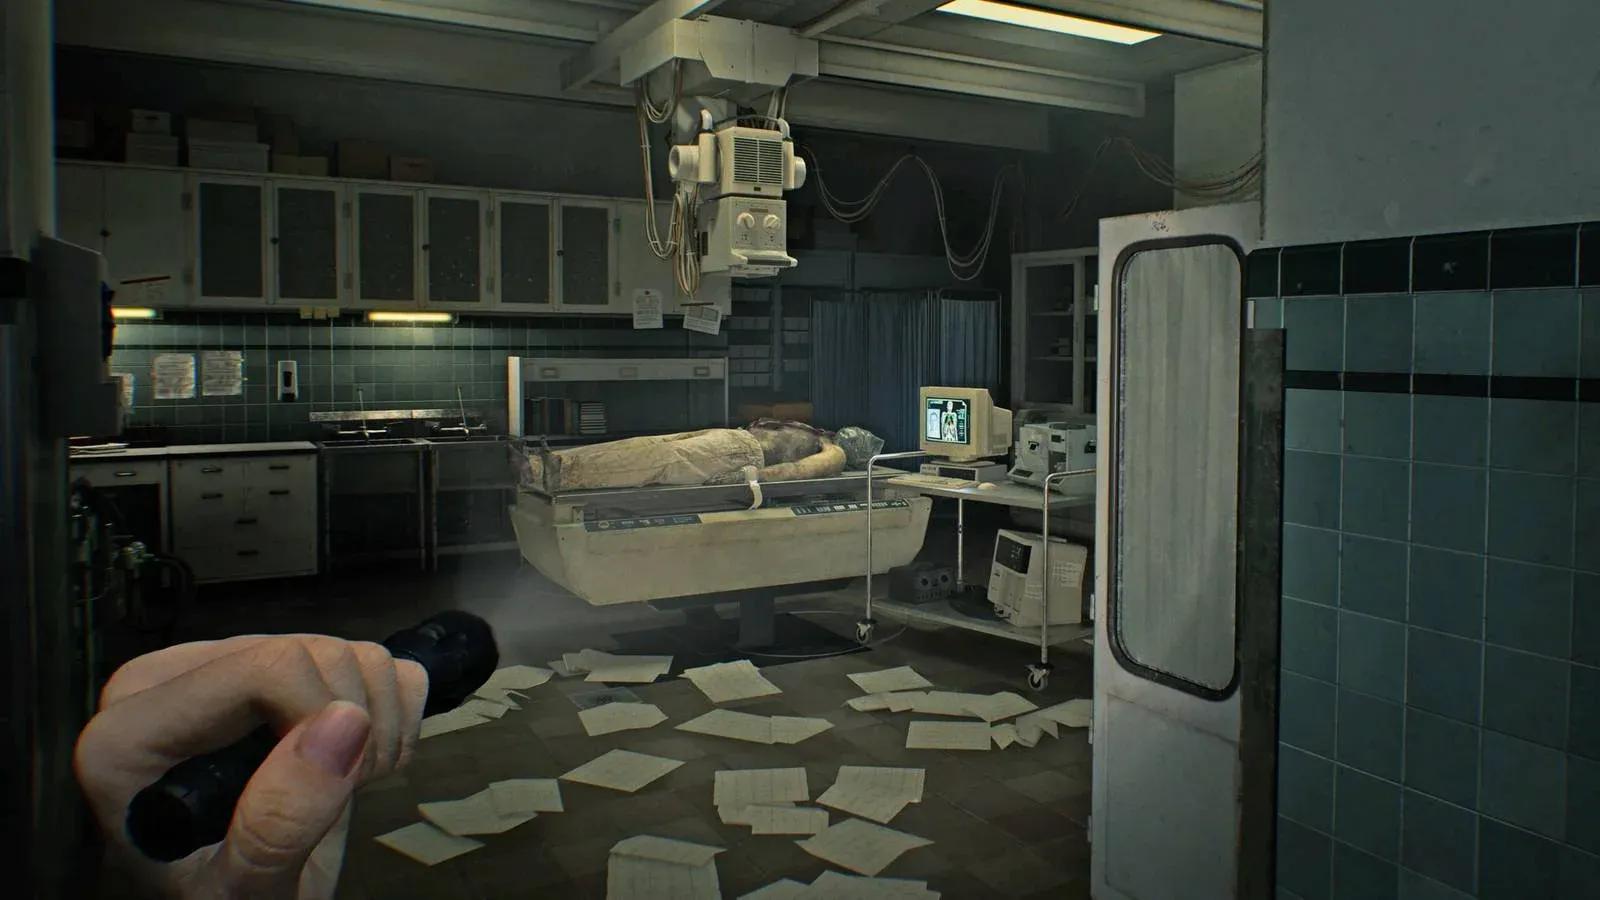
दोनों organs को East Wing 1F के Examination Room में वापस ले जाएं। Artificial Heart और Artificial Lungs को table पर मौजूद patient के chest cavity में रखें। Patient और उसके आस-पास के कोई भी infected जिनके सिर intact हैं, वे reanimate हो जाएंगे। उन्हें नीचे गिराएं, और Level 2 ID Wristband आपका है।
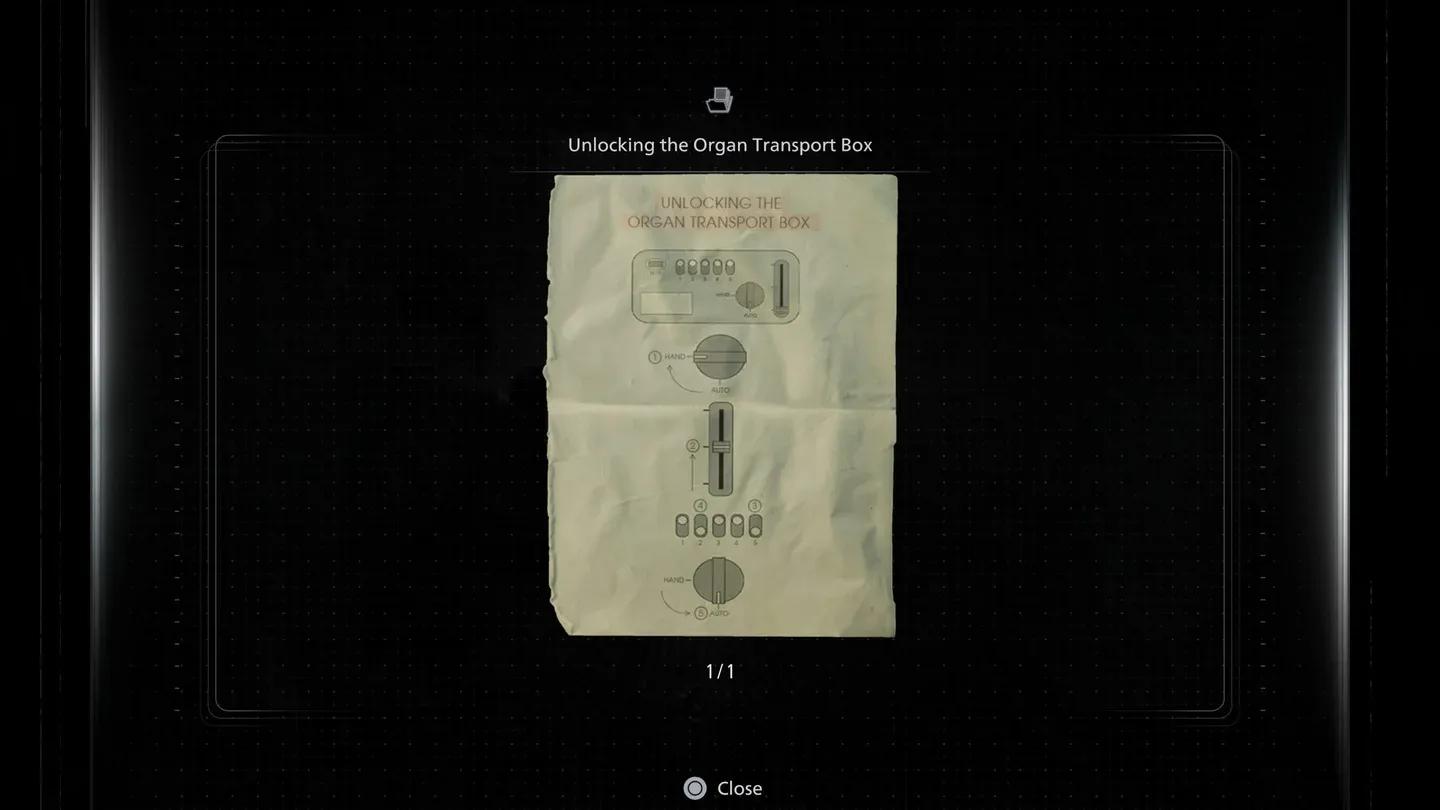
Organ Transport Box puzzle
Level 3 ID Wristband कैसे प्राप्त करें
Level 2 clearance मिलने के बाद, आखिरी wristband वास्तव में तीनों में सबसे सीधा है।
- Level 2 ID Wristband equip करके, East Wing में Isolation Ward जाएं।
- Main room में enter करें और सबसे दाईं ओर जाएं।
- Security Manager's Office में कदम रखें।
- Desk पर रखे notebook के साथ interact करें।
- Room में puzzle machine के पास जाएं ताकि एक cutscene trigger हो।
- Grace स्वचालित रूप से Security Manager के शरीर से Level 3 ID Wristband retrieve कर लेगी।
Level 3 Clearance क्या unlock करता है?
Level 3 ID Wristband Isolation Ward में Emily's locked cell को खोलता है, जो story को आगे बढ़ाने के लिए central है। Adjacent cell भी accessible है और इसमें एक Mr. Raccoon collectible है, इसलिए इसे skip न करें।
तीनों wristbands collect करने के बाद, आपके पास Care Center के locked areas का full run होगा और आप basement में अगले major story beat को tackle करने के लिए तैयार होंगे।