
Roblox Paradox अपने लंबे समय से प्रतीक्षित री-रिलीज़ के साथ वापस आ गया है, और टैलेंट सिस्टम उन पहली चीजों में से एक है जिसे आपको सही करने की आवश्यकता है। आपको केवल 3 टैलेंट स्लॉट मिलते हैं, जिनमें से एक मेन स्लॉट है जो वास्तव में उसमें बैठे किसी भी टैलेंट को बढ़ाता है। इससे हर पिक मायने रखती है। गलत कॉम्बिनेशन चलाने से आप गंभीर पावर को टेबल पर छोड़ देते हैं। सही वाला चलाने से लड़ाई सबसे अच्छे तरीके से अनुचित लगने लगती है।
Paradox में टैलेंट क्या हैं और वे कैसे काम करते हैं?
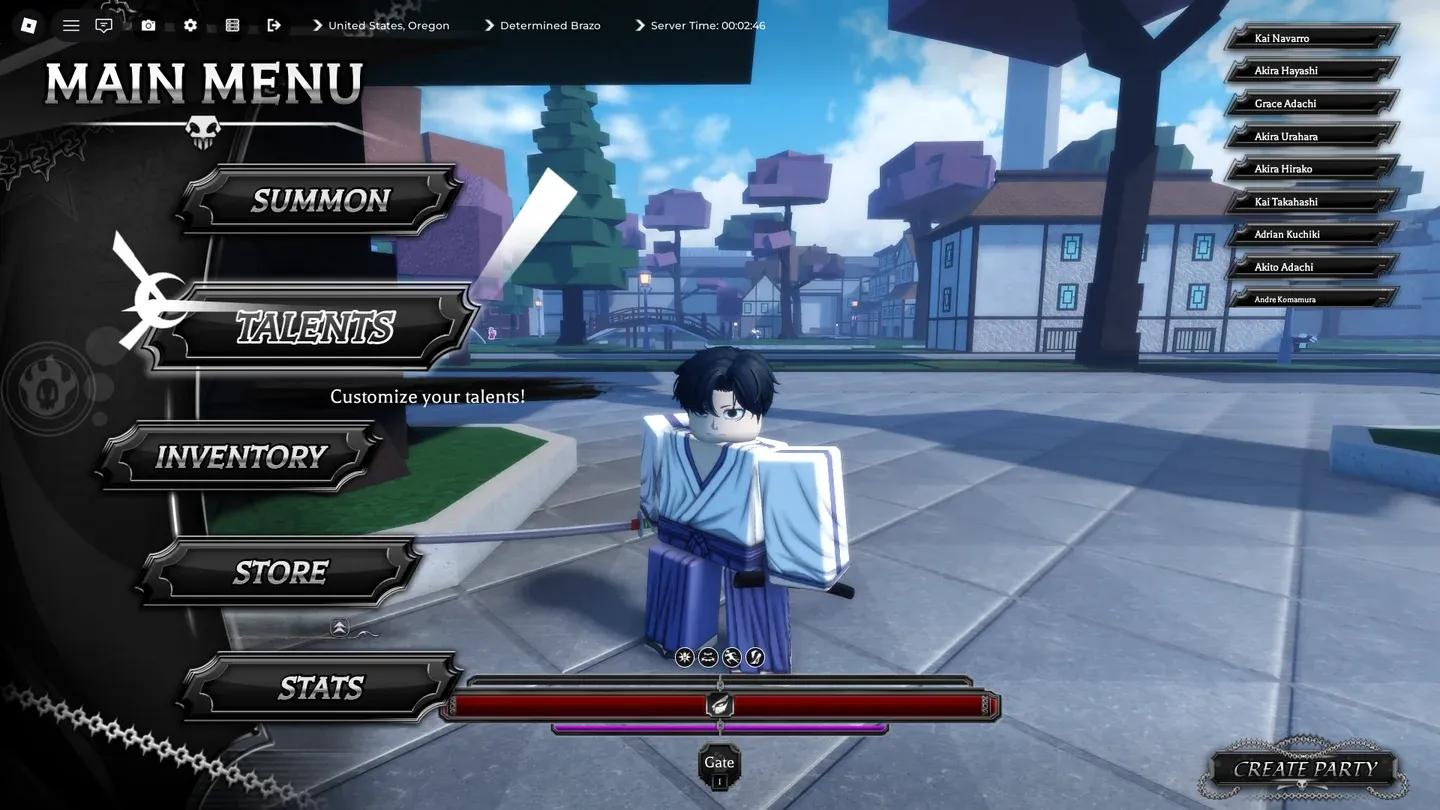
टैलेंट पैसिव मॉडिफायर हैं जो आपके बिल्ड में फिट होकर आपकी कॉम्बैट क्षमताओं को मजबूत करते हैं। आप एक बार में 3 तक इक्विप करते हैं, जिसमें मेन टैलेंट स्लॉट आपके द्वारा वहां रखे गए किसी भी टैलेंट का एक एन्हांस्ड वर्जन प्रदान करता है। अन्य दो स्लॉट अपने इफेक्ट्स लागू करते हैं, बस एन्हांसमेंट बोनस के बिना।
कुछ टैलेंट यूनिवर्सल होते हैं, जबकि अन्य विशिष्ट बिल्ड के लिए लॉक होते हैं। Speed-exclusive और Kendo-exclusive टैलेंट तभी एक्टिवेट होते हैं जब आपने उन रिस्पेक्टिव स्टैट्स में पर्याप्त पॉइंट इन्वेस्ट किए हों। ऐसी बिल्ड पर एक पावरफुल एक्सक्लूसिव टैलेंट रोल करना जो आवश्यकता को पूरा नहीं करता है, एक वेस्टेड स्लॉट है, इसलिए कमिट करने से पहले हमेशा कम्पैटिबिलिटी चेक करें।

Paradox में टैलेंट कैसे प्राप्त करें और री-रोल करें?
टैलेंट पूरी तरह से एक अलग प्रोग्रेशन लूप से आते हैं। यहां स्टेप-बाय-स्टेप प्रक्रिया दी गई है:
- गेम वर्ल्ड से Whispering Willows फार्म करें
- उन्हें टैलेंट NPC Inori के पास ले जाएं
- टैलेंट के लिए रोल करने के लिए Whispering Willows का उपयोग करें
- जो भी आपकी बिल्ड के लिए सबसे अच्छा फिट हो उसे इक्विप करें
यह स्किल सिस्टम से पूरी तरह से अलग है, जिसके लिए Speed, Sword, Hakuda, या Kido में स्टैट पॉइंट इन्वेस्ट करने और सही कोर आइटम का उपयोग करने की आवश्यकता होती है। टैलेंट इन सब को बायपास करते हैं और पूरी तरह से सही आइटम फार्म करने और Inori के माध्यम से इसे कन्वर्ट करने से आते हैं।
Blood Surge parry heal in action
Full Paradox talent tier list (rerelease)
यह रैंकिंग कई बिल्ड और प्लेस्टाइल में हैंड्स-ऑन टेस्टिंग पर आधारित है, जिसमें कंसिस्टेंसी, कॉम्बैट इम्पैक्ट और हर टैलेंट सबसे ज्यादा सिचुएशन की वाइड रेंज में कैसा परफॉर्म करता है, इसका वजन किया गया है। रेरिटी का मतलब यहां रैंक नहीं है। कुछ कॉमन टैलेंट प्रैक्टिस में लेजेंडरी से बेहतर परफॉर्म करते हैं।
S tier: meta talents
ये वो पिक्स हैं जिनके इर्द-गिर्द आप बिल्ड करते हैं।
| Talent | Rarity | Effect | Why it ranks here |
|---|---|---|---|
| Master of Speed | Legendary | Extra flashstep charge plus massive flashstep regen boost | Mobility is never wasted. Scales hard on Speed builds but feels strong on almost anything |
| Ultra Ego | Legendary | Landing hits without getting tagged stacks damage up to a 10% cap | Rewards pressure-heavy play that already wins fights. Easy to activate in real combat |
| Unrelenting Impact | Legendary (Kendo) | M1s apply anti-damage-reduction, negating target's damage reduction for 5 seconds | Turns basic M1 pressure into real payoff against tanky or defensive opponents |
| The Dancer | Legendary (Speed) | Weapon crit refreshes one flashstep charge, 15-second cooldown | Creates tempo through movement loops. Rewards players who already fish for crit pressure |
| Blood Surge | Legendary | Successful parries heal 0.2% of max health, no cooldown | No cooldown is the key detail. Sharp defenders will quietly win longer fights with this |
A tier: very good talents
Strong picks that belong in most builds.
| Talent | Rarity | Effect | Notes |
|---|---|---|---|
| One With Speed | Rare | Flashstep cooldown no longer worsened by low health | Reliable mobility when you need it most |
| Shattering Blow | Rare (Kendo) | Guardbreak attacks deal full damage instead of reduced | Deadly in Kendo pressure setups |
| Compressive Force | Common (Kendo) | Posture damage increased by 15% | Punches well above its Common rarity |
| Angry Step | Rare | Perfect dodge increases next attack damage by 10% | Gets stronger the better your reactions are |
| Steady Ground | Legendary | Three M1s in a row trigger double reiatsu regen for 10 seconds, 30-second cooldown | Good bridge between pressure and resource sustain |
| Get Over Here | Rare (Speed) | Weapon crits disable target's flashsteps for 3 seconds, 25-second cooldown | Three seconds of mobility denial can swing an entire exchange |
| Trail Blazer | Rare | Successful dodge gives a large sprint speed boost | Practical repositioning that activates off something you should already be doing |
| Final Stand | Common | At 5% health or lower, all skill cooldowns cut in half | High-risk trigger with real payoff for cooldown-heavy builds |
B tier: decent talents
Playable and situationally strong, but not picks you build around.
| Talent | Rarity | Effect | Notes |
|---|---|---|---|
| Sharp Shooter | Legendary | More damage the farther away you are | Build-dependent. Interesting for spacing-heavy styles |
| Shot Tacked | Legendary | Dodging an attack has a chance to return half the damage, with a damage cap | The RNG and cap keep this from feeling elite |
| Reiatsu Surge | Rare | Reiatsu regen increases in dire situations | Solid fallback, not game-warping |
| Critical Hit | Rare | 5% chance to deal double damage | Fun, but RNG makes it unreliable |
| First Blood | Rare | First hit on a full-HP target deals 1.5x damage | Strong opener that stops working after the first hit |
| Medical Step | Common | Perfect dodges heal 10 health, 15-second cooldown | Good players can squeeze consistent value from this |
| Retract | Common | Parrying restores 10% more posture than normal | Smooth glue talent for disciplined parry timing |
| Stand Strong | Rare | At 10% health or lower, all damage dealt increases | Strong effect, brutally low threshold |
| Piercing Blitz | Common | Weapon crits briefly boost movement speed | Useful for crit or chase setups, a step below top movement talents |
| Health Proficiency | Common | Health regenerates faster out of combat | Quality-of-life for longer sessions, not a combat power pick |
C tier: situational or limited talents
Not recommended for general use. Some have niche applications.
| Talent | Rarity | Effect | Notes |
|---|---|---|---|
| Ecdysis | Legendary | Converts damage reduction into damage increase | High-risk, inconsistent. More gimmick than staple |
| Exoskeleton | Legendary | You always die in 25 hits | The downside is too harsh to justify outside very specific plans |
| Reverse Induction | Rare | 10% less damage to players, 10% more damage to NPCs | Fine for pure PvE, rough for mixed content |
| Shaped Glass | Rare | 5% more damage dealt, 10% more damage taken | The trade is not kind enough. You feel the extra damage taken immediately |
| Desperation | Rare (Kendo) | Below 10% reiatsu, gain 1.25x M1 damage buff | Awkward to maintain the resource threshold consistently |
| Stay Afloat | Common | Dodging an attack sends back a small amount of posture | Gets outclassed by stronger dodge-reward talents |
| Scaredy Cat | Common | Combat tag ends faster for easier disengagement | Low direct combat impact. Very situational |
हर बिल्ड टाइप के लिए बेस्ट टैलेंट क्या हैं?
सही टैलेंट कॉम्बिनेशन पूरी तरह से इस बात पर निर्भर करता है कि आपकी बिल्ड पहले से क्या कर रही है। यहां बताया गया है कि इसके बारे में कैसे सोचना है:
Speed builds को Master of Speed, The Dancer, और Get Over Here से सबसे ज्यादा फायदा होता है। ये तीनों सीधे फ्लैशस्टेप और क्रिट प्रेशर लूप में फीड होते हैं, जिसके चारों ओर Speed-फोकस्ड प्ले रिवॉल्व होता है। One With Speed कम हेल्थ पर होने पर मोबिलिटी को कंसिस्टेंट रखने के लिए एक मजबूत सेकेंडरी स्लॉट है।
Kendo builds जब भी संभव हो, मेन स्लॉट में Unrelenting Impact चाहते हैं। इसे Compressive Force और Shattering Blow के साथ पेयर करें ताकि एक प्रेशर सेटअप बन सके जो डिफेंसिव विरोधियों को चीर दे। M1s पर एंटी-डैमेज-रिडक्शन इफेक्ट 15% एक्स्ट्रा पोस्चर डैमेज के साथ मिलकर गार्डब्रेक्स को रियल, पनिशिंग डैमेज में बदल देता है।
Sustain या defensive builds को Blood Surge और Angry Step को एक साथ चलाने से सबसे ज्यादा फायदा होता है। Blood Surge क्लीन पैरिंग को नो-कोoldown हीलिंग के साथ रिवॉर्ड करता है, जबकि Angry Step परफेक्ट डॉज को अगले हिट पर 10% डैमेज बोनस में कन्वर्ट करता है। दोनों टैलेंट स्टैट्स के बजाय स्किल को रिवॉर्ड करते हैं, जो उन्हें हायर लेवल प्ले पर अच्छा स्केल बनाता है।
General या mixed builds बिना किसी मजबूत स्टाइल कमिटमेंट के Ultra Ego और Master of Speed पर डिफॉल्ट होनी चाहिए। दोनों को स्पेसिफिक ट्रिगर या स्टैट थ्रेशोल्ड की आवश्यकता के बिना लगभग हर सिचुएशन में वैल्यू मिलती है।
क्या लेजेंडरी टैलेंट हमेशा चलाने लायक होते हैं?
ऑटोमेटिकली नहीं। रेरिटी पोटेंशियल को सिग्नल करती है, न कि गारंटीड परफॉरमेंस को। Compressive Force एक कॉमन टैलेंट है जो A tier में आराम से बैठता है क्योंकि इसका 15% पोस्चर डैमेज इंक्रीज सिंपल, कंसिस्टेंट और प्रेशर-फोकस्ड प्ले में हमेशा रेलेवेंट होता है। दूसरी ओर, Exoskeleton, लेजेंडरी है और C tier में आता है क्योंकि फिक्स्ड 25-हिट डेथ मैकेनिक जनरल यूज के लिए बहुत खतरनाक है।
टियर लिस्ट में पैटर्न क्लियर है: जो टैलेंट कंसिस्टेंट, बिल्ड-रेलेवेंट वैल्यू रियल फाइट्स में ऑफर करते हैं, वे अनरिलाएबल ट्रिगर या हार्श ट्रेड-ऑफ से जुड़े फ्लैशी इफेक्ट्स वाले टैलेंट से ऊपर रैंक करते हैं। क्या चलाना है, यह तय करते समय, पूछें कि क्या टैलेंट आपके नॉर्मल प्ले के माध्यम से स्वाभाविक रूप से एक्टिवेट होता है या क्या इसके लिए आपको इससे वैल्यू पाने के लिए अपने फाइट करने के तरीके को बदलने की आवश्यकता है।
Roblox और अन्य गेम्स को कवर करने वाले और गाइड के लिए, आप GAMES.GG पर और गाइड ब्राउज़ कर सकते हैं ताकि आप जो कुछ भी खेलते हैं, उसमें अपने बिल्ड को शार्प रख सकें।