
Survive Zombie Arena क्या है और शुरुआत कैसे करें?
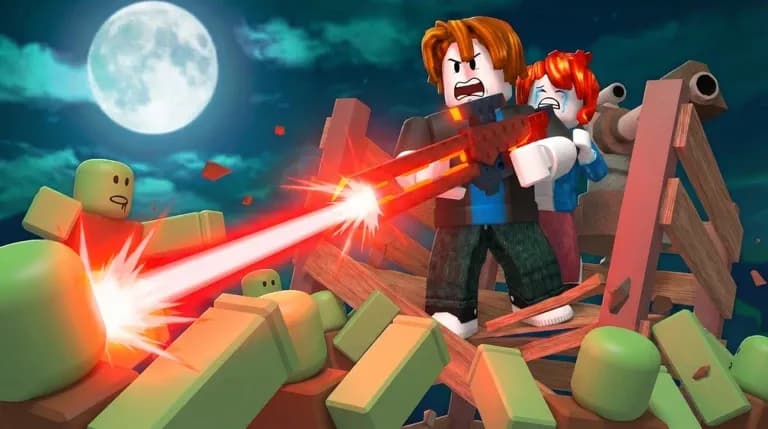
Survive Zombie Arena, Roblox पर एक wave-based zombie shooter है जो 13 दिसंबर, 2025 को लॉन्च हुआ था। आप एक hub में spawn होते हैं, अपनी टीम के साथ एक spaceship में सवार होते हैं, और एक arena में उतारे जाते हैं जहाँ लगातार बढ़ती zombie waves आपके run को खत्म करने की कोशिश करती हैं। इसका core loop सीधा है: zombies को मारें, credits कमाएं, credits को समझदारी से खर्च करें, और runs के बीच permanent hub upgrades में invest करें। यही आखिरी हिस्सा है जहाँ ज़्यादातर beginners progress छोड़ देते हैं। हर run को अगले run के लिए funding करनी चाहिए।
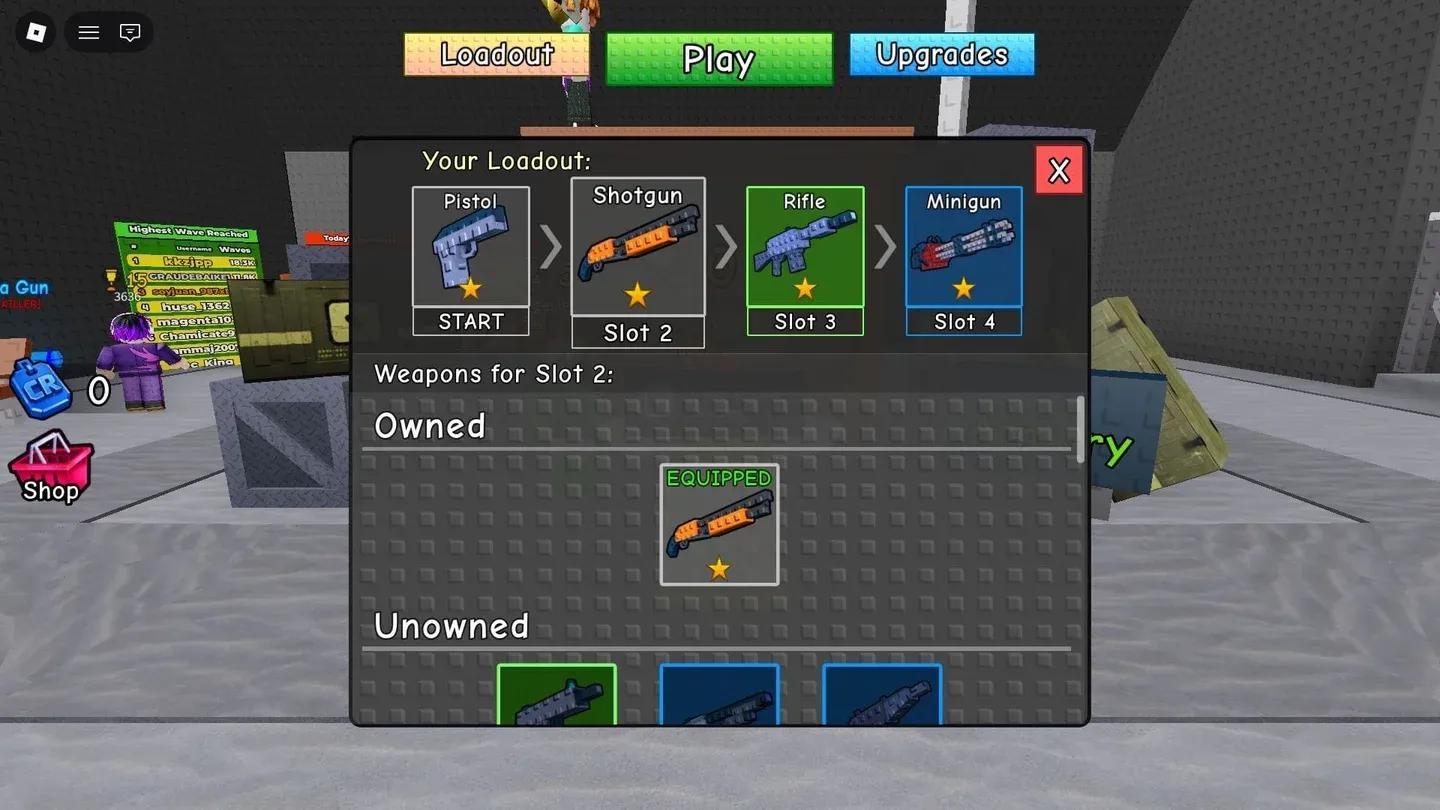
Hub loadout setup screen

Credit system कैसे काम करता है?
Credits हर run का engine हैं। आप zombies को मारकर और waves को clear करके इन्हें कमाते हैं, और आप इन्हें mid-run और hub में permanent upgrades पर खर्च करते हैं। जिस order में आप credits खर्च करते हैं, वह आपके पास कितने credits हैं, इससे कहीं ज़्यादा मायने रखता है।
यहाँ priority breakdown दिया गया है जो वास्तव में काम करता है:
| Priority | Spend On | Goal | Common Mistake |
|---|---|---|---|
| 1 | Weapon slot unlocks | Access stronger options sooner | Delaying slots for utility gear |
| 2 | Primary weapon upgrades | Better DPS on standard waves | Splitting resources too thin |
| 3 | Secondary role weapon | Cover armored and elite threats | Running two guns with the same role |
| 4 | Support gear | Stabilize difficult waves | Buying turrets and mines before weapons are ready |
survivezombiearena.wiki guide इस बारे में सीधा है: अगर zombies बहुत धीरे मर रहे हैं, तो credits को weapon power में लगाएं। अगर solid damage output के बावजूद आप घिर रहे हैं, तो utility support जोड़ें। यह distinction ज़्यादातर failed runs को ठीक कर देता है।
Beginners के लिए सबसे अच्छा loadout structure क्या है?
एक single "best weapon" का पीछा करना भूल जाएं। जो चीज़ वास्तव में runs को alive रखती है, वह है role coverage। आपके loadout में crowd control के लिए एक weapon और tougher, higher-health targets के लिए एक weapon होना चाहिए। एक ही role वाले दो guns चलाने से आप एक या दूसरी तरफ exposed रह जाते हैं।
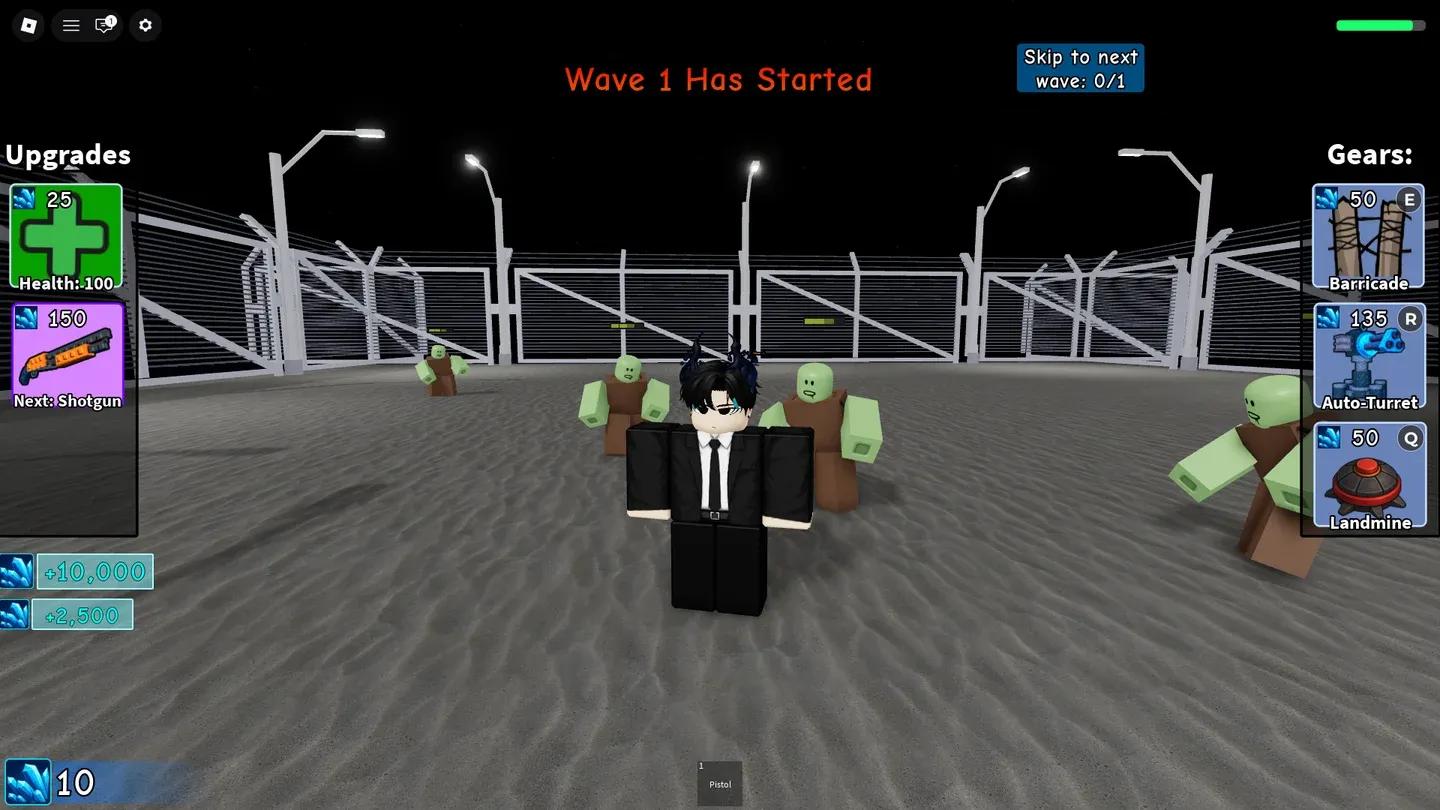
Weapon slot loadout menu
Role-based loadout pairing
| Weapon Role | Best Use | Ideal Wave Window | Pair With |
|---|---|---|---|
| Fast-firing weapon | Clear basic zombie packs quickly | Early to mid waves | High-damage finisher |
| Shotgun or close burst | Emergency lane cleanup | Mid waves, choke points | Mid-range rifle |
| Assault rifle | Reliable all-range DPS | Any wave | Burst or heavy option |
| Heavy weapon | Delete tankier enemies | Mid to late waves | Fast weapon for trash mobs |
Beginners को जल्द से जल्द handgun से shotgun और फिर rifle में upgrade करने को प्राथमिकता देनी चाहिए। survivezombiearena.wiki guide एक specific rotation tip के साथ इसे reinforce करता है: open lanes को kite करते समय अपने fast weapon का उपयोग करें, जब एक tougher cluster push करता है तो heavier option पर swap करें, और corner traps से बचने के लिए reload करने से पहले reposition करें।
आजमाने के लिए तीन starter templates
| Template | Slot 1 | Slot 2 | Slot 3 (if unlocked) | Playstyle |
|---|---|---|---|---|
| Safe Starter | Fast handgun or SMG style | Assault rifle | Shotgun | Consistent, forgiving |
| Aggressive Push | Assault rifle | Heavy weapon | Fast sidearm | High damage, higher risk |
| Control Build | Fast weapon | Shotgun | Utility-heavy support | Defensive lane holding |
Support gear जैसे turrets, barricades और landmines का उपयोग कैसे करें?
Classes Survive Zombie Arena में April 28, 2026 के update g के साथ live हुईं। सभी beginners Survivor class के साथ शुरू करते हैं, जिसमें तीन gear options हैं:
- Auto Turret: Automatically damages nearby zombies but has relatively low health.
- Barricade: Blocks chokepoints, forcing zombies to destroy them before reaching players.
- Landmine: Triggers on contact with zombies, dealing area-of-effect explosion damage.
दोनों source guides से मुख्य insight यह है कि gear force multiplier के रूप में काम करता है, damage substitute के रूप में नहीं। आपके weapons के upgrade होने से पहले barricades और turrets खरीदने से आपका run gear-dependent और fragile हो जाता है।
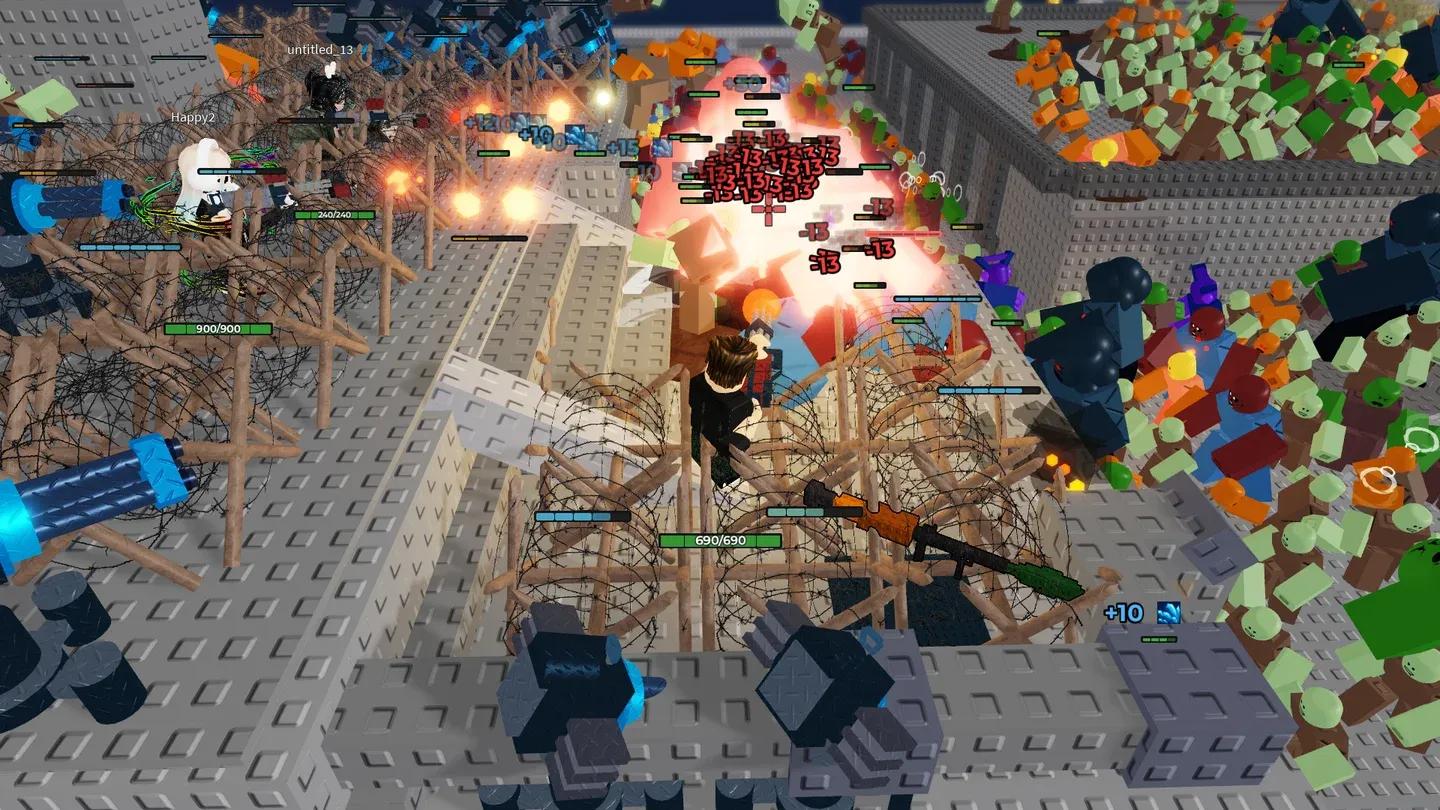
Barricade placed at chokepoint
| Support Item | Best Timing | Main Value | Misuse Pattern |
|---|---|---|---|
| Barricades | Before swarm-heavy waves | Slows pushes, buys reload time | Placing too early in low-pressure rounds |
| Auto Turrets | Mid and late waves with constant traffic | Passive sustained damage | Treating turret as main damage source |
| Landmines | Choke points right before flood waves | Burst group clear | Random placement away from pathing |
survivezombiearena.wiki guide एक clean decision rule प्रदान करता है: जब आपको breathing room की ज़रूरत हो तो barricade खरीदें, जब आपकी टीम को persistent lane damage की ज़रूरत हो तो turret खरीदें, और जब wave clumps को manually clear करने के लिए बहुत dense हो जाएं तो landmines खरीदें।
Solo vs team play: क्या बदलता है?
Roblox shooters के लिए Survive Zombie Arena में controls standard हैं। आप WASD से move करते हैं, Spacebar से jump करते हैं, number keys 1 से 4 से weapons बदलते हैं, Left Mouse Button से fire करते हैं, और Q, R, और E से gear deploy करते हैं।
Controls से परे, आपकी positioning strategy पूरी तरह से इस बात पर निर्भर करती है कि आप solo खेल रहे हैं या team के साथ।
Solo fundamentals:
- सीधे पीछे हटने के बजाय arcs में चलते रहें।
- कोनों से बचें जब तक कि आप उन्हें burst control के लिए brief में उपयोग न कर रहे हों।
- escape lanes बनाए रखने के लिए nearest threats को पहले clear करें।
- घिरने के बाद नहीं, बल्कि पहले rotate करें।
Team fundamentals:
- assist करने के लिए पर्याप्त करीब रहें लेकिन stacking damage से बचने के लिए पर्याप्त दूर रहें।
- lanes assign करें ताकि हर कोई एक ही door पर গুলি न चलाए।
- pressure spikes से पहले support gear placement को coordinate करें।
- एक ही target का पीछा करने के बजाय pressure share करें।
क्या faster progression के लिए waves skip करनी चाहिए?
Wave skipping, credit gains को accelerate कर सकता है क्योंकि बाद की waves ज़्यादा pay करती हैं, लेकिन survivezombiearena.wiki guide skip decisions को economy decisions के रूप में मानता है। एक failed skip attempt आमतौर पर एक slower, clean clear की तुलना में ज़्यादा progress cost करता है।
केवल तभी skip करें जब ये तीनों conditions true हों:
- आपका current wave clear पहले से ही comfortable है।
- Core weapons upgraded हैं और आपका loadout balanced है।
- spike control के लिए support gear उपलब्ध है।
अगर एक condition भी shaky है, तो skip करने से होने वाली density increase एक run को collapse कर सकती है जो अन्यथा अच्छा चल रहा था।
आपका पहला 30-मिनट session plan
Blindly जाने के बजाय, survivezombiearena.wiki progression guide से इस structured first session का उपयोग करें:
| Time Block | Focus | Outcome |
|---|---|---|
| 0 to 5 min | Set up loadout, enter run, test movement | Build comfort with spacing |
| 5 to 12 min | Farm early waves with minimal spending | Save credits for slot unlock |
| 12 to 18 min | Unlock stronger slot, add better weapon | Notice immediate DPS jump |
| 18 to 24 min | Buy selective support for pressure waves | Stabilize when swarms increase |
| 24 to 30 min | End run clean, return to hub, buy permanent upgrades | Stronger foundation for next match |
Random spending के बजाय उस cycle को repeat करें और आपकी progression curve तेज़ी से टाइट हो जाएगी।
अभी ठीक करने के लिए top mistakes
- Stronger weapon slots unlock करने से पहले early credits को utility पर खर्च करना।
- एक ही damage role वाले दो weapons carry करना।
- reloads के दौरान स्थिर खड़े रहना।
- टीम तैयार होने से पहले waves skip करना।
- Post-run permanent hub upgrades को पूरी तरह से ignore करना।
ये वही errors हैं जो players को कुछ sessions के बाद stuck महसूस करवाते हैं। इन्हें पहले ठीक करें, और बाकी का game काफी हद तक खुल जाएगा।
Roblox survival और action guides के लिए, हमारे Roblox guides collection को देखें जो wave shooters से लेकर open-world adventures तक सब कुछ कवर करता है। अगर आपको wave survival format पसंद है, तो Escape Tsunami For Brainrots beginner's guide एक और popular Roblox survival game को कवर करता है जिसमें explore करने लायक अपने progression systems हैं। Fast-paced Roblox action के fans को Blox Fruits beginner's guide भी कई games में काम आने वाली strong combat habits बनाने के लिए उपयोगी लग सकता है।