
ज्यादातर reagents badge 15 के आसपास आकर अटक जाते हैं। समस्या शायद ही कभी skill की होती है — यह strategy की है। The Outlast Trials में कुल 27 badges हैं जो सात categories में बंटे हुए हैं, और इनमें से कई के लिए या तो specific co-op coordination चाहिए, या फिर obscure cumulative stat thresholds, या फिर ऐसे grinding actions जो normal play के दौरान पूरी तरह invisible लगते हैं। इन सभी को पूरा करने पर आपको Sleep Room में Director's office पर tradeable rewards मिलते हैं, जिसमें bonus XP और exclusive cosmetics शामिल हैं। यह guide हर badge, हर category के लिए सबसे efficient farming methods, और उस burnout से बचने का तरीका बताती है जो ज्यादातर completionist runs को खत्म कर देता है।
इतने सारे badges को पूरा करना इतना मुश्किल क्यों है?
छोटा जवाब: game सब कुछ account-bound cumulative stats के जरिए track करता है, और ज्यादातर players को पता ही नहीं होता कि specific counters पर वे कितने पीछे हैं जब तक कि वे check न कर लें। 10 घंटे night vision में बिताए? वह Tapetum Lucidum badge है। 200 medicines consume कीं? Hypochondriac। कुल 10,000 health points खोए? Hemophiliac। इनमें से कोई भी milestone normal run के दौरान खुद को announce नहीं करता।
तीन patterns के कारण ज्यादातर badge stalls होते हैं:
- Utility spam को ignore करना। अगर आप हर run में active तौर पर अपना Rig use नहीं कर रहे, bricks नहीं फेंक रहे, और batteries consume नहीं कर रहे, तो आपके lifetime action counts शायद ही बढ़ते हैं।
- सिर्फ solo खेलना। तीन badges — Together We Are Strong, Sawbones, और Crowd Control — co-op partner के बिना पूरे नहीं किए जा सकते। इसका कोई workaround नहीं है।
- Objectives के लिए जल्दबाजी करना। toolboxes, medical cabinets को loot किए बिना या throwables उठाए बिना सीधे exit की तरफ भागने से collection-based badges पूरी तरह stagnant रह जाते हैं।

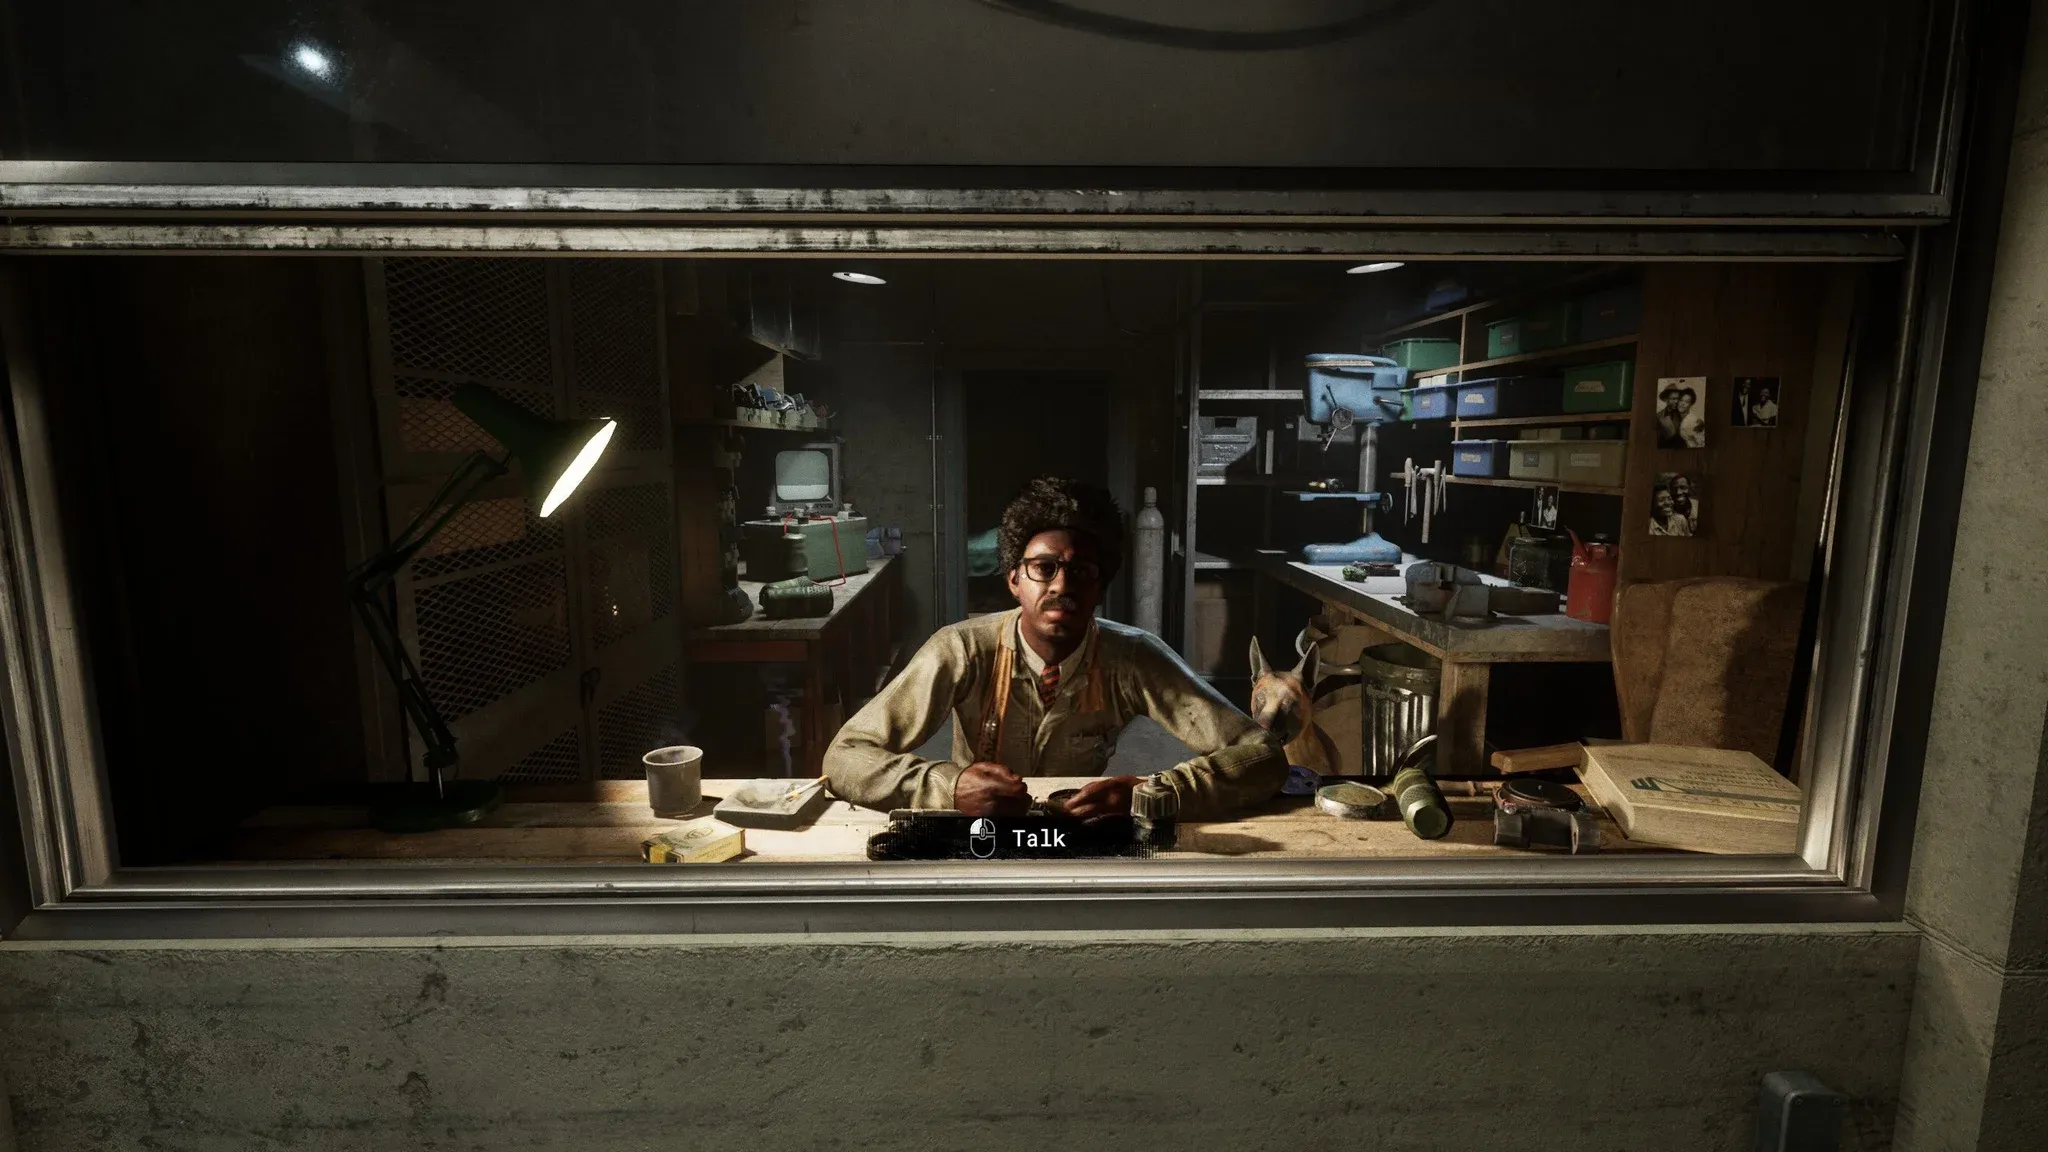
Director के पास badges trade करें
सभी 27 badges category के अनुसार
Exploration और looting badges
Big Saver के लिए 15 evidence documents collect करने की जरूरत होती है, जो हर trial में shelves और tables पर randomly spawn होते हैं। environmental clutter के बीच बिना manual search में समय बर्बाद किए उन्हें spot करने के लिए X-Ray Rig equip करें।
Sleight of Hand में कुल 100 container unlocks चाहिए। हर toolbox और medical box जो आपको दिखे उसे खोलें, और jammed वालों पर lockpicks का use करें। अगर आप containers को skip करना बंद कर दें, तो यह अपने आप accumulate हो जाता है।
Hoarder कुल 1,000 item pickups को track करता है। हर battery, throwable, और consumable जो आपको मिले उसे उठाएं। फर्श पर कुछ भी न छोड़ें।
Utility और Rig mastery badges
इस category में पूरी list के सबसे ज्यादा समय लेने वाले badges शामिल हैं।
Mechanophiliac के लिए 100 Rig uses चाहिए। X-Ray Rig का cooldown बहुत कम होता है, जो इसे इस counter को जल्दी spam करने के लिए सबसे अच्छा option बनाता है।
Power Surge 100 battery uses को track करता है। power को जल्दी drain करने के लिए night vision को active रखें, फिर हर run के दौरान shelves और toolboxes से batteries उठाएं और consume करें।
Toastmaster के लिए 50 Rig recharger uses चाहिए। toolboxes के अंदर leather-pouched battery rechargers ढूंढें और जब भी आपका Rig cooldown पर हो, उन्हें consume करें।
Tapetum Lucidum इस category का सबसे लंबा grind है: 36,000 cumulative seconds (10 पूरे घंटे) का night vision use। जब भी आप अंधेरे corridors में explore कर रहे हों, अपने goggles को active रखें, और यह counter अंततः पूरा हो जाएगा।

Night vision batteries को जल्दी drain करता है
Combat, throwables, और crowd control badges
Bullseye के लिए throwables से 50 headshots चाहिए। Bricks यहाँ सबसे अच्छा tool हैं क्योंकि हर brick दो बार hit कर सकती है। सीधे Ex-Pops या Prime Assets के सिर पर aim करें।
Major League Player दुश्मनों पर कुल 100 throwable hits को track करता है। कोई भी brick या bottle जो लग जाए, वह count होती है, चाहे वह कहीं भी लगे।
Bamboozler के लिए 50 enemy distractions चाहिए। यहाँ मुख्य अंतर यह है कि आपको दुश्मन के पास फेंकना है ताकि उनकी investigation response trigger हो, न कि उन्हें सीधे hit करना है।
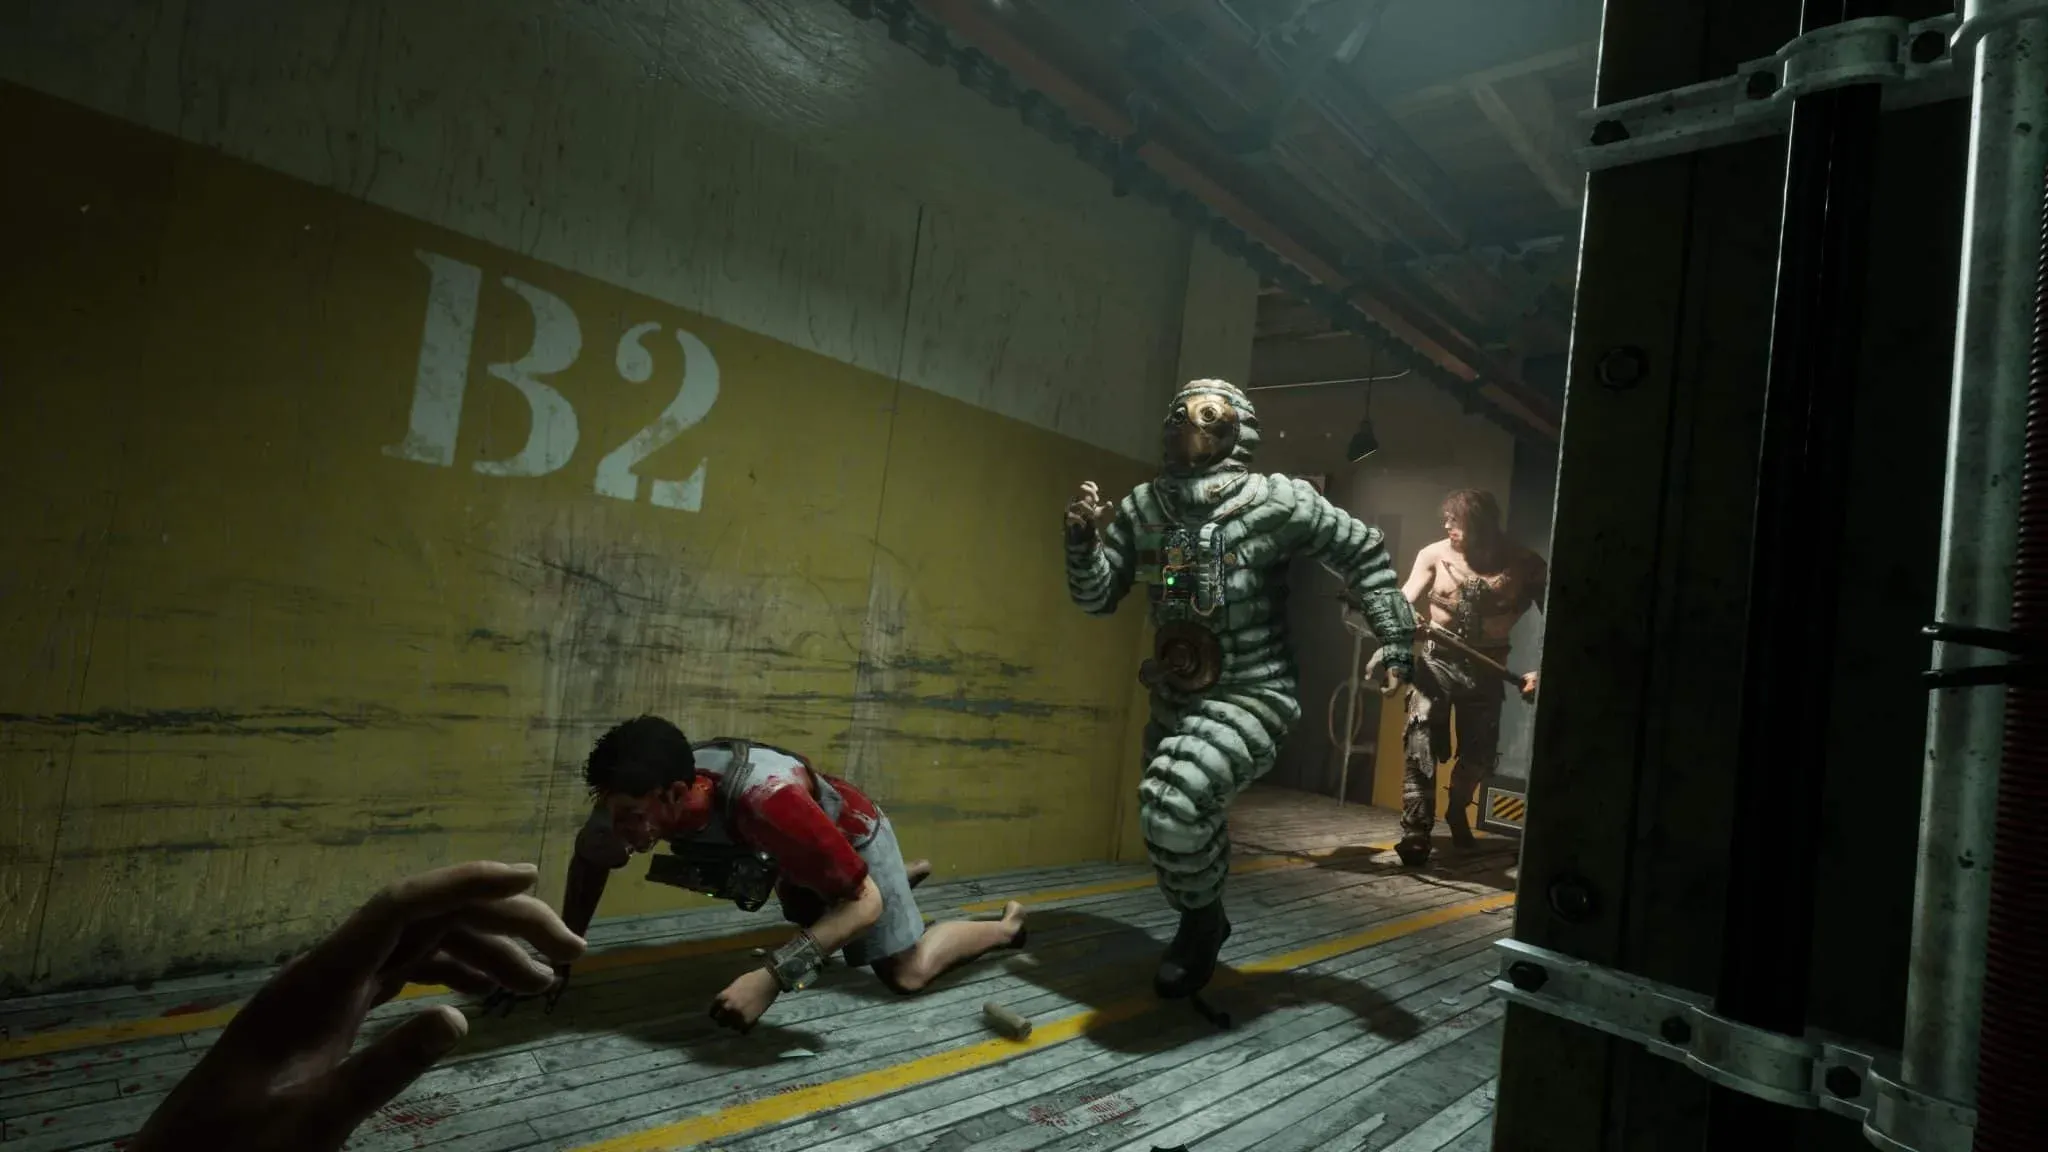
Crowd Control के लिए 50 co-op enemy kicks चाहिए। एक दोस्त के साथ खेलें, किसी Pusher को उन्हें पकड़ने दें, फिर दुश्मन को kick मारकर हटा दें। यह आपके co-op farming sessions के साथ बहुत अच्छे से काम करता है।
Survival, healing, और psychosis badges
Hypochondriac के लिए 200 medicines consume करना जरूरी है। traps या दुश्मनों से damage लें, फिर medical cabinets से bandages और health bottles के साथ heal करें। इसे Hemophiliac (कुल 10,000 health points खोना) के साथ pair करने से दोनों badges एक साथ progress करेंगे।
Breathe in 100 antidote uses को track करता है। antidotes को stack करें और Trip Mines पर पैर रखने या Pushers द्वारा spray किए जाने के तुरंत बाद उन्हें consume करें।
Vision Quest के लिए full psychosis में 600 cumulative seconds चाहिए। सबसे भरोसेमंद तरीका: Introductory difficulty पर Sabotage the Lockdown load करें, किसी Pusher को spray करने दें, health कम होने तक दौड़ें, antidote use करें, और इस cycle को repeat करें।

Psychosis timer Vision Quest के लिए count होता है
Movement और stealth badges
Chicken in a Pot 100 hiding spot uses को track करता है। lockers, barrels, और storage chests के अंदर-बाहर कूदें। एक छोटे Introductory trial पर प्रति run पच्चीस entries चार sessions में इसे पूरा कर देती हैं।
Slip and Slider के लिए 120 cumulative seconds की sliding चाहिए। Nurse से Slide prescription खरीदें, फिर sprint करें और बार-बार slide करें। एक बार prescription मिलने के बाद दो मिनट का कुल समय कोई बड़ी बात नहीं है।
Marathoner 3,600 seconds (60 cumulative minutes) की running को track करता है। normal runs के दौरान progress को तेज करने के लिए stamina boosters का use करें।
Hunchback के लिए भी 3,600 cumulative seconds चाहिए, लेकिन crouch होकर। crouch speed को 30% से बढ़ाने के लिए Incognito Medicine AMP equip करें, जिससे इसे grind करना बहुत कम थकाऊ हो जाता है।
Doors, traps, और environmental badges
Trigger Happy के लिए 50 door trap disarms चाहिए। booby-trapped doors को उनकी लाल warning light से पहचानें, उन्हें धीरे से दूसरी तरफ खोलें, और wire को disarm करें।
Anger Issues के लिए 50 locked doors को तोड़ना जरूरी है। handle के ऊपर latch का use करके दरवाजा lock करें, फिर उसे तब तक मारें जब तक वह टूट न जाए। Repeat करें।
Together We Are Strong 50 co-op moves को track करता है — teammates को ledges पर खींचना, garage doors उठाना, एक साथ gaps पार करना। कोई भी team action count होता है।
Sawbones के लिए 50 co-op revives चाहिए। एक दोस्त के साथ Introductory difficulty पर खेलें, उन्हें knock down होने दें, और उन्हें revive करें। इसे Get Down (50 बार knock down होना) के साथ pair करें ताकि दोनों players एक साथ progress कर सकें।
Trial completion और milestone badges
Glutton for Therapy के लिए कुल 25 trials पूरे करने की जरूरत है। Sabotage the Lockdown जैसे fast MK-challenges इसे पूरा करने का सबसे तेज तरीका हैं।
Can't Touch This के लिए 10 damage-free trial completions चाहिए। Sabotage the Lockdown को Introductory difficulty पर 10 बार खेलें और हर दुश्मन के hit और trap से बचें। सबसे कम difficulty पर यह वाकई सीधा-सादा है।
Completionist Grand Master तब unlock होता है जब बाकी सभी 26 badges मिल जाते हैं।

25 trials से यह badge मिलता है
Grind के दौरान burnout से कैसे बचें?
जो badges completion runs को बर्बाद करते हैं, वे वो हैं जिन्हें players एक ही session में पूरा करने की कोशिश करते हैं। तीन घंटे सिर्फ lockers के अंदर-बाहर कूदने में बिताने से game छोड़ने का मन पक्का हो जाता है।
एक बेहतर तरीका: अपने regular trial runs के दौरान track करने के लिए एक या दो background badges चुनें। Marathoner और Hunchback को normal खेलते हुए passively accumulate होने दें। active grinds (जैसे Tapetum Lucidum या Hemophiliac) को specific goal के साथ dedicated short sessions के लिए बचाएं, फिर रुक जाएं।
co-op badges के लिए, ऐसा partner ढूंढें जो खुद भी completion की तलाश में हो। Introductory difficulty पर revives और co-op moves को trade करने में लगभग 30 से 45 मिनट लगते हैं, अगर दोनों players efficiently coordinate करें तो तीनों team-based badges clear हो जाएंगे।
अक्सर पूछे जाने वाले सवाल
क्या badges achievement unlock के अलावा rewards देते हैं? हाँ। हर पूरे किए गए badge को Sleep Room में Director's office पर in-game XP और exclusive cosmetic rewards के लिए turn in किया जा सकता है। Director ही एकमात्र जगह है जहाँ इन्हें claim किया जा सकता है।
क्या सभी badges सबसे कम difficulty पर कमाए जा सकते हैं? ज्यादातर कमाए जा सकते हैं। Can't Touch This और Vision Quest जैसे खतरनाक या precise badges की farming के लिए Introductory difficulty ही recommended setting है। game badge progress पर कोई difficulty restriction नहीं लगाता।
क्या completion badges के लिए एक ही trial को replay किया जा सकता है? बिल्कुल। Sabotage the Lockdown को अनिश्चित काल तक repeat किया जा सकता है, और हर run trial completion totals, container openings, और item collection milestones के लिए count होता है।
game के हर पहलू पर और अधिक strategies के लिए, The Outlast Trials strategy guides collection में builds, rankings, और progression tips विस्तार से दी गई हैं। यदि आप psychological horror और co-op survival formula का आनंद लेते हैं, तो व्यापक adventure games space में explore करने के लिए बहुत कुछ है।