
Killer Bean launched on Steam on June 8, 2026 as a free-to-play FPS roguelite, and its first few hours will punish you if you go in without context. Two separate energy bars, four skill trees that pull in opposite directions depending on the mode you're playing, a slow-motion dive that completely changes how boss fights feel, and a Conquest mode that most players ignore until Campaign starts feeling repetitive. None of this gets explained upfront. This guide covers what the game expects you to figure out on your own, so you can skip the painful learning curve.
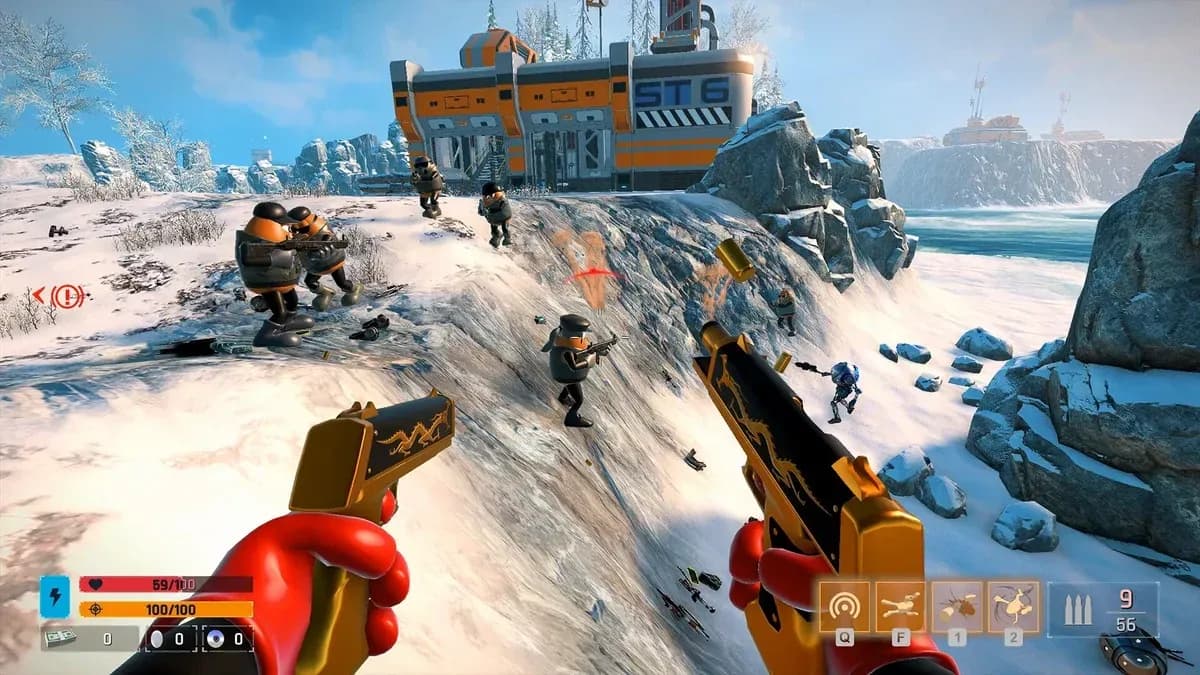
Killer Bean weapons starting loadout
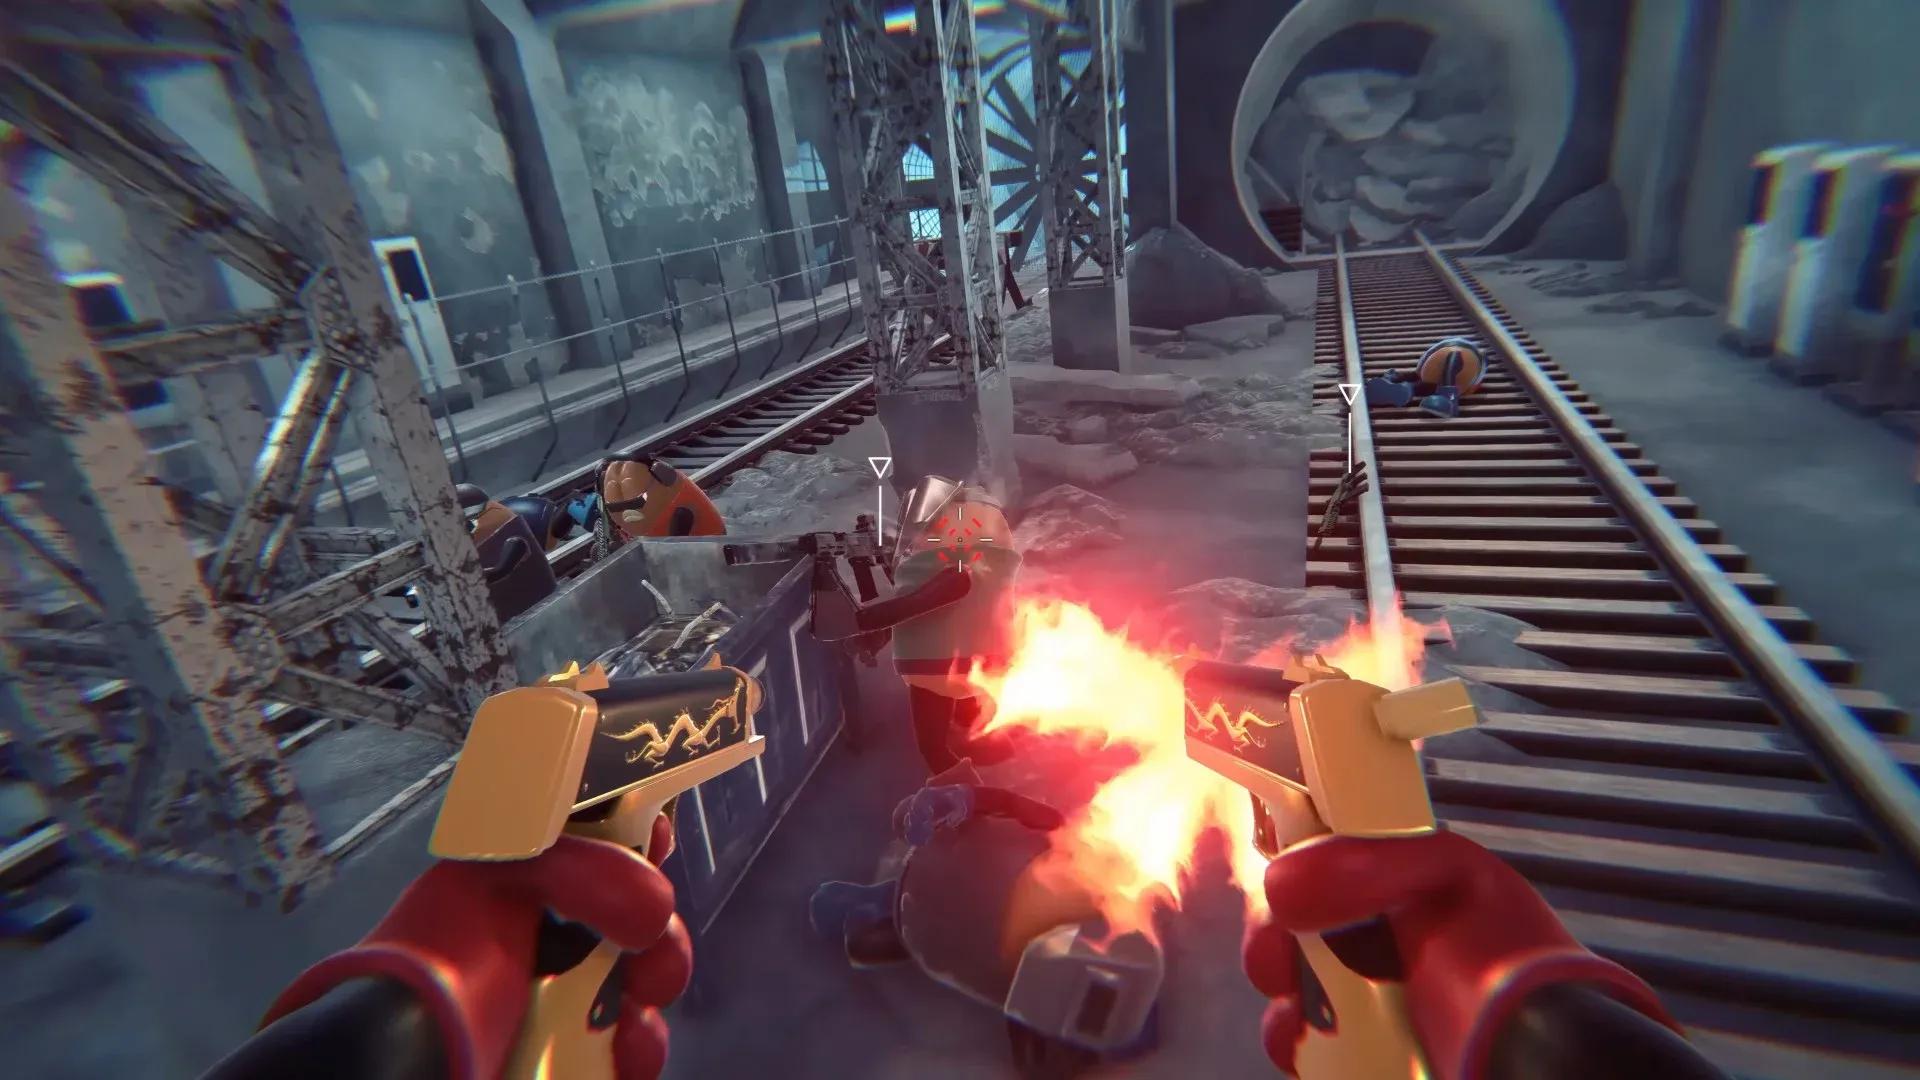
Why the dual pistols are better than you think
The game hands you dual pistols at the start and they have infinite ammo. Every instinct tells you to swap them out the moment something better appears. Resist that instinct. After testing them through the full campaign, the dual pistols hold up as a primary weapon all the way to the end credits. Competitive damage per shot, zero reload pressure during extended firefights, and no ammunition management to worry about.
Weapons like the shotgun, the KRG-25 Assault Rifle, the grenade launcher, and the rocket launcher are situational tools, not straight upgrades. The rocket launcher is excellent in the enclosed interiors of Mission 2, but the dual pistols handle the majority of open-island encounters without burning your limited supply of heavier rounds. Save the special ammo for tight spaces and boss phases where burst damage matters. The pistols cover everything else.
How do the two energy bars work in Killer Bean?
This catches new players mid-fight more than any other mechanic. Killer Bean runs two completely separate energy systems, and they drain independently.
The regular energy bar covers movement, including the double jump. Each double jump costs 5 energy. In a long fight where you're constantly repositioning vertically, that drains faster than the bar suggests at a glance.
The special move energy bar powers three abilities: Breakdance (area-of-effect attack), Bullet Time, and Sonar. It does not regenerate during combat the same way the regular bar does. Sonar pings enemy positions through walls before you enter a room, which is genuinely useful for scouting flanking routes, but every use pulls from the same pool as Bullet Time.
Knowing which bar you're burning is the difference between running out of double jumps mid-firefight and arriving at a boss with no Bullet Time left.
What makes the dive ability so effective against bosses?
The dive triggers slow-motion during a free-fall. Time slows while you aim and fire, giving you a clean window to place multiple shots before the effect ends. Structure every major boss encounter around dive windows and the fights become significantly more manageable.
Three bosses where this matters most:
- Warlord (Mission 3): The first boss where dive shifts from optional to necessary. Dive in, slow time, fire your clip, reposition. Fighting Warlord without dive is a war of attrition that runs out of your resources before his.
- Bullet Eyes (Mission 7): Same approach, different terrain. Diving during the platform ascent gives you stable firing windows on a target that moves unpredictably in normal movement speed.
- Monitor (Mission 9, three phases): Phase 2 adds shoulder grenade launchers. Phase 3 shifts to a flying form with tentacles. Dive gives you the reaction time to place shots during phase transitions. Phase 3 without it is a different difficulty tier entirely.
Practice the dive timing on regular Bad Beans before a boss forces you to learn it under pressure. The timing feels different from standard movement and the muscle memory takes a few encounters to lock in.
Which skill tree should you prioritize first?
Killer Bean has four skill trees: Guns Blazing (ranged), Melee (close combat), Parkour (movement), and Stealth (concealment). For a first Campaign run, put every early skill point into Guns Blazing.
Most combat happens at range. Melee currently has hitbox registration issues that the developer has acknowledged, with plans to redesign it from hitbox to raycast detection, so it's not in a reliable state. Stealth works for specific approaches but isn't a primary damage path in Campaign. Parkour becomes more useful in the second half when biome traversal gets complicated, but it's not where you need early investment.
Two or three Guns Blazing upgrades before Mission 4 will noticeably smooth out the damage curve. After that, add Parkour for the movement improvements. Stealth is worth considering only if you're specifically targeting Conquest mode.
Guns Blazing skill tree priority
How is Conquest mode different from Campaign?
Conquest puts you on a procedurally generated island where you join one of four factions: Bad Beans, Mercenaries, Pirate Commandos, or Shadow Troops. Your faction determines allies and targets, and the island objectives differ entirely from Campaign missions.
Stealth pays off in Conquest in a way it doesn't in Campaign. Faction-controlled islands reward entering enemy zones undetected before clearing them, which is exactly what the Stealth tree is built for. A build that feels underpowered through Campaign's linear firefights can be genuinely well-suited to Conquest's infiltration structure.
If you're running both modes, keep separate skill priorities in mind. They pull in different directions and treating them as one unified build will leave you underperforming in at least one of them.
Five things that will save you a run
Don't fire inside the shop. Between missions, you visit a vendor to buy weapons and upgrades using money or eggs. Firing a weapon inside triggers a security response and locks you out of purchases for that visit. The shoot button is your primary interaction throughout the game and new players have done this by muscle memory more than once.
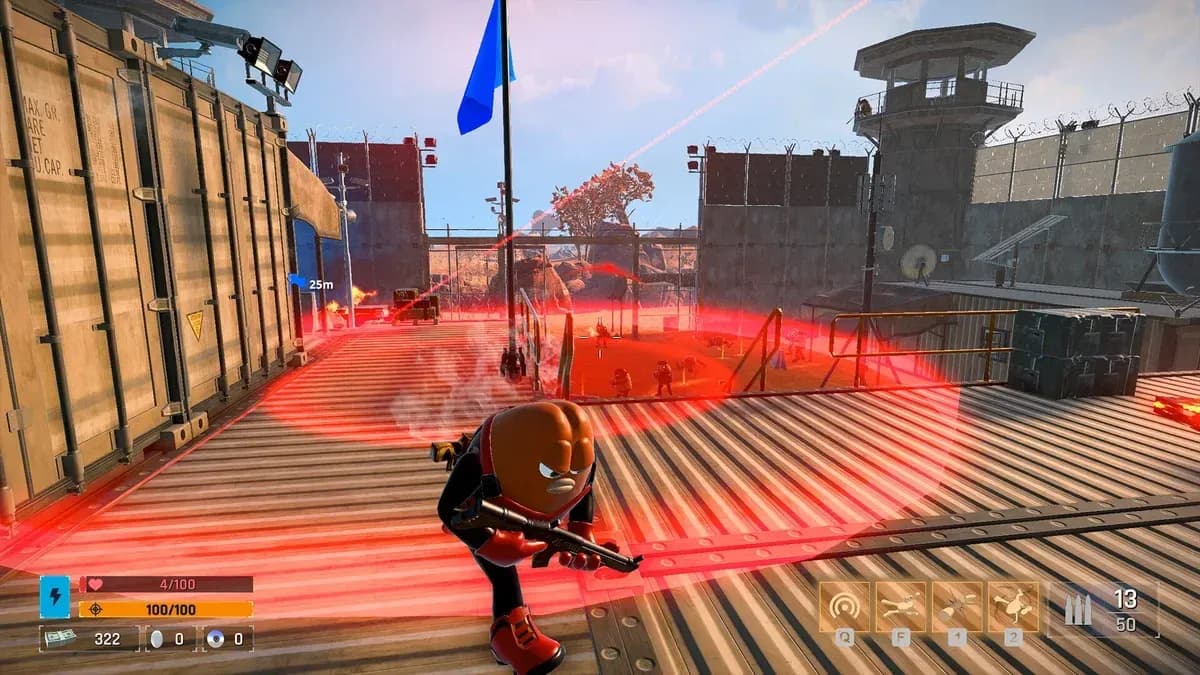
The Overseer (Mission 5) has surge armor. You can't damage it directly. Lure the Overseer to one of the power generators on the map and shoot the generator to overload the protection. Once the surge armor is stripped, standard weapons connect normally. There's also a laser-dodge section on the control panel walkway during the disarming phase. Plan your movement through the generator room before engaging.
Get close before firing RPGs at helicopters. Enemy aircraft appear from Mission 2 onward and look dangerous from range. At close range, splash damage and direct hits are reliable. From long range, projectile drop combined with the helicopter's movement makes consistent contact difficult. Mission 4 reverses this: Toy Maker sends explosive vehicles toward you instead of helicopters. Don't close the distance on those. Shoot them before they reach you.
Every mission has two parts. Completing the objective doesn't end the mission. Mission 1 makes this explicit: you recover the car, then a helicopter boss spawns. That two-part structure runs through the full campaign. Each mission has a retrievable objective (hard drive, override key, target computer) and a combat gate that activates once you secure it. Check your ammo before triggering the final objective. Ammo crates sit in safezones and refill between phases. They're easy to walk past when the objective is right there.
Permadeath was removed on June 11, 2026. Killer Bean Studios pulled it three days after launch after the community responded poorly to losing campaign saves on death. Progress now persists across runs regardless of how many times you die, which changes the risk calculus on aggressive plays considerably.
Weapon and enemy tier quick reference
For more strategies and deep dives into the game's systems, the full Paradise Killer page shows how investigation-driven games handle procedural storytelling differently, which is useful context if you enjoy Killer Bean's narrative twists. If you're building out your knowledge of the genre, the puzzle games genre page covers titles that share Killer Bean's emphasis on environmental problem-solving, particularly relevant for the Overseer fight in Mission 5.
Killer Bean's roguelite structure rewards players who treat each run as a systems problem rather than a reflexes test. Understand the loot tiers, protect your special move energy bar, and structure every boss fight around dive windows. The dual pistols will carry you further than anything you pick up off the ground. Check the full Paradise Killer guides collection for more examples of how procedural games reward systemic thinking over brute force approaches.