
The Research and Development contract is a Season 2 addition to Marathon that asks you to do two things in a single run: hunt down a Hazardous Transport Drone in Dire Marsh (Night), pull the Anomaly Specimen from its wreckage, and then deliver that specimen to a DCON terminal before extracting. Neither task is complicated on its own, but the drone fight has a real failure condition that catches solo players off guard. Here's exactly what to do.
What are the Research and Development contract tasks?
The contract breaks down into two sequential objectives:
- Acquire Anomaly Specimen from a Hazardous Transport Drone
- Deliver Anomaly Specimen to DCON
Both must be completed in a single run. You do not need to extract successfully for the contract to count, which takes some pressure off the back half.
The Research and Development contract is only available in Season 2. Make sure you have it activated before dropping in, or the drone kill won't register.
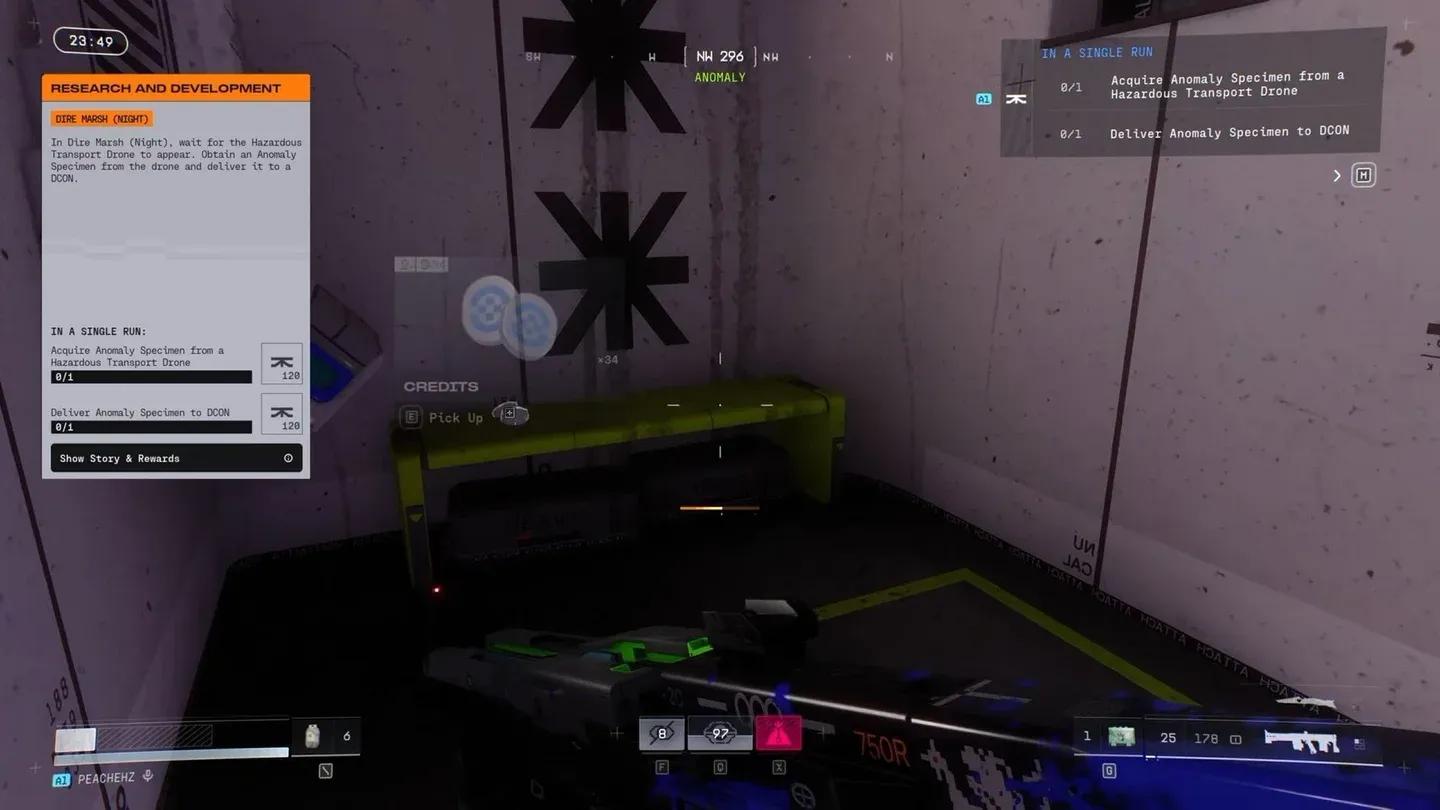
Research and Development objectives
How to acquire the Anomaly Specimen from a Hazardous Transport Drone
Choosing your loadout and mode
Drop into Dire Marsh (Night). The PVE-focused mode is worth considering here because the contract requires you to focus fire on a moving drone target, and reducing player-versus-player pressure makes that significantly easier. Squad fill is also a smart call: the drone has an escape mechanic that triggers if you can't deal enough damage fast enough, and a full party suppresses that cleanly.
If you're running solo, the Hazardous Transport Drone can teleport to a new location when its health drops low enough. You may end up chasing it across the map. Bring squadmates if you want a clean first attempt.
Waiting for the drone notification
Once you're in the run, survive the first three minutes. After that window passes, a notification appears on screen and the drone's location gets marked on your map. Look for the contract symbol on the minimap; the spawn point changes each run, so don't rely on memory from a previous attempt.
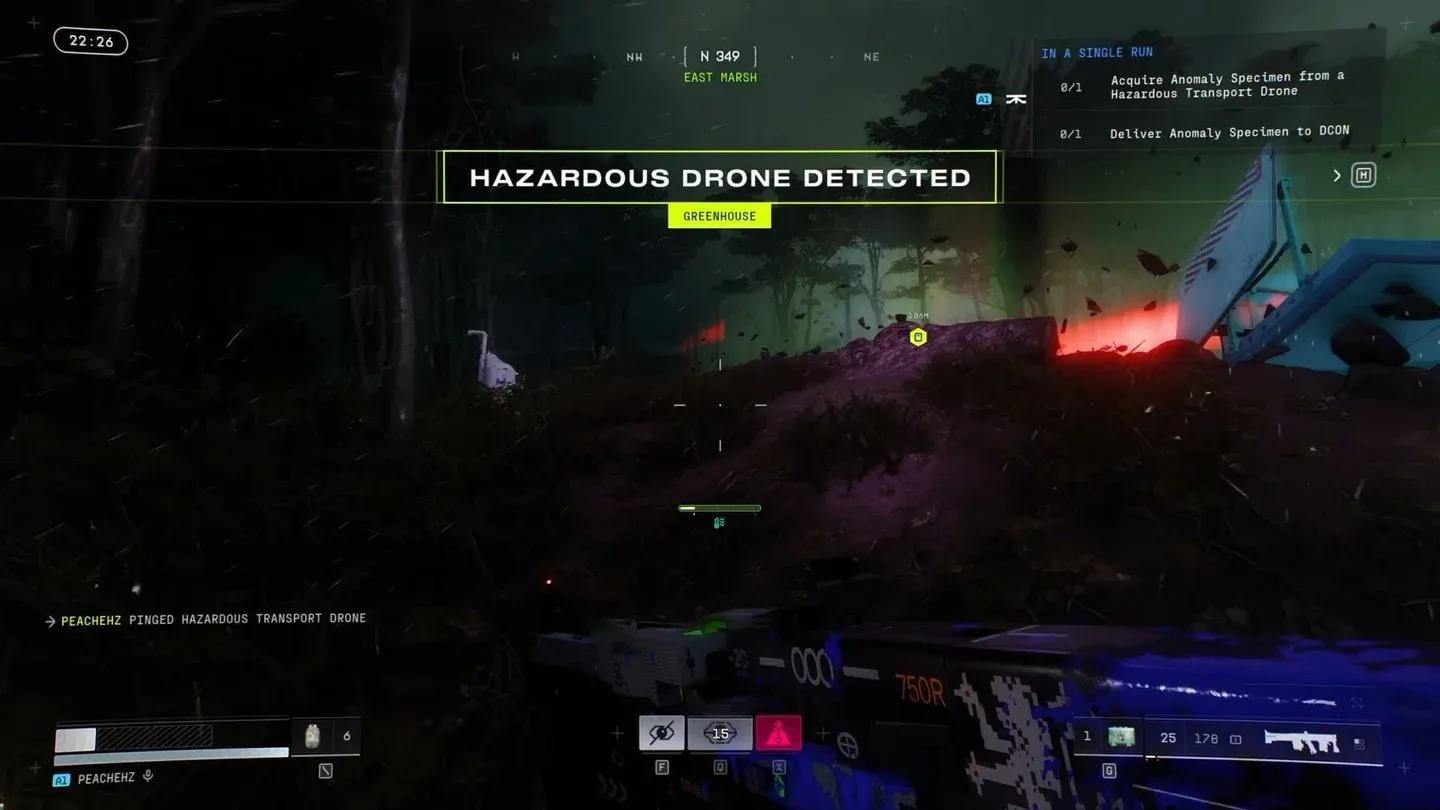
Drone location on map
Taking down the drone
Approach the marked location and open fire. The goal is to destroy it before it can teleport. With a full squad, this is straightforward. With fewer players, concentrate all damage quickly and don't let up. Once it drops, loot the wreckage. The Anomaly Specimen will be among the dropped items.
Move the Anomaly Specimen into your backpack to complete the first task. Leaving it on the ground does not count.
The drone also drops other resources when it goes down. Grab what you can while you're looting, since you're already in a good position to stock up before heading to DCON.
How to deliver the Anomaly Specimen to DCON
With the specimen secured, navigate to any DCON terminal on the Dire Marsh map. DCON locations are marked with their own icon on the map, so pull it up and head to the nearest one.
Delivering specimen to DCON
Once you reach the terminal:
- Interact with the DCON to open the transfer menu
- Add the Anomaly Specimen to the transfer
- Wait a few seconds for the transfer to complete
The contract registers as complete the moment the transfer finishes. You don't need to extract from the run for it to count, so even if things go sideways after the delivery, the reward is already locked in.
Tips for a clean run
- Use squad fill. The drone's teleport escape is the main failure point. More guns means faster kills and no chase.
- Don't rush the first three minutes. The drone notification only appears after that timer, so play defensively early and gear up.
- Secure the specimen immediately. Move it to your backpack right after looting the drone wreckage. Leaving it on the ground is a common mistake.
- DCON terminals show on the map. No need to memorize locations; the icon is visible once you open your map.
You don't need to escape after delivering the specimen. If you're in a tough spot after the DCON interaction, you can prioritize survival or just accept the death. The contract reward is already yours.
What else should you be doing in Dire Marsh?
While you're already running Dire Marsh for this contract, there's no reason to waste the trip. The map has a fair amount going on beyond this single objective. If you're working through multiple faction contracts, check out the Marathon Return on Investment 3 contract walkthrough for another run you can potentially stack objectives into. If you're still building up your faction standing to unlock better gear, the Marathon factions guide covering how to unlock all factions and rank up fast is worth reading before your next drop.
For everything else the game has to offer, the full Marathon strategy guides collection has walkthroughs for every major contract and system currently in the game.