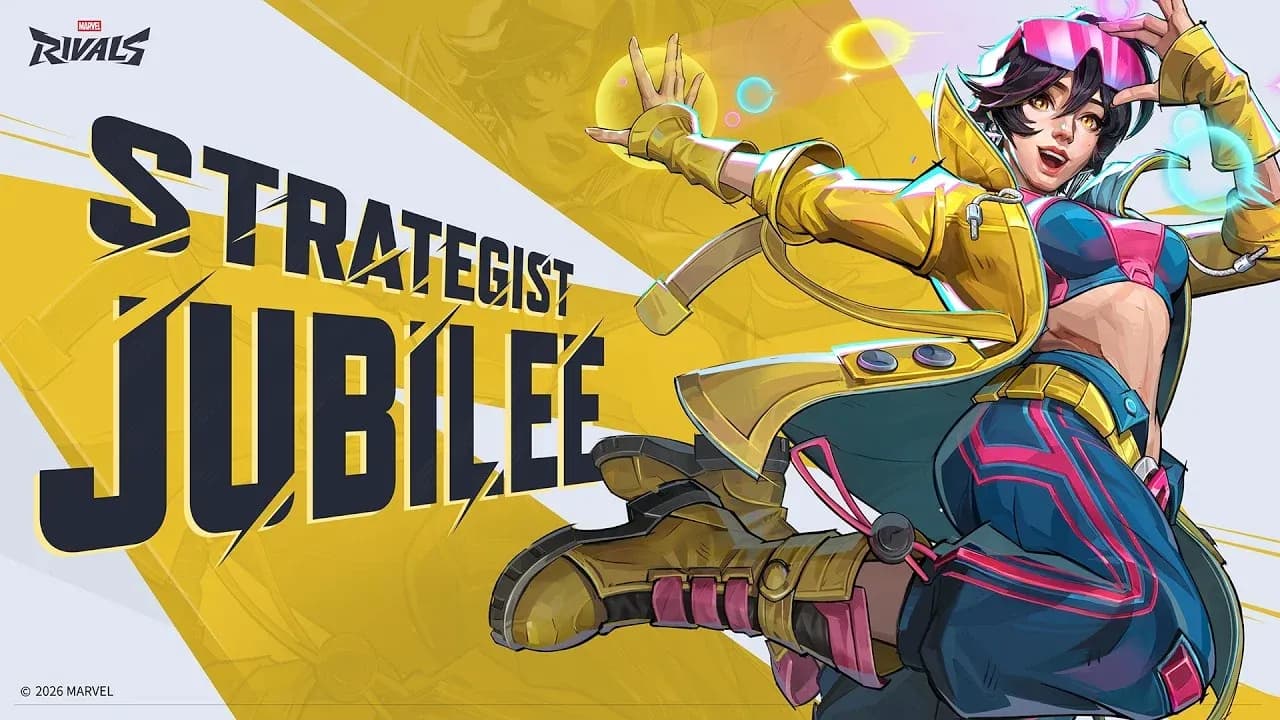

Jubilee arrives in Marvel Rivals Season 9 as the Horseman of Famine, carrying the most mechanically demanding Strategist kit the game has seen so far. Her 4-star difficulty rating is not a warning to scare off casual players; it is a promise that the players who figure out her rhythm will carry games in ways other supports simply cannot. At 275 HP with no hard escape tool, she lives and dies by her ability cycling. Get it right and she becomes a constant source of burst healing, crowd control, and surprising damage. Get it wrong and she is just a squishy target with pretty fireworks.
What makes Jubilee different from other Strategists?
Most Strategists in Marvel Rivals operate on a simple loop: heal, reposition, repeat. Jubilee runs on something closer to a combo system. Her primary fire, Energy Plasmoids, deals 10 damage per hit to enemies and 14 healing per hit to allies at a fire rate of 8 rounds per second. Those numbers are fine on their own, but they become exceptional once you layer in the Sparkle Mark passive.
Sparkle Marks are applied when you land Dazzling Detonation or trigger Firework Finale. Shooting a marked target with Energy Plasmoids detonates the mark, granting nearby allies a 20% Healing Boost for 3 seconds, giving them Bonus Health, and dealing a one-time 25 burst damage to the enemy. The other critical detail: detonating a Sparkle Mark auto-refills your ammo to full, so a player who chains marks correctly never reloads.
This is the core loop everything else feeds into. Every ability in Jubilee's kit exists either to set up Sparkle Marks or to buy you the time and space to exploit them.

Marvel Rivals Jubilee Guide: Abilities, Tips & Best Team Comps


All Jubilee Abilities
| Ability | Input | Cooldown | Key Stats |
|---|---|---|---|
| Energy Plasmoids | Left click (Primary) | 48 rounds, reload | 10 dmg / 14 heal per hit, 8/s fire rate |
| Blooming Ball | Right click (Secondary) | 2 charges | Tracking orb; grows with hits; manually recall with F |
| Sparking Sprint | L.Shift | 4 seconds | 40% speed boost; increased jump height; free Energy Plasmoids during duration |
| Dazzling Detonation | E | 12 seconds | Applies Blind and Vulnerability to enemies OR transfers healing and Speed Boost to an ally |
| Sparkle Mark | Passive | N/A | 20% Healing Boost for 3s; 25 burst damage; auto-reloads ammo on detonation |
| Firework Finale | Q (Ultimate) | Charge-based | 10s duration; inner radius 6m / outer radius 10m; 150 healing/s; 20 damage/s; clusters deal 25 per hit |
Energy Plasmoids
Your primary fire is a hitscan-style projectile that simultaneously damages enemies and heals allies in front of you. The healing numbers per shot are modest, so do not fall into the trap of holding left click and hoping for the best. The real power comes when Sparking Sprint activates your rapid-fire state, turning Energy Plasmoids into free shots with boosted attack speed. During that window, your healing and damage output jumps dramatically.
Blooming Ball
This tracking orb is the most active tool in Jubilee's kit and the one that separates good players from great ones. Launching it into a grouped fight maximizes targets hit, speeds up the charge rate, and builds ultimate meter faster. You can also shoot the orb itself to increase its size and healing radius.
The recall mechanic is where most players leave value on the table. Retrieving the orb before it expires resets the cooldown without burning a charge, meaning you can cycle it repeatedly in short fights. One important note: recalling the orb does not retain its charge level, but it does retain the ability to detonate immediately on the next deploy.
When using Blooming Ball to heal allies, shoot at the ground or a wall near them rather than directly at them. Allies have no collision box for the orb, so angling your shots is the practical way to maximize the healing radius.
Sparking Sprint
The 4-second cooldown makes this ability feel almost spammable in low-pressure situations. In poke-heavy matchups, using it off cooldown to trigger rapid-fire uptime is correct. In dive-heavy matchups, hold it. The knockback field it generates on completion can punish a Spider-Man or Black Cat who commits to a dive, and the increased attack speed gives you a real chance to pressure them into retreating rather than just running away.
The jump height increase is also worth noting. Jubilee has more vertical mobility than most Strategists, and Sparking Sprint amplifies that. Getting to high ground between engagements is a legitimate positioning tool.
Dazzling Detonation
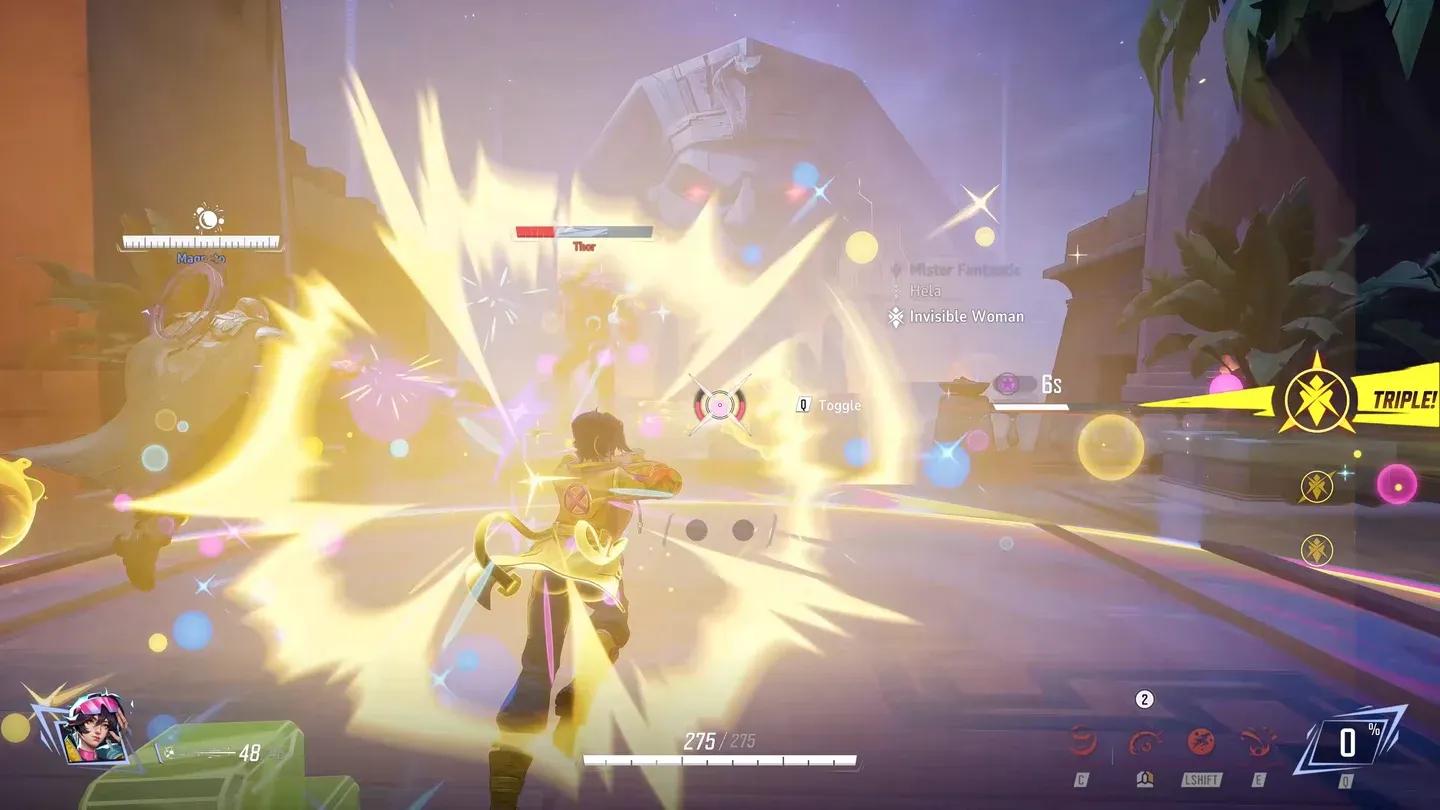
At 12 seconds, this is Jubilee's longest cooldown and the ability you need to respect the most. Detonating on an enemy applies Blind and Vulnerability, which is the only way to place a Sparkle Mark outside of your ultimate. The Vulnerability debuff makes the target take increased damage, which pairs well with teammates who can follow up immediately.
The alternative use, transferring energy to an ally, grants them healing and a Speed Boost. This is situationally useful for peeling a dive off a teammate or getting your tank back into a fight quickly, but it does not apply a Sparkle Mark. Because Sparkle Mark cycling is central to Jubilee's damage and healing output, detonating on an enemy is almost always the higher-value play.
The rotation to keep in mind: deploy Blooming Ball, detonate with Dazzling Detonation, use Sparking Sprint, deploy second Blooming Ball, dash again, detonate again. Repeat. This keeps your rapid-fire state active as much as possible.
Dazzling Detonation in action
How does Firework Finale work?
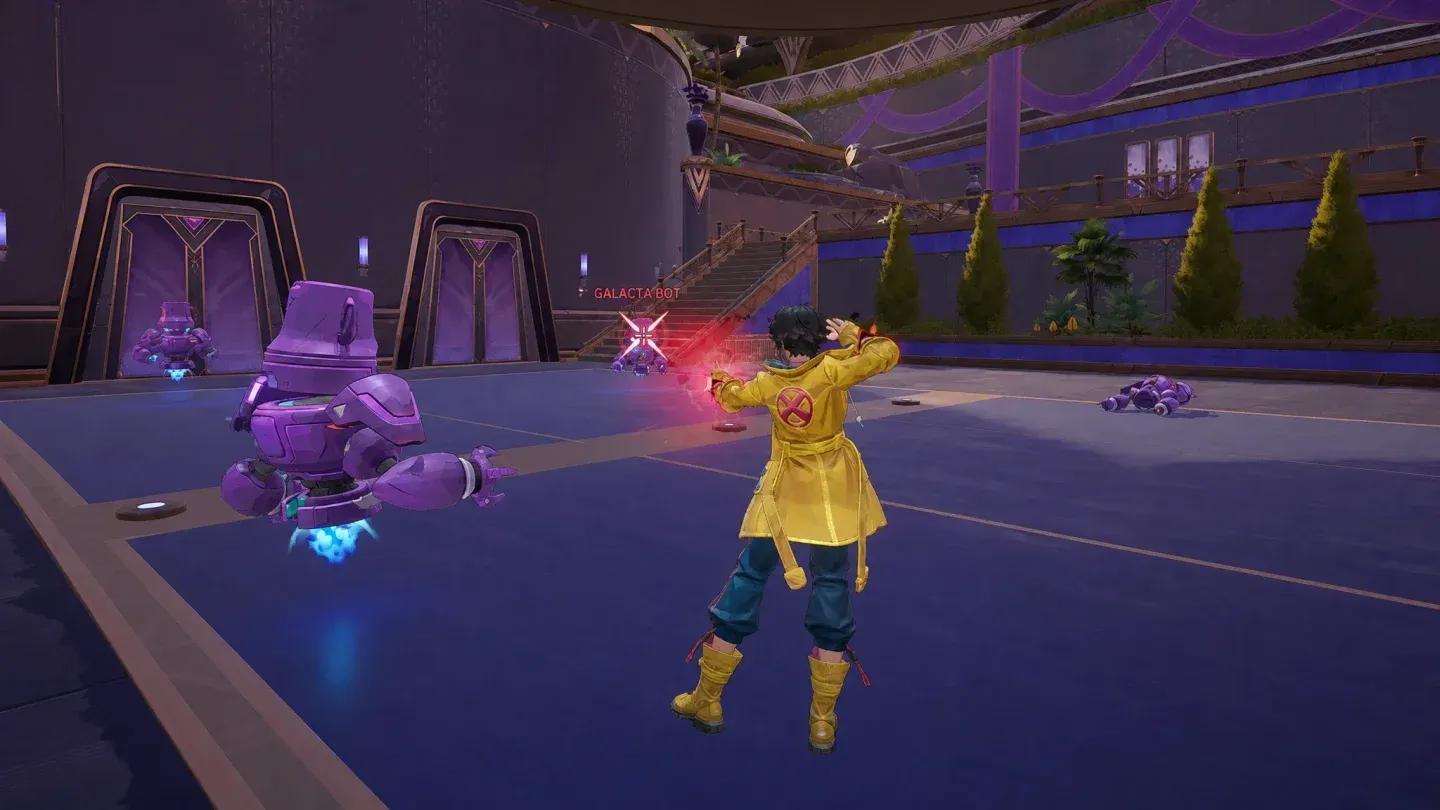
Jubilee's ultimate launches a ring of firework clusters outward, knocking back nearby enemies on activation, then keeps those clusters orbiting around her for 10 seconds. The field heals allies at 150 per second and deals 20 damage per second to enemies inside it. Each individual cluster deals 25 per hit and 40 healing per hit on contact.
The angle of the orbit is adjustable. Press the ultimate input again while it is active to expand or shrink the cluster radius. This is not cosmetic.
- Large angle: Clusters cover more ground but rotate slower, reducing the frequency of individual hits.
- Small angle: The orbit tightens, clusters spin faster, and healing and damage output against targets at the perimeter increases significantly.
Every time you expand the orbit, enemies caught in it get knocked back and launched upward. On maps with ledges or drops, this is a legitimate elimination tool. Even on flat objectives, repeatedly disrupting enemy positioning keeps them out of their preferred ranges and inside your team's kill zone.
Do not treat this ultimate as a passive healing button. Keep using your full kit during the 10-second window. Deploy Blooming Balls, maintain Sparkle Marks, and keep firing. The ultimate's field stacks with everything else Jubilee does, it does not replace it.
Firework Finale orbit range
What are Jubilee's best team-up options?
Season 9 overhauled the team-up system entirely. Every hero now picks between two passive team-up loadouts regardless of whether the paired character is on your team. The base effects are always active; having the paired hero present upgrades them to Enhanced versions.
Jubilee has access to two team-ups:
Vampiric Kin (Blade): Deploys a Vampiric Field. Allies inside gain Life Steal when attacking enemies. With Blade on your team, the Enhanced version adds Continuous Healing to everyone in the field on top of the base effect.
Hellfire Sparks (The Hood): When your attack speed is enhanced, Energy Plasmoids transform into a hitscan attack that grants self-healing on hit and can land critical hits. With The Hood on your team (arriving in Season 9.5), the Void Magic Mark never clears, letting Jubilee sustain the hitscan form indefinitely.
For most matches right now, Hellfire Sparks is the better choice even without The Hood present. Critical hits and the self-healing during rapid-fire make Jubilee significantly more lethal and more self-sufficient during her active windows. Only swap to Vampiric Kin if your team is running zero other sources of sustain and desperately needs the Life Steal field.
For broader team construction, Jubilee pairs well with:
- Magneto (defensive bubbles protect her from dive)
- Cyclops (burst damage that chains well with her Vulnerability debuffs)
- Blade (activates Enhanced Vampiric Kin)
- Gambit (movement and damage boosts complement her aggressive support style)
- Loki (additional sustain coverage)
- Emma Frost (defensive utility)
For specific team formations, three comps have shown results: a brawl setup with The Thing, Angela, Deadpool, Blade, and Rocket Raccoon alongside Jubilee; an attacking setup with Rogue, Magneto, Winter Soldier, Star-Lord, and White Fox; and a dive comp with Venom, Thor, Black Cat, and Magik.
How to counter Jubilee
Jubilee's weaknesses are worth knowing whether you are playing her or playing against her. She has 275 HP, no hard escape, and her entire output depends on ability cycling. Break her rhythm and she underperforms badly.
Dive compositions are the most reliable counter. Heroes like Spider-Man, Black Cat, and Venom can close the gap before she sets up her healing fields, and she lacks the tools to escape cleanly. Heroes with cleansing abilities (White Fox and Black Cat specifically) can strip her rapid-fire state by clearing the Sparkle Mark before she detonates it, which cuts her healing and damage output significantly.
If you are playing Jubilee into a dive-heavy enemy team, stay close to your Vanguard, hold Sparking Sprint for the moment a diver commits rather than using it off cooldown, and position your Blooming Ball between yourself and the likely dive angle.
Putting it all together
Jubilee rewards players who treat her like a rhythm game rather than a traditional healer. The cycle of deploying Blooming Ball, landing Dazzling Detonation on an enemy, triggering Sparking Sprint, maintaining Sparkle Mark detonations, and keeping Energy Plasmoids firing through the rapid-fire window is the entire game on this hero. Every ability feeds the next one.
The Firework Finale ultimate extends that same logic. Use it offensively on contested objectives, adjust the orbit radius actively to maximize cluster frequency, and keep your regular kit running throughout its 10-second duration.
For more on the heroes who work alongside her, the Angela guide and the Invisible Woman guide cover two Strategists whose playstyles contrast with Jubilee in ways that help you understand what she does differently. For everything else dropping in Season 9, the full Marvel Rivals guides collection has you covered.