
MECCHA CHAMELEON looks deceptively simple from the outside: find the painted people, shoot them, done. Then you spend four minutes walking past someone painted to look exactly like a floor tile and realize this is actually an inspection job. The seekers who consistently clear lobbies are not scanning for odd colors. They are hunting shapes, reading lighting logic, and managing their health pool like it matters. This guide covers everything you need to go from wandering around confused to clearing rooms with purpose.
What does the Seeker actually do in MECCHA CHAMELEON?
At the start of every match, players split into Hiders and Seekers. During the preparation phase, Hiders roam freely to pick spots, paint their bodies, and lock in their poses. Seekers wait in a spawn area with no visibility into what the Hiders are doing. Once the hunt phase begins, you are released into the map in first-person with no flashlight, relying entirely on ambient light and your own eyes.
The win condition is straightforward but unforgiving: find and shoot every Hider before the timer hits zero. If even one Hider survives to the end, the Hiders win the match. You have to physically land a shot to eliminate a target, so spotting someone is only half the job. The exact duration of prep and hunt phases varies by mode and host settings, so check the timer at the start of each match and calibrate your aggression accordingly.
Three modes change the pacing significantly. Normal is the classic timed hunt. Infection converts caught Hiders into additional Seekers, creating a snowball effect that rewards early coordination. Double has everyone hide first, then all players become Seekers simultaneously in a race to find the most targets fastest. The core techniques below apply across all three, but the pacing adjustments for Infection and Double are covered in their own section.
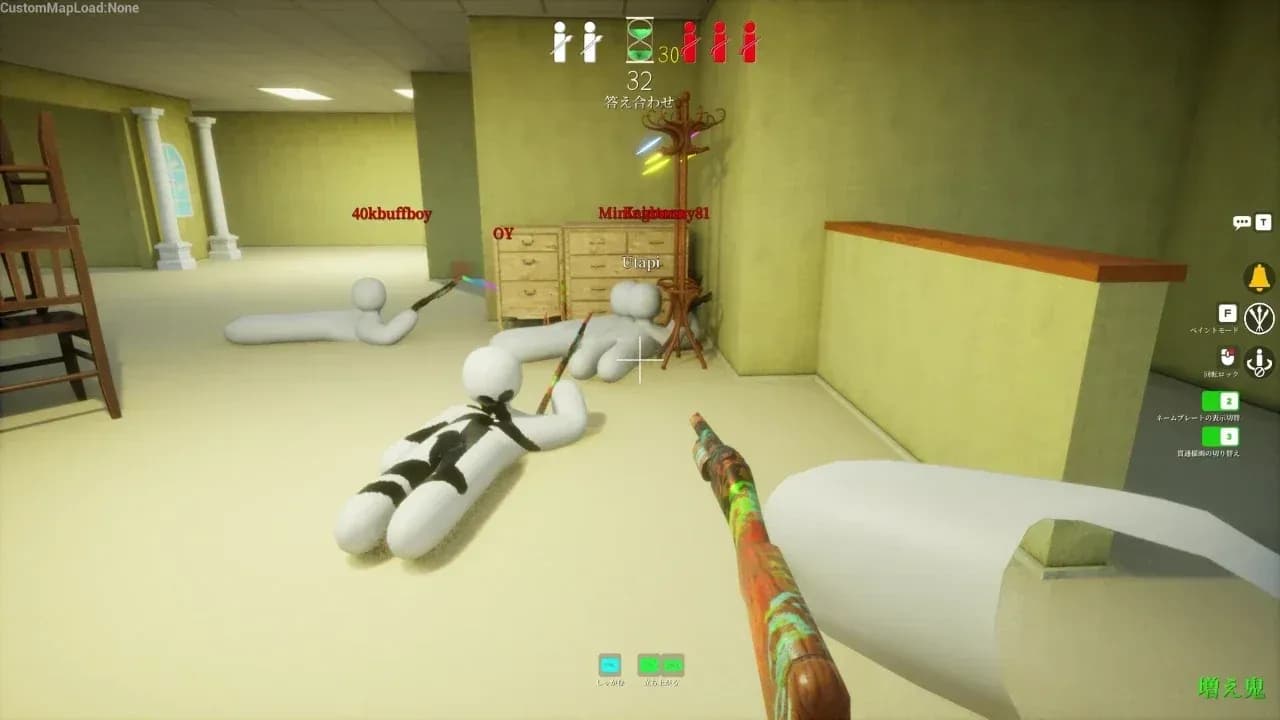
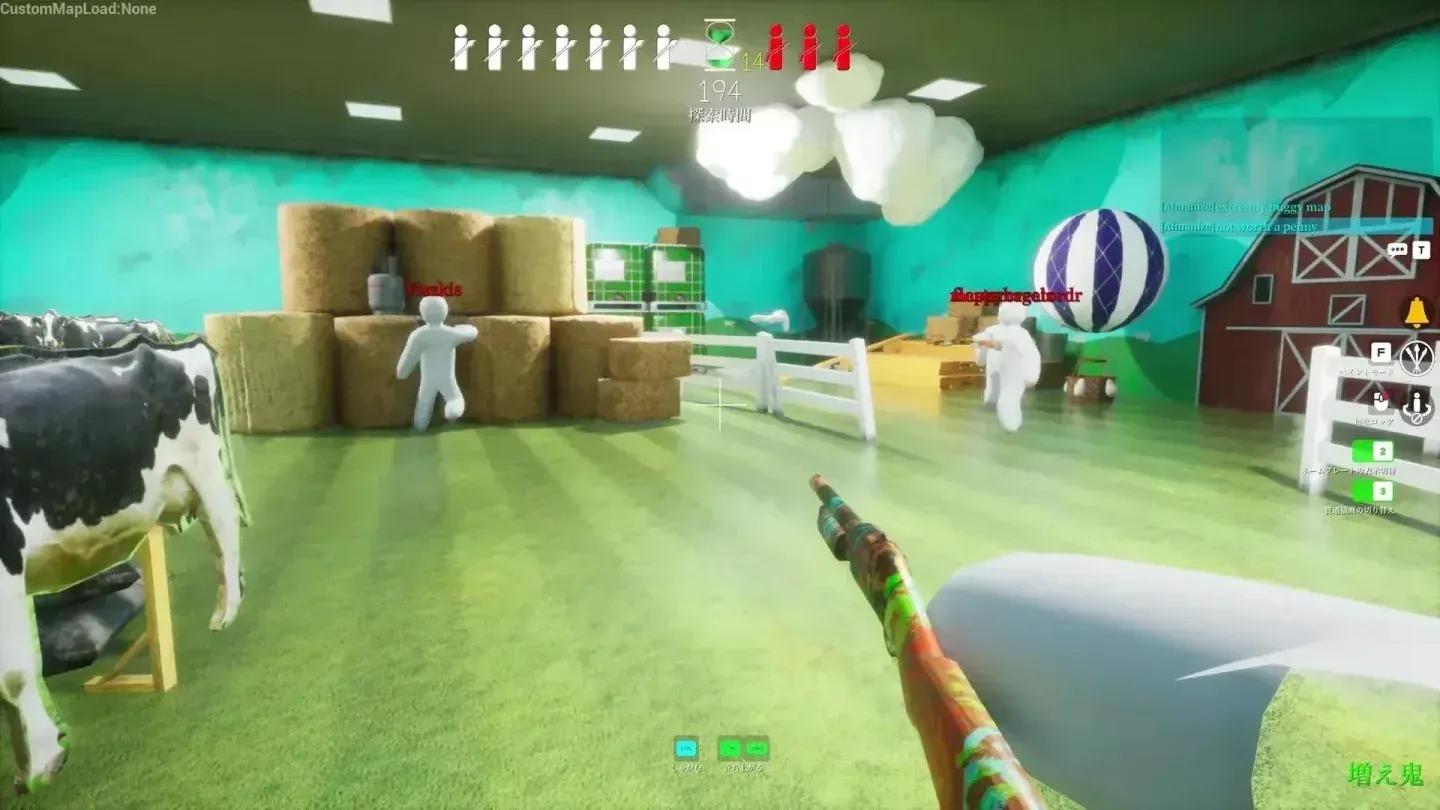
Seeker view during hunt phase
Why hunting colors alone will get you killed
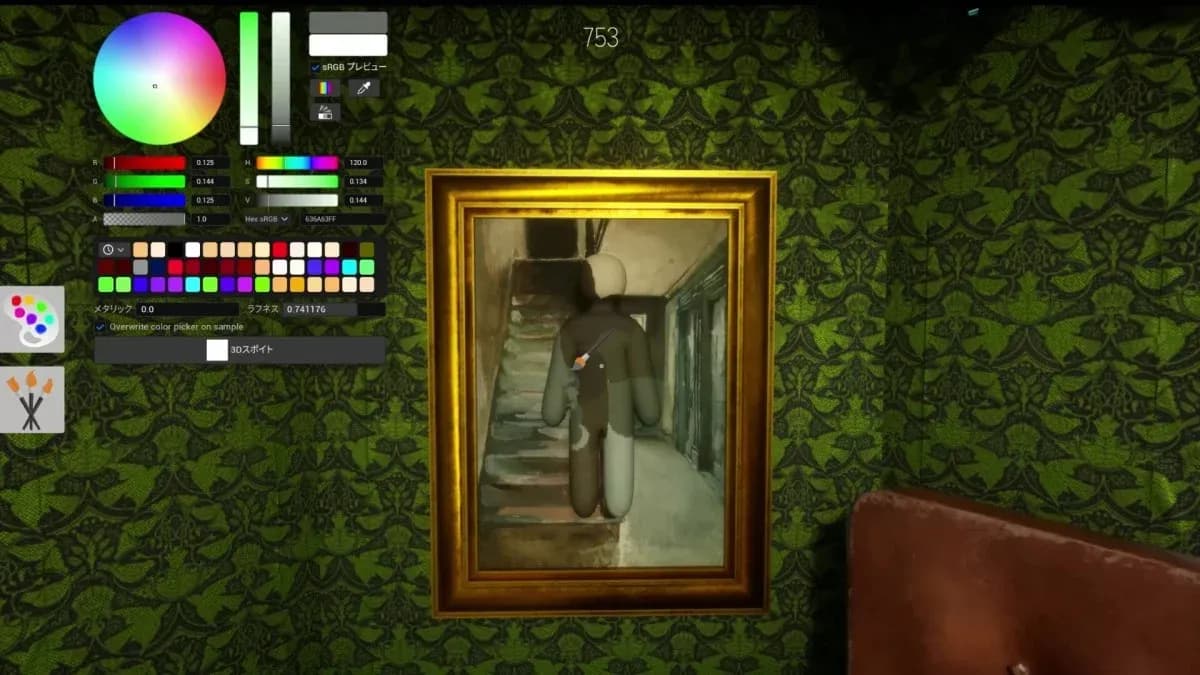
Hiders spend the entire preparation phase using the color palette and eyedropper tool to match their surface precisely. The eyedropper copies the exact color of whatever surface they point it at, and the HSV sliders let them fine-tune for shadows and highlights. A good Hider does not guess their color. They sample it. If you are scanning purely for a shade that looks wrong, you will run out of time before you find anyone.
The approach that actually works is hunting shapes and lighting errors, not colors. No matter how well-painted a Hider is, their body is still human-shaped. The disguise breaks at the edges, not the middle.
Here is what to look for specifically:
- Incorrect spacing: Props on a shelf or paintings on a wall follow a pattern. A sudden gap or an object squeezed in where nothing should fit is worth investigating.
- Broken symmetry: Pairs of objects, rows of identical chairs, mirrored decorations. If one side has an extra item or an item that is slightly larger or tilted, that is suspicious.
- Gloss and shadow mismatches: A reflective sheen on a surface that should be completely matte, or a shadow falling in the wrong direction relative to the room's light source. Hiders can match color but rarely nail the reflective texture.
- Too centered, too clean, too new: An object sitting perfectly in the middle of a room for no reason, graffiti that looks freshly applied compared to everything around it, or a shape with unusually sharp edges.
Rather than standing in the center of a room and spinning, move slowly along the walls in first-person. Your eye is much better at catching shapes that do not flow correctly when you are moving past them horizontally than when you are standing still.
How do you search a map without missing anyone?
Random running is the fastest way to lose. Sprinting between rooms and glancing at every corner without actually checking anything leaves the map full of unchecked zones and gives Hiders exactly the chaos they need to survive.
The reliable method is partitioned searching: divide the map into sections mentally and clear them one at a time before moving on. Here is a practical rhythm to follow:
- Do a quick initial lap to identify cluttered, high-density areas. These are the spots Hiders favor.
- Pick a starting point and sweep clockwise or counter-clockwise through rooms. Do not jump back and forth between areas.
- In each section, focus on four spot types: shadowed corners (no flashlight means dark areas are a significant Hider advantage), prop piles and shelves, rows of repeating items, and wall art or graffiti.
- Before leaving a zone, confirm why you consider it clear. If the only reason is that nothing looked obviously wrong on a fast pass, you have not actually cleared it. Your sweep needs to cover shape, lighting logic, and context.
Build a mental profile of Hider habits as you play more matches. Experienced Hiders tend to favor specific safe corners, gravitate toward repeating props, and often make small involuntary movements when you get close. Pause for two seconds in high-traffic spots during your sweep and watch for anything that twitches.
Zone-by-zone sweep method
Changing your angle breaks every disguise
A disguise can look completely convincing from the doorway. Take three steps sideways and it often falls apart entirely. Most Hiders paint themselves to look perfect from the angle they expect you to enter from. They will look flawless from the spawn-side view and completely wrong from a slightly different position.
When you spot a suspicious shape, do not just stare at it from the same spot. Sidestep, climb onto something nearby, or crouch to shift your perspective. If the shape moves differently from the wall or prop behind it, you have found your target. This is especially effective against Hiders who pressed against a surface expecting a straight-on approach.
Dropping into a crouch is useful for another reason: many effective hiding spots sit below your default eye level. Floor zones, the bases of shelves, and low-lying props are all areas that get skipped when you are scanning from standing height. Get low and inspect those areas deliberately.
Should you shoot everything that looks suspicious?
No. Every missed shot costs you health. Seekers who fire at every slightly suspicious shadow will deplete their health pool long before the timer runs out, and a dead Seeker loses the round by default.
The discipline is to confirm before you shoot. When something looks suspicious, step closer and change your angle to see if the silhouette or reflection gives them away. Only fire when you are nearly certain. This sounds slow, but it is actually faster than burning health on false positives and having to play defensively for the rest of the round.
When you have multiple suspicious targets in view, prioritize the one you are most confident about. Eliminating confirmed targets first makes the remaining ambiguous shapes easier to evaluate by comparison.
How to use audio cues to find Hiders faster
Proximity voice chat was added in v1.1.0, and it works in both directions. You hear Hiders when you are close to them, not when you are far away. This means voices, laughter, or any sound coming from an area where you cannot see an obvious source is a strong indicator that someone is hiding nearby.
Lower your own noise and listen actively during your sweep. A sudden voice or environmental anomaly coming from an apparently empty corner is often faster to follow than relying purely on visual detection. Hiders who taunt you or talk to each other are giving away their general location for free.
How do Infection and Double modes change your approach?
Infection mode starts you as a solo Seeker, but every Hider you catch converts into an additional Seeker. The snowball effect is the whole point. Once you have caught the first person, do not crowd into one room with your new teammates. Spread out to surround the remaining Hiders, compressing their movement space and cutting off re-hiding options. The mode plays best with 6 to 10 players, where the tension of the snowball effect hits hardest.
Double mode is a speedrun. Everyone hides first, then all players become Seekers simultaneously to see who can find the most targets fastest. There is no waiting for Hiders to make mistakes. Your systematic scanning efficiency and map knowledge are the only variables. Grinding the same map repeatedly to memorize high-frequency hiding spots pays off more in Double than in any other mode.
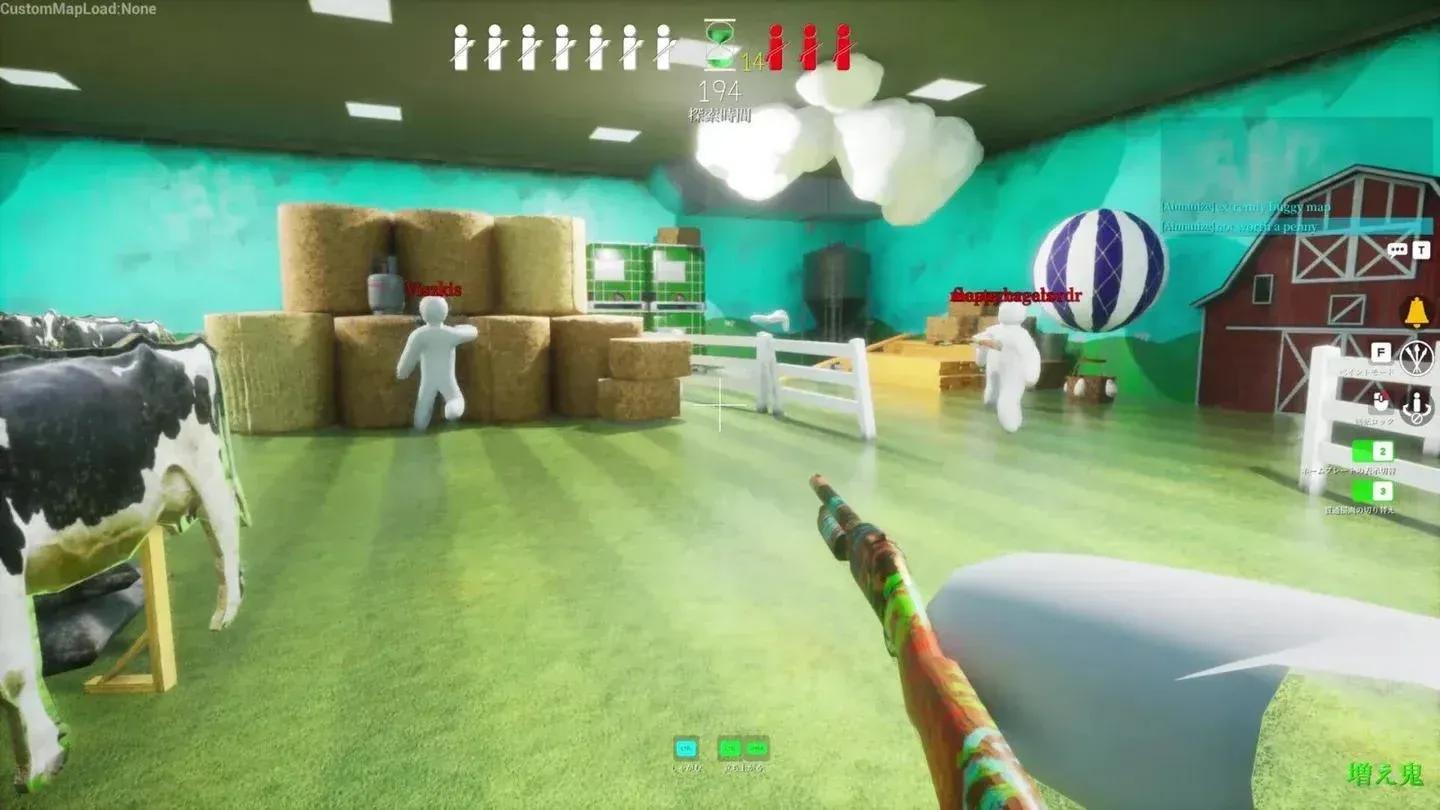
Infection mode seeker coordination
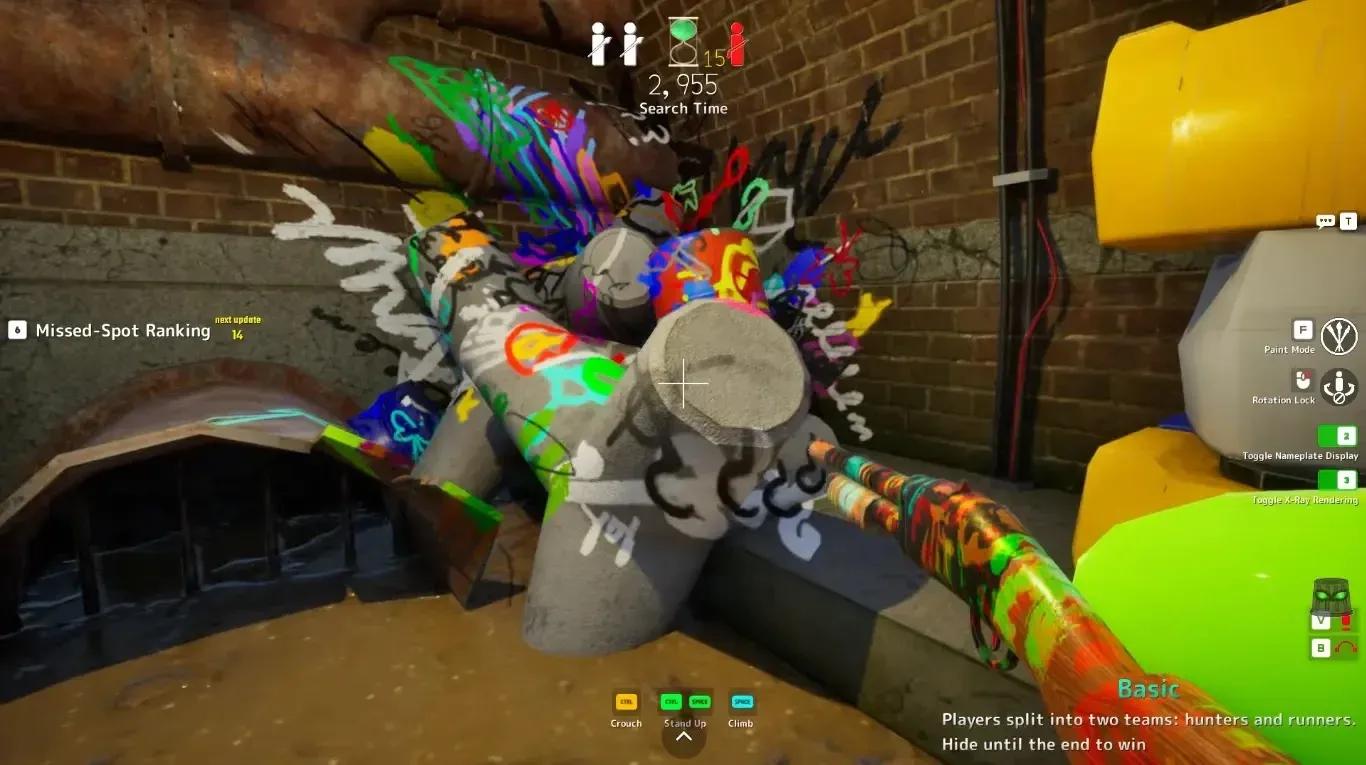
Using the post-match reveal and Missed Spot system to improve
Every match ends with a reveal screen showing exactly where every Hider was hiding and what their disguise looked like. Most players laugh and move on. Treat it as a free after-action report instead.
Note the specific spots you missed and why the disguise worked on you. Was it the color, the silhouette, or the angle they pressed against the surface? High-frequency hiding spots on a map repeat across matches. Remember them once and you know where to check first in every future round.
Starting with v1.2.0, the game includes a Missed Spot system that tracks spots and enemies you walked past during the hunt. Version 1.2.1 added a toggle to show or hide the list, and v1.2.2 added a dedicated button to hide the ranking. Keep it on when you are actively trying to improve, comparing it against the post-match reveal to identify which types of spots you consistently overlook. Turn it off when playing with friends if you do not want to spoil re-hide positions for the next round.
The exact scoring formula for the line-of-sight ranking has not been officially disclosed, so treat the score as a directional tool rather than a precise metric.
Missed Spot results screen
The second-pass technique for stubborn hides
Some hiding spots will eat your time without giving you a clean answer. Do not pour the whole round into a 50-50 guess. Mark the location in your head, finish clearing the rest of the map, and return to it later.
The reason this works: a Hider who survived your first pass will usually relax, assuming they are safe. That second approach is when you catch them adjusting their camera or making a small movement. Cut off the escape route before you walk back in, then take the shot. The strongest late-round move is almost always this deliberate return rather than grinding away at an uncertain spot while the timer burns.
For more on what Hiders are doing to fool you, the MECCHA CHAMELEON guide on winning as a Hider breaks down the paint, pose, and positioning techniques from the other side. Understanding their decision-making makes your searches considerably sharper. If you are still getting to grips with the game's core systems, the MECCHA CHAMELEON beginner's guide covers the paint tool and round structure in detail. For the full collection of strategies covering both roles and all modes, the complete MECCHA CHAMELEON strategy guides have everything you need to keep improving.