

The Astral Orrery is the point in Mina the Hollower where the game stops holding back. It's a sprawling, multi-layered dungeon split across five distinct sub-areas, all feeding back into a central hub called the Stellarium. Getting lost here is almost a rite of passage, but with a clear plan you can push through every section, beat the Congealed, and reach the Starry Generator without losing your mind.
How do you get into the Astral Orrery?
Access requires mirrors, and there are five of them scattered across Tenebrous Isle. You only need to activate three to unlock the entrance, but tracking them all down is worth it. Check our complete mirror locations guide if you're still hunting any of them down.
Here's where every mirror sits:
Once three switches are hit, head to Radiant Manor in Ossex and walk through the giant mirror opposite the entrance. Fight through the opening rooms, drop the shortcut rope on the left before taking the stairs, and you'll arrive in the Stellarium.
Stellarium hub connects all zones
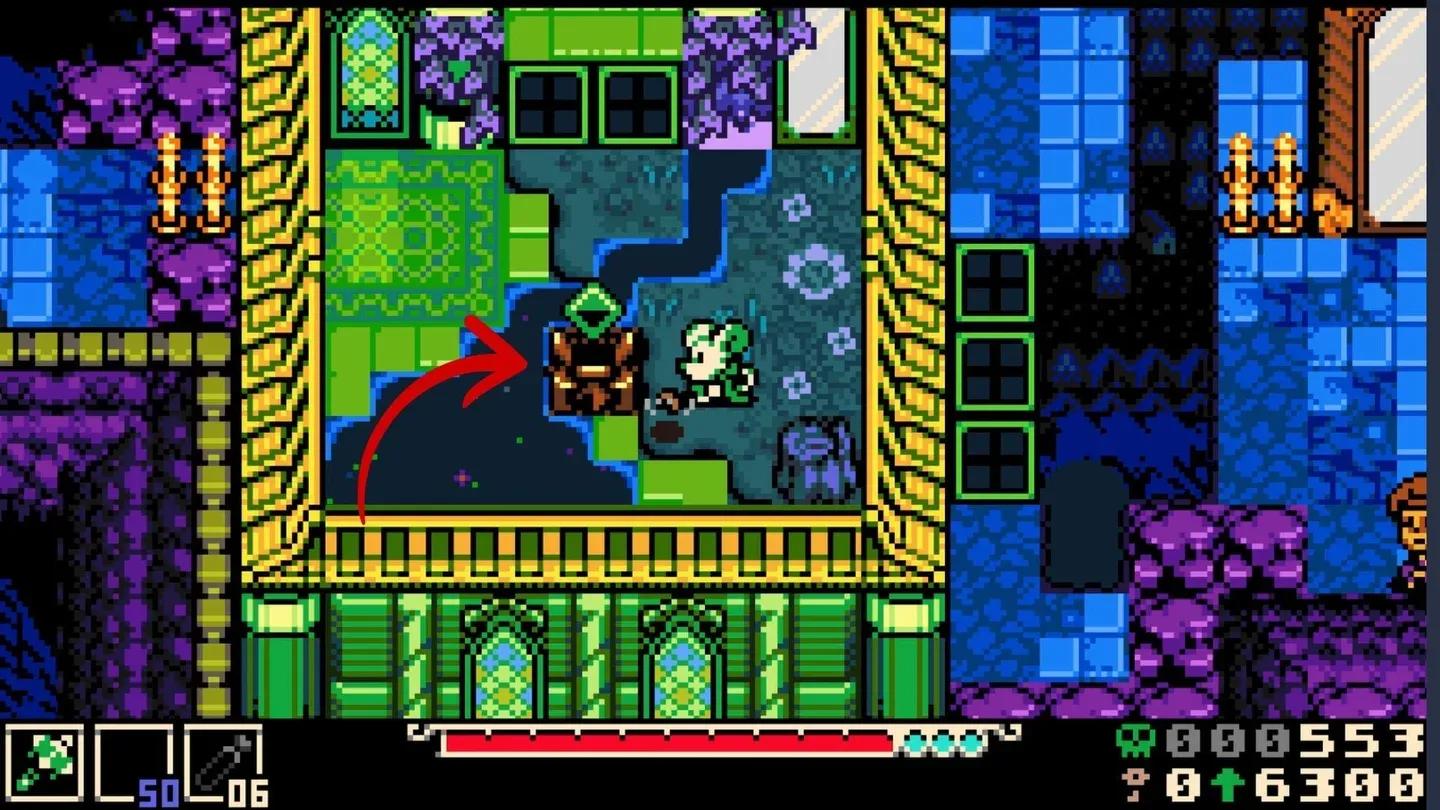
What is the Stellarium and how does it work?
The Stellarium is the central room of the Astral Orrery. Four pipes sit in each corner, each leading to a separate sub-area. Hit the switch at the end of each sub-area, return to the Stellarium, and a barrier drops. Complete all four to open the path north toward the boss. You can tackle the four areas in any order.
The Gravity Zone
Take the top-right pipe to reach the light blue area. The core mechanic here is the relationship between purple tiles and black hole tiles. Hitting switches eliminates the purple tiles and activates the black holes. These black holes bridge gaps by moving into position against walled-off areas, letting you jump through. The rule is simple: never fall into them.
Work through the two opening rooms by reaching the top-right corner of each. A secret room to the right of the second area holds Bones and a Kear, so grab those before heading south. The lower section has a large yellow pit with projectile-shooting enemies around the perimeter. Clear them using the black hole tiles to reach their level, then hit the button to activate green tiles and burrow under the chains at the top right.
Back in the Stellarium, the green tiles open a northern path. From there, hit a sequence of switches and follow each newly opened path up successive staircases. The moving platforms between switches require you to run back and forth across them to build momentum and close the gap to the next one. The mirror at the northern point of the Gravity Zone ends the area.
Mutant Lab
The green area in the bottom-left corner of the Stellarium is the trickiest sub-area in the whole dungeon. The central mechanic is the glass floor: you burrow under it, navigate passages, and use X-marked exit flaps to pop back up to the top side when you hit a dead end.
The lab section lines up large test tubes containing enemies that burst out as you approach. Take them one at a time to avoid getting swarmed. Further in, cross-shaped launch tiles fling you across rooms. These are three-tile jumps, so equipping the Keri the Wisp trinket makes the landings more forgiving. If you have the Wallower's Gauntlets trinket, the puzzle room in this area becomes trivial since you can burrow directly through walls.
Without Wallower's Gauntlets, work north and left using the launchers to reach the trapped frog and collect the Bridge Weaver Trinket, which lets you summon a web-weaving spider to cross gaps.
The southern section introduces blue cube enemies. Interacting with a cube opens a pocket dimension where you must defeat all enemies within a time limit while avoiding obstacles. Once cleared, the cube becomes a throwable weapon. Use it to destroy spikes blocking the chests around the room, then carry it through previous rooms to clear the remaining spike barriers leading to the mirror.
After hitting the mirror switch, take the left path down to the main area. A grotesque figure in a test tube along the way acts as a shop, selling Kears and other items.
Hall of Scholars
Head south from the Mutant Lab exit and drop the rope to reach the Hall of Scholars. It's the shortest of the four sub-areas, but the Lumenarks encounter is one of the more stressful fights in the dungeon.
Lumenarks are robed figures that march from right to left, trying to place their orbs on pedestals along the left wall. A gauge at the bottom of the screen tracks their progress. They are completely invincible while their hoods are raised. The only window to deal damage is when they lower their hoods and extend their orbs. Sprint to them immediately and attack.
Occasionally, Lumenarks break into a run while carrying their orbs. This is the most dangerous moment. Burrowing is the fastest way to close the distance, so use it whenever a Lumenark starts sprinting. Once the gauge is depleted, collect the Bones and proceed to the mirror.
Cog Chamber
The bottom-right corner of the Stellarium leads to the Cog Chamber. Large spinning platforms dominate the opening rooms, and they come with chains and enemies on top. The strategy is patience: deal with one threat at a time rather than trying to rush through.
Laser beams appear in later sections. These cannot be destroyed normally, so memorize their timing. When a cube enemy appears, complete its pocket dimension challenge and use its husk to destroy the laser-producing machines around the room. This clears paths you couldn't access before.
A drifting glass platform carries you across one section automatically. You can't stop it, but running back and forth or up and down on it shifts your position slightly, which helps you dodge obstacles and collect items along the route. After the platform ride, a large knight enemy guards the final section. Defeat it to lower the spikes blocking the mirror.

Cog Chamber laser timing is key
Sealed Archive
The Sealed Archive is a timed platform gauntlet. Yellow platforms appear when you hit a switch and disappear after a few seconds. Fall off one and you drop into the abyss, so always identify your next switch before moving.
Black hole tiles return here to help you jump over ledges. Moving platforms require the same back-and-forth momentum technique from the Gravity Zone. The trickiest timing section involves waiting for black holes to align over barriers before jumping forward.
A glass section with launch tiles follows. Do not jump directly onto a launch tile since there is no ground below. Wait for the center tiles to switch to solid glass, move to the side, and break the wall tiles. The left wall has an enemy; the right wall has Bones. Push north through more enemies and breakable walls until you reach the boss room.
How do you beat the Congealed?
The Congealed is the hardest boss the game has thrown at you by this point. Arriving at around level 11 or 12 attack and defense makes the fight significantly more forgiving, though lower levels are possible with clean execution.
Phase one
The Congealed is a massive amalgamation of mutant creatures. Its primary attack is a slash. The counter is straightforward: when you see the wind-up, burrow under the boss, surface behind it, and attack. This core loop carries you through most of the fight.
Phase two
After the first health bar drops, the Congealed gains fire and a new version of its slash that creates echo strikes behind the boss exactly where you'd normally surface. Watch for the purple flash before this move and burrow to the side instead of directly behind it.
The boss also gains an aerial smash that spawns four orbs connected by laser energy, pulsing up to four times. The rhythm is consistent, so jump over the lasers once you identify the beat.
When the second health bar gets low enough, the Congealed explodes into individual mutants that scatter around the arena before reforming into two separate Congealed bosses. Attack the loose mutants while they're running. Every hit during this window reduces the combined HP bar, and fighting two of these simultaneously is substantially harder than one.
Phase three
Destroying both bosses doesn't end the fight. The skull detaches and becomes an airborne threat, flying around an arena where the floor has been replaced by the infinite void and arrow platforms. The arrow platforms are hard to control, so either anchor yourself on one and slash the skull as it passes, or chase it aggressively around the arena.
The main threats in this phase are fireballs and a charge move. Dodge those while staying mobile. Collect the Health Rose after the Congealed finally goes down and head north to the Starry Generator.

Burrow sideways in phase two
Starry Generator
The Starry Generator is a vertical tower climb using the Astral Orrery's full toolkit: black hole tiles, lasers, cube enemies, and the area's standard enemy roster. Black hole tiles are the primary tool for clearing barriers on the way up, so prioritize them.
Jump into every burrow hole visible on the map. This removes nearby enemies and pushes back the plasma wall that's climbing behind you, buying extra time. Reach the top to trigger a cutscene involving Lionel and Thorne. The encounter ends the Astral Orrery and transitions directly into the final area of the game.
For everything else you need to get through Tenebrous Isle, the full Mina the Hollower guide collection covers every area, boss, and collectible in the game.