

Introduction
Bones are everything in Mina the Hollower. They pay for weapons, fund upgrades, and level up Mina's stats through the Bone Up system, all from the same currency pool. That dual purpose makes smart farming non-negotiable. The good news: with the right trinket setup and a repeatable route, you can pull in roughly 7,000 bones in ten minutes, enough to solve almost any early-game money crisis before you even reach the first major boss.
How do bones work in Mina the Hollower?
Loose bones you pick up from enemies sit in your pocket and disappear if you die without recovering them, classic souls-style. Bonestones, the large golden diamonds found in chests and buried spots, skip your pocket entirely and go straight to a deposit box in your Underlab, making them completely safe. The Bone Up system at the Underlab is where you spend bones on permanent stat upgrades like Attack and Defense. These are three separate systems, and mixing them up in your head is one of the fastest ways to feel perpetually broke.
Underlab: spend bones wisely
What should you spend bones on first?
Before optimizing your farming route, know where the bones are going. Spending randomly is just as damaging as losing bones to a death.
The Isle Map at 500 bones is the single best early purchase. After that, stack Attack and Defense before worrying about anything else. Check our beginner strategies guide for a full breakdown of early priorities.
How to get the Deboning Wand (the farming trinket that changes everything)
The Deboning Wand is the centerpiece of any serious bone farming setup. Equipping it makes every enemy drop roughly 50% more bones on death. The catch: those extra bones bounce around wildly instead of sitting still, which means you will miss some unless you have a fix for it.
Here is the exact sequence to unlock it:
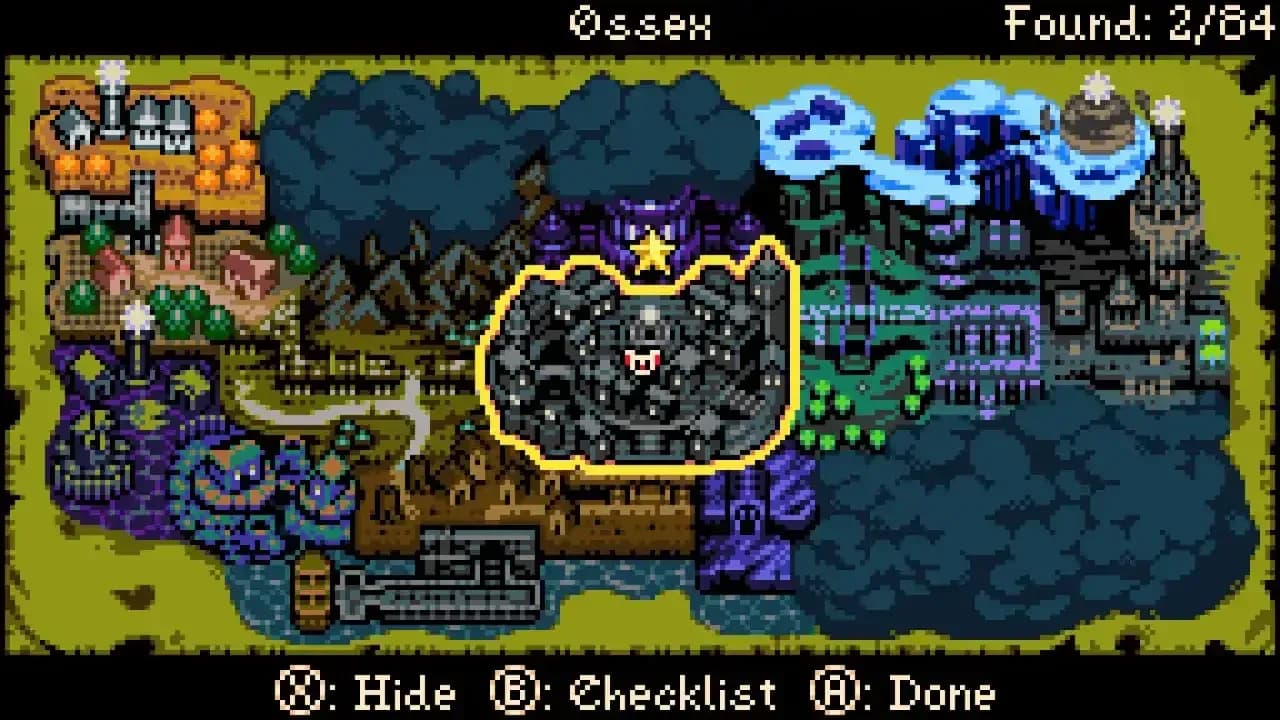
- Progress the main story until Mina meets Lionel at the Radiant Manor Foyer in Ossex and receives the generator objective.
- Before leaving, head back to the Radiant Manor Foyer courtyard and check the upper-right corner. Cut through the tall grass to find a hidden passage.
- Inside, speak with Elizabeth, a skeleton NPC who offers a loan. Accept it. She hands you 250 bones and charges a debt of 1,000 bones.
- Head east to Mourner's Mile and grind enemies until you have repaid the full 1,000 bones.
- Return to Elizabeth and settle the debt. She rewards you with the Deboning Wand.
The 1,000-bone repayment feels steep if you are still working toward the Isle Map, so time this quest for when your basics are already covered.
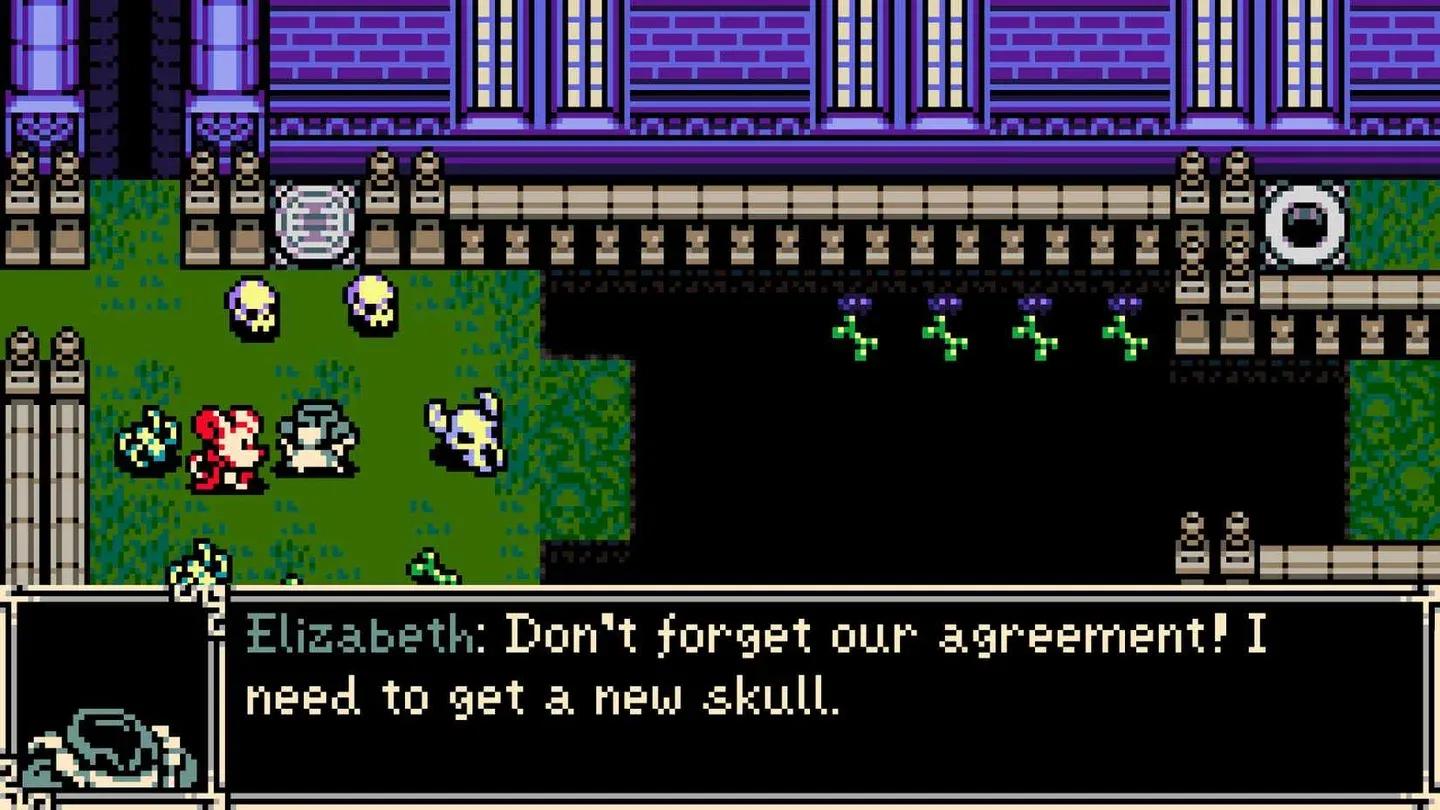
Elizabeth's hidden courtyard path
Where to find the Stolenoid trinket
Deboning Wand without Stolenoid still works, but you will watch bones bounce off ledges and disappear. Stolenoid pulls all nearby pickups directly to Mina, turning the bouncing drops into a clean vacuum effect.
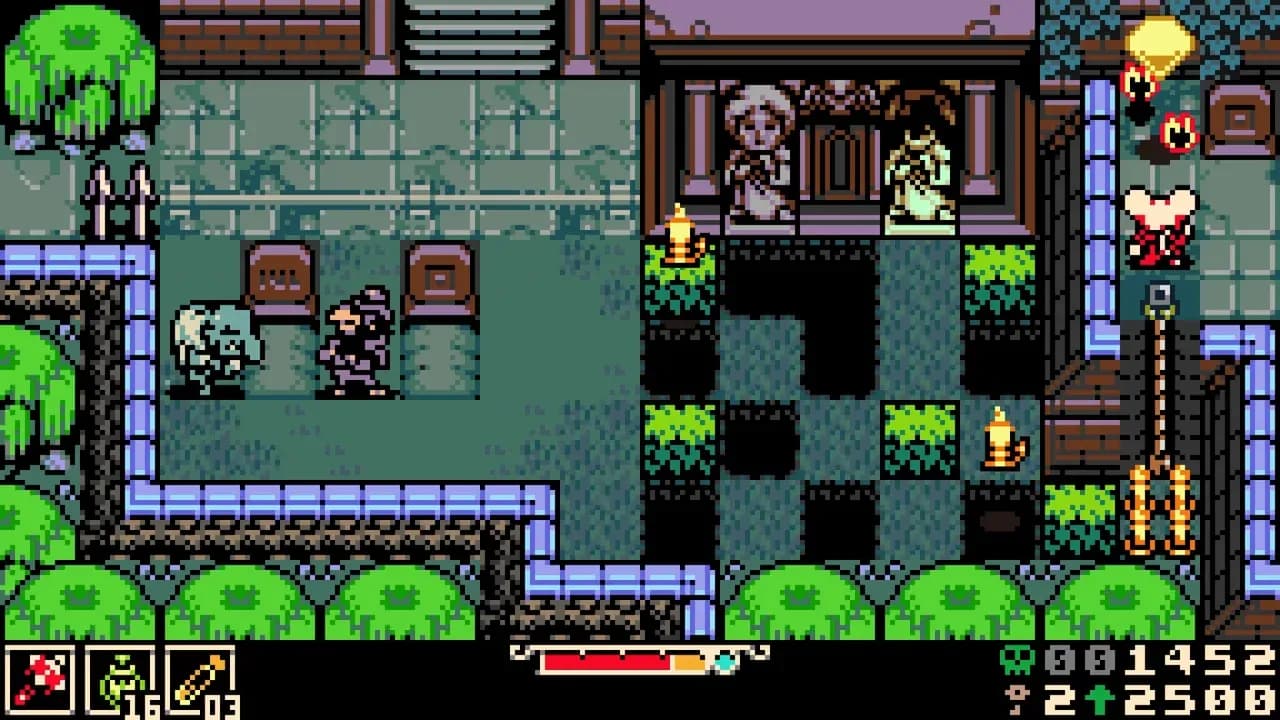
To get it, travel east to Queensbury Crypt and push through until you reach the Statue Head Hall, the room with two headless statues that need restoring. To the left of the left statue, there is a pillar you can burrow through. Inside is Belvedere, a merchant who sells the Stolenoid for 600 bones.
You also need to expand Mina's Trinket Bag to equip both trinkets simultaneously. Purchase the Trinket Bag upgrade from the Provisioner merchant at the Emporium in the center of Ossex. Without this upgrade, you can only run one trinket at a time, and Deboning Wand is the priority income piece if you have to choose.
For a deeper look at which trinkets are worth your bones across the whole game, the best trinkets guide covers the full picture.
What is the best bone farming route in Mina the Hollower?
Mourner's Mile is the answer, and it becomes genuinely efficient once you have both trinkets equipped. The route runs from the Mourner's Mile entrance east of Ossex all the way to the entrance of Queensbury Crypt, and the enemy density here is exactly what makes the Deboning Wand shine.
Here is what each enemy type pays out per kill with the Deboning Wand active:
The seven graves alone add 350 bones to your run without a single fight. The three armored knights and two horned beasts near the crypt entrance are the real payoff, contributing 360 and 300 bones respectively. A clean run through the full route takes around two minutes and yields approximately 1,400 bones. Ten minutes of consistent looping puts you at roughly 7,000 bones.
To reset enemies, use the nearby Underlab entrance. Dive in, come back out, and the route is ready again.
What about early farming before the Deboning Wand?
Before you have the trinket setup, the east-of-Ossex enemy loop toward Queensbury Crypt still works as a short-term fix. It is not a serious farming route, but it is close to a checkpoint and safe enough for small top-ups, like reaching the 500-bone threshold for the Isle Map.
The more reliable early approach is collecting Bonestones from static locations before grinding enemies at all. Several are accessible right after reaching Ossex:
- Tutorial route chests require only basic movement and burrow skills.
- Couple's Quarters in Ossex has a Bonestone behind a burrow jump over the right-side gap.
- Strategy Center in Ossex has one requiring a thrown axe and a spark door.
- A trickier pickup south of the Strategy Center uses the big-nose NPC's position to access a waterway path.
These pickups are zero-risk because Bonestones cannot be lost on death. Grab them before you start any enemy loop.
Mourner's Mile knight farming loop
How to avoid losing bones between farming runs
Farming is only useful if you keep what you earn. The most common mistake is carrying a massive loose-bone stack through a dangerous area because you wanted "one more room."
- Spend bones at the Underlab before pushing into unfamiliar territory.
- If you are saving for something expensive like train funding, convert bones into Bonestones to protect the value.
- The Bell of Grace trinket, which costs 1,000 bones, can reduce bone loss on death. It is worth considering once your basics are covered, but it does not replace income. It only reduces loss.
- If a farming route feels too dangerous, stop. Go back to Ossex, upgrade, and return when the fights are manageable.
For full details on all weapon upgrades that can make those Mourner's Mile fights faster and safer, the weapon upgrade locations guide is worth checking before your next farming session.
Common bone farming mistakes to avoid
- Staying on the east-of-Ossex starter loop too long. It is a top-up tool, not a farming strategy.
- Skipping Elizabeth entirely. The Deboning Wand is the single biggest income multiplier available before mid-game.
- Running Deboning Wand without Stolenoid. You will miss a significant portion of the boosted drops.
- Ignoring Bonestones. Safe value is always better than gambling on a clean run.
- Buying a new weapon before stabilizing stats. Unless your starting weapon is genuinely failing you, Attack and Defense upgrades pay off more.
- Over-farming before spending. If you have enough for the map and two stat upgrades, spend it. Sitting on a pile of loose bones is just risk.
For everything else Tenebrous Isle has to offer, browse the full Mina the Hollower strategy guides collection to fill in any gaps in your playthrough.