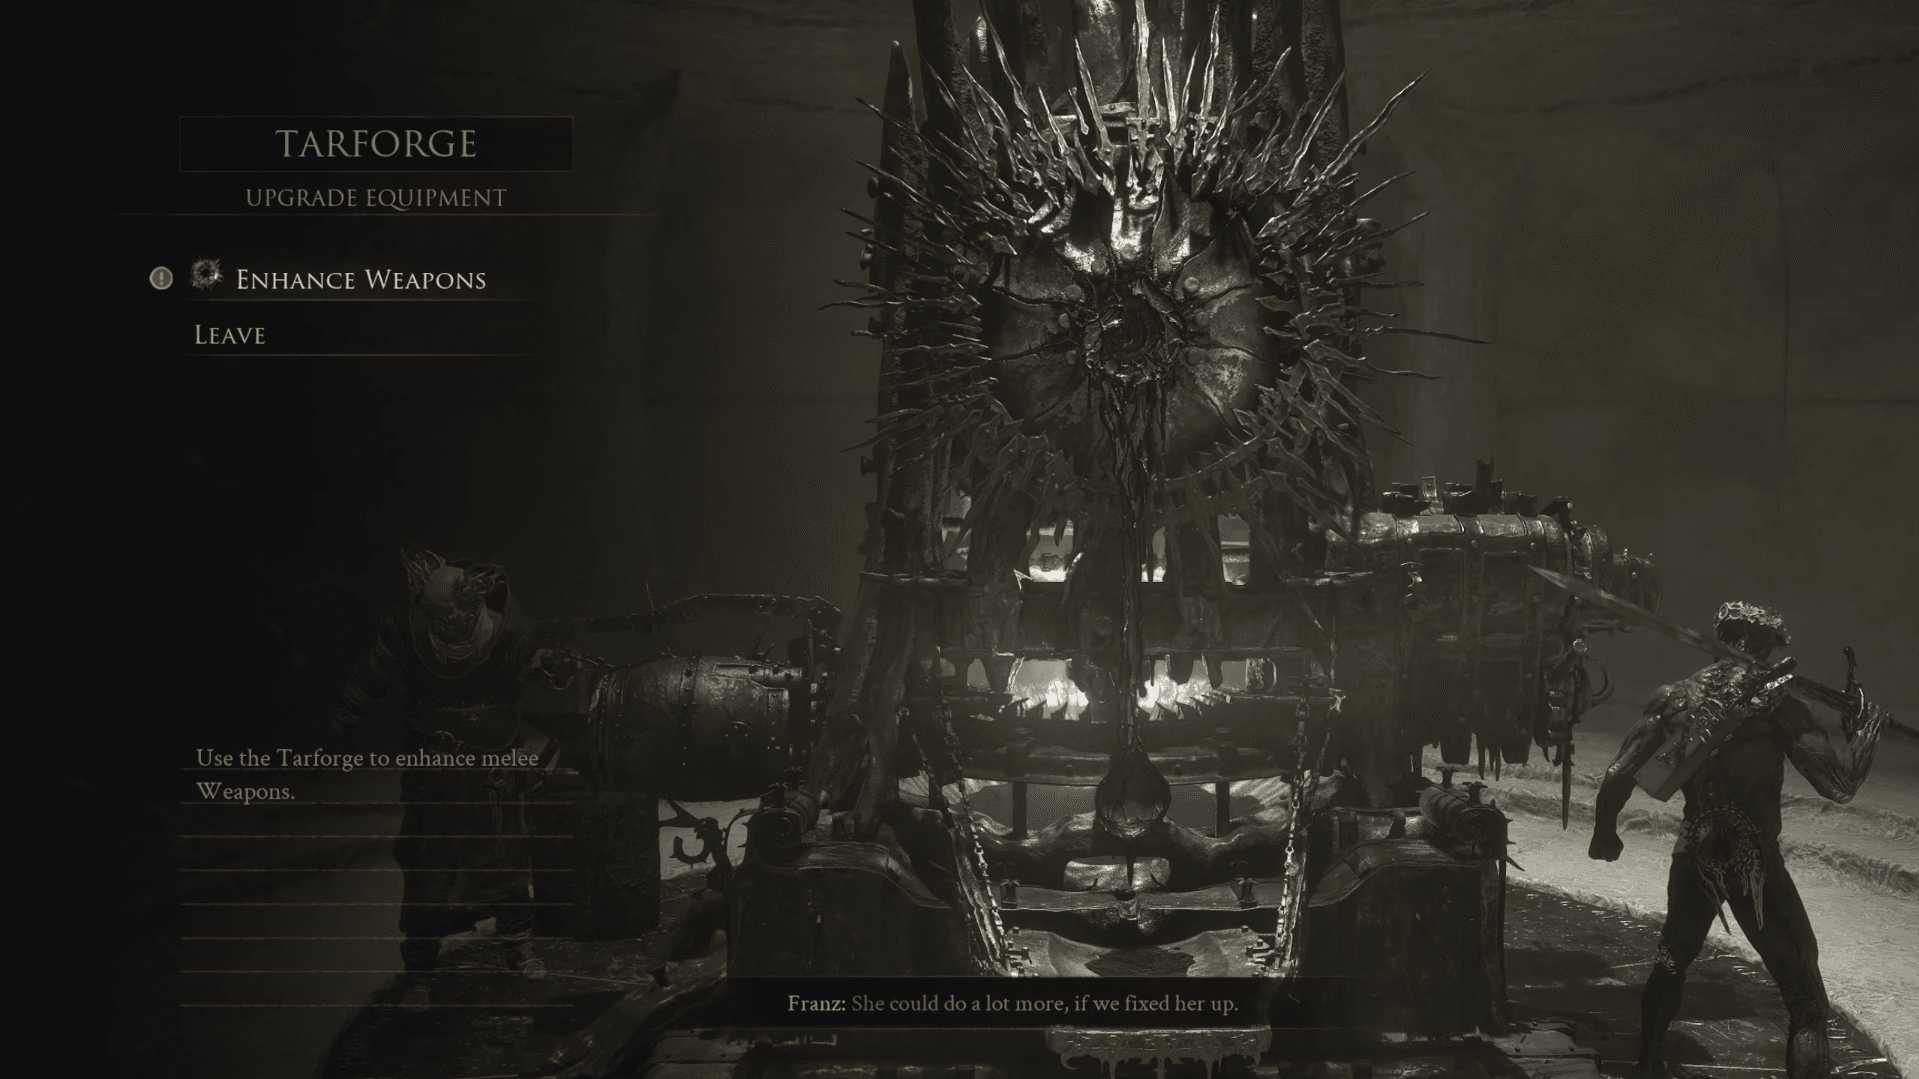


The Tarforge in Mortal Shell II is your primary upgrade station, but it starts completely locked. Every function, from enhancing weapons to leveling up Tarstones, requires you to track down a specific item and bring it back to Franz, the NPC standing beside the machine in the Marrow Keep. The game gives you no map markers and no hints about where these items are. This guide covers every location, in the order you're likely to encounter them, plus a shortcut that skips the whole process if you're willing to make one aggressive decision early on.
What does the Tarforge do?
The Tarforge handles four main upgrade functions and one late-game auxiliary unlock. Each is gated behind a physical item you hand to Franz:
The Smelt Equipment function is worth grabbing early. It refunds all smithing stones spent on a weapon when you revert it to +0, which matters a lot if you change your build mid-run.
Where to find all Tarforge upgrade items
Mortal Shell 2 Guide: All Tarforge Upgrades Items & Locations
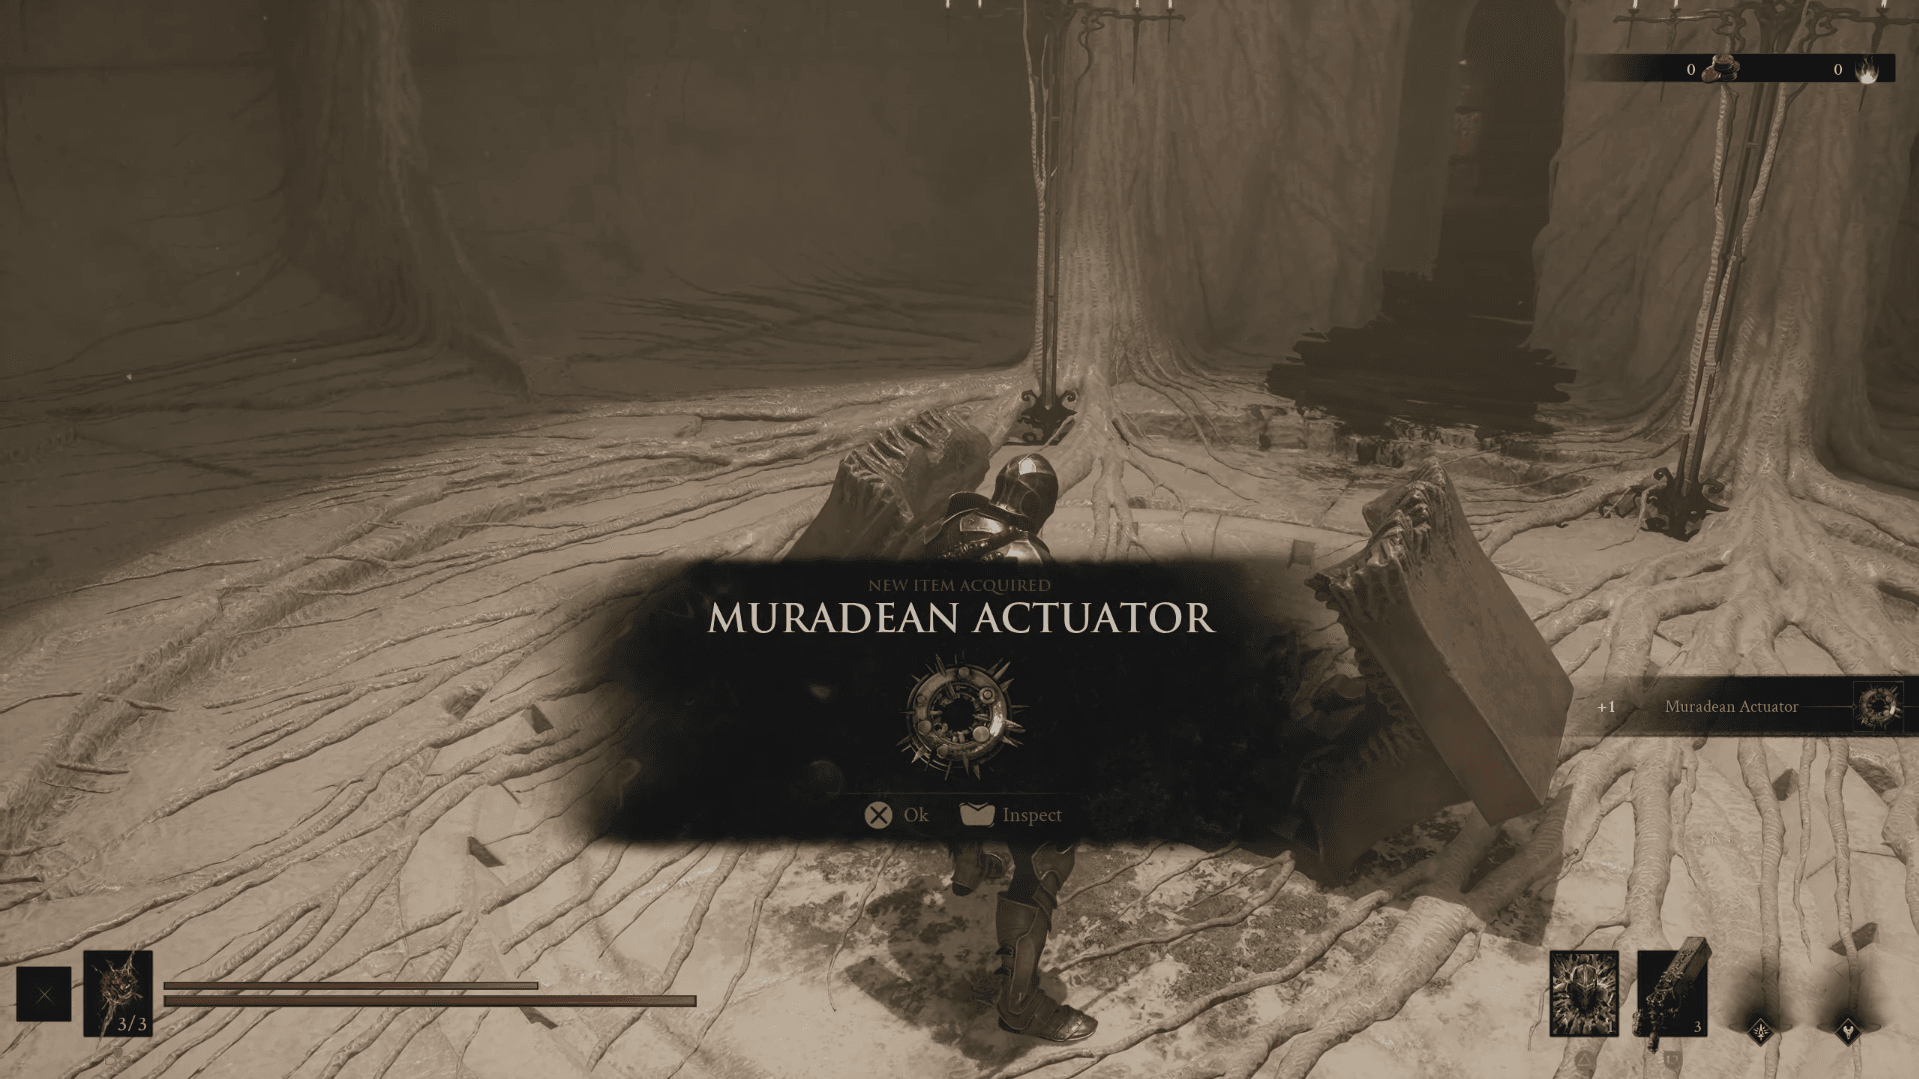
Muradean Actuator (unlocks Enhance Weapons)
This one is in the Village Outskirts beacon's cleanse dungeon, which sits in the tutorial zone before you reach Marrow Keep. Cleansing that beacon is mandatory for progression, so you'll pass through the area regardless. The chest containing the Muradean Actuator is in the room you run through on your way to the elevator that descends into the dungeon proper. It's optional, meaning you can technically walk past it, but you'd have to be actively ignoring it.
If you somehow missed it and can no longer access the tutorial zone, the fix requires collecting at least 7 Ova from cleanse beacon dungeons in the main world, then using the Gloom Siphon in Marrow Keep to unlock the Mether's Breath item. That item enables fast travel between beacons, which makes the Village Outskirts beacon reachable again.
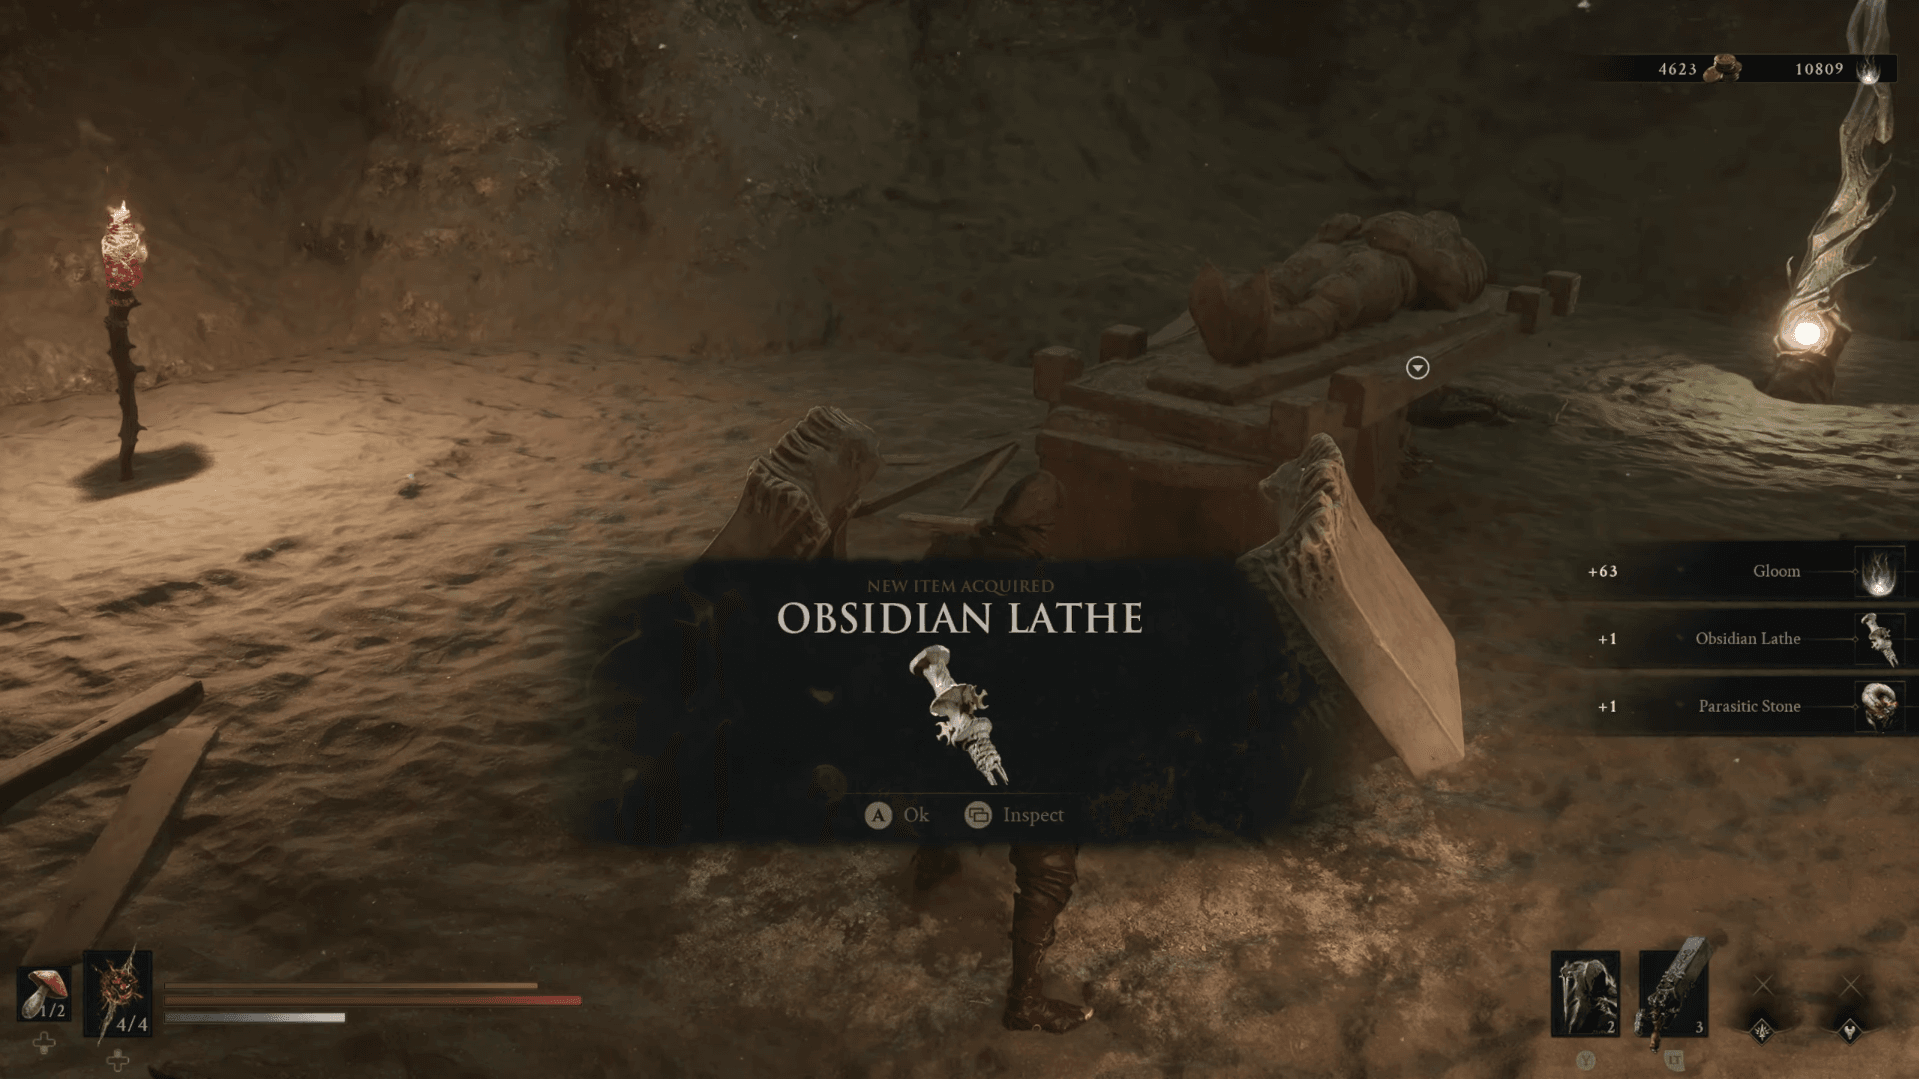
Obsidian Lathe (unlocks Enhance Sidearms)
Head to Fainweald and locate the Widow's Overlook beacon. From there, turn southeast and look for a large church-like structure. The entrance to Martyr's Tomb is just inside. Work through the dungeon to the final room, where a chest sits beside a sarcophagus and a group of priest enemies guards it. The Obsidian Lathe is inside that chest.
One thing players miss: after picking it up, the exit door stays locked until you shoot the target mounted above it with your Sidearm. If you're standing there staring at a sealed metal door, that's why.
This dungeon is also right next to where you unlock the Tiel shell, so if you're following our guide to the best shells to unlock early, you'll be in this area anyway.
Mortal Shell 2 Guide: All Tarforge Upgrades Items & Locations
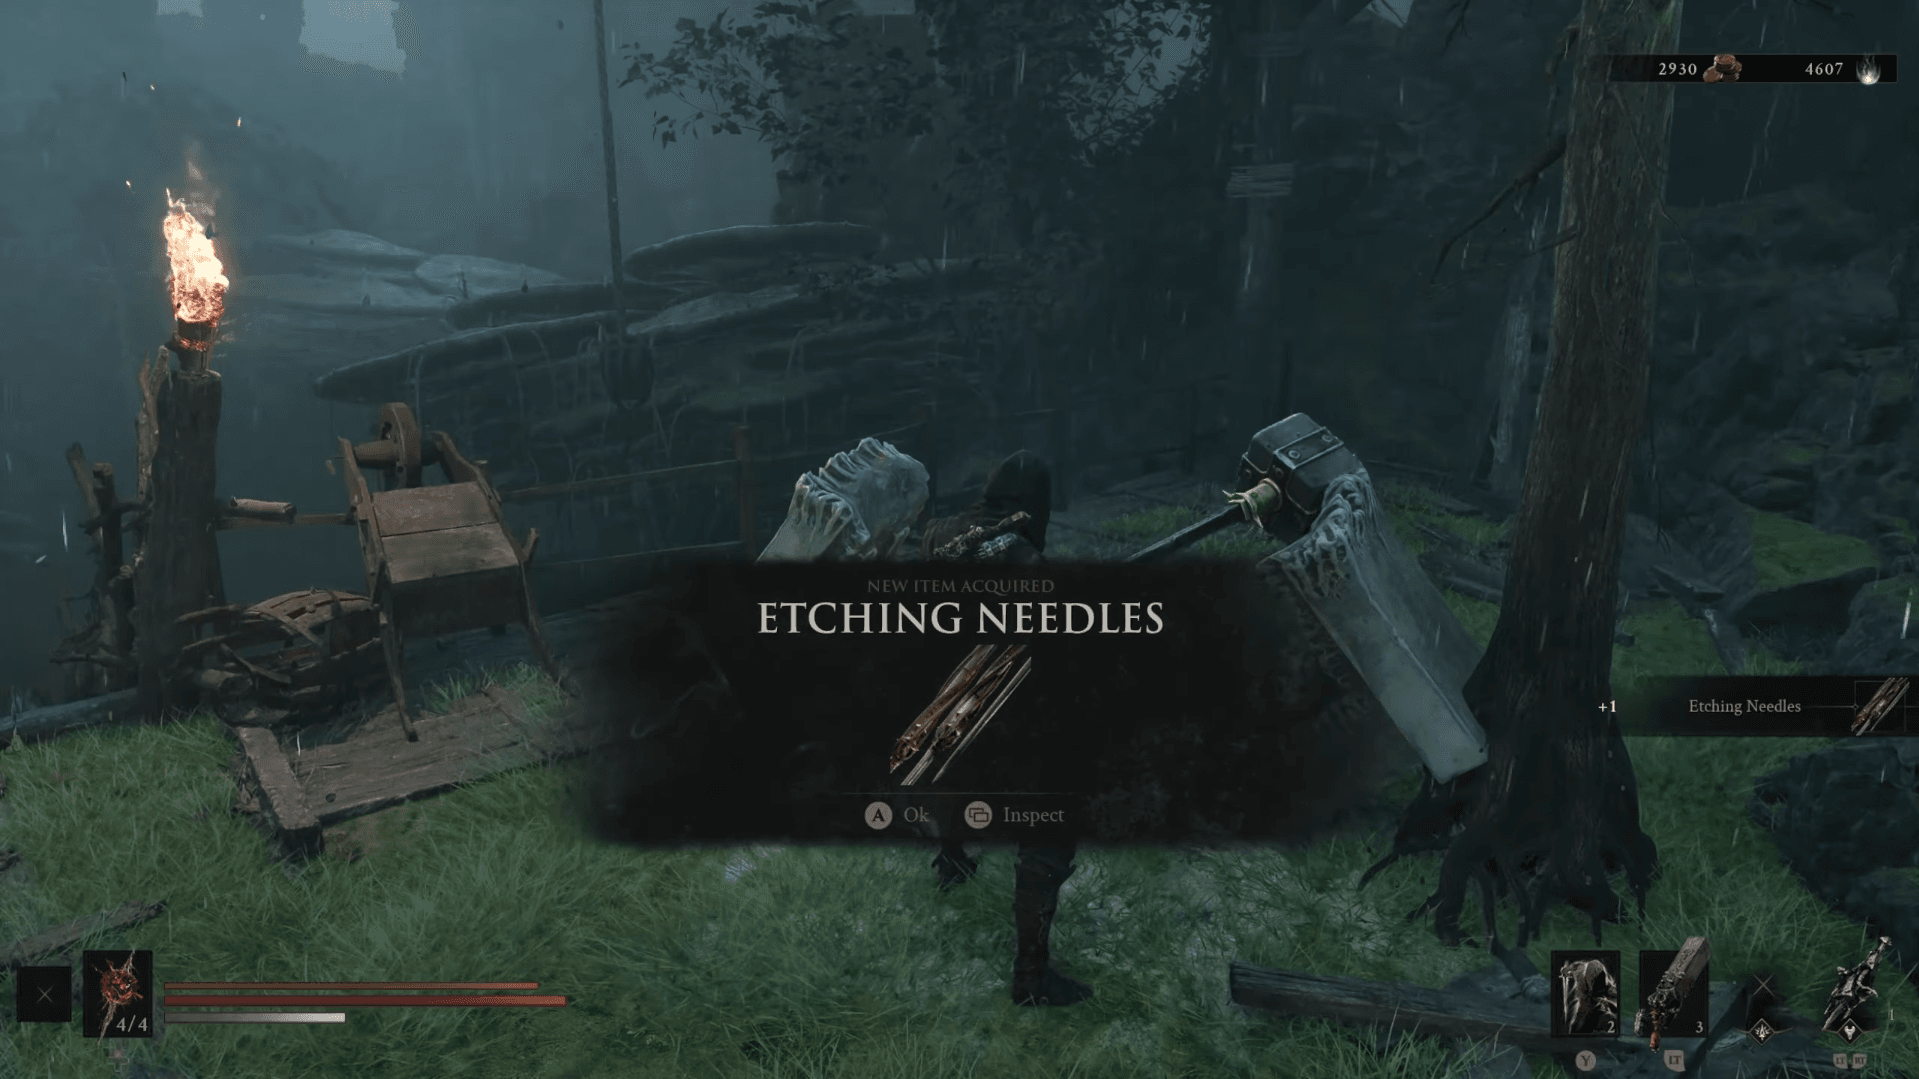
Etching Needles (unlocks Temper Tarstones)
The Glutted Mire is the Corrupted Gate area accessible through the gate right next to the Mushroom Village Gate Beacon on the eastern side of the map. Push through until you defeat the Tarblighted Shepherd, the boss that summons transforming sheep. Once he's down, squeeze through the gap in the wooden boards behind the arena.
Follow the wooden bridges forward until you spot Ruk sitting on an arch overhead, warning you about the upcoming fight with Magdalena, Lady of the Woods. The chest with the Etching Needles is directly underneath Ruk's position.
Upgrading Tarstones works differently from weapons. Tarstones accumulate XP by killing enemies while slotted in an equipped weapon or sidearm. The first upgrade threshold is 10,000 XP and costs 100 coins, which also grants a Tarcore. The second threshold sits at 20,000 XP but requires 6 Tarcore to complete. The practical implication: you'll need to level multiple Tarstones from tier 1 to tier 2 just to stockpile enough Tarcore to max out the ones you actually care about.
Mortal Shell 2 Guide: All Tarforge Upgrades Items & Locations
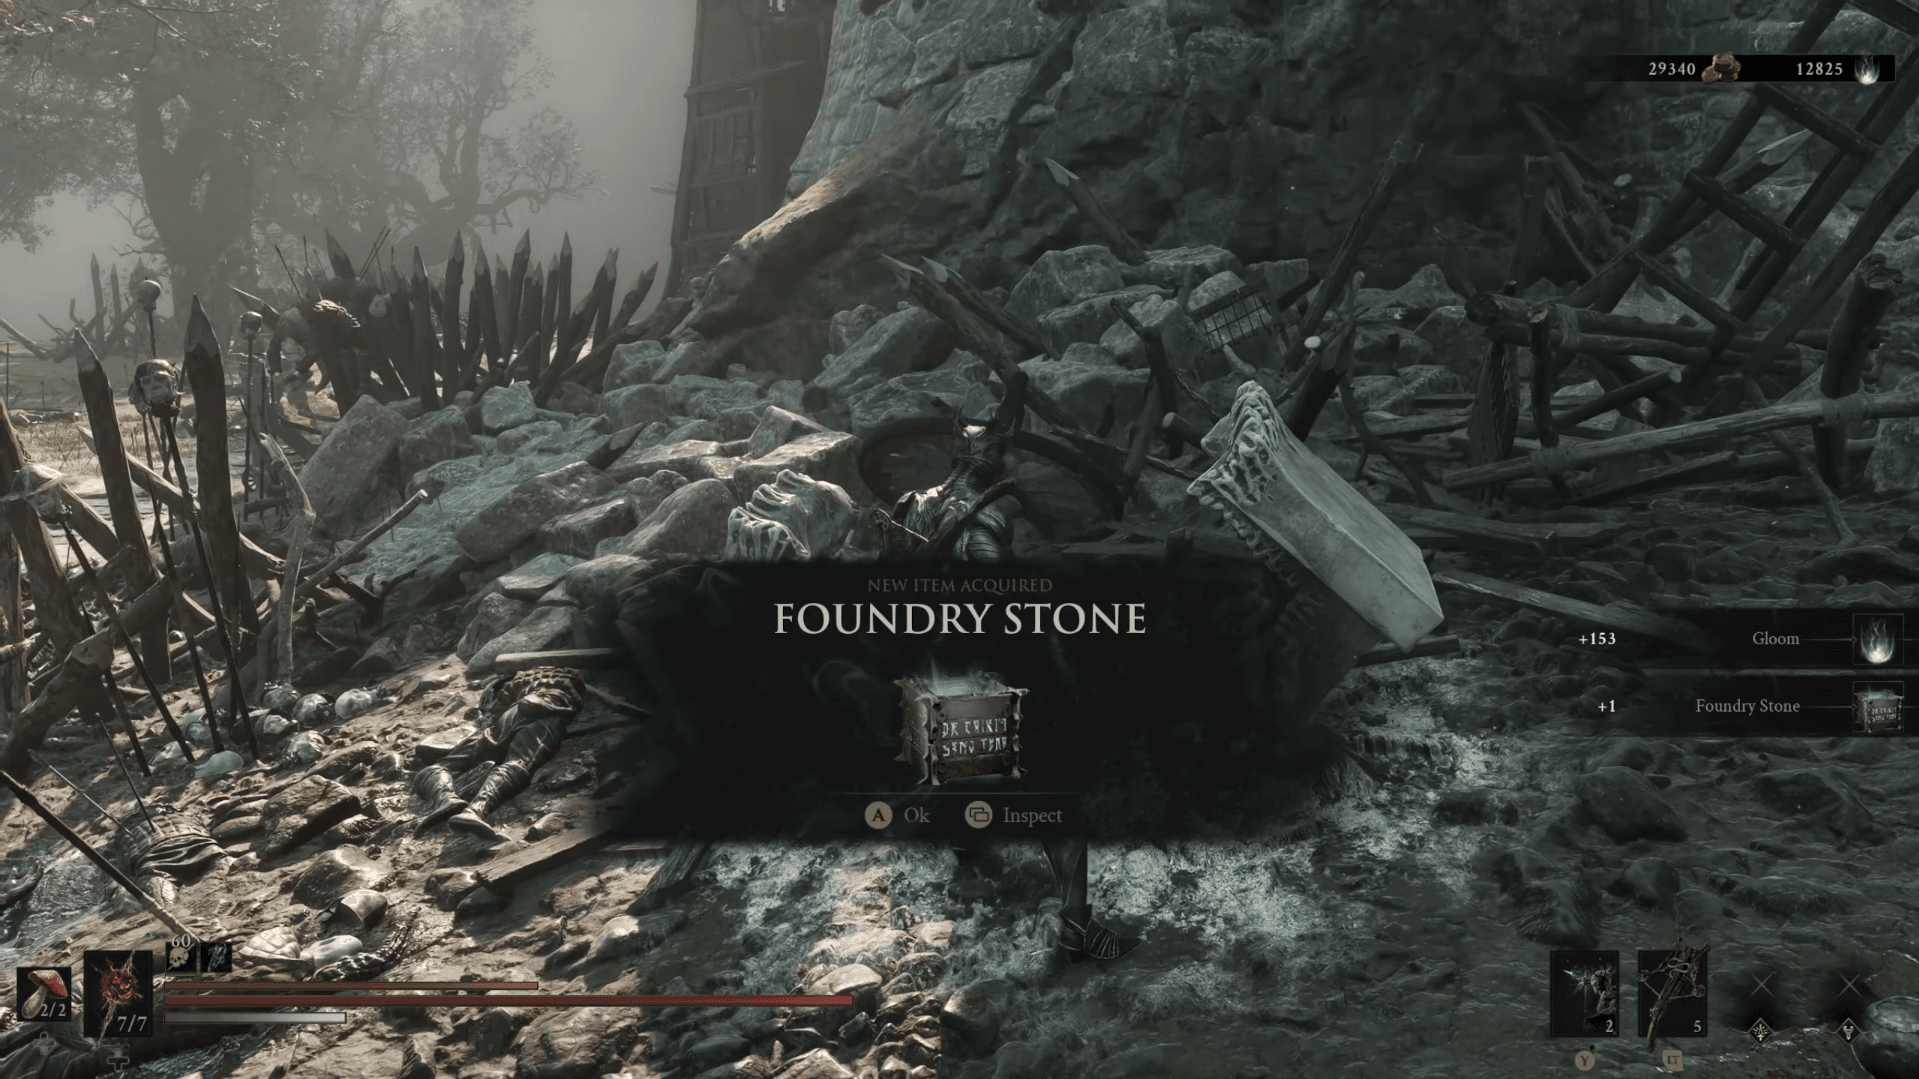
Foundry Stone (unlocks Smelt Equipment)
Fast travel to the Outskirts of Mammon beacon, which is the first beacon already unlocked at the start of the game. Look south and you'll see a slope dropping down to a battlefield packed with regular soldiers and elite knights. You don't need to kill any of them. Run straight south through the area until you hit the wall fortifications, find the chest sitting against the wall, and interact with it. The Foundry Stone is yours.
The Smelt function this unlocks reverts any weapon back to +0 and refunds all the smithing materials you spent. Useful if you over-invested in a weapon before settling on your actual preferred kit. Smithing stones you'll encounter include Ventrium, Laterite, Dorsalite, Thoracium, and Ossinite.
Mortal Shell 2 Guide: All Tarforge Upgrades Items & Locations
Endless Core (removes weapon upgrade cap)
The Endless Core only becomes available near the end of the campaign. After completing all corrupted gates and collecting enough Ova to trigger the final sequence, you'll work through a series of boss fights that unlock the Hidden Knave beacon, positioned just before the final confrontation with Zmei, the dragon.
Cleanse the Hidden Knave beacon and enter its cleanse dungeon. The Endless Core is in a chest inside. Installing it through the Tarforge menu removes the upgrade cap on all weapons and sidearms, pushing the ceiling to +20.

Mortal Shell 2 Guide: All Tarforge Upgrades Items & Locations
Is there a faster way to unlock all Tarforge functions?
Yes. Kill Franz.
It sounds counterintuitive, but eliminating Franz in the Marrow Keep instantly unlocks all four main Tarforge functions (Enhance Weapons, Enhance Sidearms, Temper Tarstones, and Smelt Equipment) without requiring any of the items. You can do this at the very start of a playthrough with no apparent penalties.
Here's what happens to the items afterward: if you kill Franz and then collect the Muradean Actuator, Obsidian Lathe, Foundry Stone, and Etching Needles and bring them to the now-unmanned Tarforge, the machine rewards you with crafting materials instead. Each item nets you +7 Ventrium, +4 Laterite, and +3 Dorsalite, which is a solid resource injection for early upgrades.
The Endless Core is unaffected by this. You still need to find it near the end of the game and install it manually.
What should you upgrade first?
Prioritize Enhance Weapons the moment you have the Muradean Actuator. Getting your primary weapon to +3 or +4 early makes the mid-game considerably less punishing. Sidearm upgrades are secondary unless you're running a build that leans heavily on ranged attacks. For a deep look at maximizing a specific Shell's potential, the best build guide for Tiel covers exactly which weapons and Tarstones are worth investing in.
For Tarstones, the key insight is to treat lower-tier Tarstones as Tarcore farms rather than ignoring them. Level cheap Tarstones from 1 to 2 repeatedly to build up the Tarcore reserve needed to max out the Tarstones that actually define your build.
For more on building out your character from scratch, the full Mortal Shell 2 strategy guides collection covers shells, maps, and combat mechanics in detail.