
Every achievement in Mouse: P.I. For Hire, explained
Mouse: P.I. For Hire packs 34 achievements across its full run, and most of them are straightforward enough once you know what to prioritize. The ones that trip people up are the collectible-heavy trophies, particularly the comics and newspapers, because the game gives you a fixed coin budget that doesn't stretch far enough to buy everything you missed. Get ahead of that problem early, and the rest of the list falls into place naturally.
Full trophy list
Here's every achievement with what it requires and how to unlock it.
Pin every clue to unlock So, Whodunit?
How does coin management work for collectibles?
This is the most important thing to understand before you start a 100% run. The game does not give you enough coins to buy every collectible from the Ammo Store outright. Newspapers cost 100 coins each at the shop, comics cost 50 coins each, and the gaps add up fast if you've been spending freely.
The recommended approach is to hold every coin you earn until you reach the point of no return before the Jack Squat mission. Make a manual save there. From that save, you can:
- Buy all missing baseball cards, unlock the card achievement, then reload
- Win 30 Baseball Card matches for S'all in the Cards, then reload
- Buy any missing comics and newspapers, then finish the game
Players who collect diligently during missions report finishing with around 7,400 coins at that save point, which means you can afford to miss roughly 1,400 coins worth of pickups across the whole game. Each missed comic is 50 coins and each missed newspaper is 100 coins, so the math is forgiving if you're reasonably thorough.
Do not spend coins before reaching the Jack Squat save point. Buying upgrades or other items early will leave you short for collectibles and could lock you out of multiple achievements in a single run.
How do you unlock The Prequel achievement?
The Prequel requires collecting all 29 comic strips. The comics are spread across missions, with the majority available before the point of no return. The breakdown that matters: make sure you have 25 of the 29 comics before starting Jack Squat. The remaining 4 are found in missions after that point, so you can't miss them if you're paying attention.
Comics you miss during missions can be purchased from the Ammo Store for 50 coins each. Check your comic menu carefully before spending, because the shop lists duplicates of items you already own and there's no warning before you buy.
For a full breakdown of where every strip appears by mission, our all comics collectible locations guide covers each one in order.
The comic menu labels slots differently from strip numbers because the cover takes up slot 1. Strip 6 sits in slot 7, for example. Use the shop's numbering system when checking what you're missing, not the menu slot positions.
What are the secret collectibles and where are they?
Separate from the regular newspapers, comics, baseball cards, and schematics, there are 10 figurines hidden across the game. These are tracked differently from standard collectibles. They don't show up in the regular collectible menu. Instead, they're placed in Jack's P.I. office when found. Here's where each one is:
- Little and Big Bar (near P.I. Office): Go through the kitchen, tailpick the locked basement door in the back left corner. The figurine is behind the curtain.
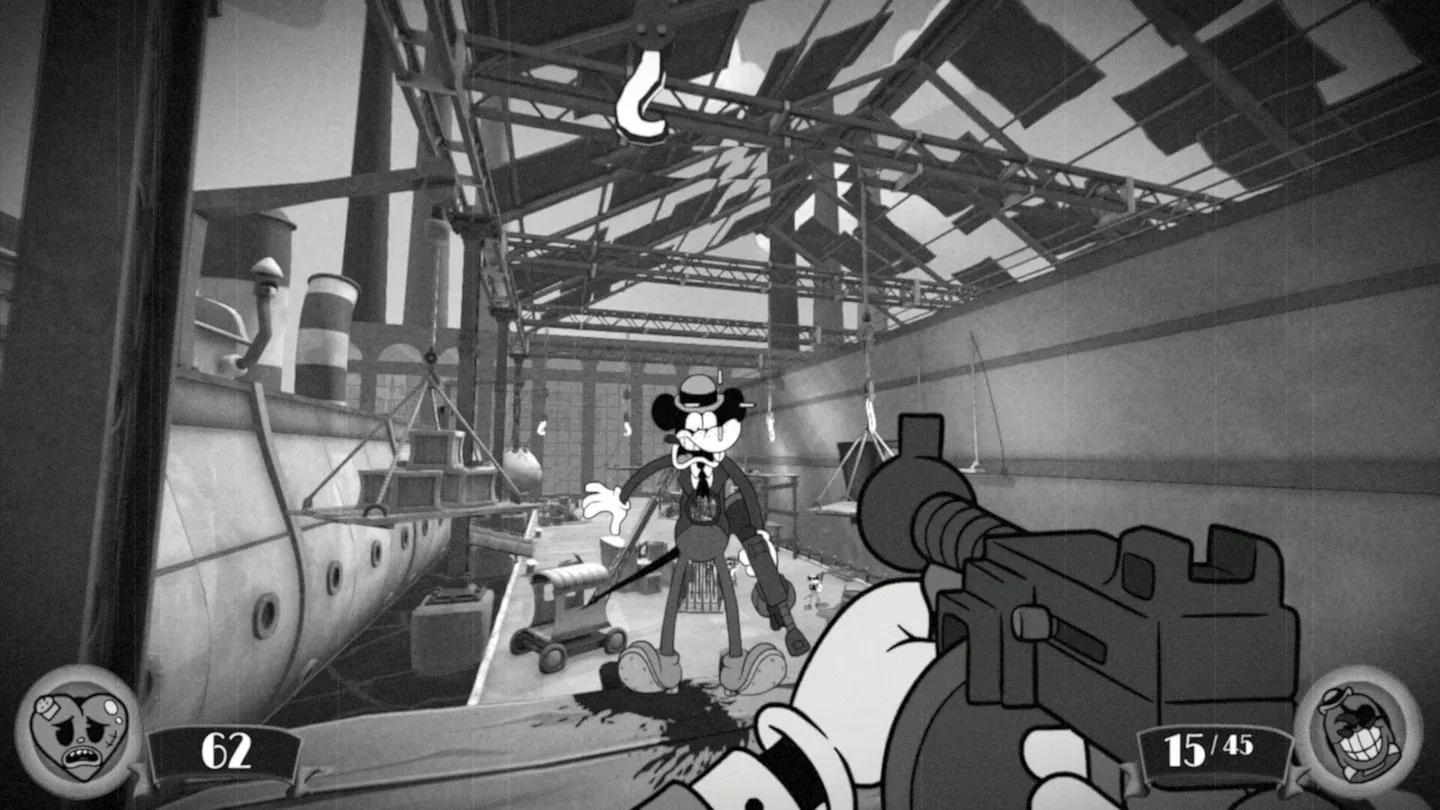
- Cheeseball Sub (Blueprints, Please Side Job): There's a destructible wall above the train car holding the blueprints. Break through it.
- Saltwater Cambozo: At the start of the section, jump off the dock near the giant shark and use helicopter tail to reach the hidden tunnel under the dock.
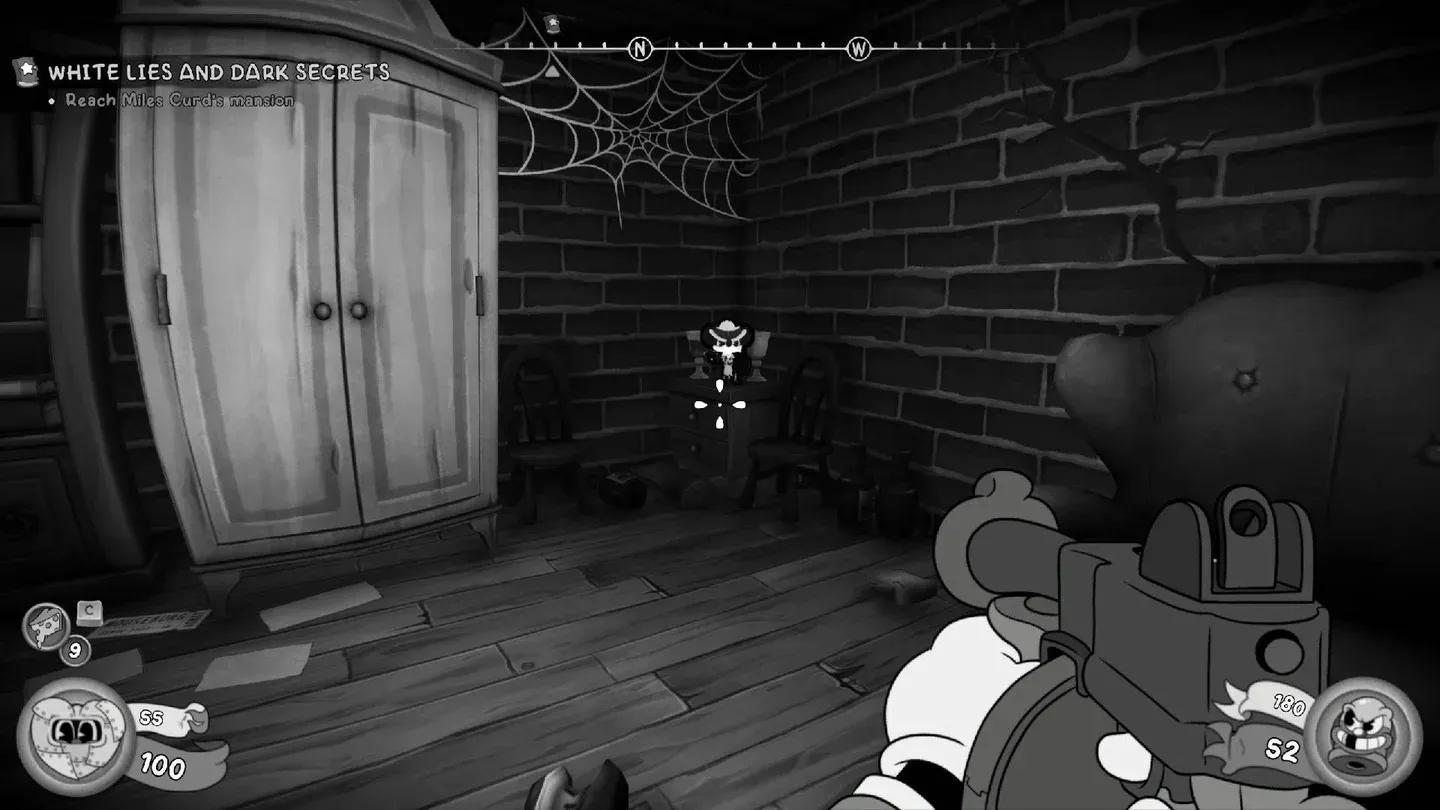
- White Lies and Dark Secrets: Shoot three bells in sequence (one on the church, one on a tree to the northeast, one on a building behind the tree). The church door opens. The figurine is in the back left room.
- Damp Evidence: Before picking up the Foyer Key, climb over the lockers on the south wall and enter the vent. Grabbing the key collapses the floor and seals off the vent permanently.
- It All Points Here, Right?: After the second Francesco encounter, find the vent past the locked door. The janitor nearby has a Dressing Room Key on the window sill. Use it on the door past him.
- Where the Hell is Steve Bandel?: Descend into hell after the unknown world section. There's a bar in the center of a large room. The figurine is behind it.
- Glugging From the Deep: On the docks, look south for a ladder to a crane switch. Go left along the roof toward the ocean, jump the small fence, reach the end, and drop to a hidden room. Wait for The Veloper's dialogue and a warp pipe will appear with the figurine.
- The House of the Empty Mouse: Find all 3 Golden Mon-Keigh statues and place them on the library altars upstairs. A bookshelf opens to the right of the third altar. The figurine is on a desk near the controls downstairs.
- Fair Enough: After the courtyard with animal hedges, go left up the stairs to find a skeleton coming out of a hedge. Walk through it. It's an illusory wall.
Secret Collectible 5 in Damp Evidence is permanently missable. If you pick up the Foyer Key before going through the vent above the south wall lockers, the floor collapses and the route is gone. Do the vent first.
Figurines display in Jack's office
How do you unlock Everybody Loves Rayguns?
The X1 D-Mousifier (also called the Demousifier Ray Gun) is the reward for spending 35 Spike-D Prize Tokens at the Spike-D vending machine. You earn these tokens by winning Baseball Card matches at the bar tables. Each match costs $25 to enter. Winning grants a token, so you need at least 35 wins to get the weapon. Conveniently, that overlaps with the 30 wins needed for S'all in the Cards, so you'll want to plan your bar sessions to knock out both at once.
How do you get the Tricks of the Trade achievement?
This one requires unlocking all 5 special abilities: double jump, helicopter tail, grappling tail, wall jump, and monkey vault. These are earned through normal progression, so as long as you're not rushing past ability unlock moments, this achievement comes naturally by the end of the game.
How do you unlock the combat achievements?
Several achievements target specific kill conditions. None require grinding specific missions. They accumulate naturally across a full playthrough if you use the right methods:
- Boom Town: Kick or throw explosive barrels into 20 enemies total
- Firestarter: Shoot barrels to detonate them, killing 20 enemies total (does not overlap with Boom Town)
- Spike-D 16 TONS: Drop heavy objects on 20 enemies total
- Goud'em!: Kill 5 enemies within 10 seconds (explosive barrels are the fastest method)
- M-m-muenster Kill!: Kill 10 enemies within 20 seconds
- Hole-y Trinity: Kill 3 enemies with a single shot
The barrel achievements are the easiest to miss because players who prefer shooting enemies directly will never hit 20 kills by the end. Make a habit of kicking barrels into groups whenever you spot them.
Kick barrels for Boom Town progress
Weapon upgrade achievements
Schematics are the currency for upgrades at Tammy's Shop. Each weapon has three tiers:
- Tier 1: 1 schematic
- Tier 2: 3 schematics
- Tier 3: 5 schematics
This is My Boomstick! only needs one weapon at Tier 3. We'll B.A.N.G., ok? requires every weapon maxed. Schematics are scattered across every mission in the game, hidden in safes, vents, barrels, and side areas. If you're aiming for the full upgrade achievement, treat every level like a scavenger hunt and check the all collectibles locations guide to make sure you're not leaving schematics behind.
For everything else in the game, including mission walkthroughs and the full collectible breakdown across all 9 missions, the complete Mouse: P.I. For Hire guide collection has you covered.