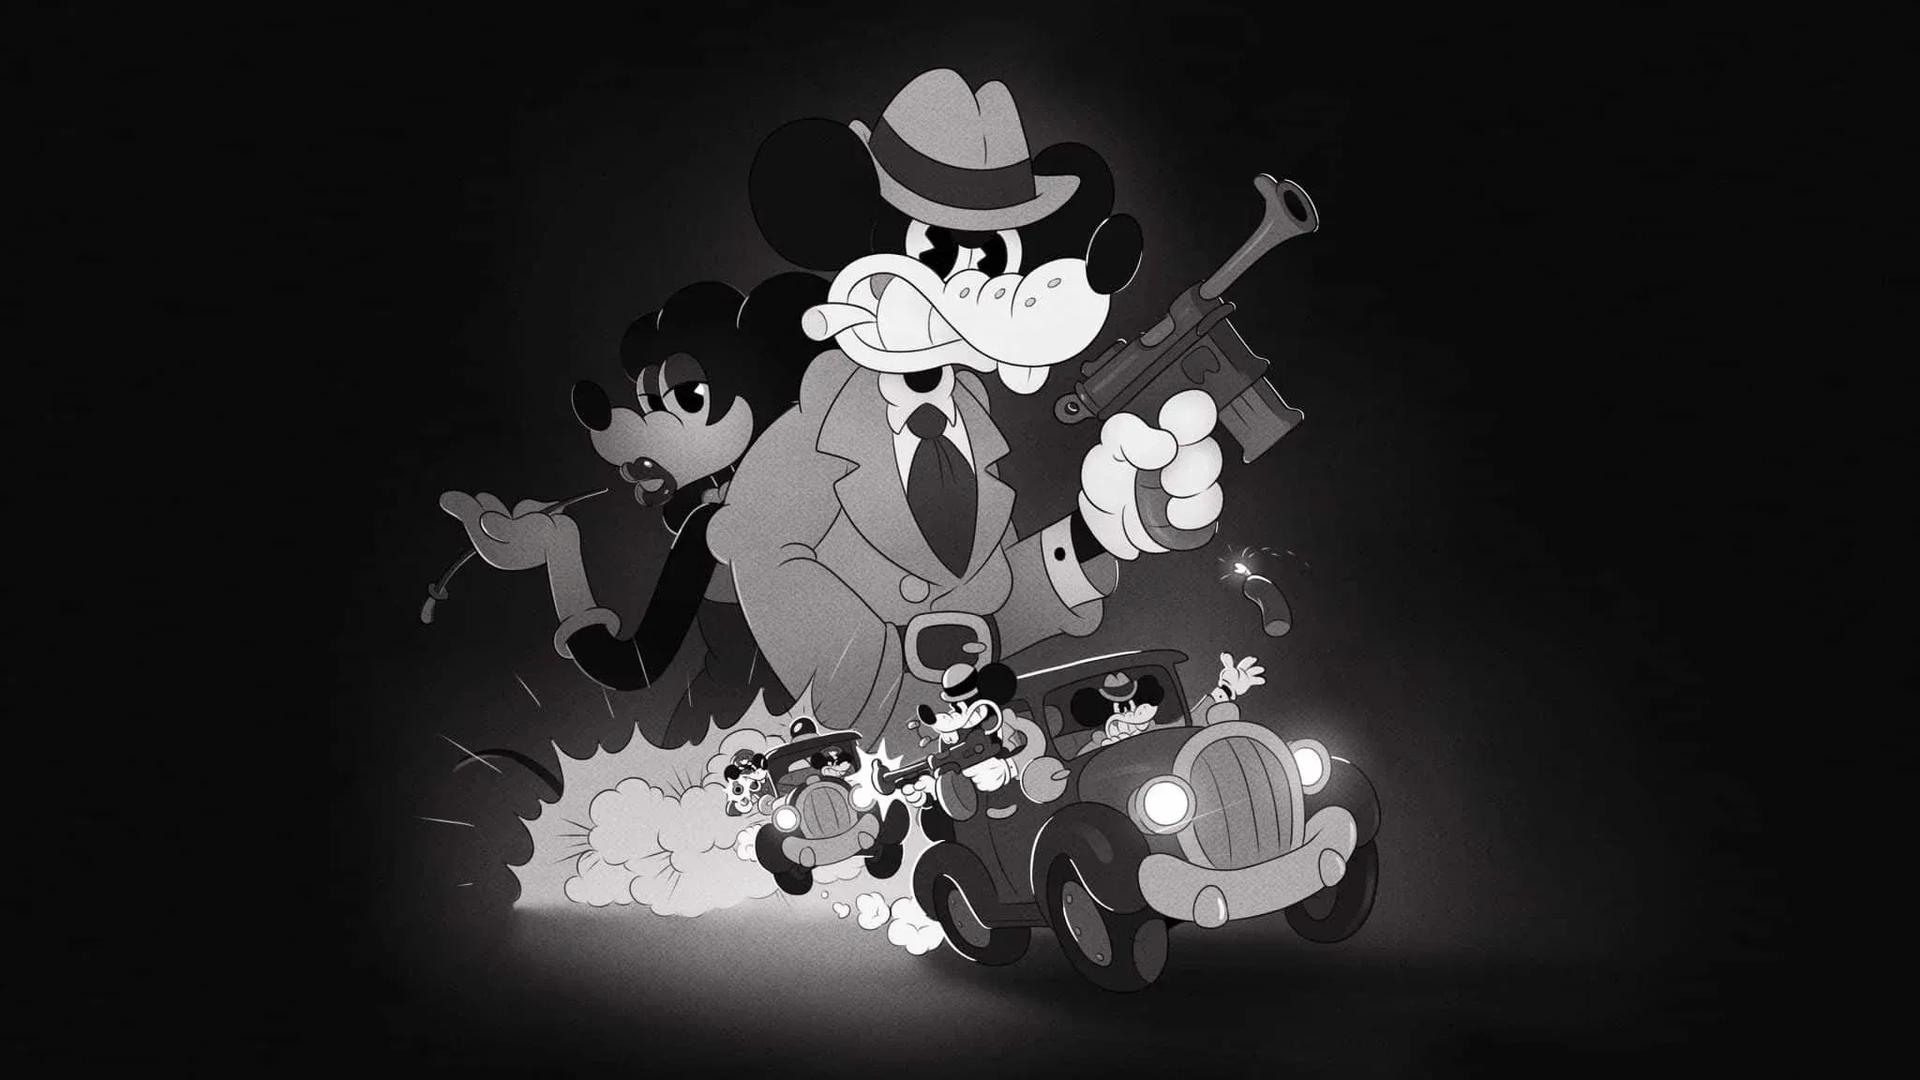

Mouse P.I. For Hire: "Once Upon a Time..." by Tinsel Bros. Walkthrough
The Blue Betty case kicks off in earnest the moment Vivian McCarthy walks into your office. Her friend is dead, the official story is an accident, and she wants the truth. You're going to Tinsel Ave., Mouseburg's answer to Hollywood Boulevard, except right now it looks like a war zone. This walkthrough covers every step from Vivian's introduction through pinning your final clues, including every newspaper, baseball card, comic, and secret room along the way in Mouse: P.I. For Hire.
Talking to Vivian and heading out
After wrapping up the Cheeseball Sub case, turn around and Vivian is already in your office. She explains that Betty Lynch was murdered and nobody believes her. Accept the case, then before getting in your car, swing by the Little and Big Bar to pick up the The Things We Keep side job. You will find the envelope needed to complete it later in this same mission, so grabbing it now saves a return trip.
Hold the action button to get into your car and drive to Tinsel Ave.

Tinsel Ave. arrival zone
How do you get through Tinsel Ave.?
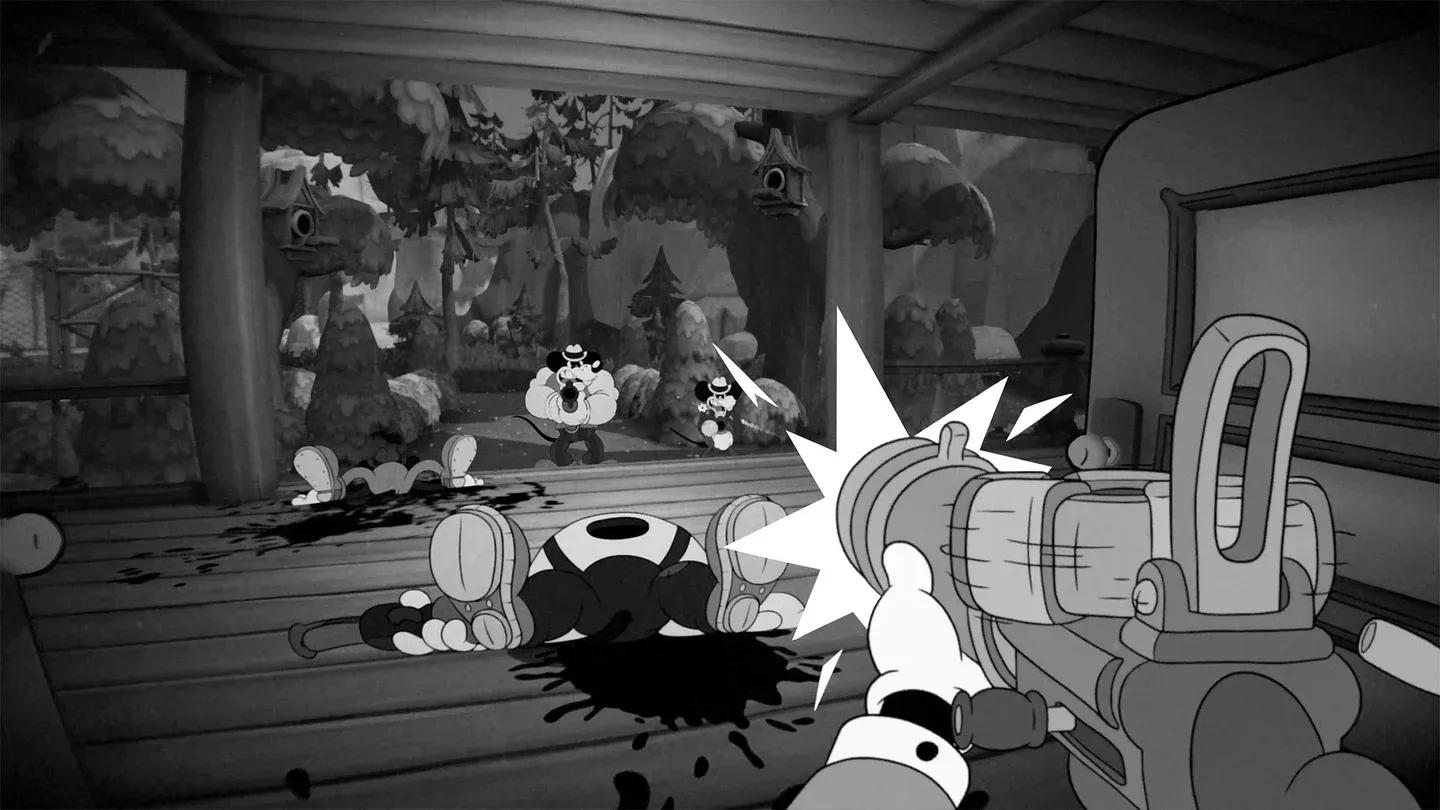
The street is immediately hostile. An enemy greets you right away, and more appear as you push forward, including a tougher enemy carrying a Boomstick. Breaking barrels and boxes for ammo is worthwhile, but expect enemies to burst out of them in this stretch.
When the road curves east, you will spot two overturned vehicles. Head to the truck at the far back first and photograph it to pick up the Truckload of Blue clue. Then move to the smoking vehicle with black smoke and go around to the north side.
Secret area behind the building
By the windows on the left is a stack of boxes. Climb them, jump to the rooftop above the door, then hop onto the upper patio through the gap in the banister. Walk along the patio heading west and you will see an open window on the building across from you. An enemy appears there, so take them out before jumping and gliding through.
Inside, turn right. There is a safe, ammo, and money. Tailpick the safe for extra cash. The north wall door connects to a building with a locked door visible from the west side of the alley.
Clear the building, then check both floors for loot. Behind the bar on the left side of the entrance you will find Newspaper 14, which covers a "Puddle Scandal."
The vent in the southeast corner of this building leads to a desk with a Scribbled Exchange note. It reads like a coworker passing notes during a meeting. Grab the money and ammo in the room before leaving.
Heading west out the door triggers more enemies. Look south immediately outside the doorway for a box with a missing side and a target you can shoot. Hit it and a trampoline drops, giving you an easier route back across the fence.
The crane and the wrecking ball
Follow the street to a large crater with enemies inside. There is a metal beam overhead you can shoot down to deal with the enemies in the hole. Collect the cash under the ramp, then find the switch on the north wall to bring the crane platform down to street level.
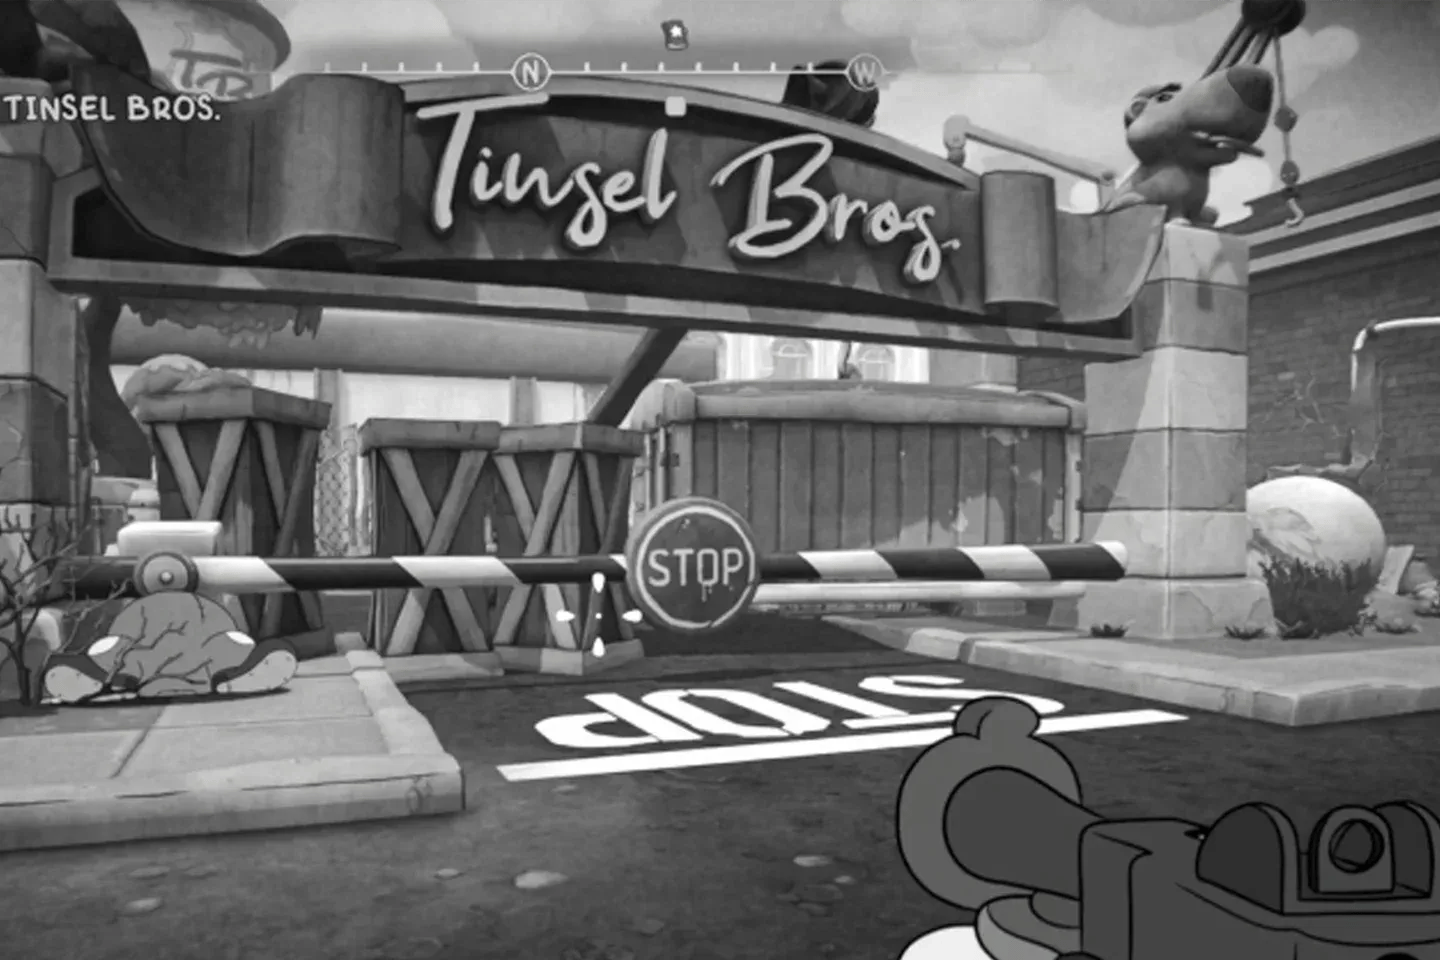
Jump to the platform and push onto the street. South of the Tinsel Brothers water tower is a gate you can open to loop back to the first alley. Open it, then go up the nearby stairs. On the desk in the corner is a schematic.
Cross the bridge west to the next landing. There is a typewriter here, save before pulling the lever. Pulling it sends a wrecking ball through the wall and triggers flying enemies. Double jump onto the wrecking ball and climb the wall. Three waves of enemies spawn from cars in the lot ahead. Once they are all down, a wooden gate opens west. Clear the remaining enemies and go through.
The next area has a bridge over a pit leading to a large building. Stepping near the bridge starts a fight with enemies coming from both north and south. Once they are cleared, go into the building and save at the typewriter just inside.
Finding someone who will talk
Go through the open doorway on the right. Clear the hall enemies, take the left doorway, and after handling the enemy inside, check the door on your left first as it is a shortcut back to the entrance. Take the stairs up.
In the office, grab the cheese on the left and read the charred letter scrap on the desk in front of the door. The note hints at someone using shady means to avoid consequences. The west-side vent leads to the drawing room, which has four enemies and artists working at their stations. Take out only the enemies.
Pull the switch on the east deck to shut off the projector and let the artists leave, though this does summon more enemies. A door in the northwest corner opens afterward. Go through the door into the alley between buildings, past the actress, and into the wardrobe hall.
All the doors in wardrobe can be opened, but only the back right one matters. That is where you find Gabe Clarkle, who tells you about a pyrotechnist who knew Betty personally and is working on a set today.
How do you find the pyrotechnist?
Through the next door is a typewriter and a "Totally Normal Wall." Blow it up.
Secret room behind the wall
Drop into the hole and follow the path to the barrels. An enemy pops out when you break them, so toggle off your flashlight before swinging. Drop to the lower level. In the back left corner on top of a box is a Baseball Card for pitcher Justin Young.
Back at the typewriter, take the side door into the alley. Check the vent under the stairs for extra cash before entering the next building.
Inside, clear the enemies, grab the cheese on the table, and check the bathroom. In the last stall you will find a skeleton reading the paper. He is not getting up, so take Newspaper 15, which covers a novelist and his bestseller.
The west door leads to an auditorium. Money sits in the seats. Clear the enemies, then work through the west backstage door to collect cash and ammo on the back side. Shoot items from the ceiling to drop on the second set of enemies.
Once clear, exit the west door and look immediately left. The envelope here completes Wanda's The Things We Keep side job.
Before entering the John Jones door, check the alley on your left. Drop both the piano and the box, then jump on top of them. Double jump to the platform on the train cars and drop behind them to find a second Baseball Card for pitcher Joshua Diaz. Use the trampoline on the far side to get back out.
Save at the typewriter inside the John Jones set before stepping onto the stage.
Save before the John Jones set
Speak with the trapped stuntman
You hear someone talking. Pull the lever in front of you to stop the waterfall and reveal the stuntman. Drop from the left side and walk the path between the water puddles toward him. On your left between the puddles is a schematic next to a camera.
The stuntman is Rocky Ford. He is stuck because medication is preventing him from doing his scene and needs you to fill in. Speak with him and he teaches you the grappling tail.
How do you return the idols to their plinths?
Rocky needs three idols placed on the circle near the entrance. The first idol is directly behind Rocky. Grab it, ride the trampoline up to the platform, and place it.
Pull the lever again to drop a poster explaining grappling tail mechanics. Grab the hook behind the poster and swing to the next platform, pressing Jump to release the hook. Follow the path, grab the second idol, and return it.
Pull the lever a third time. A boulder drops and you need to sprint to the door opening on the other side. Swing on the hook and at the end of the path, jump and grapple the hook to make it through before the door closes.
Do not hesitate when the boulder drops. The window to reach the door is tight. If you miss the final grapple jump, you will need to restart the sequence from the lever.
Continuing to find the pyrotechnist
The next room has enemies and a typewriter. Check the bathroom on the left. Open the curtain on the last stall with your action button. It is just an enemy who drops money and ammo.
Exit south into more enemies. Use the boxes for cover and keep a ranged weapon ready. On the ground level, a garage has a switch inside that lowers the mechanic platform and brings the pyrotechnist into view.
She tells you Betty was meeting with a mysterious suit she kept very quiet. This gives you the Tinsel Scrub clue. The pyrotechnist points you to Betty's belongings, past the medieval set.
Pyrotechnist drops the Tinsel Scrub clue
Locating the dressing rooms
The doors beside the pyrotechnist are now open. Fire covers this medieval set and enemies are inside. Fight through heading east until you reach a broken bridge with a grapple hook. Keep pushing east past more enemies until the path curves and you find a lever by a gate. Pull it and proceed.
Hooks on balloons drop in the next area for grappling. Grab the Pepper-D dispenser before entering the next shootout.
Secret comic location
After clearing the room, head east into the corner. There is a box next to a camera. Get inside the box and on the wall you will find Comic 11.
Cross the bridge and go up the northwest ramp. A hook at the top lets you cross to the other side. Before going through the obvious doorway, follow the outside ledge right and take that door instead. It is a shortcut back to Gabe Clarkle's dressing room area. Return and take the east doorway.
Save at the typewriter inside. Above the actor is a duck target. Shoot it and a wall of the attached box drops, letting you stack the nearby boxes, jump, and grapple tail through to the upper ledge. Fight the enemies there, then take the right door back into the drawing room on the upper level.
Use the hooks to cross east, then north. On the north upper level, head west to collect the schematic. The north door leads to the Western Park Film Set. Jump down to the actress dressing room below, landing on the pillows to avoid fall damage.
Facing south is a locked door, facing east past the dressing room is a locked gate. Both require a Rear Gate Key. Enter the dressing room.
Searching for clues in the dressing room
Around the corner is a vanity. Press your action button to open the drawer.
Inside is a photograph of Betty Lynch with Milford Soyer, a mayoral candidate, at a Big Mouse party. There is also a note attached. This gives you the Betty & Soyer? clue and the Sub at Wallop Bay clue. Under the picture are two Rear Gate Keys, and picking them up gives you both automatically.
How do you leave the film studio?
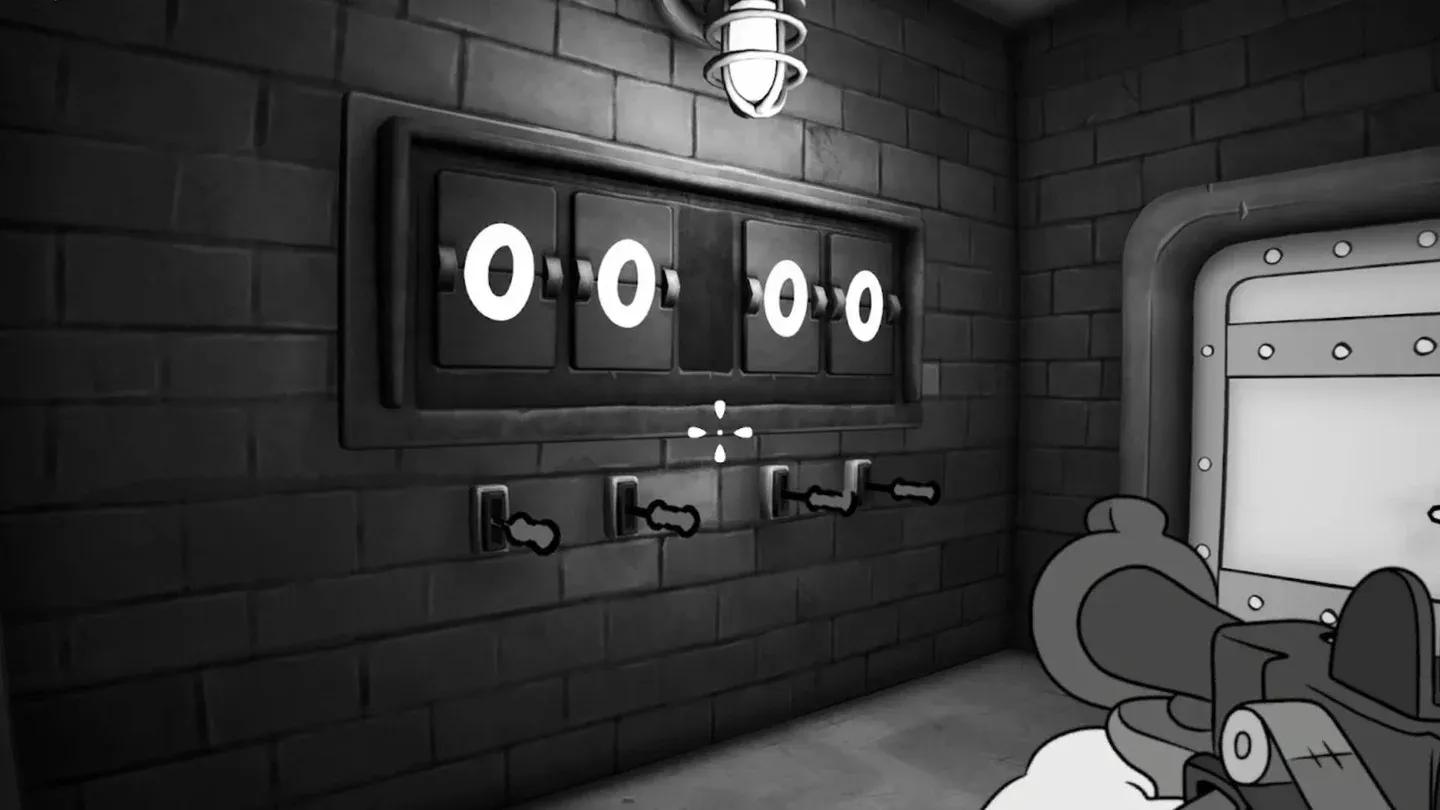
Use the key on the locked door to reach a film room connected to the drawing room. There is money here and a locked door you can tailpick. The lock has a generous timer with a few spike obstacles.
Beyond that door is a staircase leading to a safe. This lock is timed, movement-restricted, and spiked, so take your time reading the mechanism before committing. Inside is another schematic.
Return to the dressing room area, unlock the gate, and use the Quit-o-Phone to leave the studio.
Use Quit-o-Phone to exit
Presenting your findings to Vivian
Back with Vivian, Jack mentions that Betty likely reached Milford Soyer through someone named Curd. Vivian recognizes the name and agrees that tracking down Curd is the next logical move.
What clues do you pin after Tinsel Ave.?
You collect four clues across this mission:
The Sub at Wallop Bay clue is especially useful because it lets you Resolve Lead for The Missing Magician, opening a new location and revealing a connection between that case, the Shrew Shortage, and Saltwater Cambozo. You can either follow that thread or continue the Blue Betty case by heading to the Opera Ruins for the A Bit of Curd and Pepper trail.
For everything else the game has to offer, the full Mouse: P.I. For Hire guide collection has you covered from the opening case through the final confrontation.