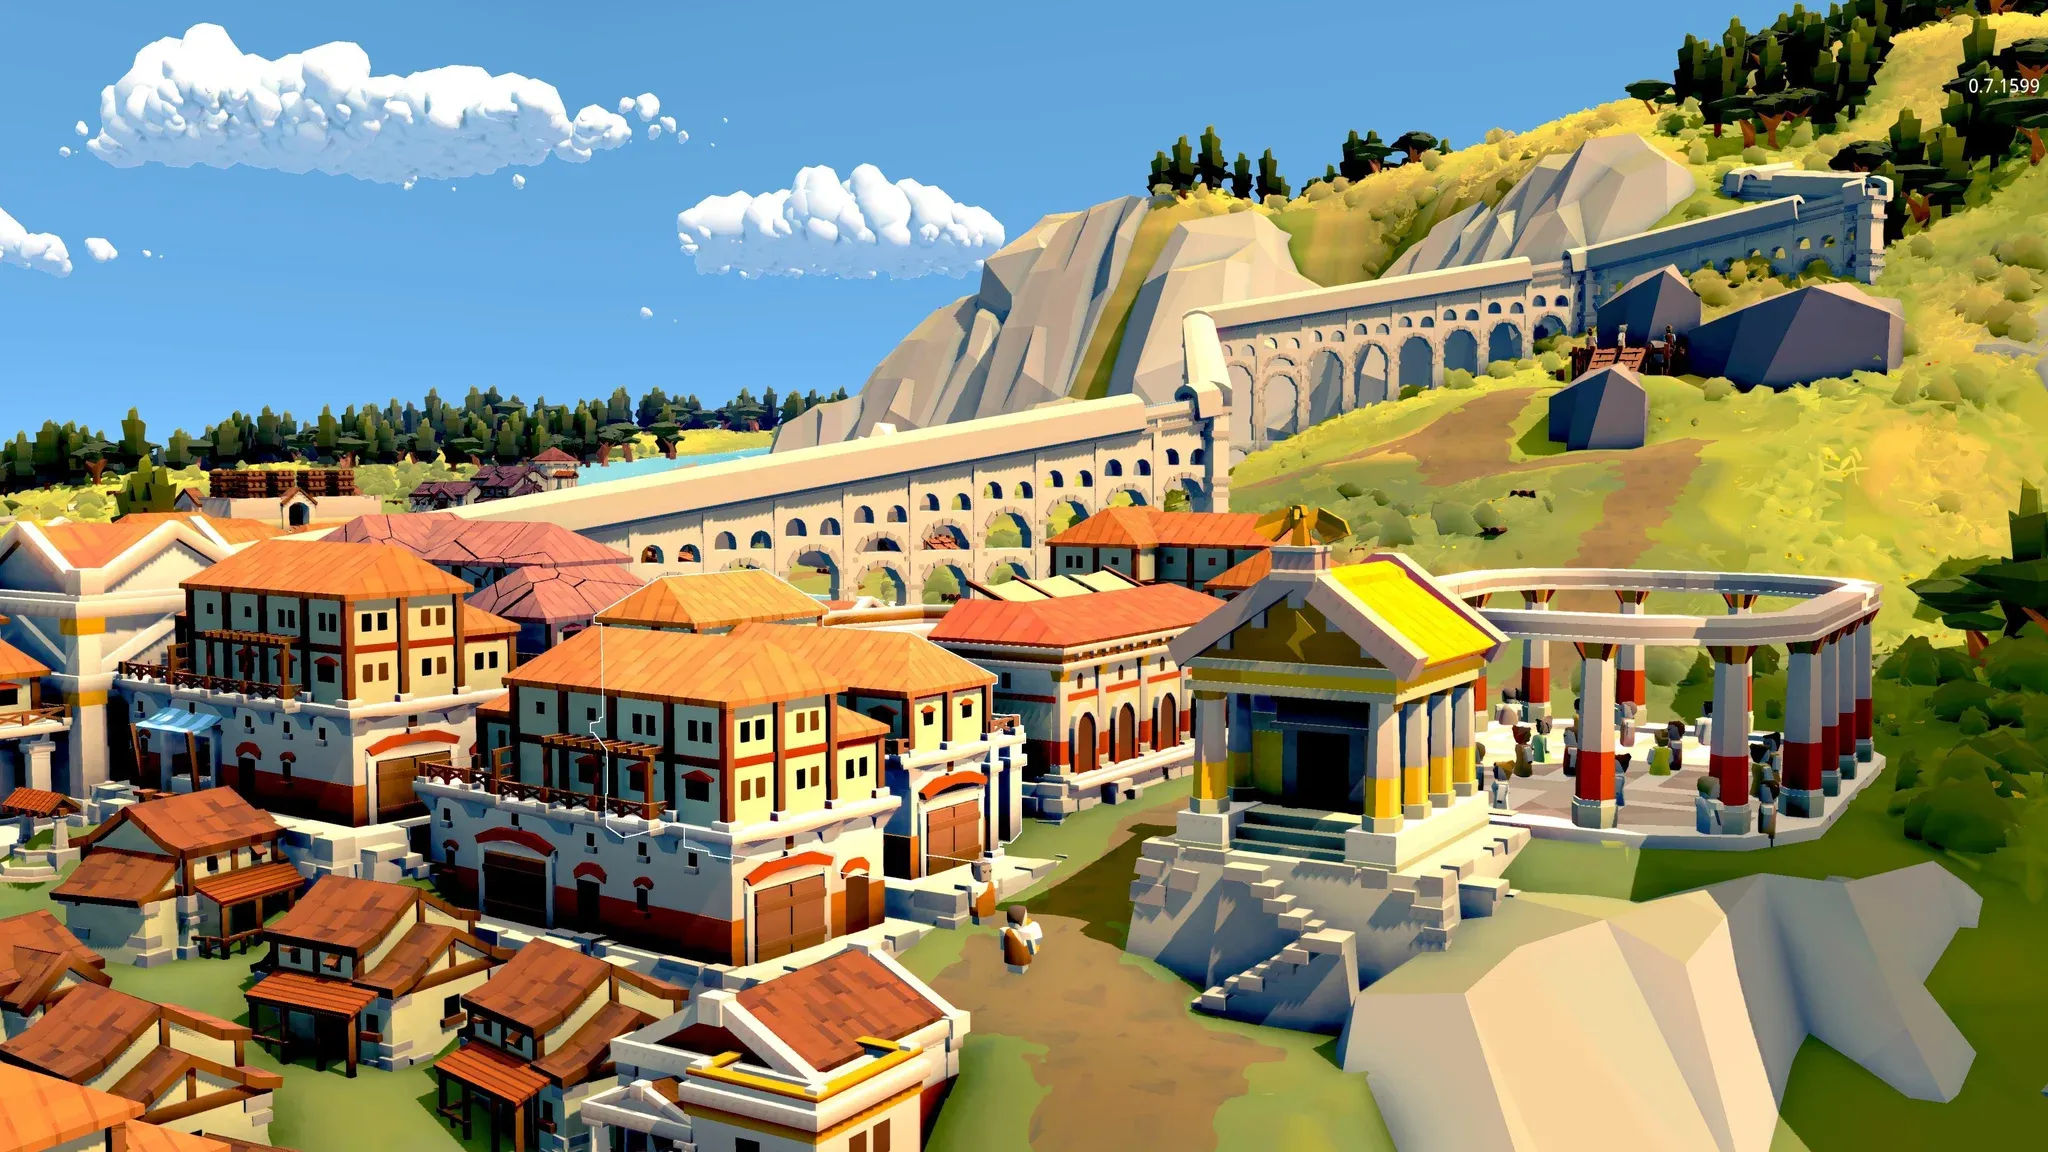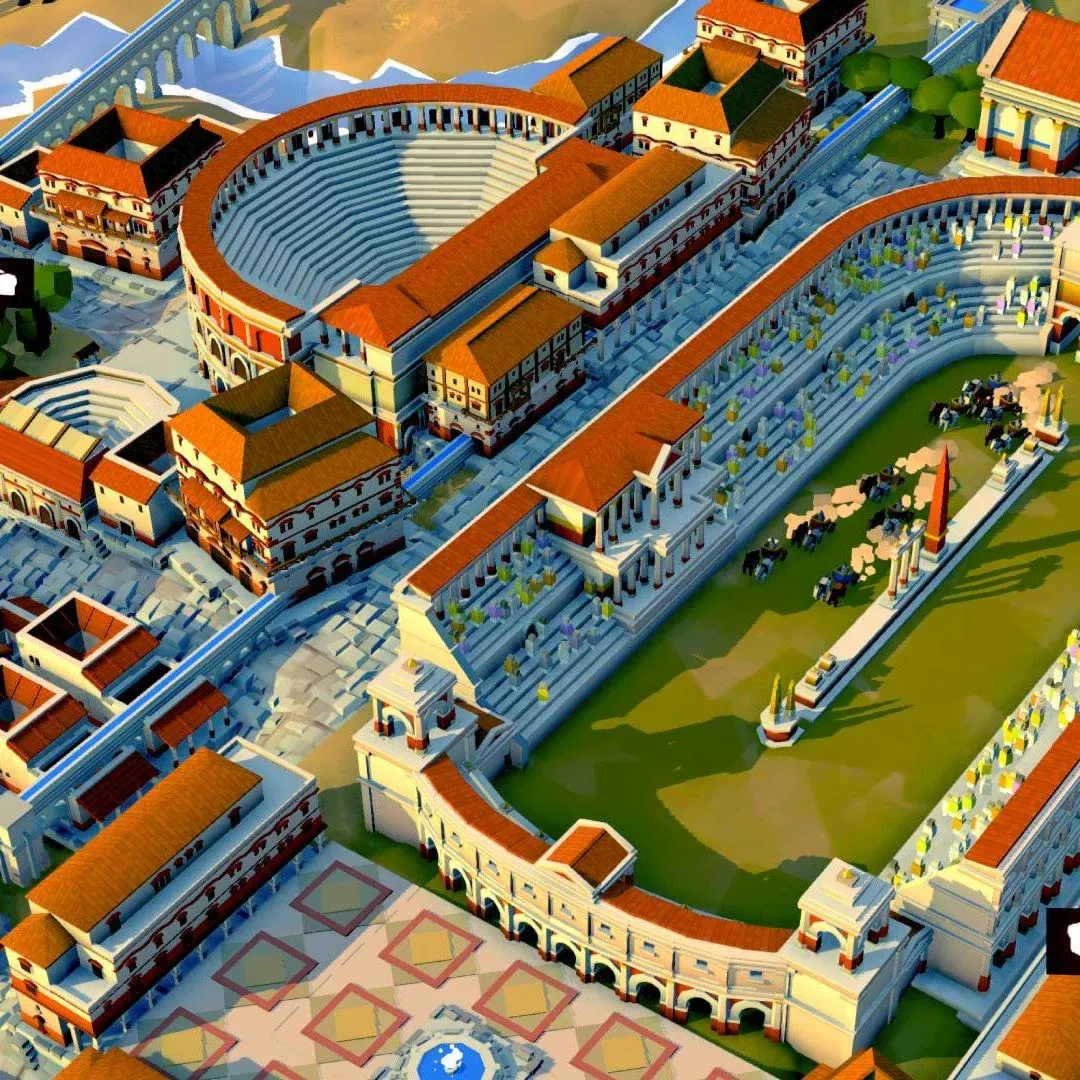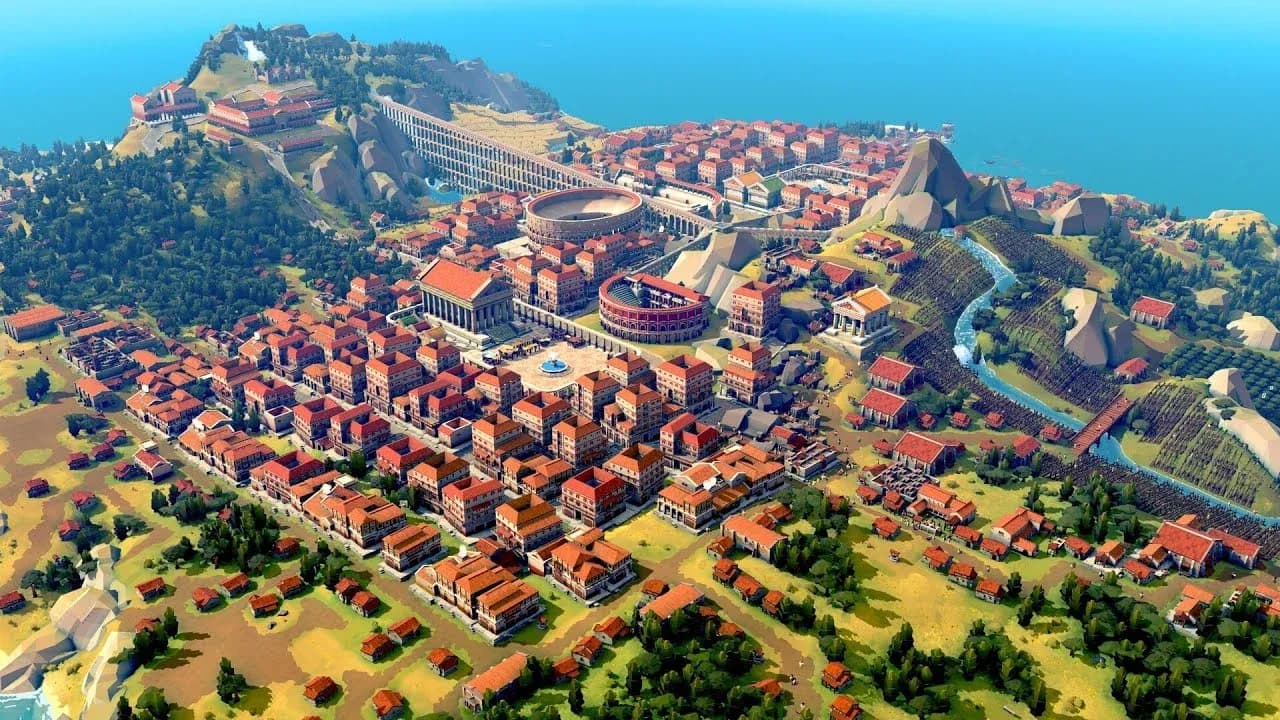

Nova Roma's water system operates on real physics: gravity drives flow, distance kills pressure, and a poorly placed intake will leave your citizens thirsty no matter how many pipes you lay. The first 30 minutes of aqueduct planning determine whether your settlement reaches 100,000 population or spends hours troubleshooting red fountain warnings.
How does water actually work in Nova Roma?
Water in Nova Roma follows gravitational rules. Your Water Intake needs to sit underwater to pull flow from the river, but it also must sit at higher elevation than your city center to generate downstream pressure. Miss either condition and you'll have flow without pressure or pressure without flow.
The HCU (High-Density Citizen Unit) Engine added in v1.4.2 simulates individual thirst for every citizen. A fountain running at 10% pressure won't count as "supplied" for adjacent housing, which blocks tier upgrades even when water technically arrives. Pressure and connectivity both matter.


What is the correct aqueduct layout for consistent pressure?
The core rule is simple: install a Water Tower every 25 tiles along your aqueduct line. Each tower resets pressure to 100%, so a 100-tile run serving a remote district requires three towers spaced evenly, not one at the terminus.
Hillside and mountain maps need a different approach. Siphon Pipes unlock in the Marble Era tech tree and push water uphill. They cost more to build, but they're the only reliable tool for elevated districts that sit above your water source.
Core pressure behavior at a glance:
| Distance from Reservoir | Pressure Without Tower | Pressure With Tower Every 25 Tiles |
|---|---|---|
| 0-25 tiles | 100% | 100% |
| 26-50 tiles | ~50% | 100% |
| 51-75 tiles | ~20% | 100% |
| 76-100 tiles | ~10% | 100% |
| 100+ tiles | Critical failure | 100% (with correct tower count) |
Positioning your intake higher than your city center is the single most important decision for avoiding chronic pressure problems. Detailed aqueduct layout mechanics confirm this elevation relationship controls the entire network.
Setting up your first residential water block
The Golden 6x6 residential block remains the default starter layout because it works. A Central Fountain at the exact center of a 6x6 grid reaches all 12 surrounding Plebeian Houses before any citizen's thirst meter drops happiness. Past 6 tiles, you're hoping citizens stay patient.
Essential components for a functional water block:
- Central Fountain at grid position (3,3) for equal access to all 12 houses
- Water Tower hookup at the block's entry road, not halfway through
- A 2-tile gap (the Insula Gap) between neighboring 6x6 blocks for future sewage routing
- Shrine to Ceres within the block to hold happiness above 75% during water outages
Why does water pressure fail even with a working aqueduct?
Three common causes, all solvable:
Elevation mismatch. Your intake draws water, but the pipe climbs uphill somewhere before the fountain. Inspect your terrain profile. Even a 1-tile rise mid-route kills downstream pressure.
Tower spacing mistakes. Placing towers at 30 or 40-tile intervals feels close enough, but the 25-tile rule is absolute in the current build. Exceeding 26 tiles starts pressure decay.
Branching without compensation. Splitting one aqueduct into two branches cuts flow in half for each side. Add a dedicated tower at the split to restore pressure on both lines before they separate.
Understanding intake placement and elevation relationships is critical before laying your first pipe. Getting the source-to-city elevation correct from the start prevents most pressure failures.
Advanced water management: scaling to a large city
Past 10,000 citizens, a single aqueduct backbone feeding everything becomes fragile. Any break or pressure drop cascades across the entire network. The fix is zone-based water independence: each district runs its own intake-to-fountain chain, with the main aqueduct serving only as backup.
Patrician Villa districts demand higher standards. Patricians expect consistent water and won't tolerate interruptions. Install a dedicated Water Tower at the villa district entrance and run a separate aqueduct branch that doesn't share capacity with industrial or Plebeian zones. A Decorative Canal around the villa district adds +20 Land Value and creates a natural buffer that keeps infrastructure visually separated.
Industrial zones need water but tolerate pressure drops better. Route industrial water last in your priority order, and always build industrial intakes downwind of residential areas to keep Miasma away from your population.
What's the fastest way to fix a city-wide water crisis?
If you're already in a water failure spiral, follow this recovery sequence:
- Pause immediately to stop the happiness decay timer
- Trace your aqueduct from intake to endpoint, checking elevation at every tile
- Find the first point where pressure falls below 50% and place a Water Tower there
- Inspect all branch splits for missing towers at divergence points
- Rebuild any road segments crossing your aqueduct at grade (they block cart pathfinding)
- Unpause and monitor pressure propagation before adding more towers
Give it time. Pressure restoration isn't instant—the game simulates flow propagation, so wait 30-60 in-game minutes before deciding a fix failed.
For more city-building strategy across Nova Roma and other titles, explore the latest guides on GAMES.GG for supply chain and scaling advice.