
Stop leaving loot behind in Outbound
Outbound is a game that punishes a full backpack harder than almost any other obstacle in it. You are constantly gathering materials, and your default 20 inventory slots disappear fast. The fix is straightforward once you know where to look: build a Sewing Table, craft your first Backpack Upgrade, and start using the van's exterior storage flap properly. This guide covers every step, from the first 5 Fiber you spend to locking your tools so they never get accidentally dumped.
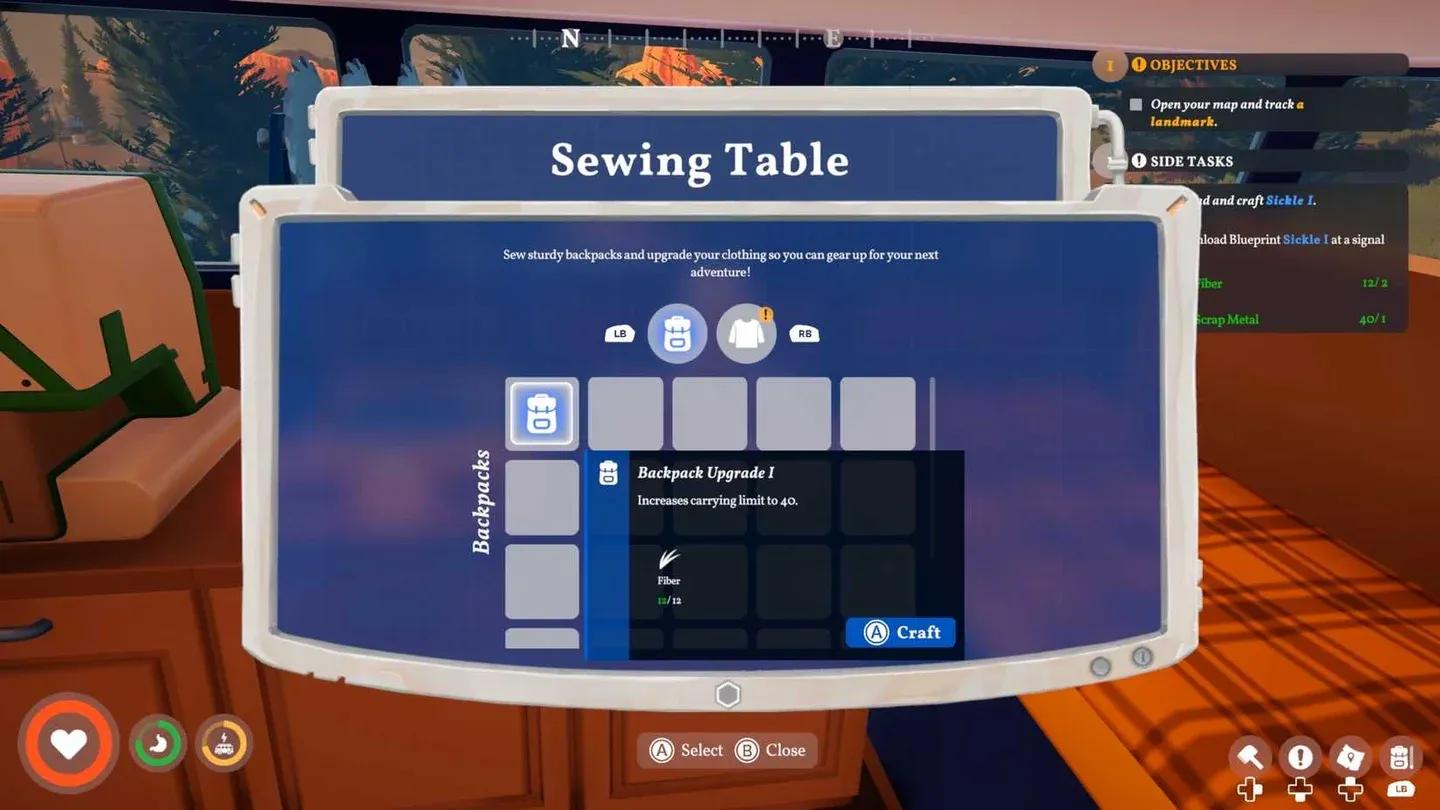
Sewing Table backpack upgrade menu
How do you unlock the Sewing Table in Outbound?
The Sewing Table is your gateway to every backpack and clothing upgrade in the game. You cannot craft it from the start. The blueprint must be found first, and there are two reliable ways to grab it:
- Interact with a computer terminal at a landmark out in the open world.
- Download the blueprint directly from a Signal Tower.
Once you have the blueprint, building the Sewing Table costs just 5 Fiber. Fiber comes from the slim, orange-brown plants scattered across most biomes. They are easy to spot once you know what you are looking for. Check our guide on how to get Fiber in Outbound for the fastest farming spots.
Place the Sewing Table inside your RV and the game automatically grants you the recipe for Backpack Upgrade 1. You do not need to find a separate blueprint for the first tier.
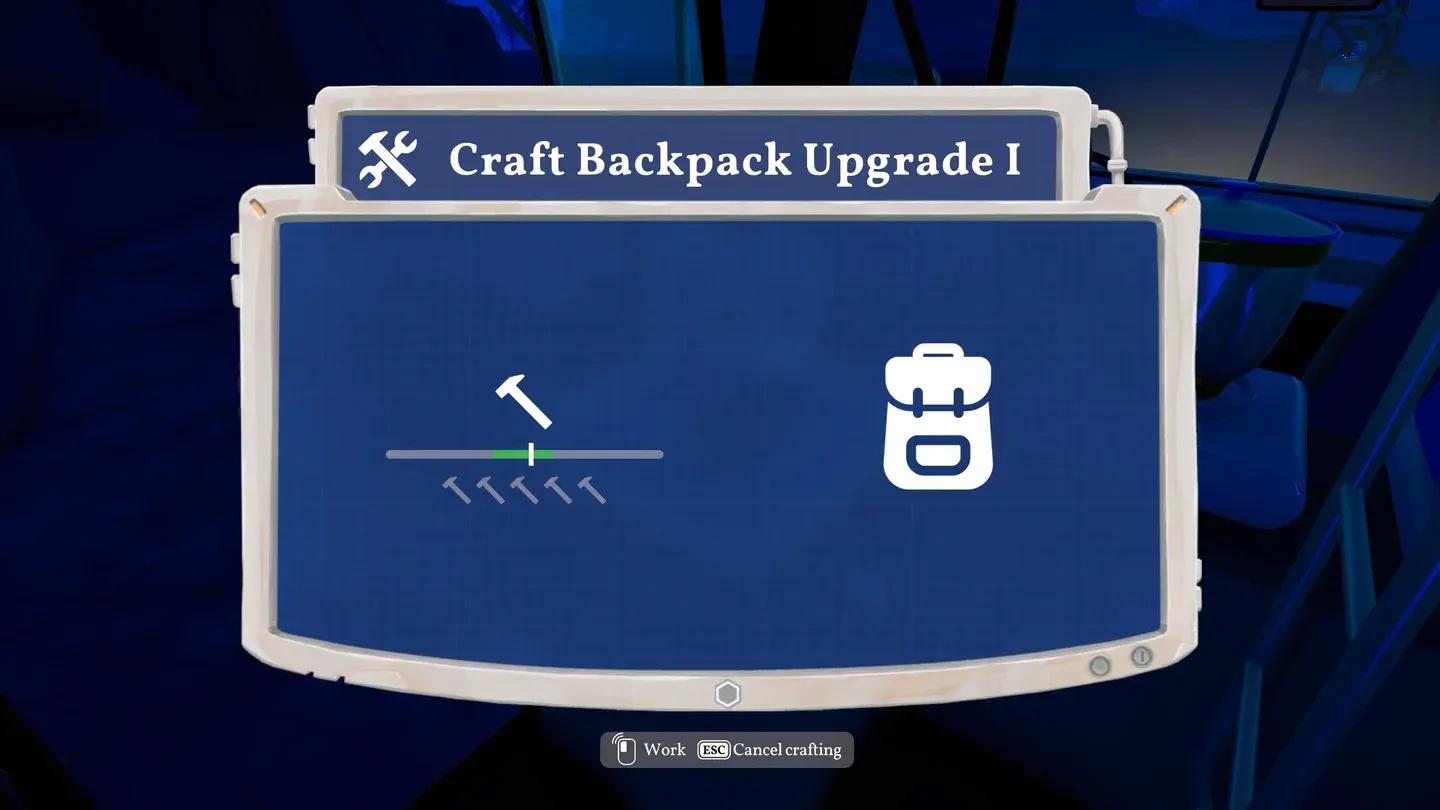
How do you craft Backpack Upgrade 1?
With the Sewing Table placed, open it and navigate to the backpack section. Backpack Upgrade 1 costs 12 Fiber to craft. Once built, your personal carrying limit jumps from 20 slots to 40 slots. That is a full doubling of your capacity from a single early-game crafting session.
Here is a summary of the first two crafting goals at the Sewing Table:
Higher-tier backpack blueprints exist beyond this first upgrade. Those are obtained the same way as the Sewing Table blueprint itself: by interacting with PCs at landmarks or downloading them from Signal Towers as you push further into the world.
If you need Rough Stuffing for those clothing upgrades, our guide on how to get Rough Stuffing in Outbound has you covered.
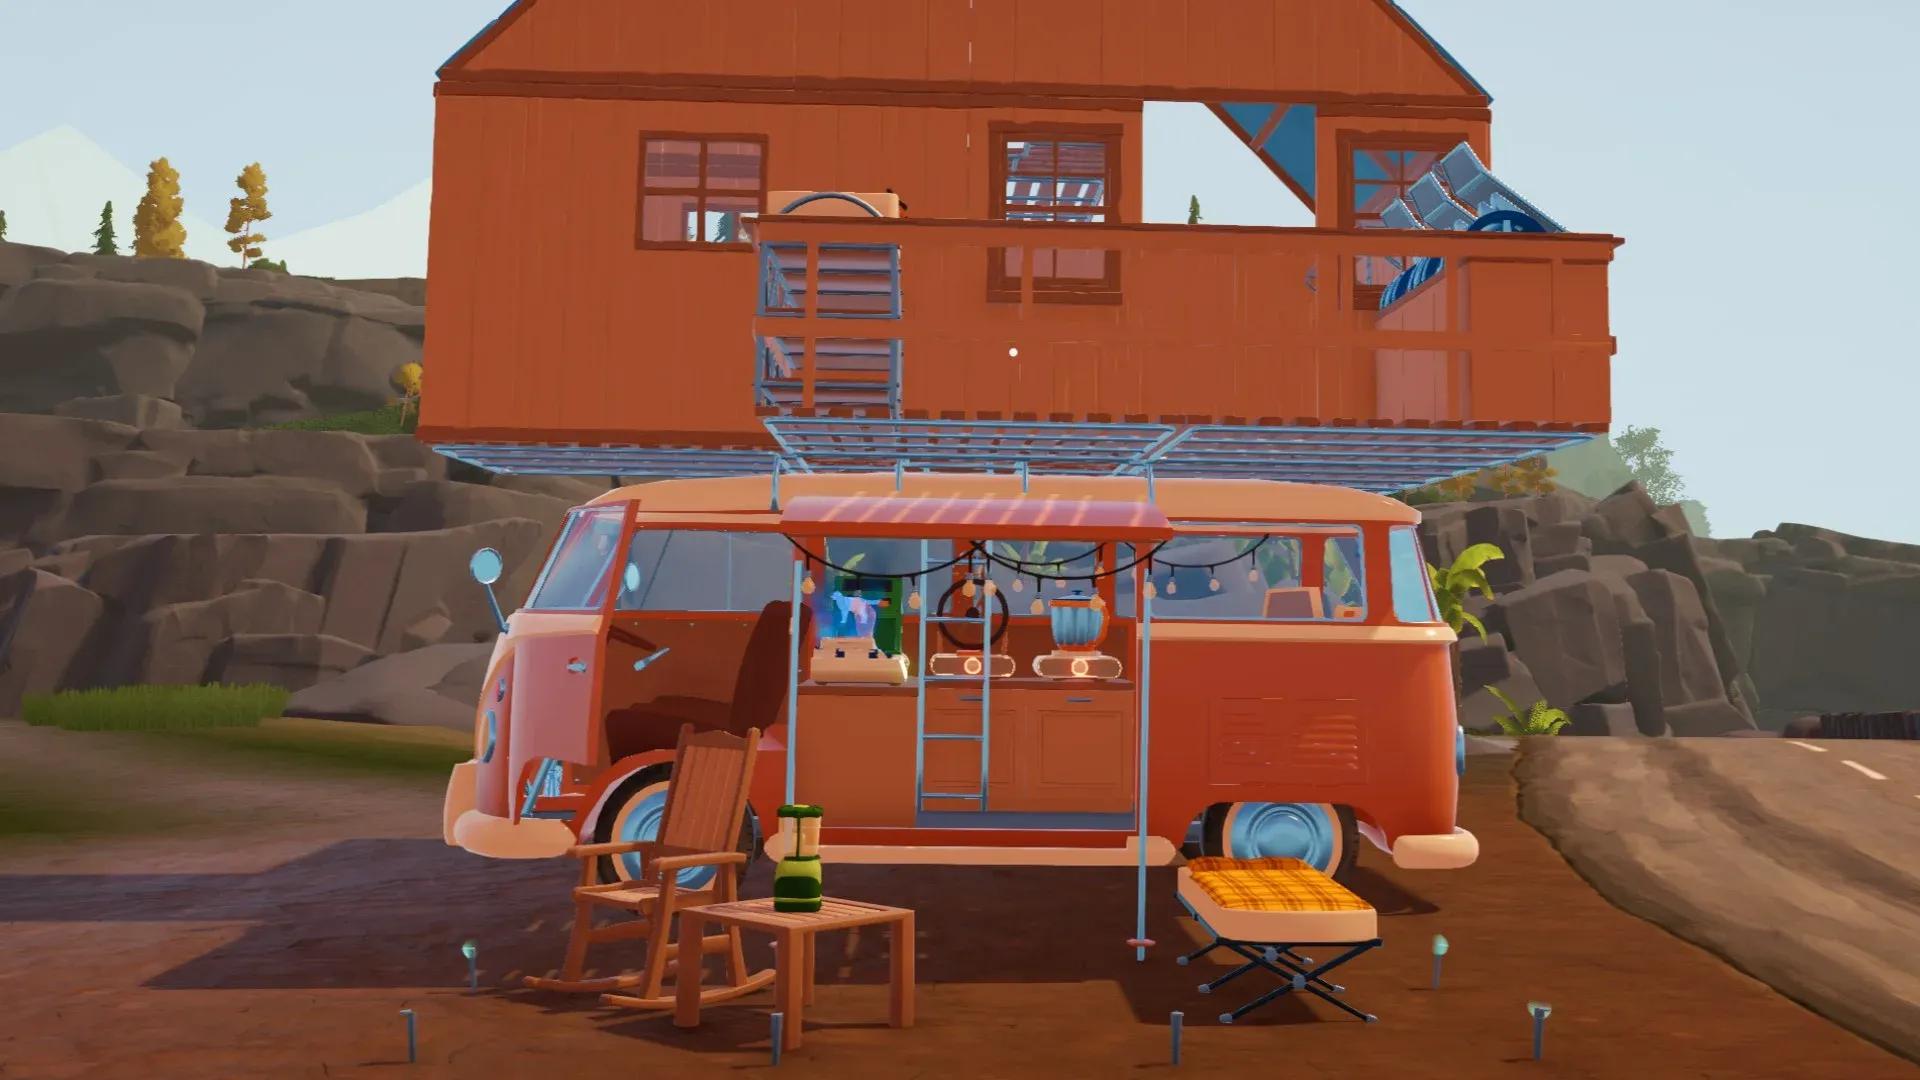
Where is the camper van's storage flap?
A doubled backpack still fills up fast during long gathering runs. The van's built-in storage is the other half of the equation, and it is genuinely easy to miss.
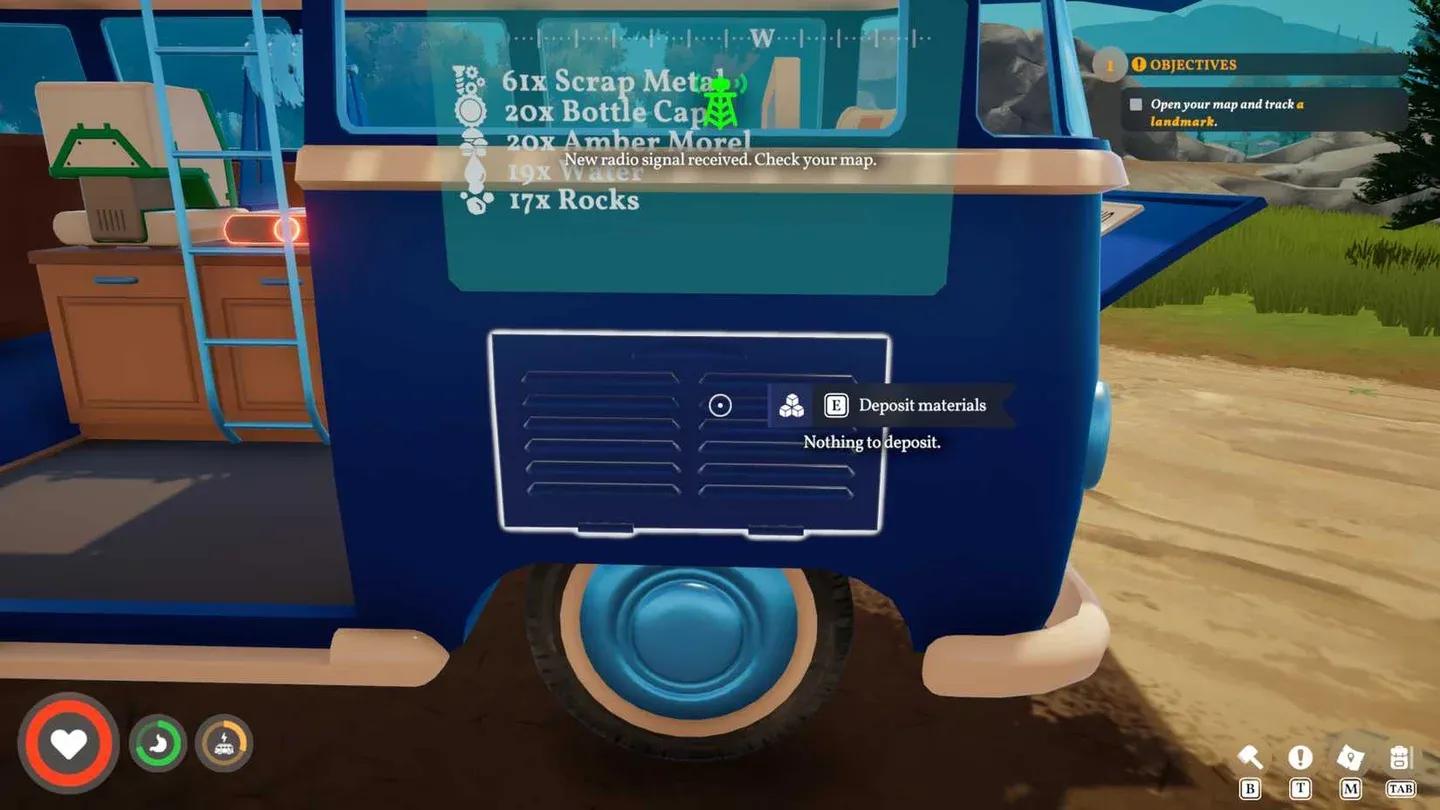
Walk around to the exterior of your camper van and look for a small flap located below the rear window, directly next to the side door. That is the deposit point for your van's storage compartment. Interacting with it dumps your entire inventory into the van in one press.
How do you lock items so they do not get deposited?
The mass-deposit feature is a time saver, but it needs one setup step to work cleanly. Here is how to lock specific items so they stay in your pockets:
- Open your backpack inventory.
- Select the item you want to keep on your character.
- Mouse and Keyboard: Click the small padlock icon in the top right corner of the item's description box.
- Controller (Xbox): Press the X button.
- Controller (PlayStation): Press the Square button.
Locked items are skipped during the mass deposit. Everything else goes straight into van storage. After testing this across multiple long gathering sessions, locking your core tools once at the start of a session and then using the flap freely is the fastest way to keep your backpack clear without manually sorting every time.
Padlock icon locks item in place
What else does the Sewing Table unlock?
Beyond backpacks, the Sewing Table's clothing menu is worth checking regularly. Crafting gear there provides permanent increases to your max health and stamina, which matters as you push into tougher areas. The tradeoff is that clothing recipes demand materials like Thread and Rough Stuffing rather than basic Fiber, so they come online a bit later in your playthrough.
For a full picture of how all these systems connect from the start, the Outbound beginner's guide covers the core progression loop, Signal Towers, and early resource priorities in one place.
Clothing upgrades boost health and stamina
Putting it all together
The carry capacity loop in Outbound is simple once the pieces are in place. Grab the Sewing Table blueprint from a landmark terminal or Signal Tower, spend 5 Fiber to build it, then immediately spend 12 more Fiber on Backpack Upgrade 1 to hit 40 slots. Find the exterior storage flap on your van, lock the items you need to keep, and use mass deposit freely on everything else. As you explore further, new backpack blueprints at later landmarks will push your capacity higher still.
For more on managing your van and expanding what it can do, browse the full Outbound guides collection for tips on depositing materials, building crop plots, and unlocking the upper deck.