
Outbound drops you into a cozy open-world road trip where your van is your home, your workshop, and your lifeline. Square Glade Games built the early game around a chain of small systems that all depend on each other, and the first hour is where most players either click with that loop or spend 45 minutes confused and running low on battery. This guide covers exactly what to do, in what order, so you can skip the trial-and-error phase entirely.
What should you pick as your starting van?
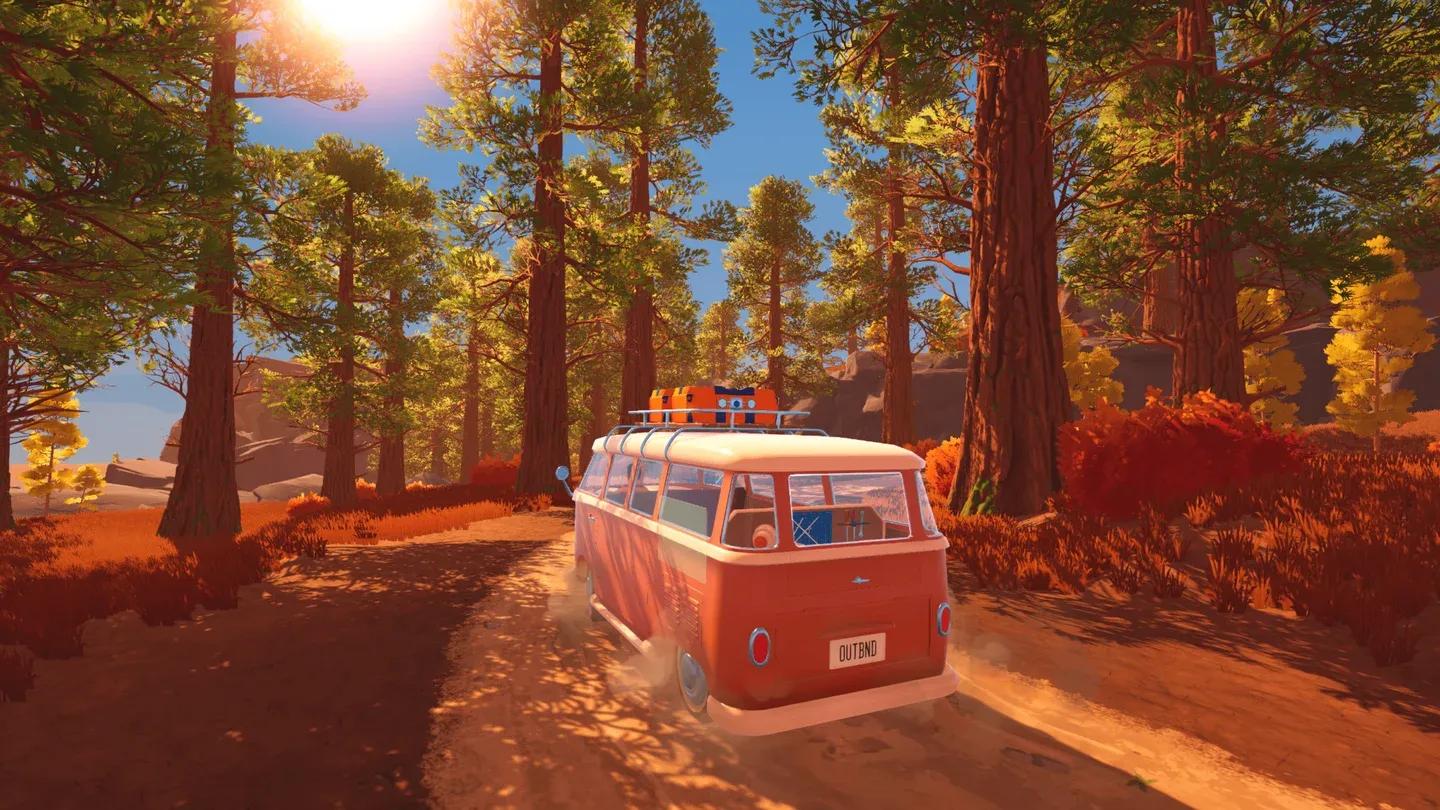
Before the tutorial gets going, Outbound asks you to choose a starting vehicle. This decision matters more than it looks. Interior space fills up fast once you start adding a Recycler, Sawmill, Sewing Table, Bolt Press, storage units, and power systems.
For a first playthrough, the roomiest option available, such as Big One, is the safer pick over something like Pathmaker. Pathmaker handles better on the road, but once workstations start stacking up, the cramped interior becomes a real problem. Space lets you make mistakes while learning. Handling can be compensated for; a van with no room for a Sawmill cannot.
Van layout: space is everything
What is the Outbound core loop?
The entire early game runs on one repeating cycle:
- Drive until you spot something worth stopping for.
- Stop at campsites, Signal Towers, farms, bridges, or landmarks.
- Gather nearby resources into your backpack.
- Deposit everything into the van storage panel.
- Use blueprints to unlock tools, workstations, and upgrades.
- Upgrade your van and tools to reach the next area.
Your van is not just transportation. It is your base, your workbench, your power system, your bed, and your storage hub. Every upgrade you make to it multiplies the value of every future gathering run.
When you feel stuck, the answer is almost always a missing link in this chain: a blueprint you have not downloaded, a workstation you have not built, a material you have not processed, or a tool tier you have not reached yet.
What to do in the first hour, step by step
Here is the practical route through the opening session, based on the core systems Outbound introduces:
How do Signal Towers and blueprints work?
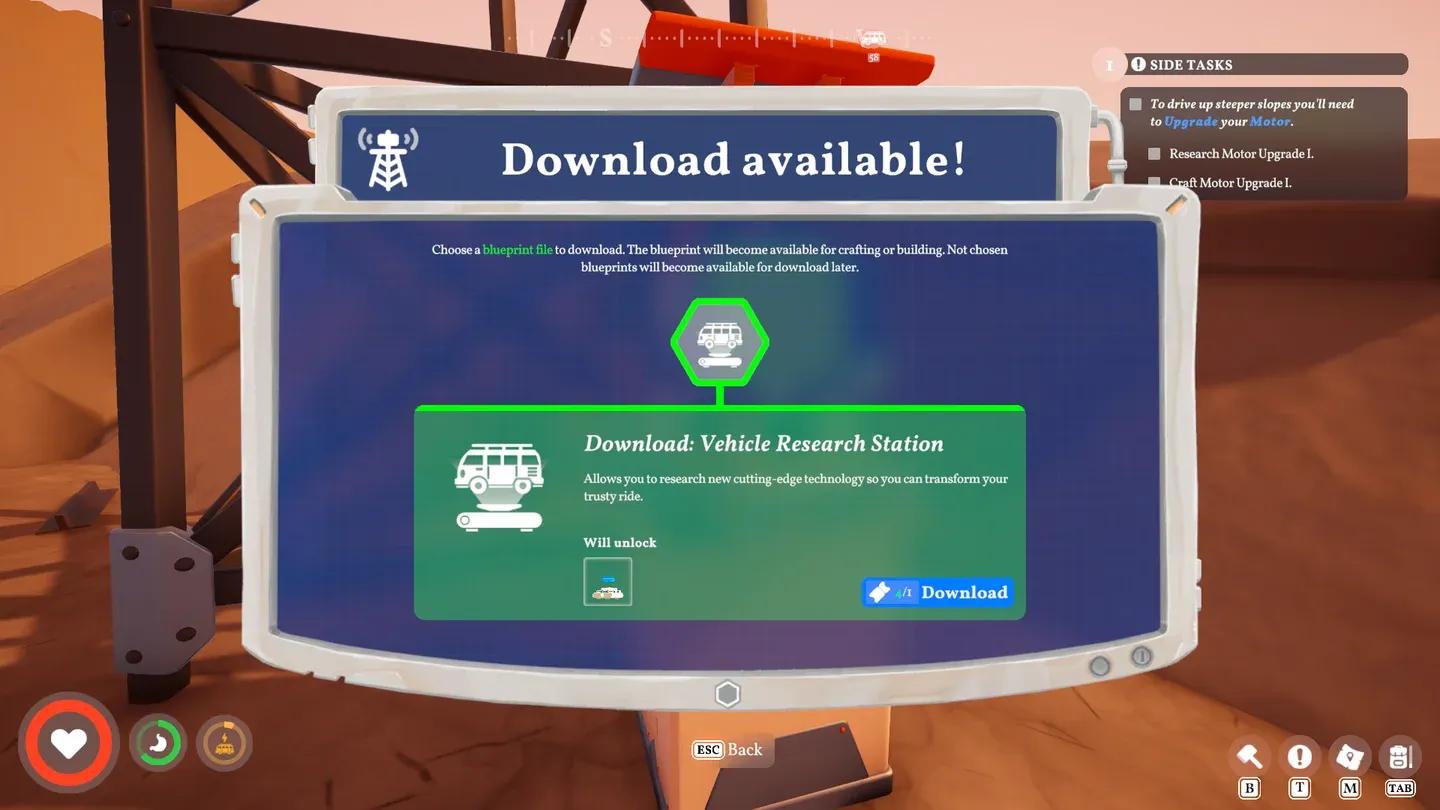
Signal Towers are your main progression engine. The blueprint chain looks like this:
Litter → Recycler → Download Vouchers → Signal Towers → Blueprints
The first Signal Tower is free. Later towers need Download Vouchers, which come from recycling Litter you find at campsites, towers, and abandoned stops. Towers can also cycle new options after you have visited them, so do not stress over one early choice.
Blueprints unlock the tools, workstations, building parts, power systems, and vehicle upgrades that drive every other system forward. If you are not sure what to unlock next, ask what recipe or action is currently blocked and trace it back to the blueprint that enables it.
Signal Towers drive all progression
Which resources should you prioritize early?
Outbound rewards players who pick up a little of everything, but some materials carry more weight than others in the first biome.
Scrap Metal deserves extra attention because it feeds almost every upgrade chain in the early game: tools, Bolts, Metal, workstations, and vehicle research all pull from it. Collect it whenever it is near your route.
For a deep dive into farming Fiber efficiently, check out the Outbound Fiber farming guide for the best lake spots and Sickle upgrade advice.
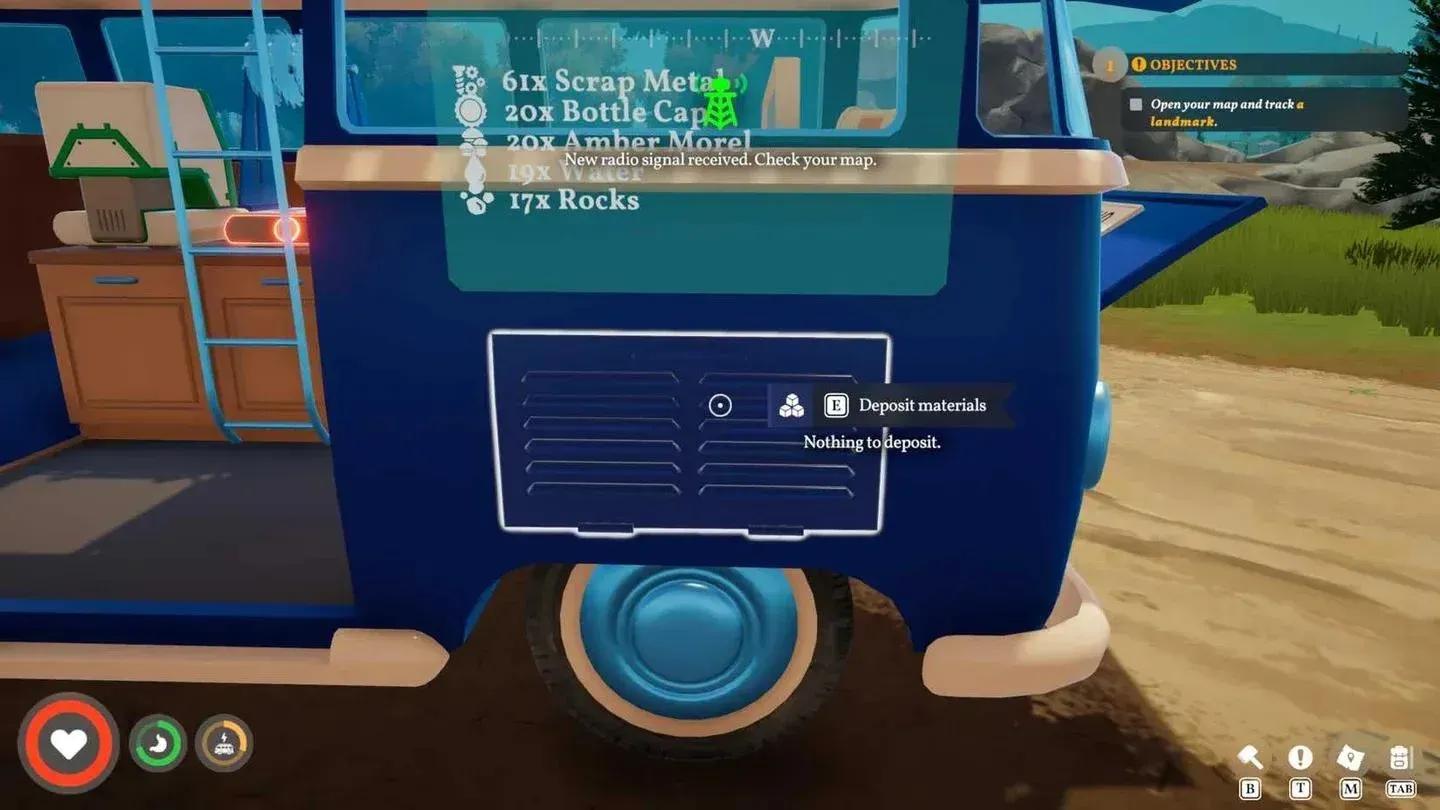
How do you manage van storage and your backpack?
Think of storage in two layers: the van holds everything you own, and your backpack holds only what the current trip needs.
Deposit materials into the van often. Lock Download Vouchers before you hit the deposit panel, or they will get swept in with everything else. Some world interactions require items to be in your backpack specifically, so do not assume van storage covers every situation.
For the full walkthrough on finding the hidden deposit panel and accessing stored items, the Outbound van deposit guide covers exactly where to look and how to dump your backpack fast.
Deposit panel: your inventory lifeline
What blocks you from leaving the first biome?
The first map exit is not a door with a quest marker. It is a chain of progression blockers you clear one at a time.
Mossrocks are the clearest sign that you need a Pickaxe upgrade before anything else. Once they are cleared, the tunnel opens and the second biome becomes accessible.
What systems are easy to miss?
A few things Outbound introduces quietly that can hurt you if you ignore them:
- Engine overheating: Hot canyon-style areas can overheat the engine. Let it cool naturally, or use water as a quick fix. Later materials like Hardened Metal offer a more permanent solution.
- Processed food: Cooked or processed food is more efficient than raw ingredients. Roadberries, for example, become significantly more useful once turned into food items like jam.
- Collectibles: Gnomes, cairns, paintings, campfires, and bottle caps are not just decoration. Some of them help you read the map or feed later systems.
- Van expansion: A roomy starting vehicle helps early, but the Base Building Deck, roof building, and weight capacity upgrades are what determine how powerful your mobile base becomes long-term.
Co-op basics
Outbound supports online co-op for up to 4 players, but you have to clear the starting section first. Once you repair the first gate with the Wrench, co-op becomes available. Treat progress as host-world progress unless your group has confirmed otherwise.
If you are playing with friends, splitting roles makes the early game much faster: one player drives and monitors battery, one handles gathering, one manages towers and blueprints, and one tracks crafting queues.
Crossplay and platform availability can change post-launch, so check the current store page before planning a long cross-platform session.
Co-op unlocks after the first gate
The beginner mindset that actually helps
Outbound is not hard because of enemies or punishing death mechanics. It is hard because small systems depend on each other in ways that are not always obvious. Hunger, battery drain, missing blueprints, and wrong tool tiers all compound quietly until you feel stuck with no clear reason why.
The fix is almost always the same: trace the problem back to its source. What recipe is blocked? What material is missing? What tool tier do you need? Answer that question and the path forward opens up.
For more guides covering every system from storage to fiber farming, the full Outbound guide collection has you covered as you move into later biomes.