
Starting out in Paralives for the first time
Paralives drops you straight into a guided tutorial the moment you load a new save, and it covers more ground than most players expect. From camera controls and group mechanics to storyteller selection and the Settle Home goal, the opening sequence is a proper hands-on introduction to every core system. This guide walks through every tutorial step and every settings menu so you know exactly what to expect before you even hit play.
Tutorial intro with Roberto
How do you start the Paralives tutorial?
When you open a new save, the game gives you two choices: head to town or start on an empty terrain. Choosing Go to Town loads the tutorial. The empty terrain option skips it entirely, so if you want the guided experience, make sure you pick the town option.
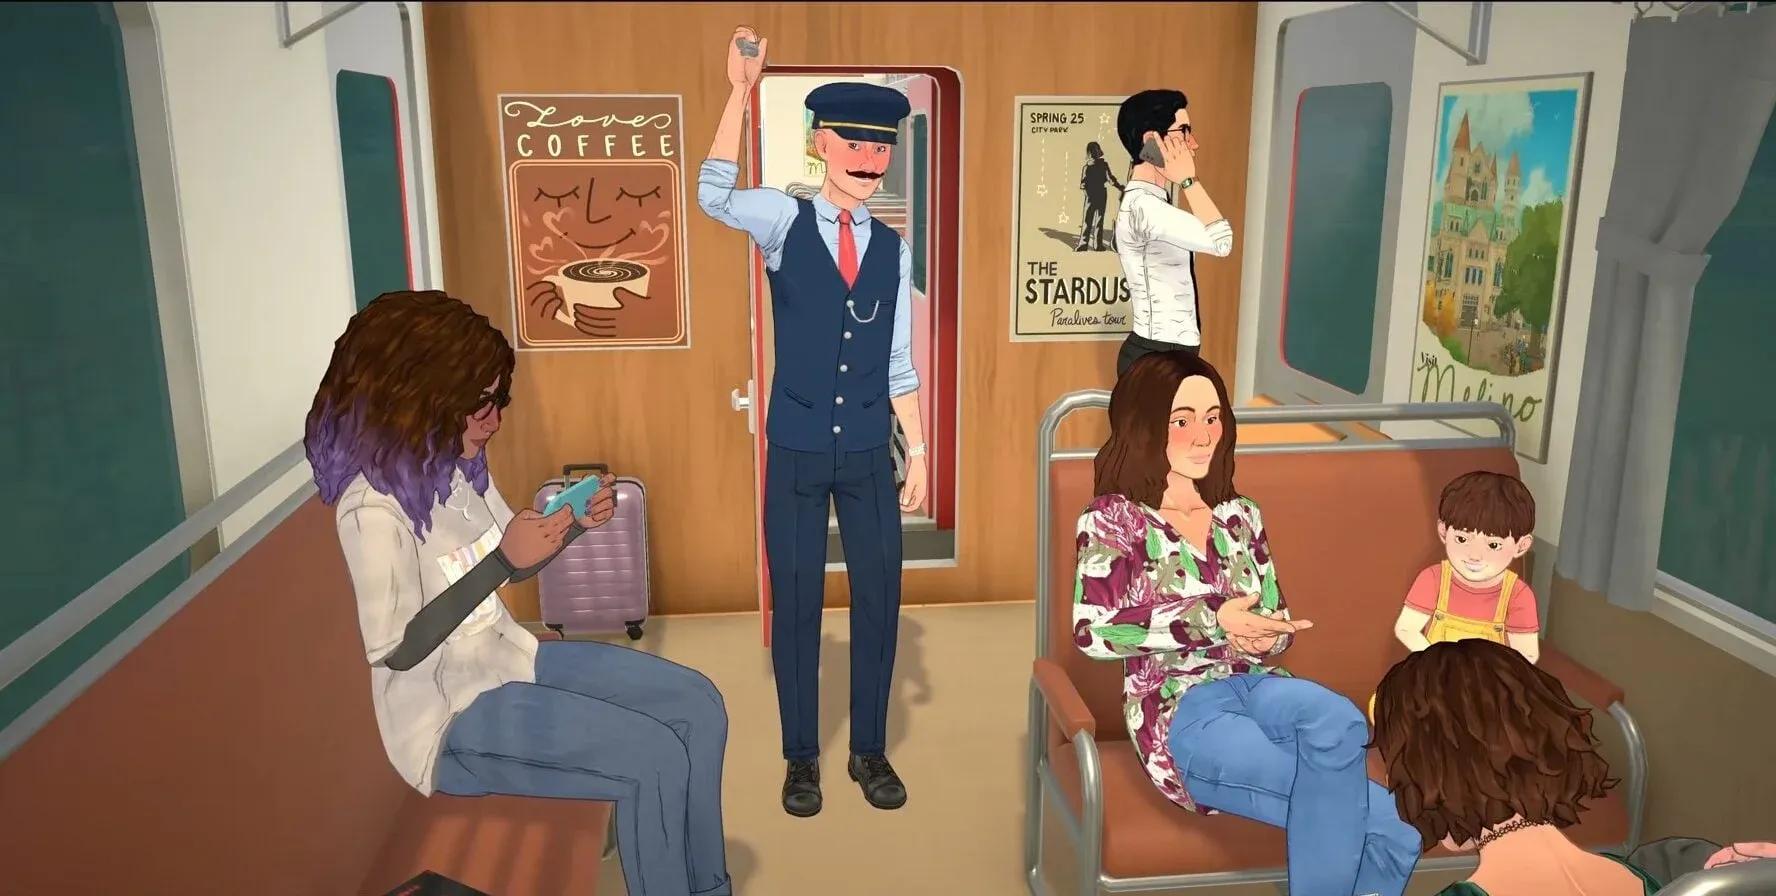
The tutorial opens with Roberto, the train conductor, going about his day on the train. You follow along as he checks on passengers, which gives the tutorial a natural narrative frame rather than just throwing pop-up tooltips at you.
Camera controls: what are the keyboard shortcuts?
Camera movement in Paralives uses a fairly standard setup, but there are a few options worth knowing depending on your hardware.
Moving the camera
Use W, A, S, D or the arrow keys to pan the camera around. If you prefer edge scrolling (where moving the cursor to the screen edge moves the camera), that option can be turned on in the settings menu.
Rotating the camera
Hold down the right mouse button and drag in the direction you want to rotate. On a MacBook or a laptop without a right mouse button, use Q to rotate left and E to rotate right.
Zooming in and out
The mouse scroll wheel handles zoom. On a trackpad, standard pinch-to-zoom gestures work the same way.
Moving Parafolk around town
To move a Para from one spot to another, click on the floor and select Go Here from the radial menu. It works the same way as most other life simulation games, so this part of the tutorial goes fast.
Go Here movement command
Emotions, wants, and how they connect
The emotions system in Paralives works differently from what you might expect. Emotions are triggered by actions and events happening around your Para, but you actively choose how your Para responds to whatever they are feeling. Clicking the emotion card brings up a set of wants to pick from.
Wants are short-term goals that reset every night unless you pin them. Active wants display in the panel above the needs bar, so you can track them at a glance.
How do you select multiple Parafolk at once?
Click and drag across the space around your Parafolk to form a group. Any Para inside the blue selection area joins the group, and you can then direct all of them to move or do activities together. Group activities are the fastest way to build relationships between household members.
Socialising with the together bar and together cards
When a group of Parafolk spends time near each other, a together bar fills up gradually. Once it is full, you can select a together card, which steers the direction of the conversation and affects the group's mood.
Different Parafolk react differently to the same together card. During the tutorial, choosing a joke about the train breaking down visibly stresses out Roberto, which is a good early demonstration that reactions are character-specific rather than universal.
Managing needs: the hunger tutorial step
Parafolk have needs that require regular attention, and the tutorial introduces this by having your Para's hunger drop low on the train. You send them to eat some train food to bring it back up. The needs bar sits at the bottom of the screen and updates in real time.
Keeping hunger topped up is one of the first things new players let slide. Check the Paralives food skill leveling guide for tips on cooking meals efficiently once you are settled into your first home.
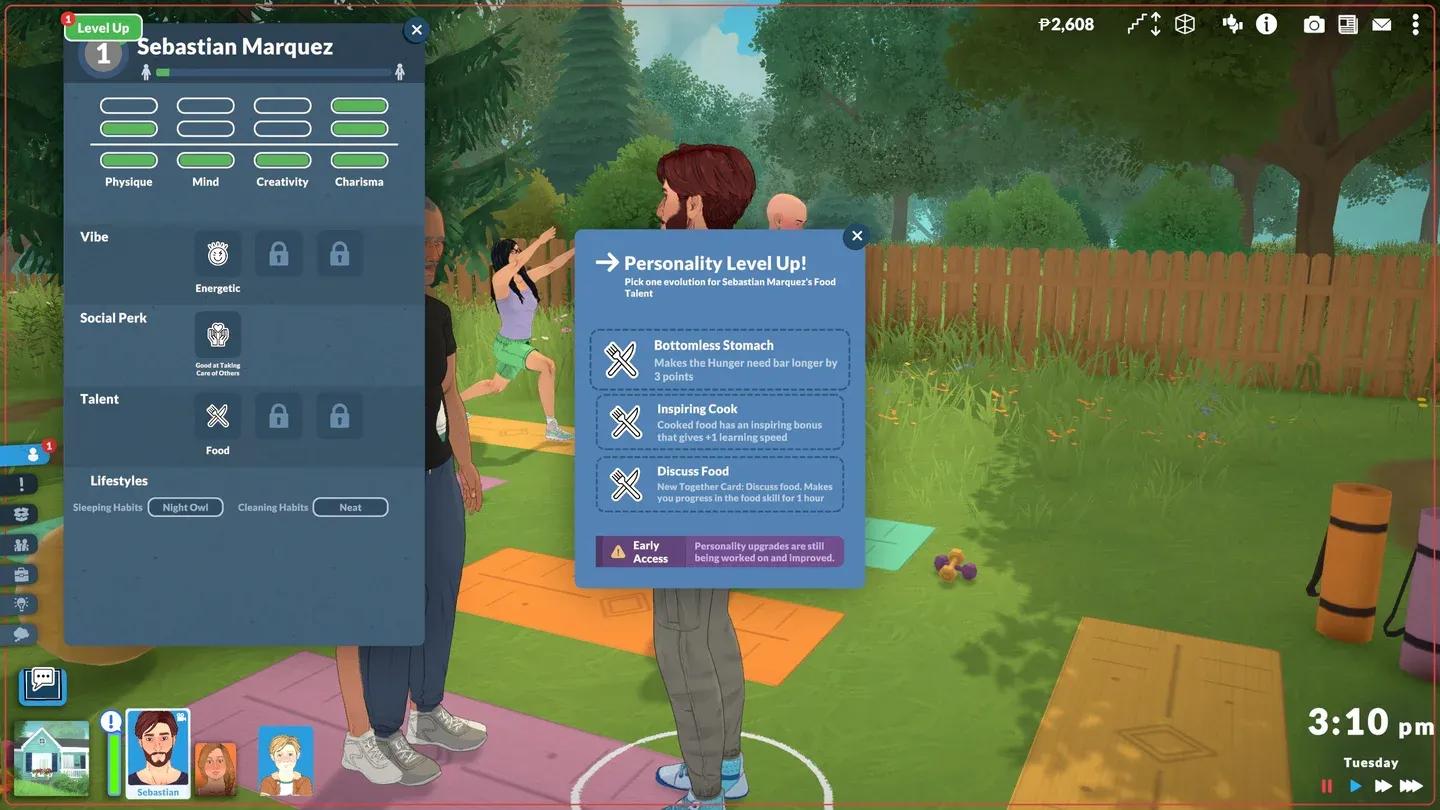
What are storytellers in Paralives?
Storytellers are one of Paralives' more distinctive systems. Each storyteller comes with different perks and a different difficulty level, and each one can be customised further after you select it. Think of them as the game's difficulty and narrative settings combined into a single character-driven system.
The tutorial introduces storytellers before you arrive in town, giving you time to read through the options before committing. Take your time here because the storyteller you pick shapes how demanding the game is across all systems, including needs decay, relationship progression, and goal frequency.
Heading into town and choosing a home
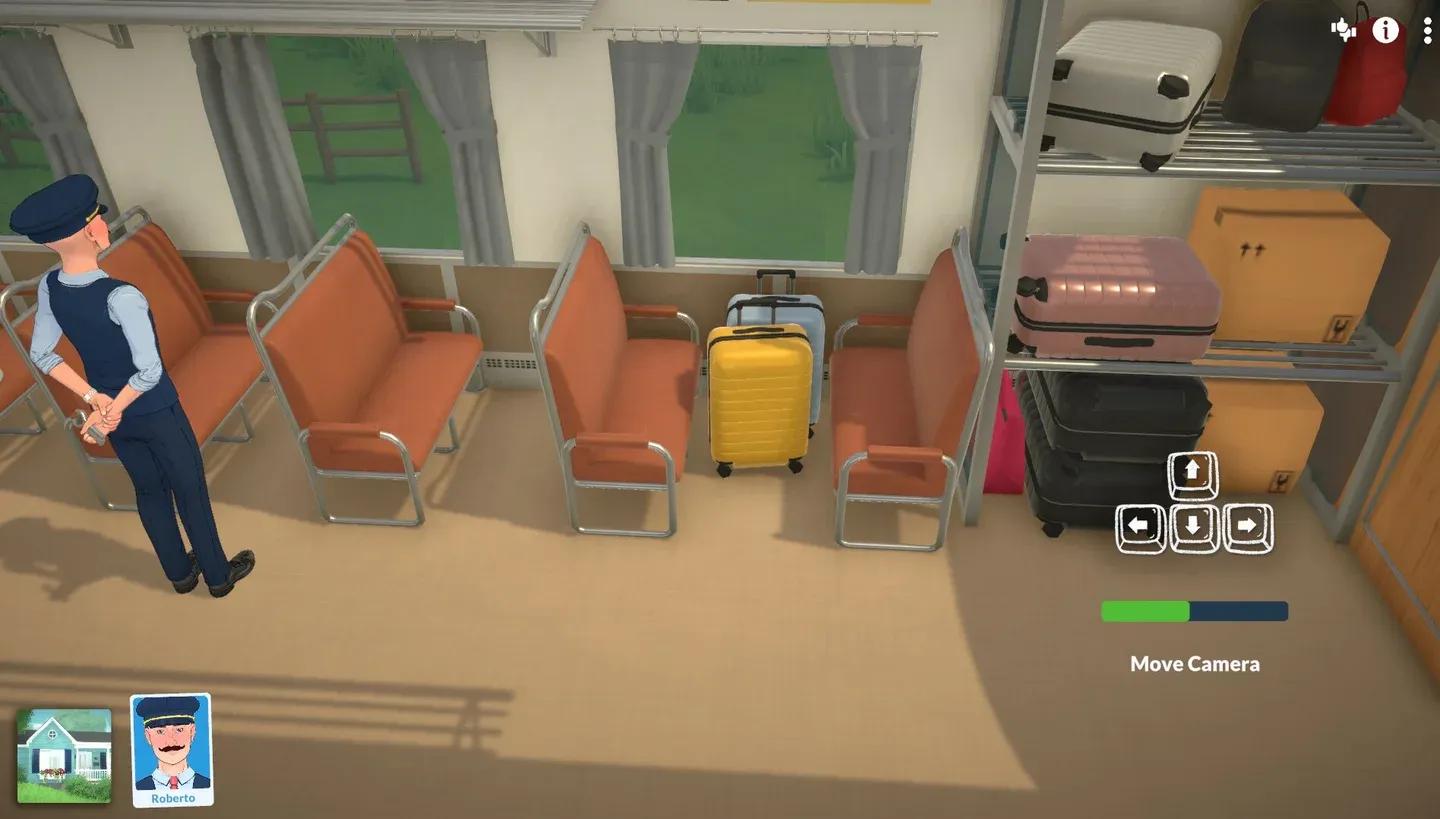
After the tutorial sequence on the train, you arrive in Melino and browse the town map for a home. Pre-built houses and empty lots are both available, so you can move straight into building if that is your priority. Selecting a home and confirming the purchase finishes the travel section of the tutorial.
For a deeper look at how household and lot management works after you move in, the Paralives how to have a baby guide covers household expansion once you are settled.
What is the Settle Home goal?
Once you are in your new home, your Parafolk receive their first goal: Settle Home. This goal is designed to walk you through three of the game's core systems:
- Find a job
- Place one decor item in your home
- Cook a meal
The goal applies to the entire household. As long as one Para completes each task, it counts for everyone. You do not need every household member to cook separately or find their own job to tick off that step.
Paralives settings: what can you customise?
Once the tutorial wraps up, every control and display option can be adjusted in the settings menu. Here is a breakdown of each section.
General settings and autosave
Autosave can be enabled from the general settings tab. When active, the game saves automatically every few minutes. A small icon appears in the bottom right corner of the screen when an autosave is in progress.
Video and audio settings
Screen resolution and all audio levels live in this menu. Nothing unusual here compared to other PC games, but it is worth checking resolution settings if the game looks blurry or sharper than expected on your monitor.
Gameplay settings
Para Paths is particularly useful when you have a larger household and want to track where everyone is heading without clicking through each Para individually.
Grid Wall Placement can be toggled both here and directly inside build mode while placing walls, so you are not locked into one setting for an entire session.
Accessibility settings
Paralives includes a dedicated accessibility section with colour blindness filters and a few visual filter options.
The colour blindness filters are numbered 1 through 6 rather than labelled by type, which means you need to click each one to read what it adjusts. One thing to note: these filters do not display on the home screen, so you will not see the effect until you are actually in a save.
Beyond the accessibility filters, there are also a few creative visual options including a fisheye filter, an alternative reality filter, and a memories filter.
Changing key bindings
Every default control can be reassigned in the Key Bindings menu. Click the action you want to change, then press the new key you want to assign to it. The process is straightforward and there is no need to dig through config files.
Key bindings settings menu
Quick reference: camera controls at a glance
For everything else going on in Paralives beyond the tutorial, the full Paralives guides collection covers skills, needs management, household mechanics, and more.