
Strongest Battlegrounds (originally Saitama Battlegrounds) is one of Roblox's most popular fighting games, and wall combos are the mechanic that separates players who win fights from players who just flail at each other. A properly executed wall combo adds 12% damage on top of the 14% from a basic attack chain, bringing your total burst to 26% in a single sequence. Every character in the game can perform one, and each has a completely different animation and finisher.
How does a wall combo work in Strongest Battlegrounds?
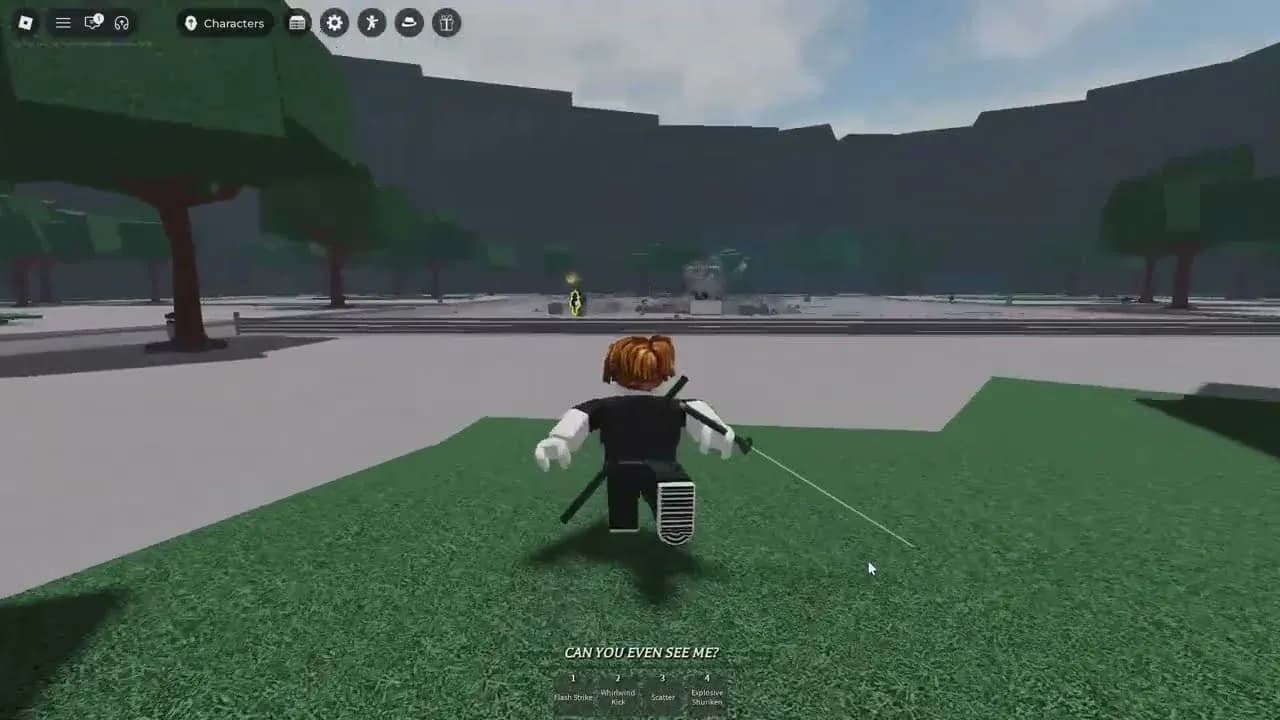
The wall combo is a two-part sequence: a full M1 attack chain followed immediately by a forward dash. The key condition is that your opponent must be pinned against a solid object before you start. Walls are the obvious choice, but trees, fences, trashcans, and benches all work too. Some objects are harder to use reliably than others, so flat walls are the safest bet when you're still learning the timing.
Corner your opponent first
Once your enemy is backed up against a surface, land the full M1 chain, then dash forward the moment the last hit connects. The forward dash triggers the character-specific wall combo animation, bounces the opponent off the surface, and knocks them down. That knockdown window is your opportunity to follow up with a special move or another M1 chain before they recover.

How to perform the M1 basic attack chain
Before the wall combo can happen, you need a clean M1 chain. On PC, that means left-clicking up to 4 times in quick succession. On mobile, tap the Punch button repeatedly.
The damage breakdown per hit
- Punches 1 and 2: 3% damage each
- Punches 3 and 4: 4% damage each
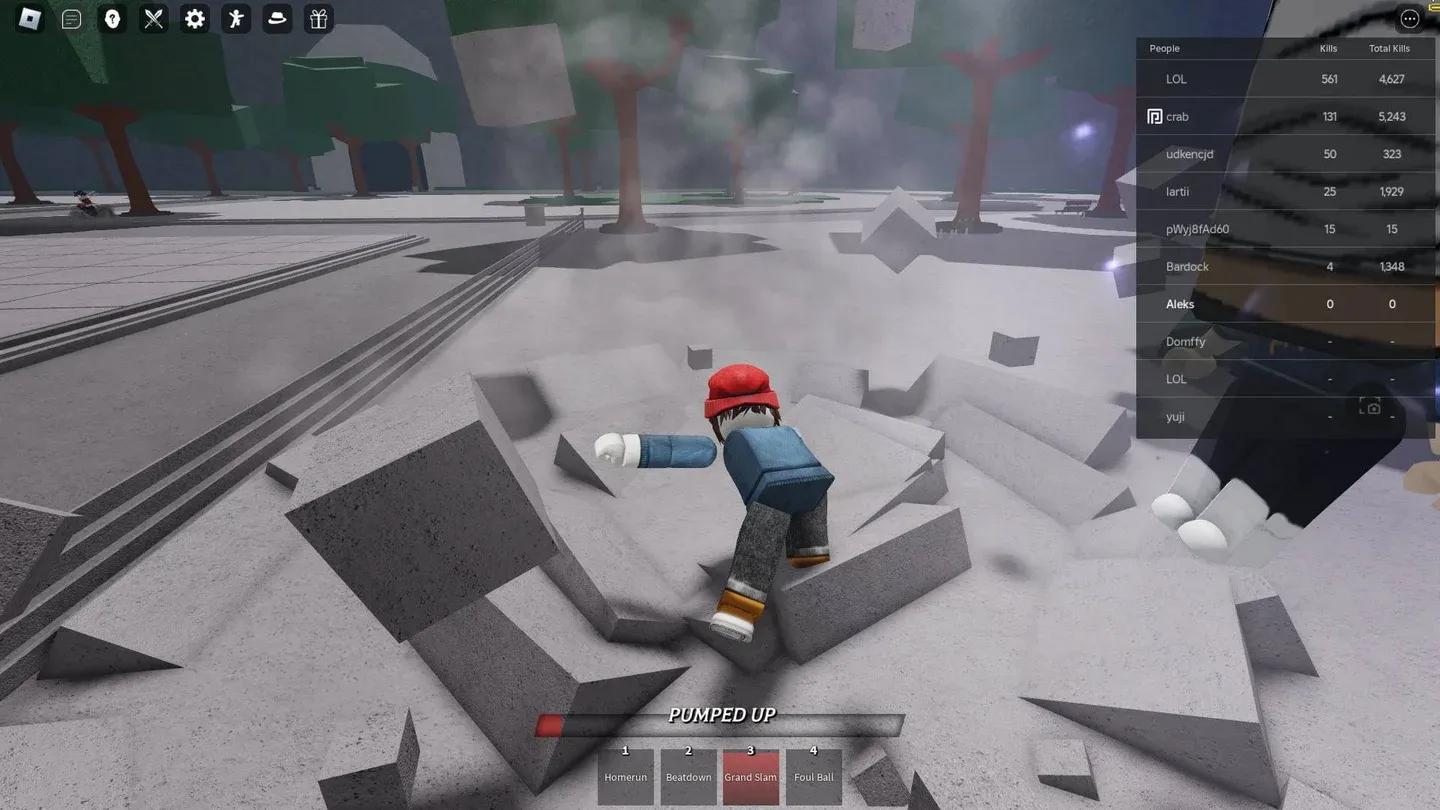
- Total M1 chain damage: 14%
There's a brief recovery window after each M1 hit where you can't block, and that window gets longer the further into the chain you are. The third punch has a noticeably longer recovery than the first. If you miss the fourth punch or it gets blocked, you'll be stunned for a full second, which is basically a death sentence in a close fight.
Full M1 chain deals 14% damage
How to execute the forward dash
The forward dash is what actually triggers the wall combo animation. On PC, hold W and press Q simultaneously to dash forward. On mobile, press forward and then the Dash button.
The forward dash on its own deals 4% to 5.3% damage depending on how close you are to the target when it connects. Timing is everything here. You need to input the dash immediately after the final M1 hit lands. Wait too long and the combo window closes.
Full wall combo damage breakdown
| Component | Damage |
|---|---|
| M1 chain (4 hits) | 14% |
| Wall combo bonus | 12% |
| Total | 26% |
| Forward dash (standalone) | 4% to 5.3% |
That 26% in a single sequence is why wall combos are worth learning. Most characters have around 100% health, so landing two clean wall combos plus a special move can end a fight fast.
Every character's wall combo in Strongest Battlegrounds
All 11 characters in the game have unique wall combo animations and finishers. Here's what each one does

Every character has a unique wall combo
The Strongest Hero
Wall combo: Light Sneeze. The Strongest Hero winds up and releases a powerful sneeze that blasts the opponent into the wall and bounces them off. Fitting for a character built around absurd power levels.
Hero Hunter
Wall combo: Wall Assault. Hero Hunter kicks the opponent into the wall, delivers a jab-cross-jab combo with blue fists, then finishes with a backflip kick that sends the enemy bouncing backwards.
Destructive Cyborg
Wall combo: Flaming Fist Fury. A flaming punch into a one-two combo, then Destructive Cyborg pulls the opponent off the wall and delivers an air-spinning kick using the jetpack, sending them flying backwards.
Deadly Ninja
Wall combo: Slicing Takedown. Deadly Ninja impales the opponent to the wall with a katana, throws an exploding shuriken, then finishes with a spinning kick that sends the enemy flying left.
Brutal Demon
Wall combo: Adrenaline Mayhem. Bashes the opponent into the wall with a bat, tosses them into the air, then hits them again with the bat on the way down. Sends the opponent flying left.
Blade Master
Wall combo: Precise Slices. Stabs the opponent with the katana, stomps the ground to send the sword flying upward, catches it, then delivers a powerful strike that sends the enemy right.
Wild Psychic
Wall combo: Psychic Boulder Crush. Uses telekinesis to pin the opponent against the wall, summons a massive boulder with psychic abilities, and slams it into them to bounce them off.
Martial Artist
Wall combo: Void Strikes. Kicks the opponent into the wall, then follows up with a rapid kick combo that sends them flying right.
Tech Prodigy
Wall combo: Tech Pincer. Sprouts mechanical tentacles from the back that stab the opponent multiple times, then pulls out a large mechanical fist to slam them off the wall.
Sorcerer
Wall combo: Infinite Convergence. Creates a large glowing orb that forces the opponent against the wall, then triggers a powerful explosion. Unlike every other wall combo in the game, this one kills opponents instantly.
KJ
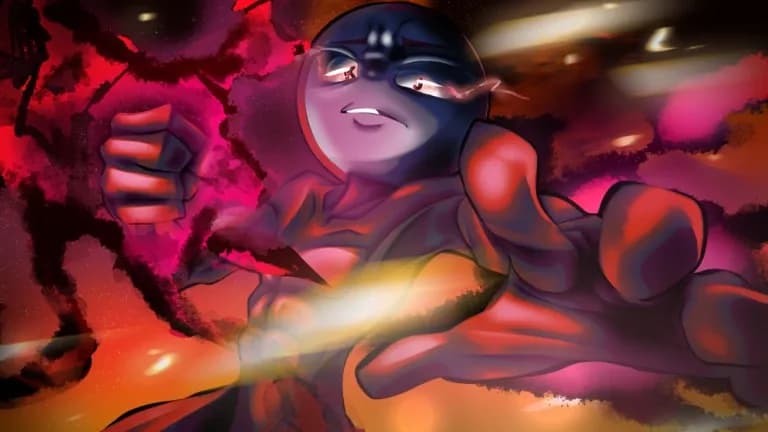
Wall combo: Furious Slap. Knocks the opponent into the wall, then cuts to an anime-style cutscene with a quick punch sequence followed by a powerful slap.
What should you do after the wall combo knockdown?
Most wall combos bounce the opponent in a specific direction and knock them down. That knockdown window is short, but it's enough to land a special ability or start another M1 chain if you react fast. The direction the opponent bounces varies by character, so spend time in practice matches learning exactly where your character's wall combo sends the enemy. Knowing the bounce direction means you can pre-position for the follow-up instead of scrambling to find them.
For more Roblox fighting game tips, the Roblox guides collection covers everything from combat mechanics to progression systems across the platform's biggest titles. If you play other Roblox games, the Jujutsu Shenanigans beginner's guide covering controls, combos, and combat basics is worth reading since a lot of the M1 timing concepts carry over between these fighting games. For progression-focused Roblox games, the Kick a Lucky Block upgrade guide on power, speed, and progression breaks down how to advance efficiently.