Search games, articles, guides...CtrlK
Sign InGet Started
Learn how blocking, critical hits, Black Flash, and armor mechanics work in The Strongest Battlegrounds to win more fights.
Written by Nuwel
Content Writer
See more GAMES.GG guides on Google
Add us as a preferred source and our guides show up first in your results.
Anime Zero Max Damage Build Guide: Best Weapons & Traits
Stack the right traits, weapons, and accessories in Anime Zero to hit peak DPS. Full build breakdown plus a cheaper crit alternative.
Anime Zero Tier List: Best Weapons, Traits & Accessories
Every Anime Zero weapon, trait, and accessory ranked for Update 1, plus the best build and evolution requirements to clear dungeons fast.
Slayers 2 Ultimate Roguelike Dungeons Guide
Master Slayers 2 Roguelike Dungeons with card-building tips, floor strategies, and every Token reward up to the 100th floor.
Most players in The Strongest Battlegrounds treat blocking as a panic button. Hold F, hope for the best, and pray the opponent doesn't know about Armor Break. That approach gets you killed. The real game is happening in the half-second windows between attacks, where perfect blocks create Critical Hits, Critical Hits enable Black Flashes, and Black Flashes deal 6x normal M1 damage. This guide breaks down every defensive mechanic documented on the TSB Fandom Wiki so you can stop reacting and start controlling fights.
Holding F raises your character's arms and protects you from all basic M1 attacks plus a selection of special moves, covering a 180-degree angle in front of you. The trade-off is significant: you move much slower and cannot perform any other action while the block is active.
Blocking is not a complete shield. Several attacks punch straight through it, including the Normal Punch at close range, Shove, Uppercut, Flowing Water, and Hunter's Grasp. Knowing which moves bypass your guard is just as important as knowing when to raise it.
There's also a brief window after each M1 where you physically cannot block. This lockout varies depending on which hit in the M1 chain you just threw and lasts approximately 0.2 seconds for your evasive as well. That gap is exactly when experienced players punish you.
Perfectly timing your block against an opponent's M1 triggers a Critical Hit on your next basic attack. The damage triples compared to a standard M1 hit, and a distinct cracking sound confirms the successful parry.
A subtle audio cue plays the moment you nail the flawless block, so train your ears as much as your timing. The Critical Hit status persists indefinitely until you get ragdolled, which means you can hold onto it and wait for the right moment to convert it into something far more dangerous.
Black Flash is the highest-damage basic attack in the game, dealing double the damage of a Critical Hit, which works out to 6x the damage of a normal M1. Black and red particles emit from the opponent when it lands.
The sequence to pull it off, per the TSB Fandom Wiki:
The window between Critical Hit and Black Flash is tight. You have roughly 4 seconds before the status expires and you need to start the sequence over. Under normal circumstances, only 2 Black Flashes are achievable in a single sequence, though the PS+ Gamepass Attack Speed Multiplier can push that to 3 or more.
One critical rule: if you land any attack on the opponent between the two required Critical Hits, whether a basic M1 or a moveset skill, the Black Flash will not trigger. The two consecutive Critical Hits must be uninterrupted.
Black Flash also applies to M1 variations. The Downslam and Mini-Uppercut finishers can both trigger it, dealing 24% damage in a single strike without any preceding M1 hits in the chain.
These three mechanics interact constantly during high-level play, and confusing them will cost you fights.
Armor prevents the player from taking damage or stun from regular M1 attacks and most skills. Most armor-granting moves require a specific condition to activate, typically landing a hit on an opponent first. A handful of moves grant armor immediately on activation.
Examples of moves that grant armor immediately include The Strongest Hero's Ultimate startup, Hero Hunter's Rock Splitting Fist, Destructive Cyborg's Thunder Kick and Incinerate, KJ's Collateral Ruin, and Blade Master's Atomic Slash.
Hyperarmor (also called I-Frames) is stronger than standard armor. While active, the player cannot be damaged or interrupted by anything, with two specific exceptions: Repulse and Erase from the Sorcerer moveset, and the respawn command from the PS+ Gamepass.
All Ultimate startups except The Strongest Hero's grant Hyperarmor. KJ's Wall Combo also grants it. Most attacks that initiate a cutscene on a successful hit will also apply Hyperarmor during that sequence.
Armor Break cuts straight through Armor and deals damage anyway. It does not affect Hyperarmor. If an opponent is sitting behind armor, these are the tools you need.
| Move | Character | Armor Break Type |
|---|---|---|
| Table Flip | The Strongest Hero | Regular move |
| Serious Punch | The Strongest Hero | Regular move |
| Omni-Directional Punch | The Strongest Hero | Regular move |
| The Final Hunt | Hero Hunter | Regular move + Ultimate |
| Rampage | Hero Hunter | Ultimate |
| Death Blow (slam variant) | Brutal Demon | Regular move |
| Scorching Blade | Blade Master | Ultimate |
| Atomic Slash | Blade Master | Regular move |
| Dragon's Descent | Martial Artist | Ultimate |
| Iron Giant | Tech Prodigy | Ultimate |
| Photon Edge | Tech Prodigy | Regular move |
| Unlimited Flex Works | KJ | Regular move |
| Limit Breaker | Monster Form | Ultimate |
Dashes serve three purposes: starting combos, evading attacks, and escaping ragdoll. Pressing Q triggers the dash, with direction determined by your movement input.
Forward and Back Dashes share the same 5-second cooldown. Using either one locks out both. Side Dash is independent at 2 seconds.
Side Dash range also scales with your current health. The lower your HP, the less distance you cover. This is intentional, per the wiki, to prevent low-health players from running indefinitely.
Every character has a unique wall combo that deals 12% damage (with one notable exception). To execute one, position your opponent against a wall, tree, or trash can, then land your 4th M1, a Downslam, or an Uppercut. Forward dash approximately 0.2 seconds after the hit connects.
Each wall combo has a 5-second cooldown. The Sorcerer's wall combo, called Infinite Convergence, is the exception to the 12% damage rule: it kills opponents outright instead.
Character wall combo names for reference:
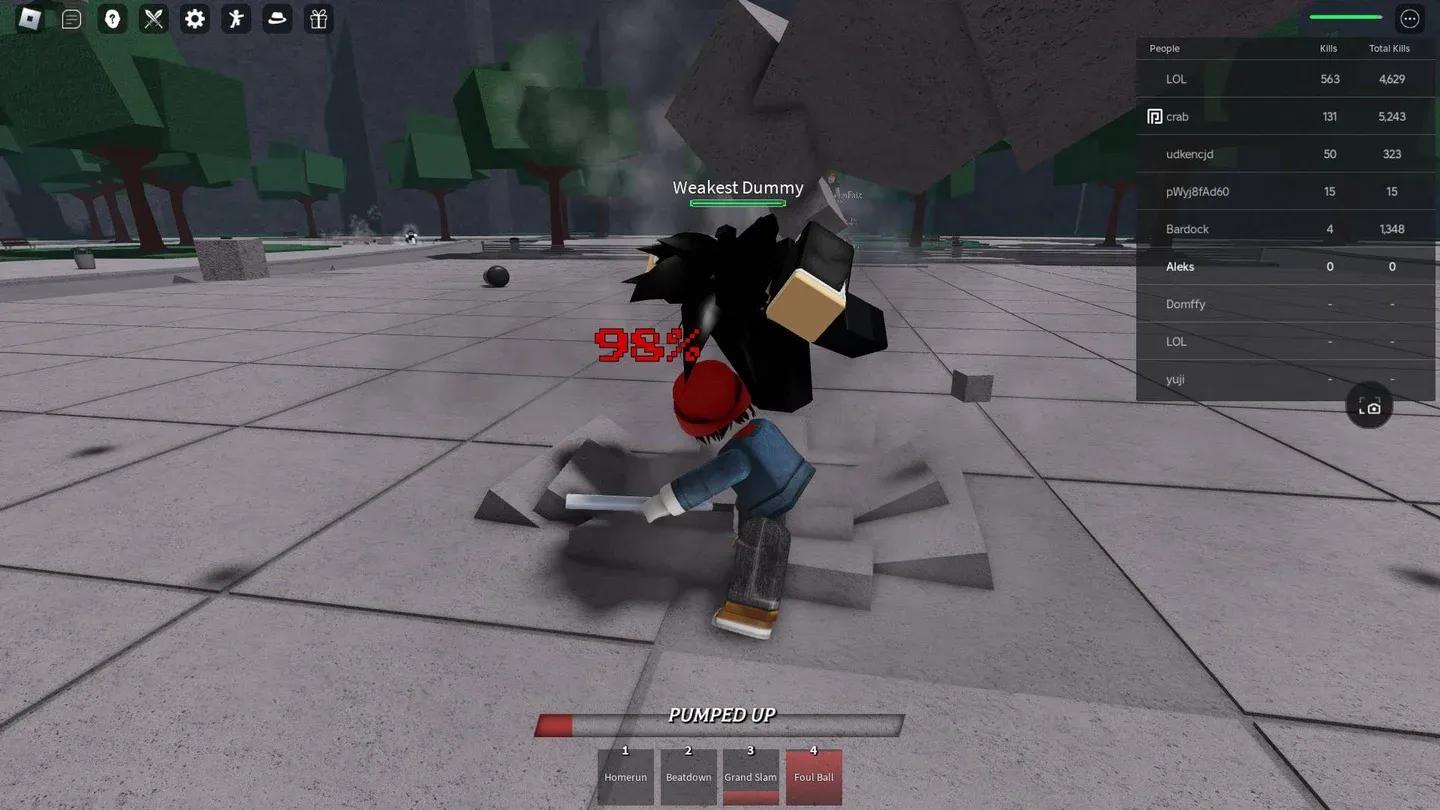
Wall combo finisher setup
These three status effects define how long you're vulnerable after taking a hit.
Stun locks you out of all actions: no counters, no movement, no blocking. It triggers on any incoming damage. Missing certain moves also stuns you, including Destructive Cyborg's Machine Gun Blows, Blade Master's Quick Slice, Wild Psychic's Expulsive Push, Brutal Demon's Beatdown, and missing the 4th M1 on any character.
Ragdoll knocks you down for exactly 2 seconds. You can cancel it early with a Side Dash or Back Dash. Getting up from ragdoll normally grants 0.5 seconds of stun immunity, though Forward Dash can bypass that window.
Roll is different from ragdoll. You cannot use evasive during roll state, with a few exceptions including Brutal Beatdown, Pinpoint Cut, and Uppercut. If you get hit by another roll-inducing attack while already rolling, the two rolls clash and you get ragdolled for approximately 3 seconds instead.
Mastering The Strongest Battlegrounds combat takes time, but the fundamentals here apply to every character. For more Roblox combat guides across different games, check out our full Roblox guides collection. If you want to practice the defensive fundamentals covered here in a different context, the Survive Zombie Arena Bastion class defense guide covers blocking and positioning in depth. New to Roblox fighting games entirely? The Blox Fruits beginner guide covers core combat concepts that translate well across the platform's battle games.