

Running out of ammo in the middle of a desert firefight is a fast way to lose your trampler and everything on it. SAND: Raiders of Sophie puts you in a hostile open world where enemy players and environmental threats will pressure you constantly, so knowing exactly what to craft and what materials to stockpile keeps you in the fight. This guide covers every weapon, ammo, mounted shell, attachment, explosive, and clothing recipe in the game, with full ingredient lists and workbench requirements.
What do you need to start crafting weapons and ammo?
Crafting happens at two locations: Forts and your trampler's Workshop. The Workshop is a bench you add to your trampler after unlocking it through the Tech Tree. Basic recipes are available from the start, but several advanced ammo types require a Tier 2 Trampler Workshop or a Fort Crafting Bench to produce. If you're still working through those upgrades, check out the full Tech Tree upgrade unlock guide to plan your progression.
Workbench crafting interface
All standard ammo crafting recipes
These are the rounds you'll load into your personal firearms. Basic ammo is cheap and fast to produce, while the advanced high-velocity and slug variants hit harder but cost more materials.
Coral Dust is the key ingredient for high-velocity rounds. Keep a reserve on hand because the HV variants are a significant step up in stopping power, and crafting them requires converting your existing basic ammo stock first.
All mounted ammo crafting recipes
Your trampler's mounted weapons use a separate class of shells. These are heavier, more destructive, and designed specifically for vehicle combat. Keeping your trampler armed is just as important as keeping yourself armed.
The 40mm Autocannon Shell is the most material-efficient mounted round at just 2 Scrapped Ammo and 2 Scrap Metal per batch. Stock up on these for sustained vehicle engagements.
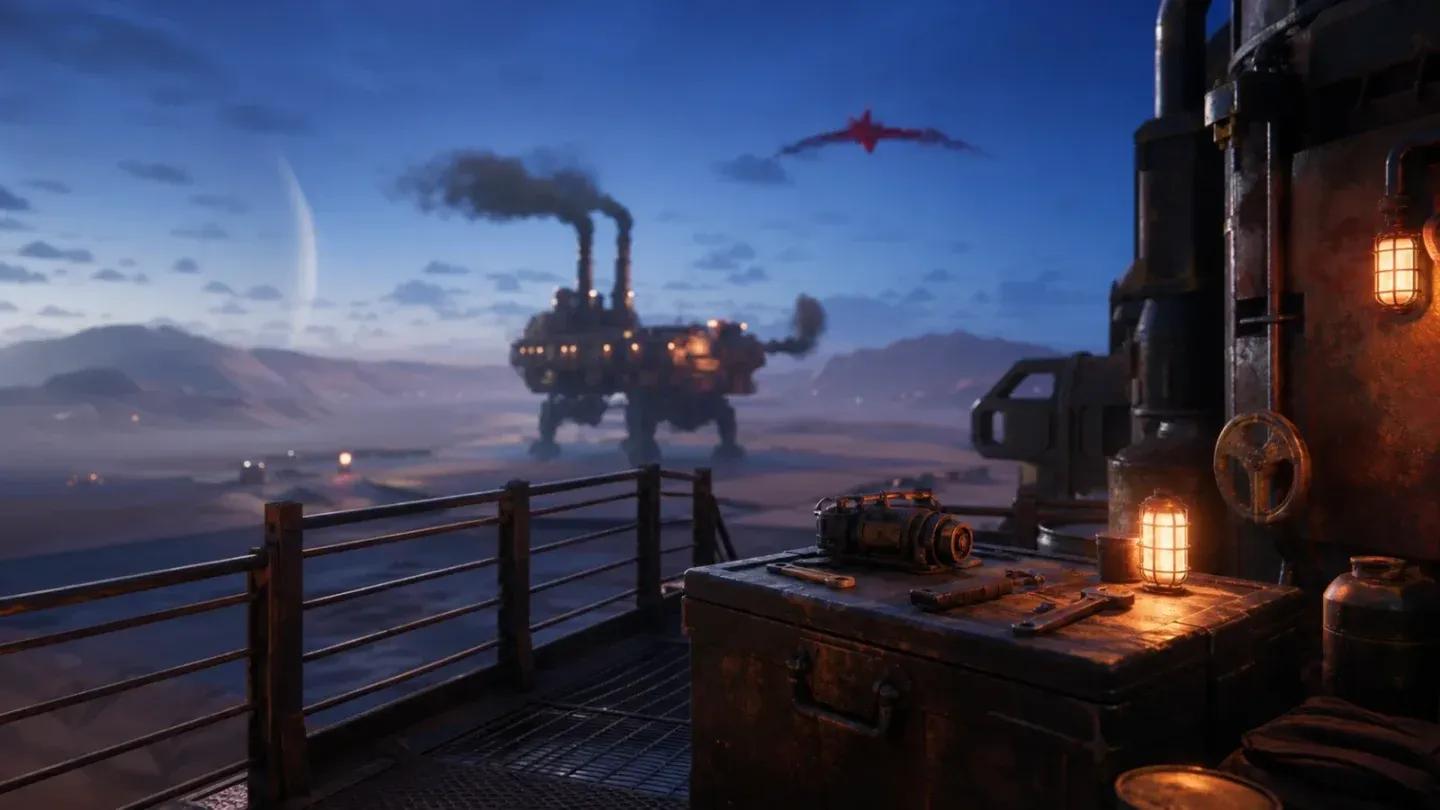
80mm cannon on trampler
What guns can you craft in SAND: Raiders of Sophie?
Beyond looting firearms from the world, you can produce them directly at the workbench. White rarity weapons are the cheapest entry point, requiring just 25 Scrap Metal each. From there, you can upgrade to green tier by combining the white version with more Scrap Metal.
The Pepper Mill Shotgun stands out as the only craftable weapon that swaps Weapon Parts for Fabric, making it a useful option when your Weapon Parts supply runs low. The M82 Rifle and Blitz 10 8mm Pistol share an identical recipe, so whichever you need more of depends entirely on your playstyle and what ammo you're running.
Petros rifle attachment recipes
All attachment and explosive crafting recipes
Two dedicated attachments exist for the Petros Rifle, both of which require you to already have the base weapon before crafting. This means you can't stockpile attachments in advance; the rifle has to be in your inventory first.
The Silencer is the cheaper of the two Petros attachments and only costs Metal Rods on top of the base rifle. The Scope requires Optic Lenses, which are less common, so prioritize finding those during expeditions if you want the ranged advantage.
The Time Bomb recipe is straightforward at 2 Fabric and 2 Gunpowder. It's a low-cost way to add explosive options to your loadout without burning through your Weapon Parts reserves.
Clothing recipes
Crafting isn't limited to weapons. You can produce jackets at the workbench when your gear needs replacing or upgrading.
- Green Jacket: 2 Fabric + 10 Thread
- Blue Jacket: 5 Fabric + 50 Thread
- Fabric (if needed): 5 Fabric Scraps + 15 Thread
The Blue Jacket costs significantly more Thread, so keep an eye on your Thread supply before committing to the upgrade. Fabric itself can be crafted from Fabric Scraps if you're running low, which makes it one of the more accessible materials in a pinch.
How do you get better loot without crafting everything yourself?
Crafting keeps you supplied, but it's not the only route to strong gear. Red Boxes scattered across the desert contain some of the highest-quality items in the game, often better than anything you can produce at a workbench. If you want to know exactly what drops from them and how to use each item, the complete Red Box items guide breaks down every piece of loot you can pull from one.
For players who want to keep performance smooth while grinding expeditions, the best graphics settings guide for max FPS is worth a look before your next session. Dropping frames during a vehicle fight is the kind of thing that gets your trampler destroyed.
For everything else covering this game, the full SAND: Raiders of Sophie strategy guide collection has you covered on mechanics, upgrades, and survival tips.