
Solarpunk treats power as a real management problem, not a background checkbox. Build a generator, connect a machine, done, right? That works for about twenty minutes. Then you unlock drills, sprinklers, batteries, and powered docks, and your base starts shutting things off with no obvious explanation. The fix is not always more panels. Most of the time, it is understanding what your grid is actually doing.
What are the core power values you need to know?
Before placing a single cable, memorize these numbers. Everything in your grid planning comes back to them.
The drill number is the one that surprises players most. At 10 power per solar panel, a single drill demands the same output as 12 panels before you account for night, rain, or anything else running on the same network. That is not a reason to avoid drills. It is a reason to plan before you connect one.
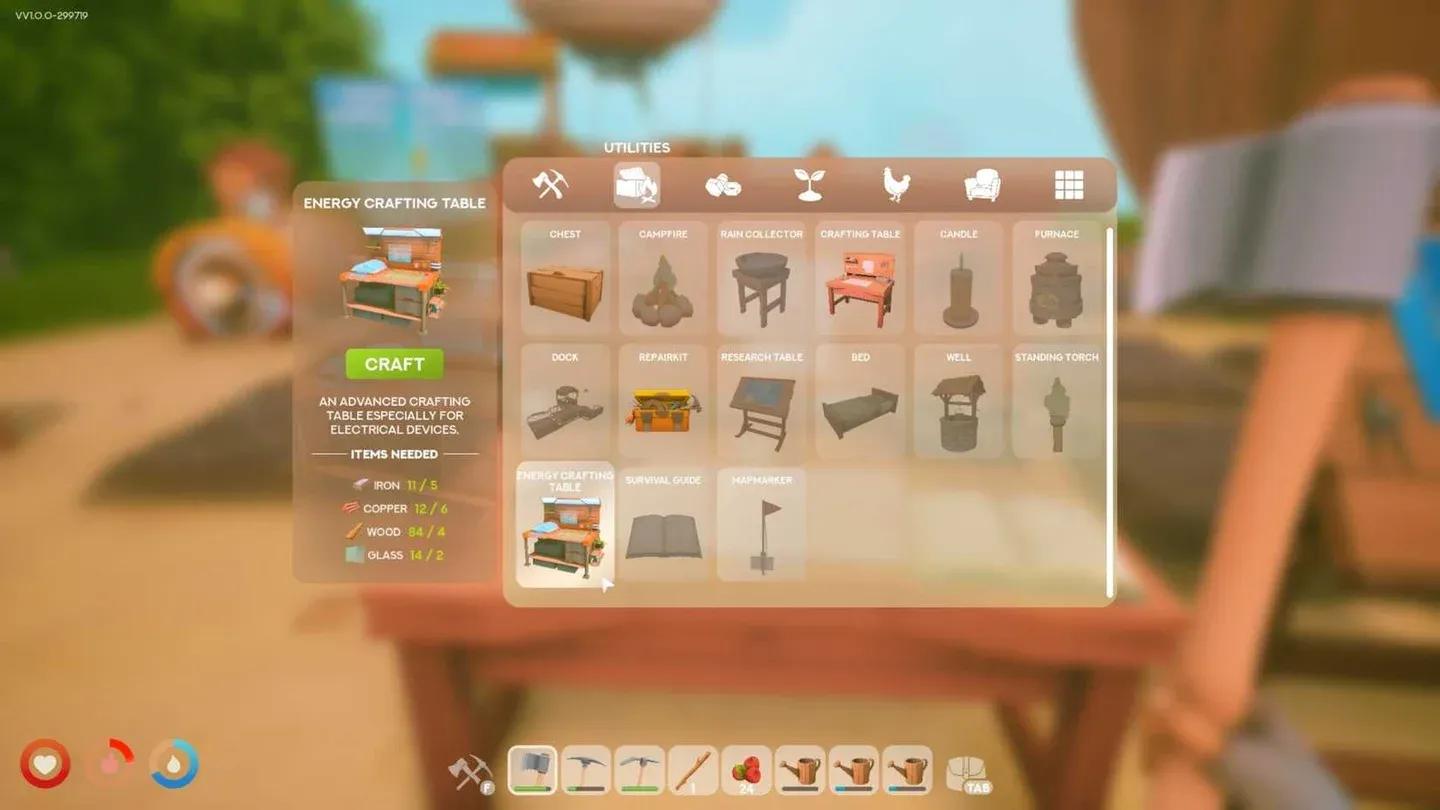
Energy Workbench unlock screen
How does the Solarpunk energy system actually work?
Your grid has four questions running at all times: how much power are you generating, how much are your machines consuming, how much can your batteries store, and are all your devices connected to the same network? Miss any one of those and machines start switching off in ways that look random but are not.
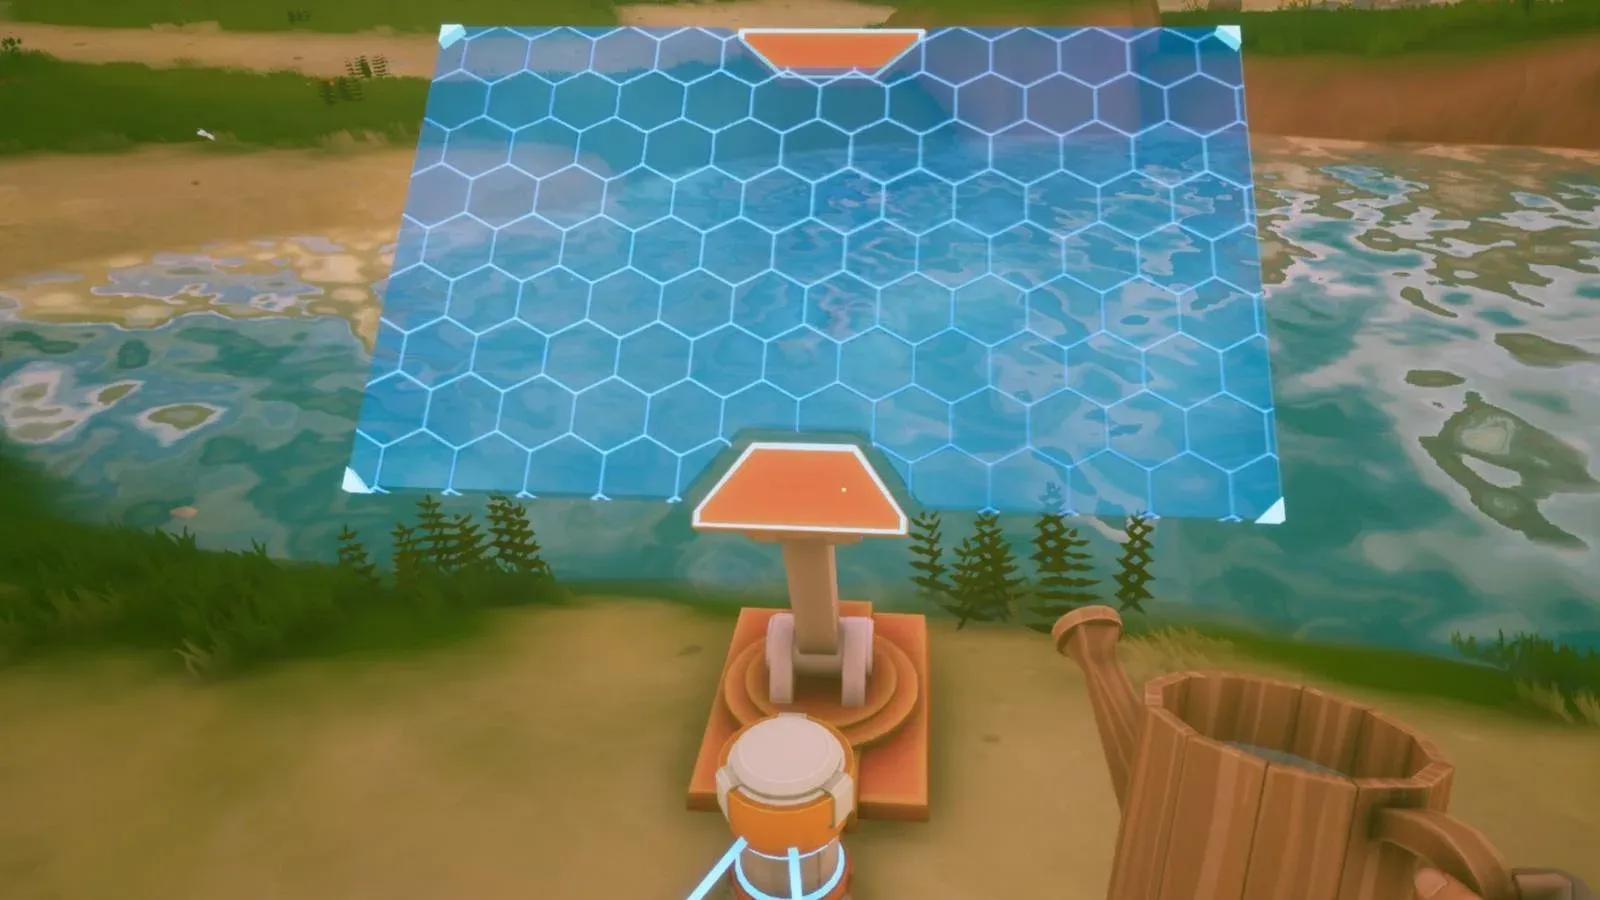
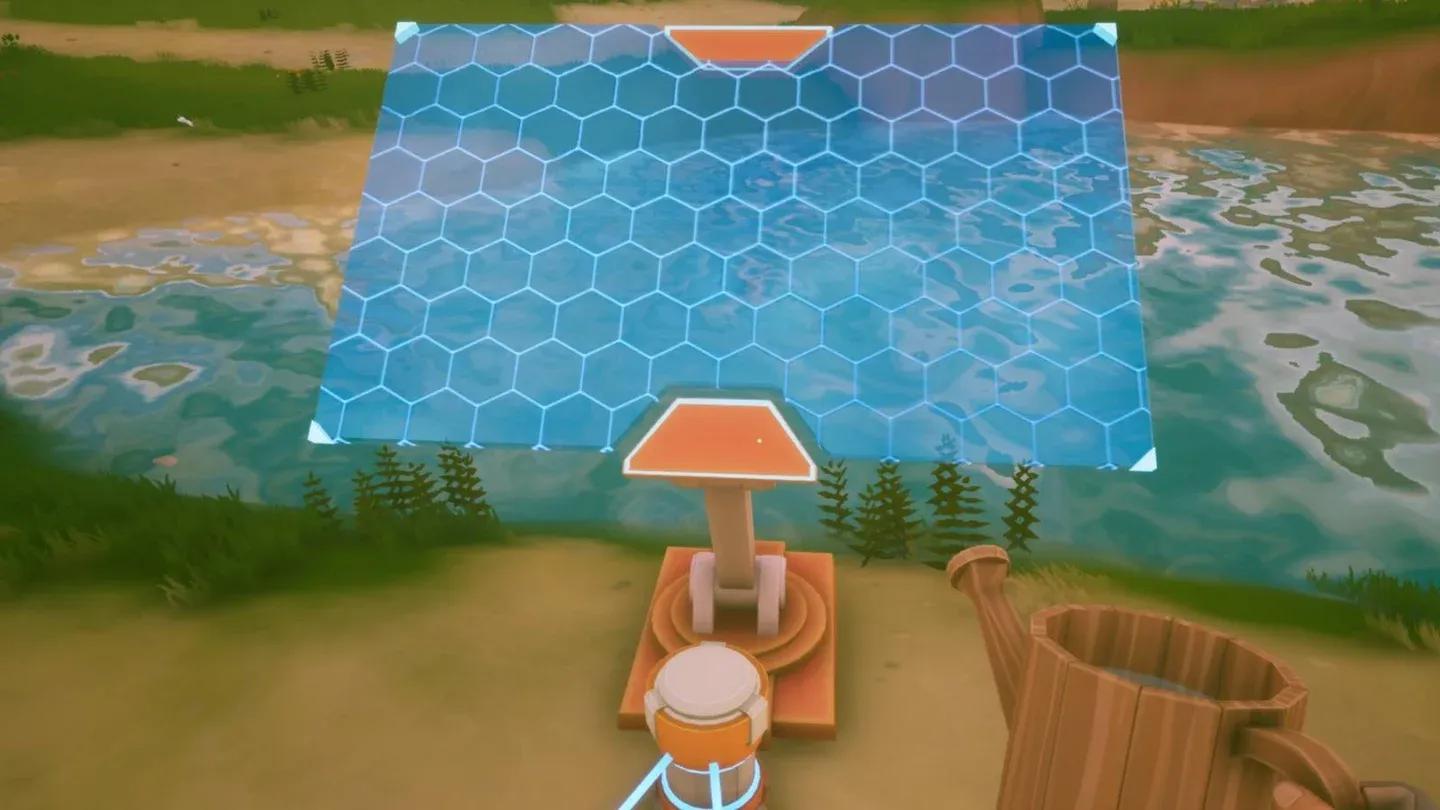
The Network Display is the tool that makes all four questions answerable. Without it, every power fix is a guess. With it, you can see generation, consumption, and storage at a glance and know immediately whether you need more panels, fewer active machines, more batteries, or a cable routing fix.
Build the Network Display before you add any heavy machine to your grid. It is tempting to place another solar panel or rush the drill, but the display is what tells you whether those additions actually help.
What should you build first for power?
The early unlock order matters more than raw panel count. Here is the sequence that avoids the most common mistakes.
The practical route looks like this: trade for the Energy Workbench blueprint, build it, craft solar panels and cables, place a Network Display, then add heavier machines only after you can read what your grid is doing. Skipping the display to rush the drill is exactly how players end up with a base that works at noon and dies at sunset.
If you are still working through early progression and resource gathering, the Solarpunk beginner's guide covers the base-building and Traderbot steps that come before the energy system becomes relevant.
Network Display power readout
Solar panels vs generators: which should you use?
Generators output 120 power and work immediately, which makes them useful as a bridge while you unlock the Energy Workbench. The problem is fuel. Wood disappears fast once you are building, crafting, running furnaces, and repairing your airship. Wax briquettes are more efficient than raw wood if you still need generator fuel, but neither is a long-term solution.
Solar panels output 100 power per panel and require no fuel, which makes them strictly better for sustained daytime operation. The two real weaknesses are night and bad weather. Neither of those is a reason to stay on generators. They are reasons to add batteries and, eventually, windmills.
The correct mental model is a progression, not a choice. Use the generator as a temporary bridge, move to solar as soon as the Energy Workbench allows it, add batteries once your base depends on powered machines, and bring in windmills when rain and night still cause problems despite having storage.
How many solar panels do you need for a drill?
Clean math first: a drill uses 120 power, one solar panel gives 10 power, so a drill by itself needs the equivalent output of 12 panels running at full capacity. In practice, you also need to account for weather reducing solar output, nighttime stopping it entirely, and any other machines sharing the same network.
For your first drill, check the Network Display before connecting it, reduce other active loads if needed, and treat the battery as a near-immediate follow-up purchase once Tier 2 opens. Copper is usually the resource bottleneck that makes a mining outpost worth building, so automating that island early tends to pay off faster than expanding the home farm.
The Solarpunk resources guide covers silicon, cobalt, and other materials that become relevant once your drill is running and your supply chain starts scaling.

Drill power load on solar grid
When should you build batteries?
Build your first battery as soon as your base has enough powered devices that a night cycle or rainy afternoon interrupts real progress. That moment usually arrives when you have a drill running, multiple sprinklers active, or an Advanced Dock on the grid.
One battery stores 95 energy. Two store 190. Four store 380. The practical early Tier 2 target is two batteries, which gives enough buffer to cover most nighttime operation for a modest base.
At Tier 2, the tempting alternatives to Battery are Animal Transport and the Advanced Dock. Animal Transport is useful later, but it does not fix the instability that shuts off your drill and sprinklers. Battery should come first if your machines are already losing power.
How do switches stop sprinklers from wasting power?
Sprinklers are one of the best quality-of-life upgrades in the game because they remove manual watering. They are also one of the fastest ways to drain a battery bank you were saving for the drill.
Each sprinkler draws 40 power. Three sprinklers draw 120, the same load as a drill. If it is raining, your crops are already being watered and those sprinklers are burning stored energy for no reason.
Switches fix this. Put sprinklers on their own cable branch with a switch in front of it, and you can cut that 120-power load instantly when rain hits or when you need stored energy for something else. The same logic applies to the Advanced Dock: it draws 100 power and does not need to be on the same active grid as your drill and farm automation.
Controlling demand is just as effective as adding generation. More panels solve daytime shortfalls. Switches solve waste.
For a closer look at how crop layout affects how many sprinklers you actually need, the Solarpunk farming guide covers compact plot design and the wheat gates that gate your mid-game progression.
How do you set up a remote mining outpost?
Once you find a good ore island, flying out to hand-mine the same node every day is a waste of airship fuel and your time. A basic drill outpost ends that loop.
Bring a drill, enough local generation to power it (120 minimum), cables, a battery if Tier 2 is unlocked, food and water for the trip, and repair supplies for your airship. Keep the outpost on its own isolated network. One drill, one small solar setup, one battery is far easier to read and fix than a long cable chain running back to your main base.
At first, you fly out and collect ore from the drill manually. Once transport drones are available, that outpost becomes a fully automated supply line. The key is getting the drill running on a stable local grid before you start worrying about automation.
When should you build windmills?
Windmills output 210 power and run without interruption from weather or time of day, which makes them the strongest single power source in the game. They unlock at Tier 3, which means they are not your first energy fix, but they are the right answer once your base has grown past what batteries and solar can handle alone.
Prioritize windmills when your farm uses multiple sprinklers, your batteries keep draining despite being full at noon, your drills compete with base machines for the same power pool, and rain or night still interrupts your routine. Leave open space around each windmill when you plan the layout. A rough 5 to 10 meter gap between turbines gives you room to expand and keeps the energy area readable.
Recommended power route from start to mid-game
If you want a clean path without second-guessing every decision:
- Use the generator only long enough to reach Energy Workbench progression.
- Unlock the Energy Workbench through the Traderbot route.
- Build solar panels, cables, and a Network Display.
- Place solar panels in open sky, away from roofs and tall walls.
- Keep one main cable network at your base.
- Add a drill only after checking its 120-power load against your actual generation.
- Unlock Tier 2 and build Battery early.
- Put sprinklers on a switch-controlled branch once your farm expands.
- Set up a mining outpost with a drill, local power, and a battery.
- After Tier 3, prioritize Windmill if the base still loses power during bad weather.
Follow that order and the energy system stops feeling hostile. You will still need to expand, but you will know exactly why each machine stops and what to build next. For everything else across the game's systems, the full Solarpunk guides collection has dedicated breakdowns for each progression layer.