
Colonist Bunkers are some of the most rewarding optional locations in Subnautica 2. These abandoned habs are tucked away in caves, behind ledges, and near crashed ships across the ocean floor of Proteus, and every single one contains a Biobed that grants a permanent character upgrade. Four bunkers are confirmed in the current early access build, and tracking them all down nets you +9 inventory slots and an extra tool keybind.
Before you start hunting, know that none of these bunkers are marked on any map. You navigate to them using distance and direction from your Lifepod, so keep your bearings in mind as you swim. The rewards are permanent and stack, so the earlier you find them, the better your quality of life for the rest of your run. For more on expanding your carry capacity, the Subnautica 2 inventory size guide covers every Biobed location in detail.
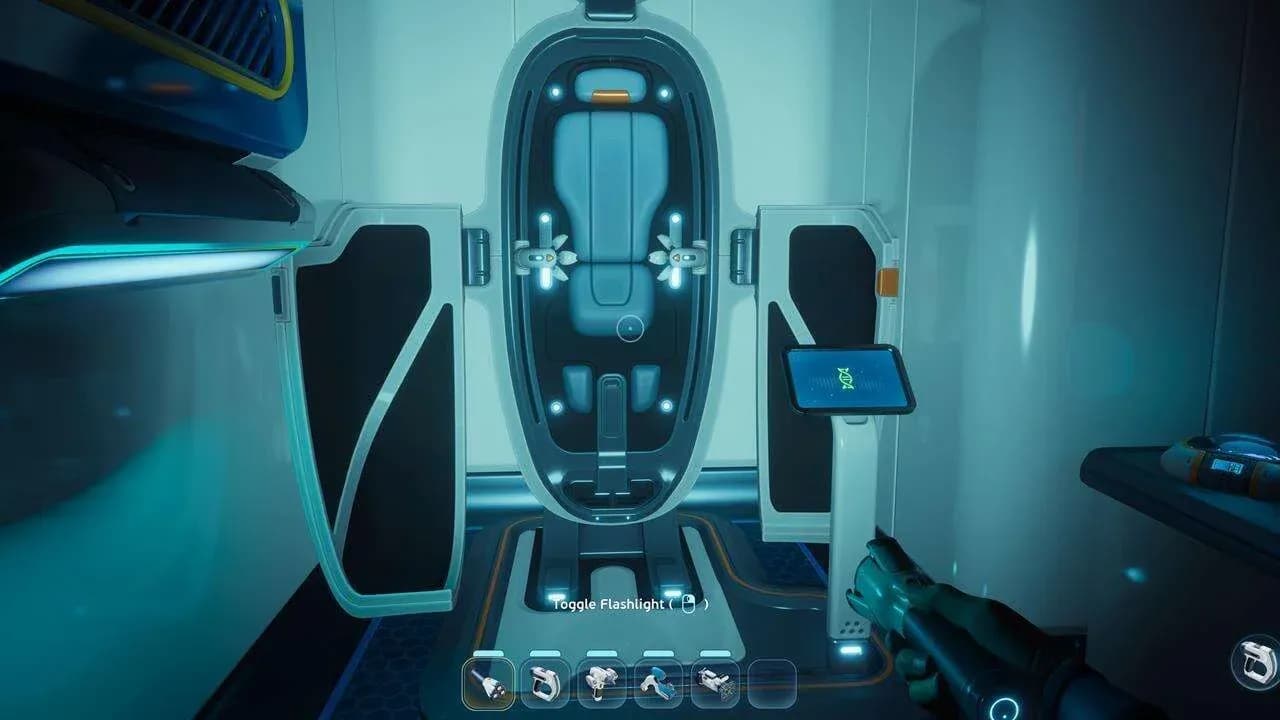
Biobed permanent upgrade screen
What do Colonist Bunkers contain?
Every Colonist Bunker holds a Biobed, which you interact with once to receive a permanent stat boost. There are two types of rewards across the four bunkers:
- Endurance: Grants +3 inventory slots per use
- Dexterity: Grants +1 tool slot and keybind
Beyond the Biobeds, several bunkers also contain scannable objects worth grabbing, including fragments for tools you will need later in the game. Bunker #2 is particularly notable because it has both a Repair Tool and Habitat Builder fragment available to scan.
All 4 Colonist Bunker locations
Here is a full breakdown of every confirmed bunker, organized by distance from the Lifepod.
Colonist Bunker #1: Anita's Garden
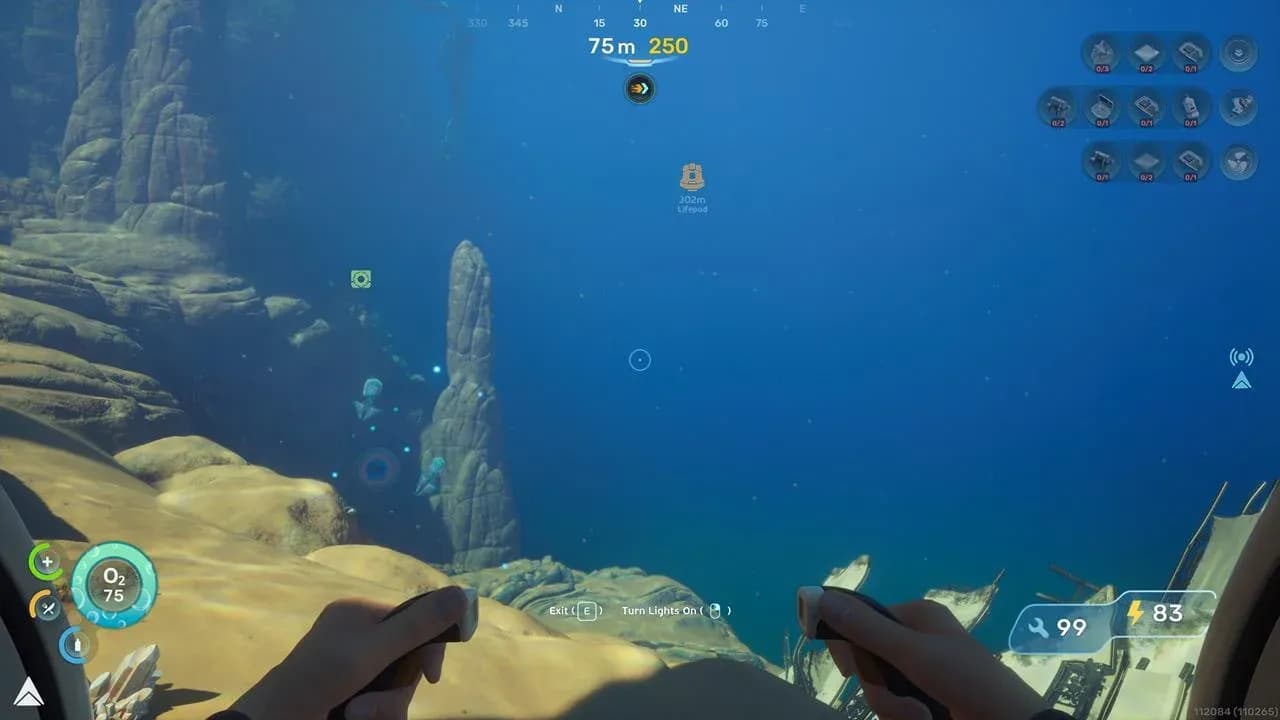
Location: Approximately 100 meters east-southeast of the Lifepod.
This is the closest bunker to your starting position, but reaching it requires descending into a cave system, which catches a lot of players off guard. Swim east from the Lifepod toward a Coral Dome, pass through it, then turn northeast. You will spot more Coral Domes near the water's surface. Between them is a pit with a downward current that pulls you into an underground chamber.
Once inside the cavern, you have air options nearby. Oxygen Tunics in the chamber release breathable bubbles, and there is a Coral Dome to the north-northeast with an air pocket at the surface. From the cavern floor, swim northeast to find a platform holding a Wakemaker Fragment and a Flashlight to scan, along with the Sophie - Jubilee Data Download.
Continue north-northeast from that platform. Watch for a passage lined with red Feather Kelp on both the outside and inside of the entrance. That kelp is your landmark. Swim down the passage, follow the slope, and at the T-intersection turn right. The hatch into the bunker is right there. Inside, interact with the Biobed to claim your +3 inventory slots.
To exit, leave the hatch, stay right at the first intersection, pass the Feather Kelp again, and at the second intersection turn right to swim out. You surface at roughly 30 meters depth, which is an easy ascent.
Do not skip checking your oxygen before entering the Feather Kelp passage. The cavern has air sources, but if you ignore them and swim straight for the bunker you can run low before reaching the hatch.
Colonist Bunker #2: Salvage
Location: Approximately 200 meters north-northeast of the Lifepod.
This bunker sits near the Angel Comb Adaptation location, so you may pass it while hunting that upgrade. Look for a cave opening beside a ledge that has Alterra equipment on it. Swim down to the bottom of the cave opening, then look left. The hatch is there.
The Salvage bunker is the most useful stop for early-game progression because it contains scannable fragments for both the Repair Tool and the Habitat Builder. The Biobed here gives Dexterity, adding +1 tool slot and an extra keybind, which is the only reward of its type across all four bunkers.
Colonist Bunker #3: Quaker's Meetinghouse
Location: Approximately 250 meters south-southeast of the Lifepod.
This bunker is tied to the objective involving the Chap blackbox recording, so you may find it naturally during story progression. The entrance is inside a cave guarded by a Coral Crab. A set of pillars jutting out of the top of a plateau serves as a visible landmark to orient yourself before diving in.
The scannable object here is a Bioreactor, which is worth grabbing for base-building knowledge later. The Biobed grants +3 inventory slots.
Colonist Bunker #4: Unauthorized NOA Modification
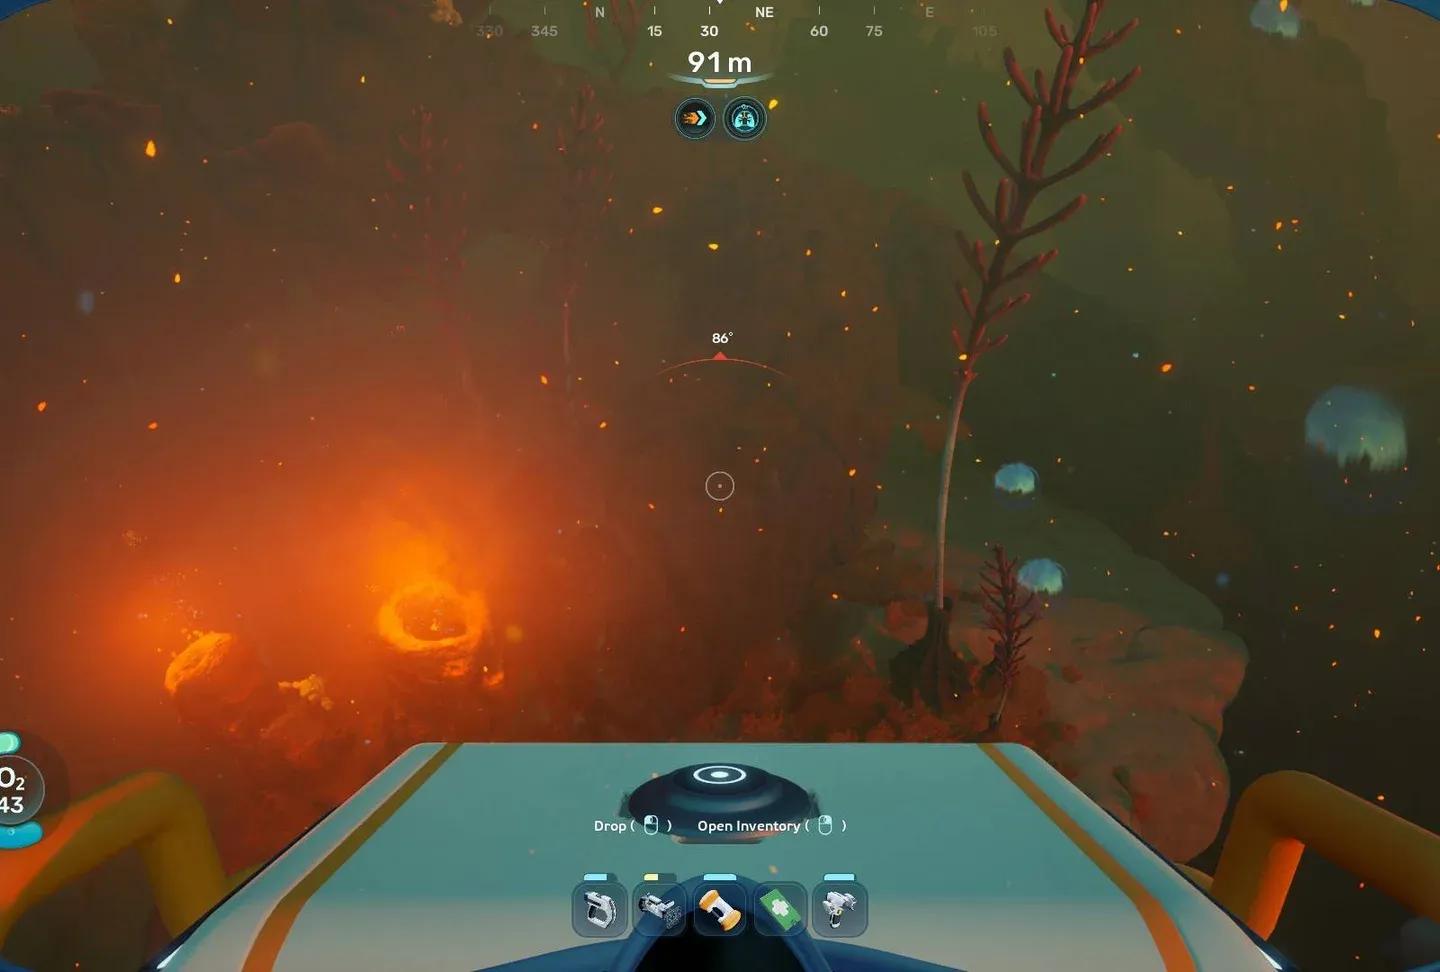
Location: Approximately 300 meters south-southwest of the Lifepod.
This is the farthest bunker from the Lifepod. The hatch protrudes from a ridge near the seafloor, close to a crashed ship. The ship wreck is a reliable visual reference once you are in the right area. Inside, you will find a Tadpole Fragment to scan and the Biobed, which again rewards +3 inventory slots.
Subnautica 2 is currently in early access. These four Colonist Bunkers represent what is confirmed in the current build. More may be added as the game receives updates.
Is it worth finding all four bunkers?
Absolutely. The math is simple: three Endurance Biobeds give you +9 inventory slots, and the single Dexterity Biobed adds a tool slot you will use constantly once your loadout fills out. None of these upgrades require crafting materials or specific prerequisites. You just find the bunker and interact with the bed.
The scannable objects are a bonus, not the main draw, but the Habitat Builder fragment at Bunker #2 is genuinely useful if you have not found that tool yet. For a broader look at what you can build once you have it, the Subnautica 2 room blueprints guide walks through unlocking base expansions beyond basic corridors.
Expanded inventory after Biobed
The bunkers also double as lore stops. Each one carries Data Downloads and environmental details about the colonists who lived on Proteus before things went sideways. If you are playing for the story, these are not locations to skip.
For more on getting the most out of your character upgrades, the full Subnautica 2 guides collection covers everything from Biomods to base building across the planet of Proteus.