
The Tadpole Haul Chassis is the endgame upgrade that turns your submarine from a scout into a proper cargo hauler. Two 30-slot storage containers, two extra co-op seats, and enough carrying capacity to make bulk silver runs actually worth your time. The catch: finding the three scannable parts is a proper expedition, and getting your loaded Tadpole back home without the Scavenger wrecking your day takes some planning. This guide covers both problems.
Where are the Haul Chassis parts in Subnautica 2?
You need to scan three Haul Chassis fragments to unlock the crafting recipe. All three are located in the rock structures near the alien ruins, which sit roughly 1,200 meters east of the starting Lifepod. There are more than three fragments scattered around the area, so your exact route may vary depending on how much you explore, but the three locations below do not require the Tadpole Depth Module.
Haul Chassis crafting recipe

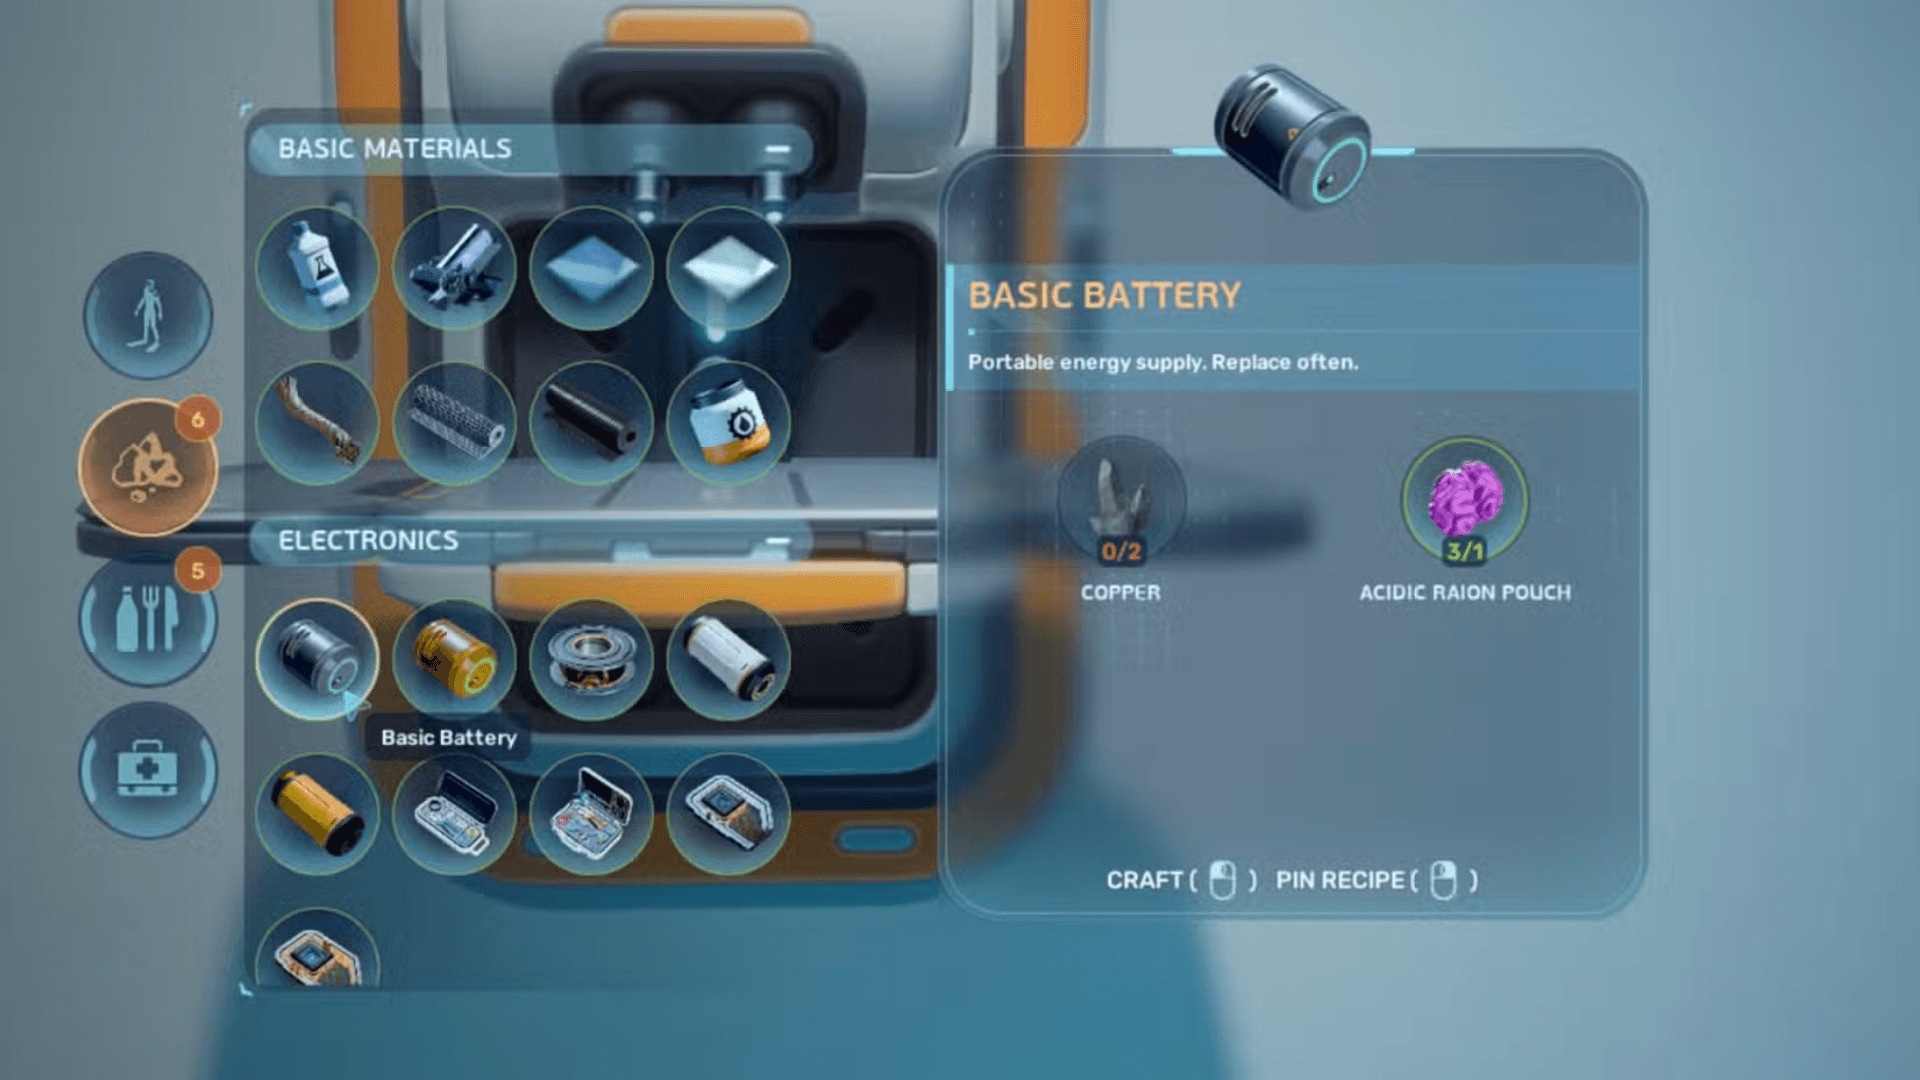
Fragment 1: Cave south-southeast of the Alien Ruins research center
The first fragment sits approximately 320 meters south-by-southeast of the Alien Ruins research center, roughly at compass bearing 130. If NoA sends you a signal about a black box from Ruby, that black box is inside the same cave as this fragment, so you can knock both out in one dive.
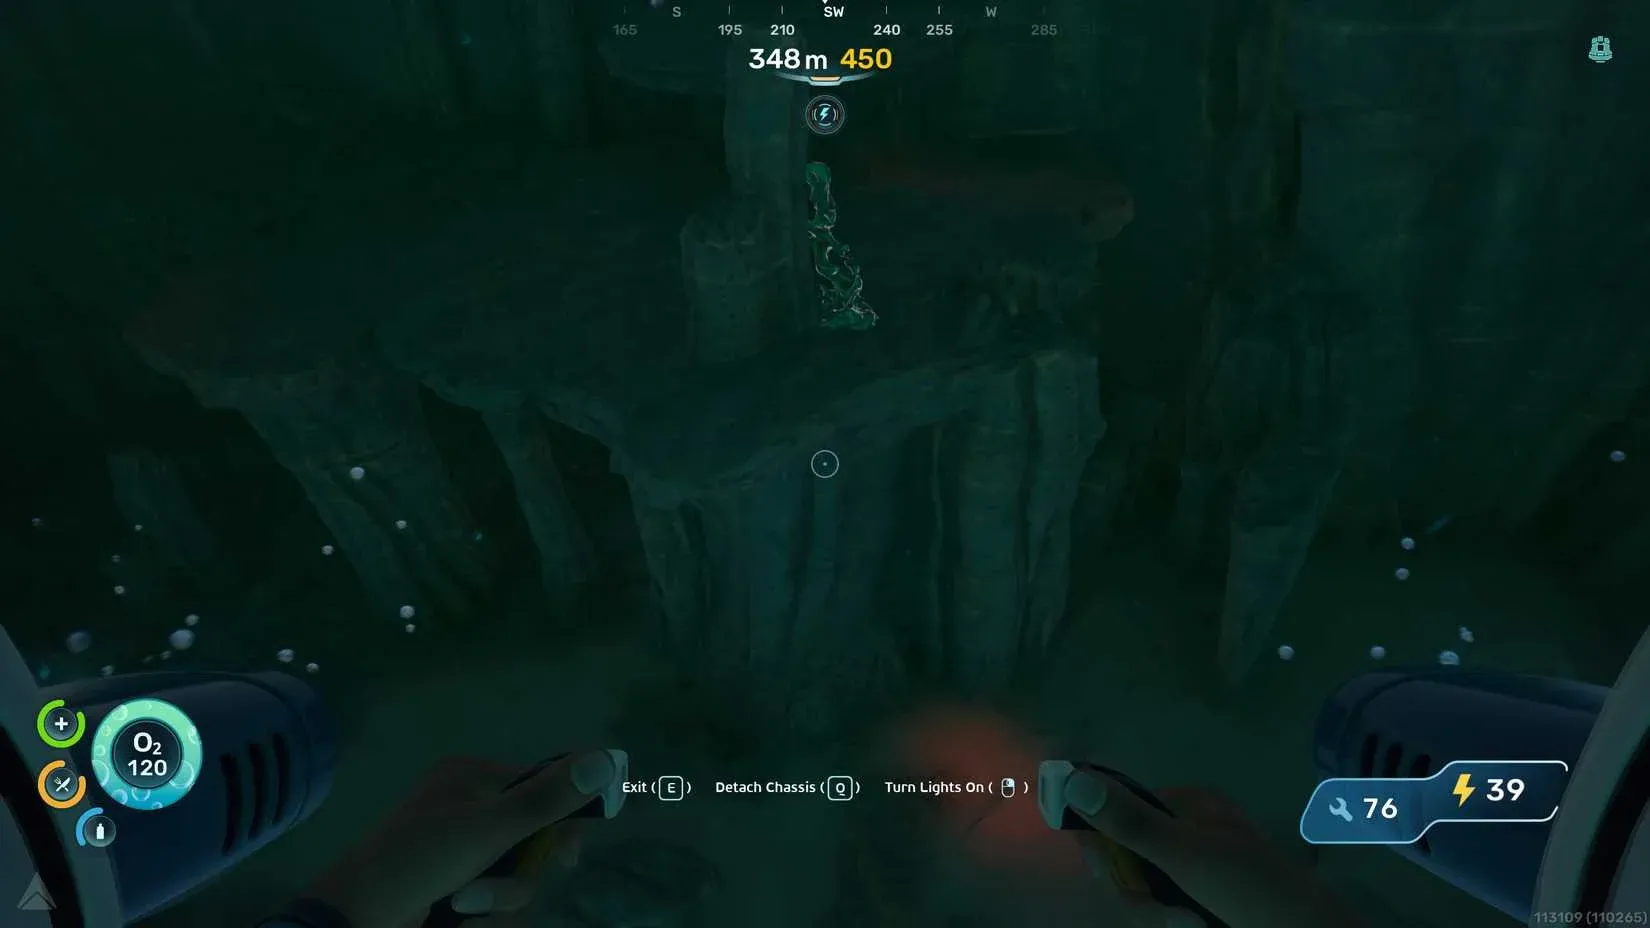
Approaching from the west, you will pass a large cave system on your right. Keep going until you are within 300 meters of the research base. Look for a wide cave mouth below a small cluster of platforms jutting from a cliff face. The cave drops below the Tadpole's 250-meter crush depth, so you will need to go in on foot. Head down into the entrance and turn north. The Haul Chassis fragment is at the cave floor, sitting near the Tadpole Depth Module upgrade recipe.
Fragment 2: East of the Alien Ruins, near the Cicada colony ship wreck
The second and third fragments are close to each other, both sitting 850 to 900 meters east of the Alien Ruins research station. Head almost directly east from the base at compass bearing approximately 90 (slightly left of 105). You can also travel roughly 700 meters east from the first fragment's location.
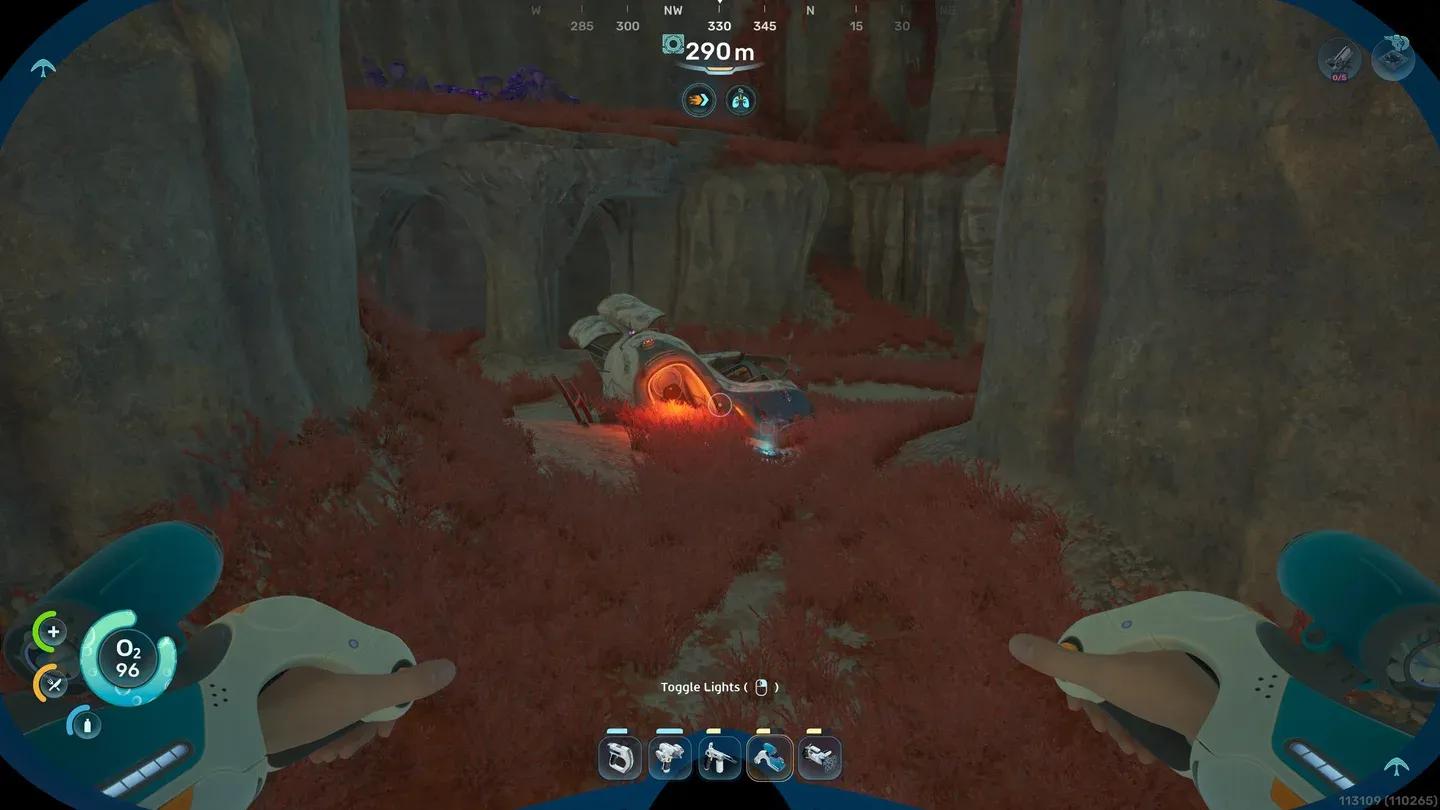
Navigate until a large section of the Cicada colony ship comes into view, hanging from a tall rocky outcropping. Drop down to the lower rock shelf and move to its western edge. A small strip of manufactured material rests there, and the Haul Chassis fragment leans against a railing.
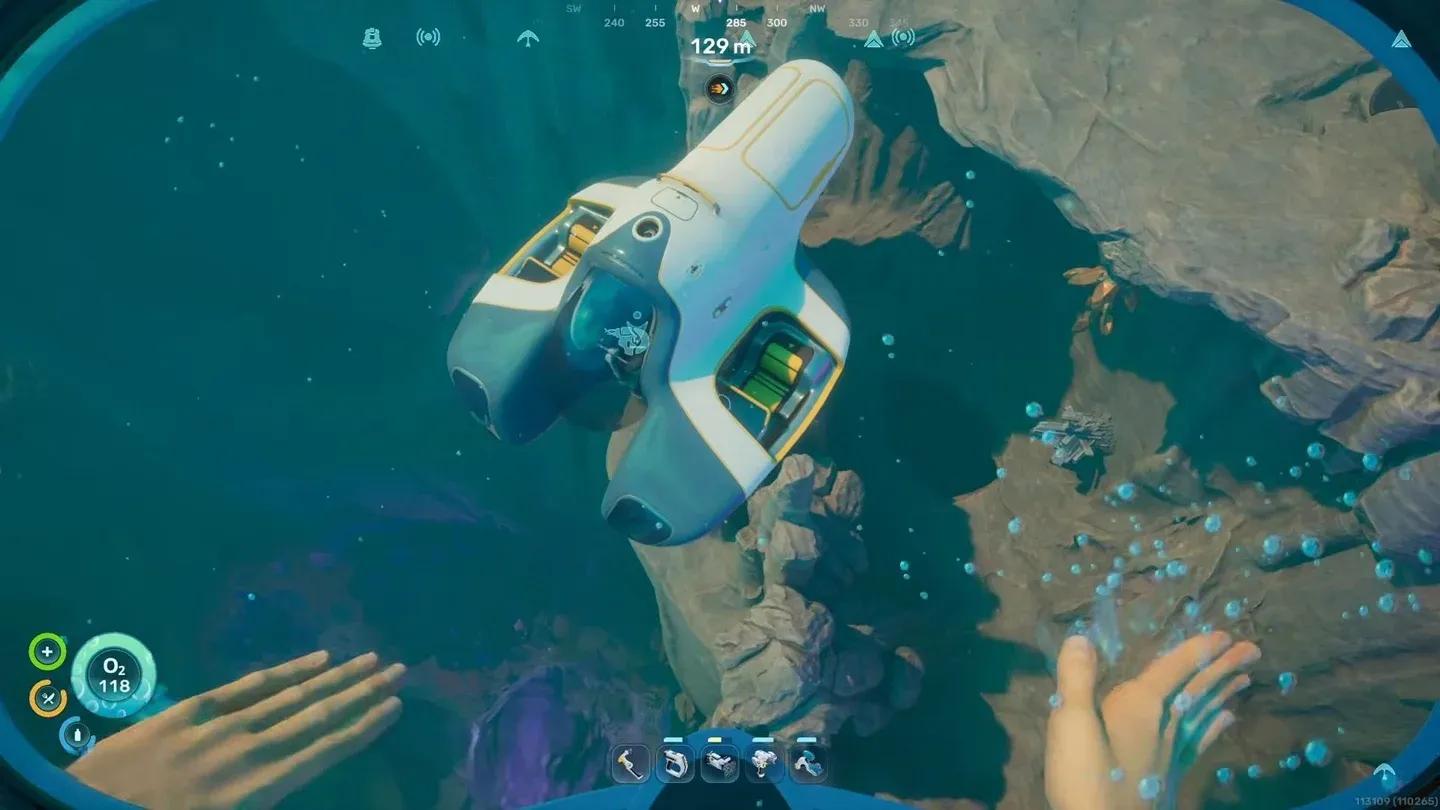
First fragment cave entrance
Fragment 3: Northeast of Fragment 2
From the second fragment, turn to compass bearing 45 (northeast) and travel about 180 meters. The elevation change is minimal. You will reach another rocky plateau where the third fragment sits on top of a railing. If NoA has sent you the black box signal for Singh, that signal leads directly to this area.
What materials do you need to craft the Haul Chassis?
Once all three fragments are scanned, head back to base. The full crafting recipe requires:
| Material | Quantity |
|---|---|
| Titanium Ingot | 4 |
| Strontium Ingot | 3 |
| Enamelled Glass | 3 |
| Dedicated Core | 1 |
The Strontium Ingots and Dedicated Core are the bottleneck for most players. If you need help unlocking the crafting infrastructure to process these, the Subnautica 2 guide to unlocking the Modification Station covers the full process including material farming.
How do you get the Haul Chassis past the Scavenger?
This is where most players hit a wall. The Haul Chassis is slower than lighter builds, and a fully loaded run through the center of the trench is a reliable way to lose everything. The community solution, documented across multiple player reports, is the border wall route.
The border wall route
- Start from the Tadpole Pens area
- Head north until you reach the map's outer boundary wall
- Hug the wall tightly for the entire journey
- Stay near the surface whenever the route allows
- Continue along the border until you reach the Alien Ruins base
The logic is straightforward: Scavenger and Collector patrols concentrate in the center of the trench, not along the outer edges. Avoiding the patrol zone entirely is more reliable than trying to outrun anything, because the Haul Chassis cannot consistently outspeed the Scavenger in open water, especially under a full cargo load.
What about the Shiver Leviathan?
Multiple players report completing the border wall route without triggering the Shiver Leviathan, as long as they stay close to the boundary and avoid drifting into open mid-trench water. The danger zone is the center of the trench, not the edges. Keep moving steadily and stay near the surface.
Tips for safer cargo runs
Bring extra power cells. The border wall route is longer than the direct trench path. Power consumption on a long cargo run can become a problem without backup cells.
Don't max out your cargo weight. Even with two 30-slot holds, overloading makes the Haul Chassis harder to maneuver if you need to dodge something quickly.
Use a faster chassis for small runs. If you only need a modest amount of silver, a lighter build with better speed is safer. The Haul Chassis is for bulk transport, not quick supply trips.
Travel near the surface. Hostile encounters are less frequent in the upper sections of the route compared to deeper water.
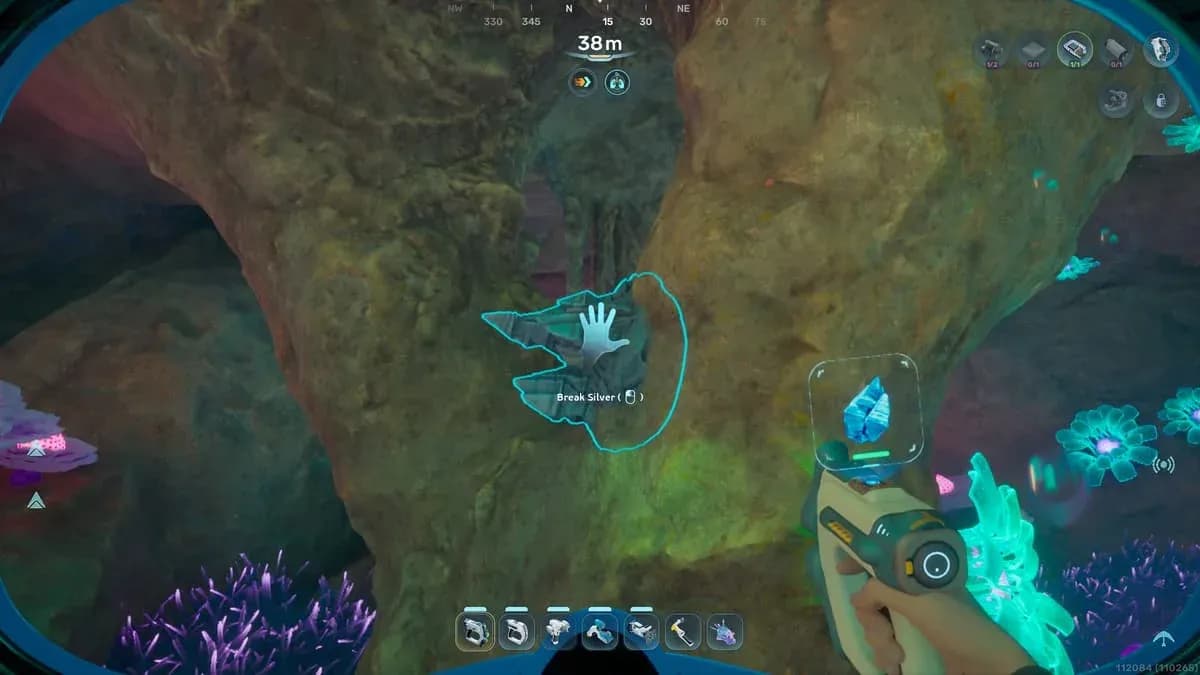
Silver farming cave deposit
Where to farm silver for the Alien Ruins base
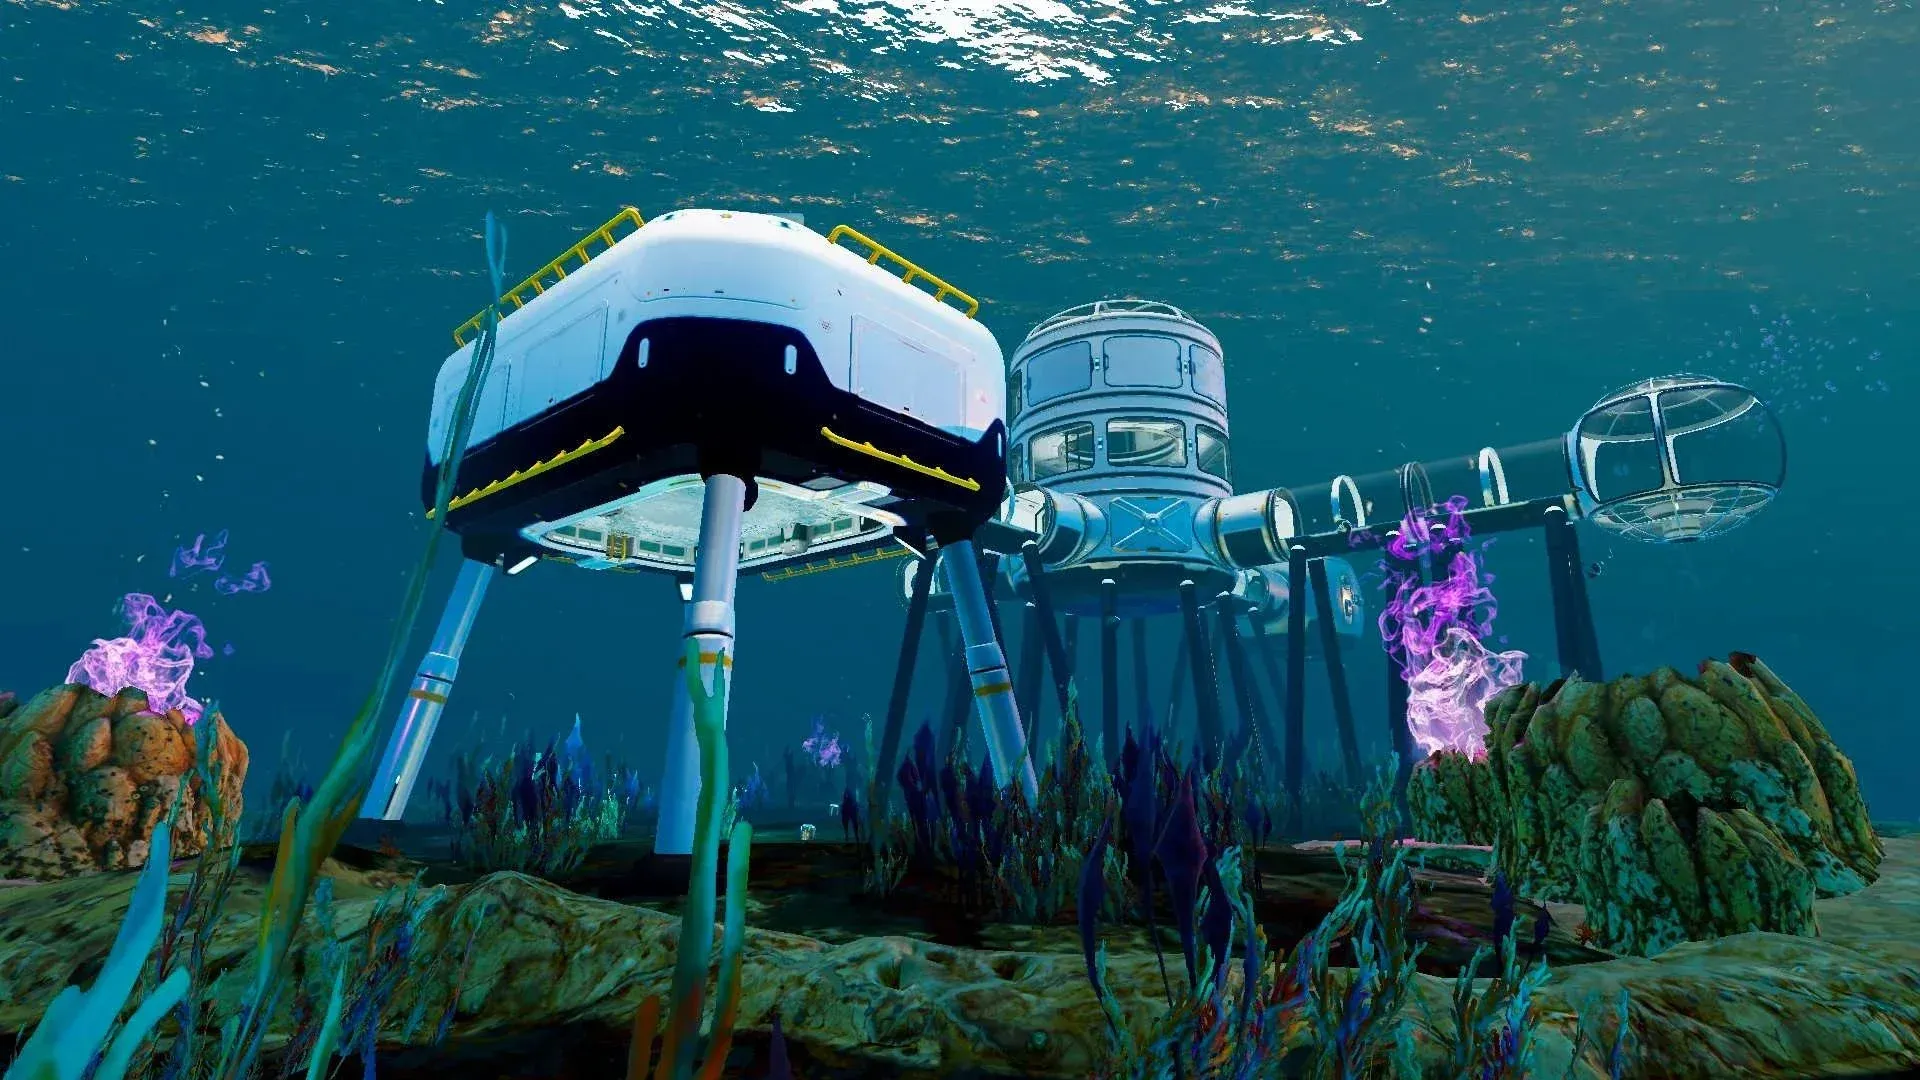
Silver near the Alien Ruins itself is limited, which is exactly why the Haul Chassis matters for late-game base construction. Based on community reports, the most consistent silver sources are:
- Deep cave systems north of the Lifepod
- Coral tower cave entrances
- Underground tunnels marked by cables
- Trench-side resource clusters
For everything else you need to know about surviving and building in the alien ocean, the full Subnautica 2 guides collection has you covered from early-game basics through late-game base expansion.