
The Modification Station is the wall between early-game survival and everything the deeper ocean has to offer in Subnautica 2. Without it, your Tadpole is capped at 250 meters, your power runs dry on long trips, and hostile zones will eat you alive. Getting it built requires a dangerous push into the Alien Ruins biome and a resource you cannot find anywhere near your starting area. This guide covers the full process: finding the blueprint, farming Celestine, building the station, and knowing which upgrades to prioritize first.
What does the Modification Station do?
The Modification Station is an interior facility that handles every Tadpole upgrade module and both prototype tool modifications currently in the game. None of these can be crafted at the standard Fabricator. If you have hit the Tadpole's crush depth limit or want to extend your battery range, the Fabricator offers nothing. The Modification Station fills that gap entirely.
Once placed inside a Seabase, it unlocks the full upgrade catalog:
- Depth Modules that raise the Tadpole's safe dive limit from 250 meters to 450 meters
- Engine Efficiency modules that reduce power draw by up to 80% when stacked
- Strike Armor and Cavitation Muffler for survivability and stealth
- Photovoltaic Charger for passive battery recovery in shallow water
- Bioscanner and Feedback Resonator for Biomod scanning and breaking shielded Cankers
Building the station requires two common materials and Celestine, a resource gated behind the Alien Ruins biome. That single requirement is what makes this a mid-game milestone rather than something you can knock out in the first hour.
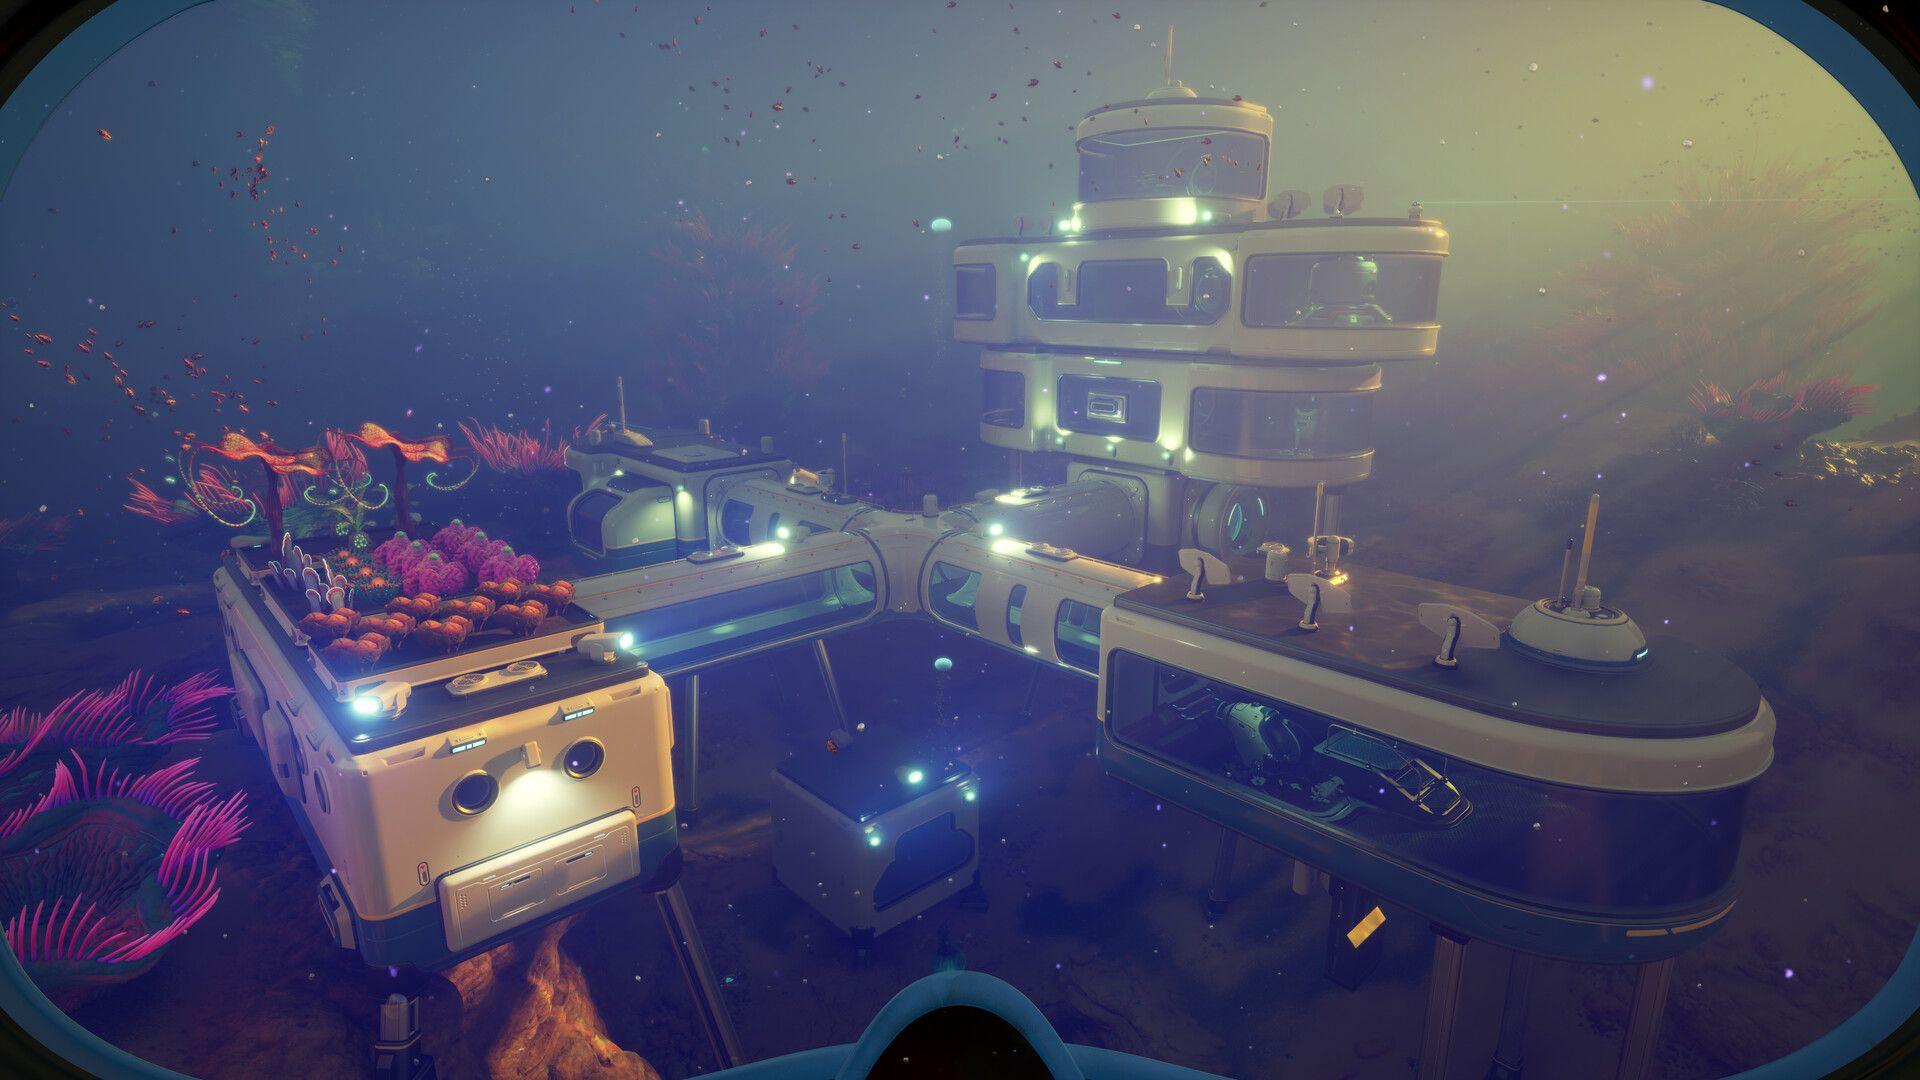
Modification Station in base
How to unlock the Modification Station blueprint
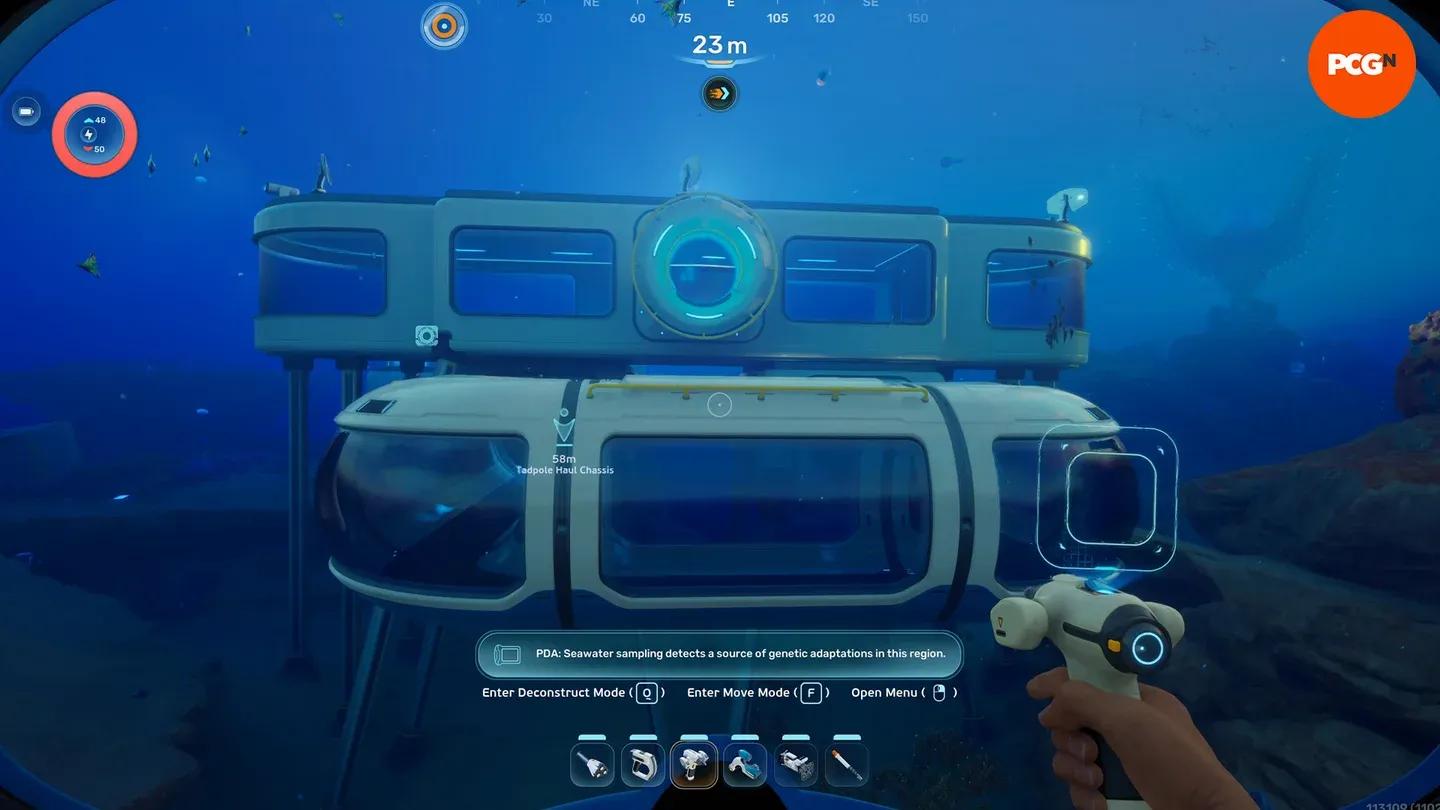
The blueprint does not appear in your menu by default. You need to scan an existing Modification Station in the world using your Scanner tool.
The most accessible scan location is the Alien Ruins Research Outpost, roughly 1,300 to 1,400 meters east of your Lifepod at a depth of around 140 meters. Head east from the Lifepod, look for the large alien tower as a navigation landmark, and find the Research Outpost to its left. Enter through the main tunnel, turn right, and scan the Modification Station inside. One scan is all you need.
A second scannable station exists inside the Cicada Wreck (EVA Prep) near the Karakorum Power Plant, encountered during the Iso blackbox objective. Either location works, but the Research Outpost is the earlier and more straightforward option.
What to bring before you go
The Alien Ruins biome is one of the most hazardous zones in the current build. Going unprepared risks losing your progress and materials. Pack the following before setting out:
- Scanner: Required to scan the station and unlock the blueprint.
- Sonic Resonator: Needed to harvest Celestine nodes on the way back. No other tool can break them.
- Tadpole or extended oxygen support: The trip is 1,300 to 1,400 meters one way. Swimming the full distance without a vehicle is extremely risky.
- Repair Tool: The Tadpole takes damage from creature strikes and wall collisions near the alien biome. Check our guide on how to unlock the Repair Tool before heading out.
- Inventory space for at least 5x Celestine: Two units go into the station itself, and three more cover the Depth Module Mk. 1. Collecting both in one trip saves a second run.
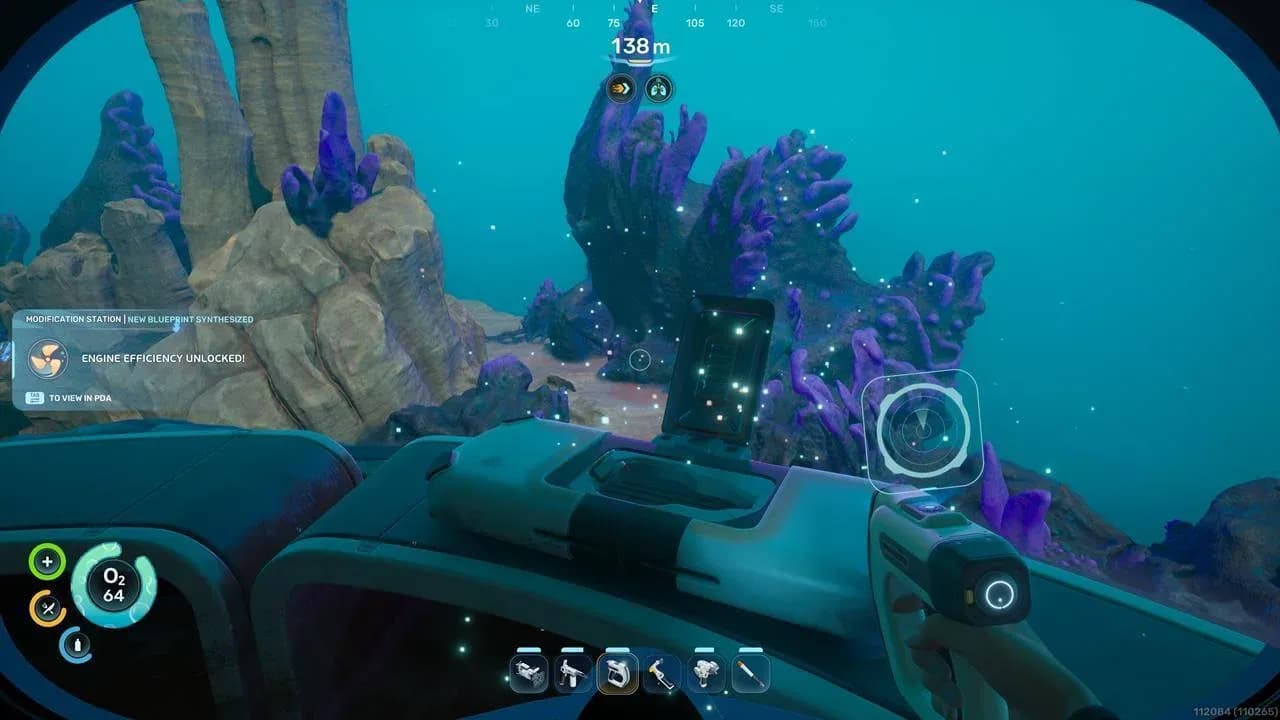
Where to find and farm Celestine
Celestine is the only material requiring a dedicated trip. It does not spawn in the early biomes near the Lifepod and is found exclusively in the Alien Ruins biome. The resource looks like blue-silver jagged crystal clusters attached to rock walls and cliff edges, and it requires the Sonic Resonator to harvest.
Here are the three farming zones that exist:
- The region around the Karakorum Power Plant
- The area near the Alien Observatory
- The cliffs around the Karakorum Metal Farm
The most reliable single spot sits approximately 200 meters southeast of the Alien Ruins research base, down the cliffside, with nodes clustering at around 250 meters deep. A safer alternative is 290 meters south of the Alien Ruins waypoint at 250 meters depth, which keeps you further from dense Needler patrols and also yields Creature Enamel, needed for the Depth Module recipe.
Celestine cluster location
How to farm Celestine safely
Two Needlers actively patrol the main farming cliff, and the Collector Leviathan controls the ocean stretch between the hot biome and the eastern zone. Take these precautions:
- Park the Tadpole at 225 to 245 meters and swim the remaining depth manually to avoid exposing the vehicle to heavier threats.
- Move quickly near Needler nests and stay close to rock cover to minimize aggression windows.
- Collect at least 5x Celestine per trip to cover both the station build and your first Depth Module.
- Celestine can also be processed into Strontium at the Processor at a 2:1 ratio. Strontium is required for Strike Armor, Cavitation Muffler, and the Feedback Resonator.
Setting up a small secondary base with a Scanner Station in the alien biome makes repeat farming much faster. The Scanner Station tags every Celestine node within 300 meters.
How to build the Modification Station
The Modification Station is an Interior Facility, meaning it must be placed inside a Seabase room using the Habitat Builder. A working Seabase with at least one room is a prerequisite. If you haven't expanded your base yet, check out the guide on how to build rooms and unlock blueprints first.
The crafting recipe requires:
- 2x Titanium
- 2x Celestine
- 2x Copper (one source notes this as Copper Wire)
Titanium and Copper are available in the starting biome, so Celestine is the only material that needs a dedicated run. Once you have everything, equip the Habitat Builder, select the Modification Station from the interior facilities list, and place it against a wall.
Place via Habitat Builder
All upgrades available at the Modification Station
Every upgrade here requires either a field scan or a Recipe Data Card pickup before it appears in the station menu. Nothing shows up automatically.
Tadpole upgrade modules
The Tadpole has four upgrade slots. Modules can be swapped freely between dives.
Crafting recipes for each module
- Depth Module Mk. 1: 3x Celestine, 2x Enameled Glass, 1x System Chip
- Depth Module Mk. 2: 2x Dedicated Core, 2x Troilite, 2x Mangalloy Ingot (Creative Mode only)
- Engine Efficiency: 1x Titanium Ingot, 2x Glass, 1x System Chip
- Photovoltaic Charger: 1x Copper Ingot, 1x Strong Acid, 1x Troilite
- Strike Armor: 2x Enameled Glass, 2x Strontium
- Cavitation Muffler: 3x Titanium, 2x Strontium
What upgrades should you craft first?
With four slots and multiple options, here is the priority order based on progression payoff:
- Depth Module Mk. 1 first, without exception. Pushing crush depth from 250 meters to 450 meters directly unlocks the biome routes the story pushes you toward. Nothing else matters until this is installed.
- Engine Efficiency second. Running two copies cuts power draw by 40%, which effectively doubles usable range per Power Cell charge on long expeditions.
- Cavitation Muffler before Strike Armor if your routes regularly pass through the Metal Farms or deeper alien areas. Avoiding aggression is more valuable than absorbing hits.
- Strike Armor once the first two slots are filled with depth and efficiency upgrades.
- Photovoltaic Charger is a strong pick for open-water surface transit but lower priority for deep-dive focused builds.
Tool upgrades
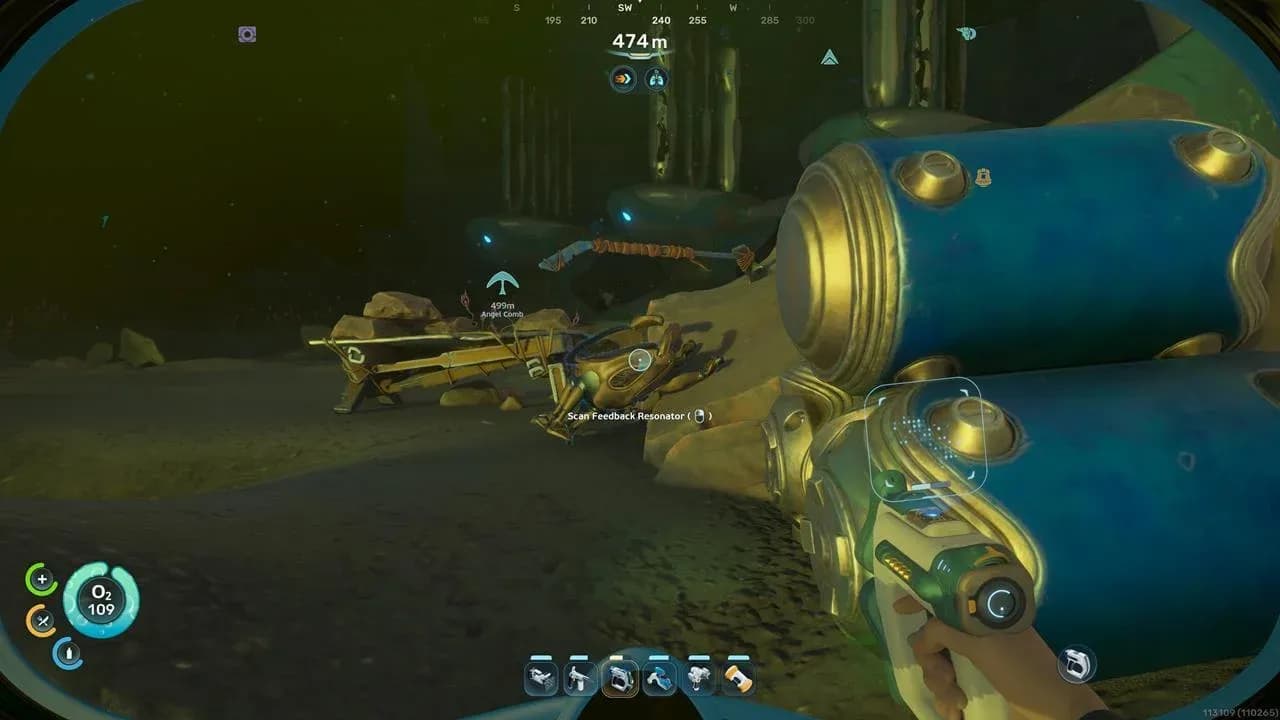
The Modification Station also handles two prototype tool modifications, both requiring Conduit Crystals from the Karakorum Power Plant area.
- Bioscanner: An upgraded Scanner that lets you scan flora and fauna to unlock Biomods at the Biolab. Blueprint found inside the Cicada Wreck (EVA Prep). Recipe: 1x Scanner, 2x Enameled Glass, 3x Conduit Crystal. If you want a full breakdown of every available Biomod, see the guide on all Biomods and how to unlock them.
- Feedback Resonator: Fires a sound wave projectile to break shielded Cankers and stun wildlife. Scan fragments at the Cicada Wreck (Therapy Room) and Metal Farms area. Recipe: 1x Sonic Resonator, 2x Enameled Glass, 2x Conduit Crystal, 2x Strontium.
How to install Tadpole upgrade modules
Installing modules takes seconds once they are crafted. Swim to the Tadpole and position yourself above it. The upgrade compartment sits on top of the vehicle, just above the Power Cell hatch. Interact with it to open the module bay, drag crafted modules from your inventory into the available slots, and close the panel. The upgrade takes effect immediately.
Keep these stacking rules in mind:
- Only four slots are available per Tadpole.
- Depth Modules do not stack. Two Mk. 1s provide no extra benefit over one.
- Engine Efficiency stacks up to four times for an 80% total reduction in power draw.
- Cavitation Muffler does not stack. A second copy has no additional effect.
For a broader look at every tool you can build and what each one does, the complete tools guide for Subnautica 2 covers the full list with recipes. For more guides covering every system in the game, browse the full Subnautica 2 guide collection.