
The Scanner is the single tool that separates players who progress in Subnautica 2 from those who spin their wheels near the Lifepod for hours. Without it, your Fabricator stays locked behind a wall of unknown recipes. With it, every degraded piece of equipment you find becomes a stepping stone toward better gear, deeper dives, and actual survival.
How do you craft the Scanner in Subnautica 2?
The Scanner recipe is one of the most accessible in the game, which is by design. You need exactly three types of materials:
- 2x Titanium (found throughout the world, extremely common)
- 2x Quartz (found near coral and sandy seabed areas)
- 1x Basic Battery (crafted from 2x Copper and 1x Acidic Raion Pouch)
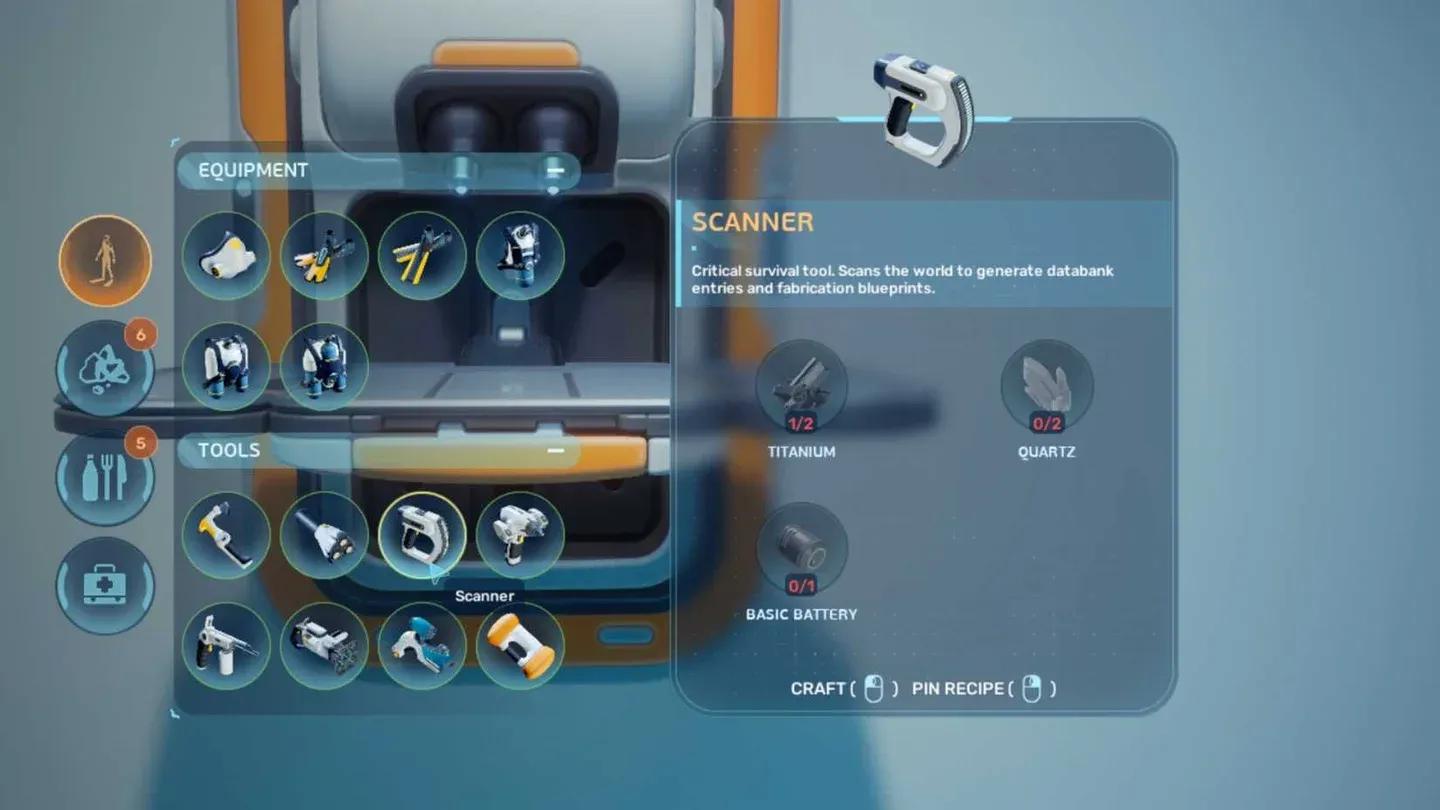
Scanner recipe in Fabricator
Titanium is everywhere, so that part is easy. Quartz clusters near coral formations, and you can usually spot several pieces on a single pass through any reef area. The Basic Battery is the only component that requires a small crafting chain: harvest Copper from cave walls or cliff faces, then collect an Acidic Raion Pouch by smashing the purple and green Raion plants with your Survival Multitool. You need the Survival Multitool for that harvest step, and it only costs 3x Titanium to craft, so build that first.
For a full breakdown of the battery crafting process, check out the Subnautica 2 guide to crafting a Basic Battery.
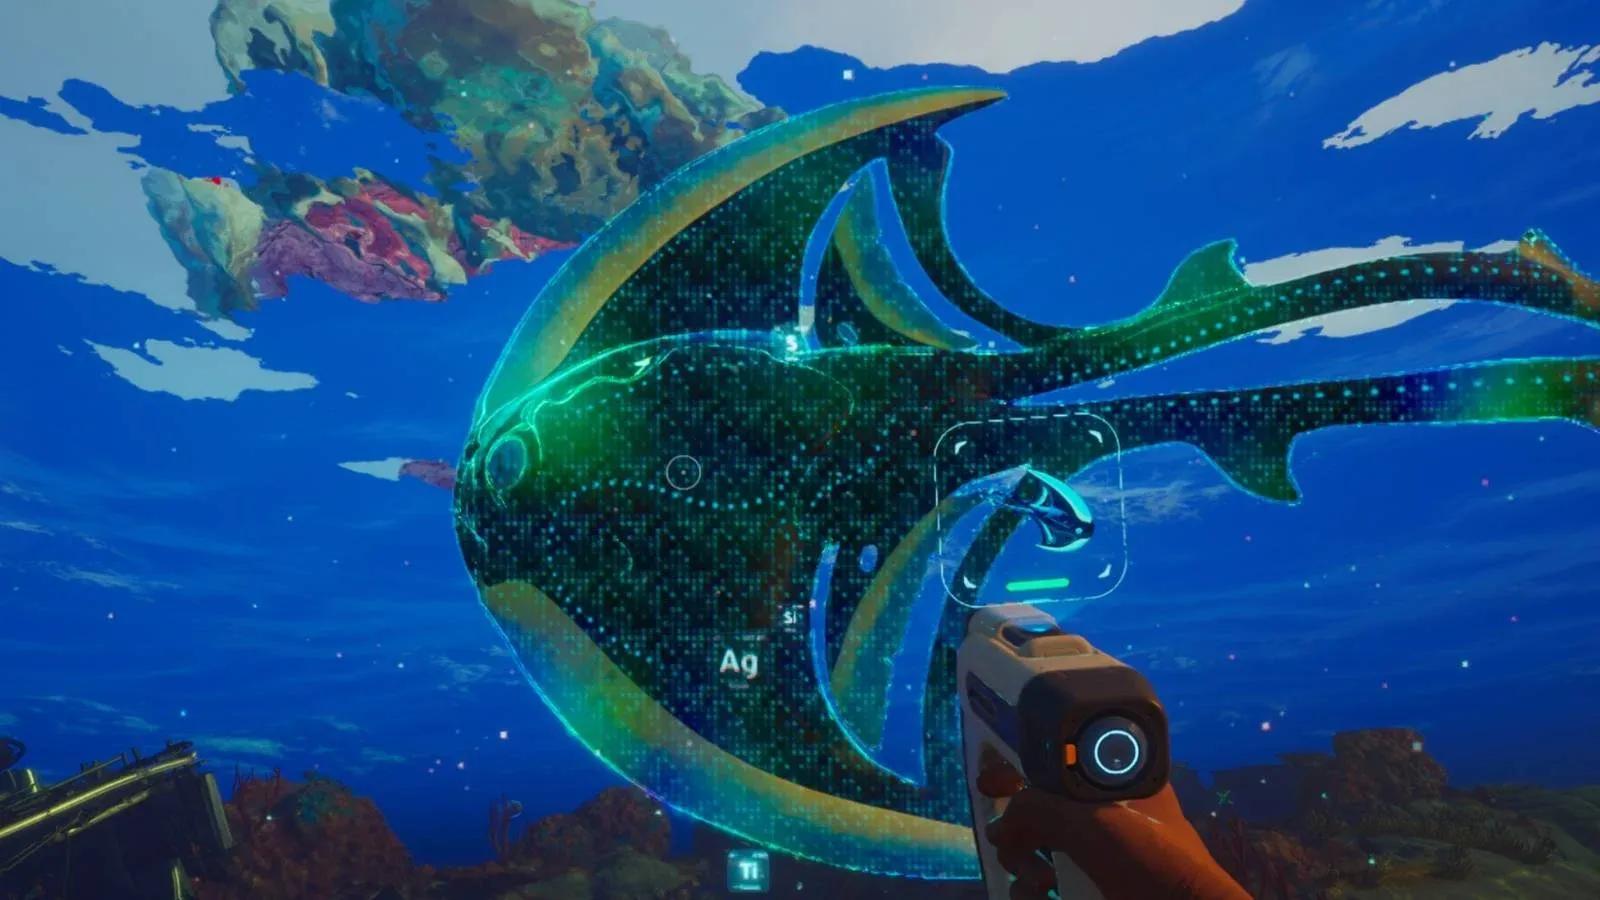
How does scanning work to unlock blueprints?
Once the Scanner is in your hand, the progression system opens up. Equip it, get close to an unknown item, and activate it. A progress bar appears on screen showing how far along you are toward unlocking that particular recipe.
The key mechanic here: some blueprints require multiple scans of the same item type before the recipe fully unlocks. Scanning one broken flashlight might only fill the bar partway. You need to find a second or third broken flashlight to complete it. This is not a bug or oversight; it is the intended design.
The flashlight is typically the first blueprint most players unlock this way. There is a broken flashlight in the cave directly beneath your Lifepod, which serves as a tutorial introduction to the mechanic. From there, the system scales to more complex gear.
Three categories of things respond to the Scanner:
- Degraded tools and equipment from previous colonists (unlocks crafting recipes)
- Flora and fauna (adds data entries, no recipe unlock)
- Structures and machines (unlocks base-building and production blueprints)
Where should you scan first?
Not all scan locations are equal. The two best early environments to prioritize are caves and manmade structures. Previous colonists left equipment behind in both, and the density of scannable items is much higher there than on open seabed.
A practical tip: follow lights. If you spot a light source in the distance, someone was there before you. That means equipment, structures, and scannable items are almost certainly nearby.
Here is a quick reference for what each scan category unlocks:
What are the most important early blueprints to unlock?
The Scanner opens the door to a large number of recipes. Subnautica 2 has over 100 blueprints to unlock across tools, equipment, base pieces, vehicles, and more. Prioritizing which ones to chase first matters.
For early survival, the recipes that make the biggest immediate difference are:
- Rebreather (requires Fiber Mesh x2 and System Chip x1): stops oxygen drain at depth. Finding the Rebreather location and recipe should be a top priority once you have the Scanner.
- Standard Air Tank (Titanium x2, Rubber x1, Silver x2): extends dive time meaningfully
- Habitat Builder (Titanium x2, Glass x1, Basic Battery x1, Copper Wire x1): required for base construction
- Processor (Titanium x2, Mild Acid x1, Copper Wire x1): needed to turn raw ores into ingots for advanced crafting
The Processor deserves special mention. A large number of mid-game and late-game recipes require ingots rather than raw ore. You cannot make Titanium Ingots, Copper Ingots, Silver Ingots, or Gold Ingots without it. Getting that blueprint scanned early keeps your crafting pipeline moving.
How do resource node sizes affect your material gathering?
This is something the Scanner itself interacts with in a secondary way. Most mineral resources come in three node sizes:
- Small nodes: pick up by hand, yield 1 material
- Medium nodes: smash with any tool (including the Scanner), yield 2 materials
- Large nodes: require a Sonic Resonator or Feedback Resonator, yield 1 to 5 materials depending on the resource
The Scanner doubles as a light harvesting tool for medium nodes, which makes it more useful than just a recipe-unlocking device. Carry it constantly during early exploration and you will collect materials faster than players who only pull small nodes by hand.
What comes after the Scanner?
Once you have a solid base of unlocked blueprints, the next logical step is the Bioscanner, which is a direct upgrade to the Scanner itself. The recipe requires your existing Scanner (x1), Enameled Glass (x2), and Conduit Crystal (x3). The Bioscanner unlocks access to Biomods, which are biological modifications that expand what your character can survive and do.
Conduit Crystal is a late-zone material found only near the alien power plant to the far east, so the Bioscanner is not an early-game item. But knowing it exists gives you a long-term goal to work toward while you are still scanning broken flashlights near the Lifepod.
For everything you need to know about Biomods and how to unlock them, the complete Subnautica 2 Biomods guide covers the full system.
For more guides covering crafting, materials, base building, and survival systems, the full Subnautica 2 guide collection has everything you need as you push deeper into the ocean.