
The Priest is the only healer in TBH: Task Bar Hero, and that single fact makes her the most irreplaceable character in the game. No other class can restore HP, which means the moment your team hits Act 2 and enemy pressure ramps up, you will feel her absence immediately if she is not properly built. The good news: she is free to obtain, and with the right setup she does far more than keep people alive.
What makes the Priest so important in TBH: Task Bar Hero?
The Priest fills two distinct roles depending on how you build her. Her primary function is team healing, and since there are zero alternative healers in the roster, that responsibility falls entirely on her. Her secondary role is damage absorption. She is not a Knight-level tank, but with the right gear she can soak a meaningful amount of punishment while still keeping your allies topped off.
These two roles are not mutually exclusive. A well-geared Priest can do both simultaneously, which is why she sits at the top of the TBH: Task Bar Hero class tier list and appears in virtually every competitive team composition.
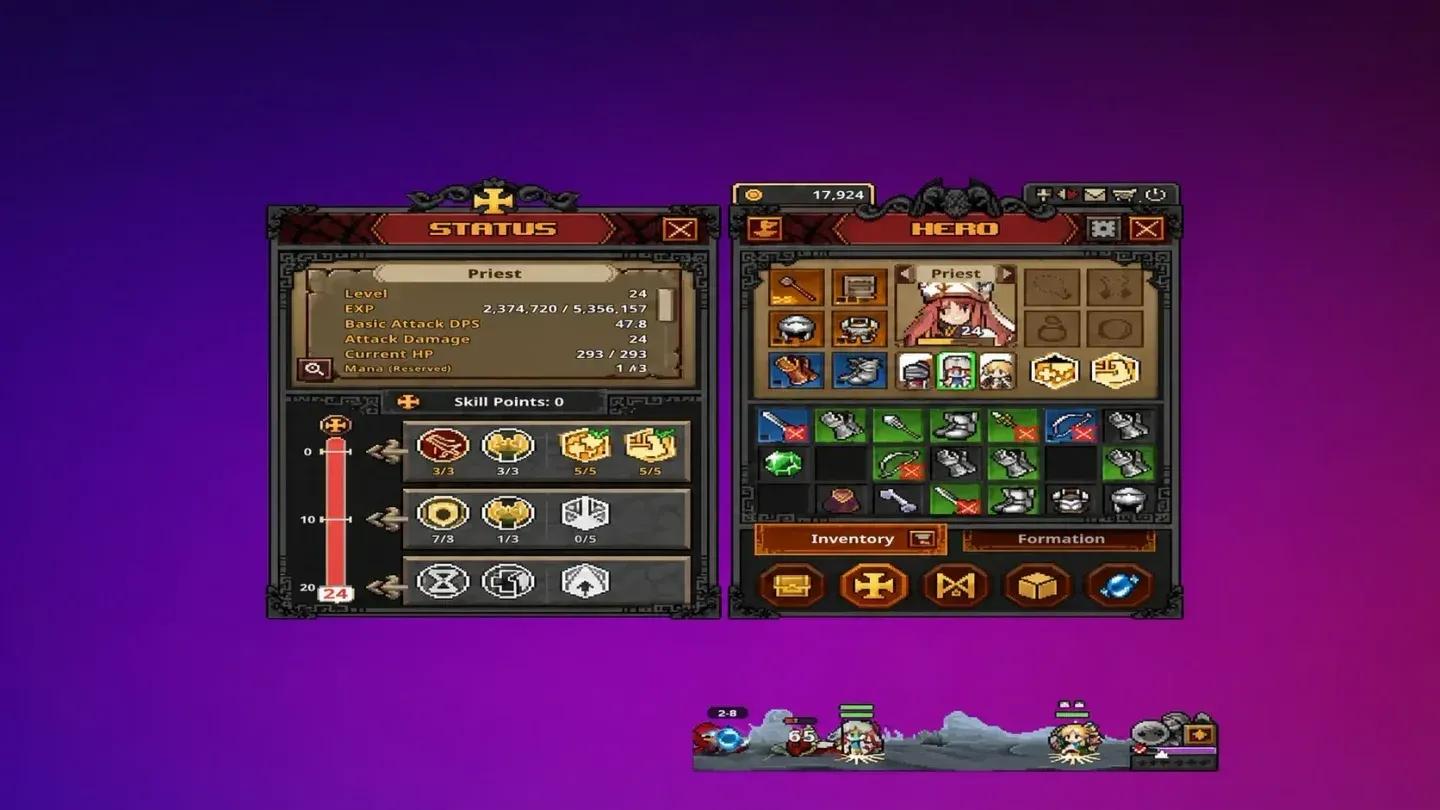
Priest skill tree overview
Which skills should you pick for the Priest?
The Priest has two abilities that stand clearly above everything else in her kit.
Heal is the first skill you should unlock. It restores a single ally's HP by an amount equal to 18% of their maximum HP, making it particularly strong on high-HP units like Slayers and Knights. The cooldown sits at 8 seconds, which is short enough to keep it in near-constant rotation during tough fights.
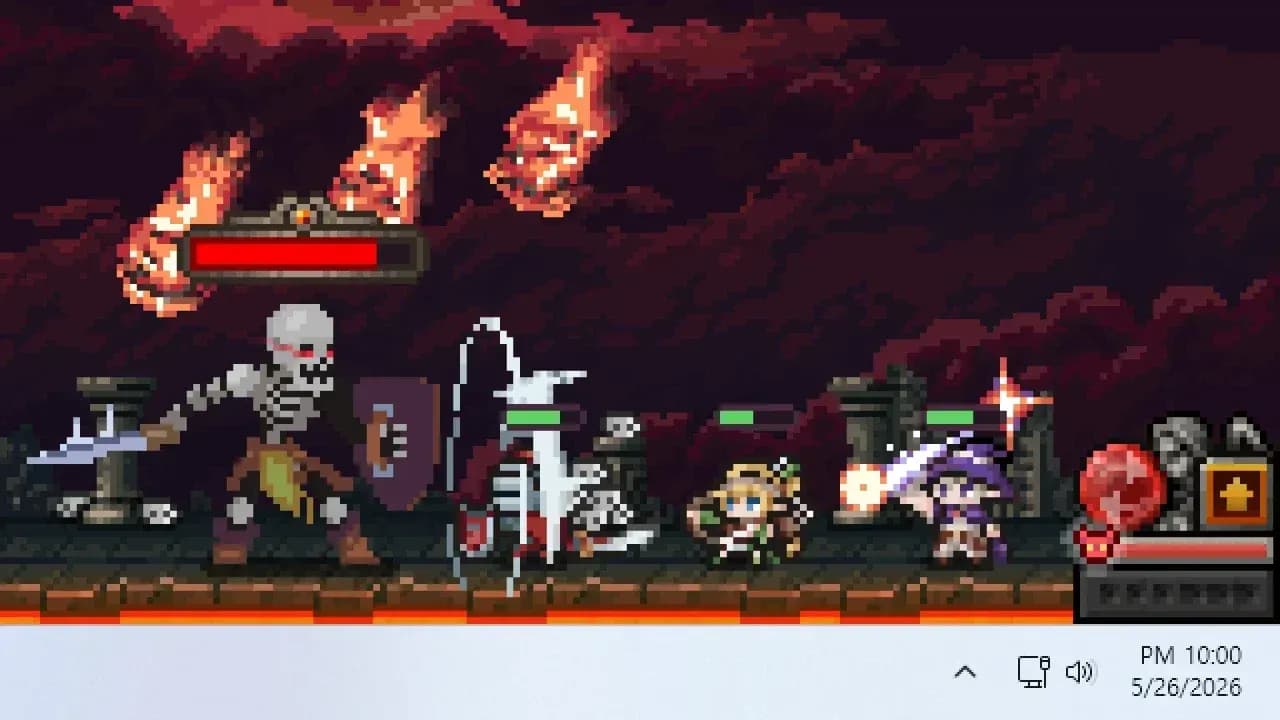
Sanctuary creates a regeneration field that restores 30 HP per second to all allies inside it. The tradeoff is a longer cooldown of 17 seconds, but the multi-target nature of the ability makes it worth every second of the wait. Against sustained damage waves, Sanctuary becomes the difference between a clean clear and a wipe.
These two skills cover single-target burst recovery and sustained group healing respectively. Running both means you have an answer to almost every damage pattern the game throws at you.
Sanctuary field healing allies
What gear stats matter most for the Priest?
Gear rarity and level always matter, but the specific stats you prioritize on the Priest determine whether she survives long enough to keep casting. Here is how to rank your gear priorities:
When you Decorate gear, target the same stats listed above. Cooldown Reduction and Skill Heal Enhancement are the two you want to see on every decorated piece.
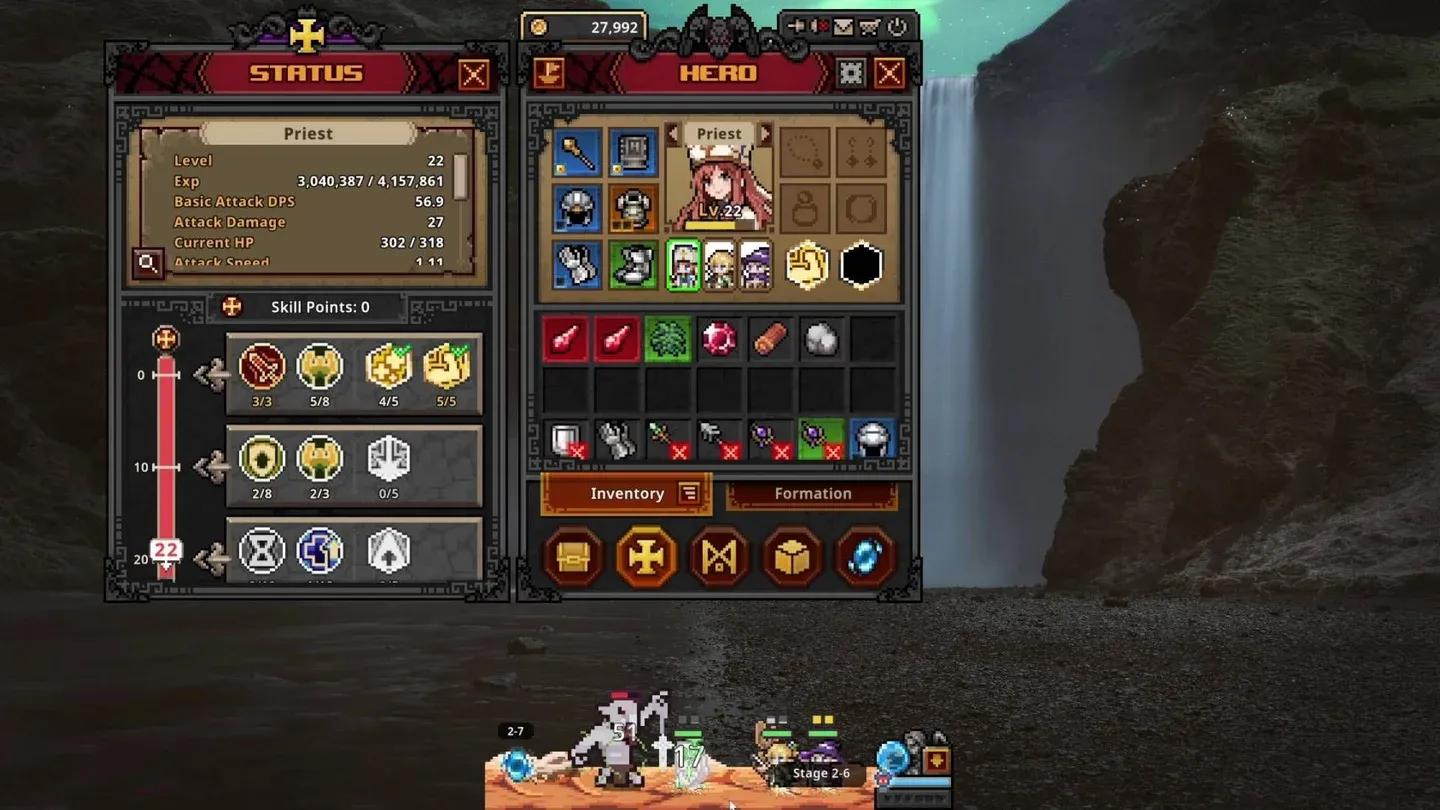
What does the best Level 70 Priest build look like?
After running the Priest through a full progression, this is the build that performs best at Level 70:
- Attack Damage 3/3
- Max HP 8/8
- Heal 5/5
- Armor 8/8
- Cooldown Reduction 10/10
- 7% Increased Heal 10/10
- Sanctuary 5/5
- Max HP +15 10/10
- Increased Cast Speed 10/10
- Increased Area Effect 1/10
The priorities here are deliberate. Cooldown Reduction and the 7% Increased Heal enhancement both max out at 10 points, and both are worth every point you put into them. Increased Cast Speed at 10/10 means your Heal lands faster in the middle of chaotic encounters. Armor and Max HP at their respective caps give the Priest enough durability to function as a secondary tank when needed. Increased Area Effect gets a single point for marginal Sanctuary coverage improvement without burning points that are better spent elsewhere.
How does the Priest fit into team compositions?
The Priest works in every serious team setup because healing is a universal need. The most common pairing puts her alongside a Knight for a durable frontline with reliable recovery. If you are running an aggro-heavy squad, she can absorb secondary damage while the Knight handles the bulk of incoming hits.
For players exploring more aggressive compositions, the Priest's secondary tank potential means you can run her in a full damage-focused team without a dedicated tank, using her Armor and Max HP investment to cover the gap. It is not the safest approach, but it works at earlier stages.
For a deeper look at how the Priest slots into specific team setups, the best team combinations guide covers every major pairing in detail.
The Priest rewards investment more than almost any other class because her kit scales cleanly with the stats that are easiest to stack. If you are still deciding which class to start with or want to compare her against the full roster, the complete TBH: Task Bar Hero strategy guides collection covers every class and formation in detail.