

What are Shards of Life and why do you need all 60?
Shards of Life are the primary way to increase Elliot's maximum HP in The Adventures of Elliot: The Millennium Tales. Every 4 shards collected adds one full drop of life to his health bar, making them the single most impactful collectible for survivability. There are 60 total spread across all four Ages: Age of Safekeeping, Age of Reconstruction, Age of Magic, and Age of Budding. None are permanently missable, and the in-game map marks unopened chests and Shrine of Life locations, so tracking them down is manageable with a solid reference.
Shards come from two sources: blue chests hidden in the overworld and dungeons, and Shrines of Life, which are small challenge rooms requiring either a puzzle solution or a combat trial. The shrine puzzles range from trivial block-pushing to more elaborate mirror and switch setups, but most can be cleared without much trouble once you understand the mechanic.
Shrine of Life entrance
All 24 Shrine of Life locations
Shrines are the trickier half of the shard hunt. Each one houses a short puzzle or enemy arena. The table below lists all 24 Shrines, the Age they appear in, and where to find them.
All Age of Safekeeping shards (9 total)
These are the first shards available and mostly require no special abilities, though a handful open up once you have Bombs.
- Shard 1 (Shrine 1) — Eastern Hucarea, up a ladder on the west side of the beach near Huther
- Shard 2 — Western Hucarea, up the ramp of the ruined building southwest of the Eastern Eddartrayl guidepost
- Shard 3 — Near the Southern Caves - Western Edge guidepost in Eddartrayl
- Shard 4 — Mist Ruins, Sublevel Two, southeast section past arrow traps
- Shard 5 (Shrine 2) — Western Hucarea, on a ledge past the destroyed house with a ramp
- Shard 9 — Eastern Hucarea, through Secret Shortcut 1 (requires Bombs)
- Shard 11 — Whiterea, through the west exit of Secret Shortcut 3
- Shard 12 (Shrine 5) — Whiterea, through Secret Shortcut 3, block puzzle required
- Shard 22 — N Westerea, east of the Northern Westerea guidepost
- Shard 23 (Shrine 9) — Westerea, west of the Temple of Trials
- Shard 24 (Shrine 10) — Westerea, through Monster Trail 2, defeat 2x Greatsword Guardian
- Shard 25 — Westerea, through Secret Shortcut 6 and Monster Trail 3
- Shard 26 — Geared Ruins, end of the dungeon after a full platforming run
- Shard 27 (Shrine 16) — Central south Neverwither; hit red, yellow, red, blue, red, yellow, green, yellow on the switches
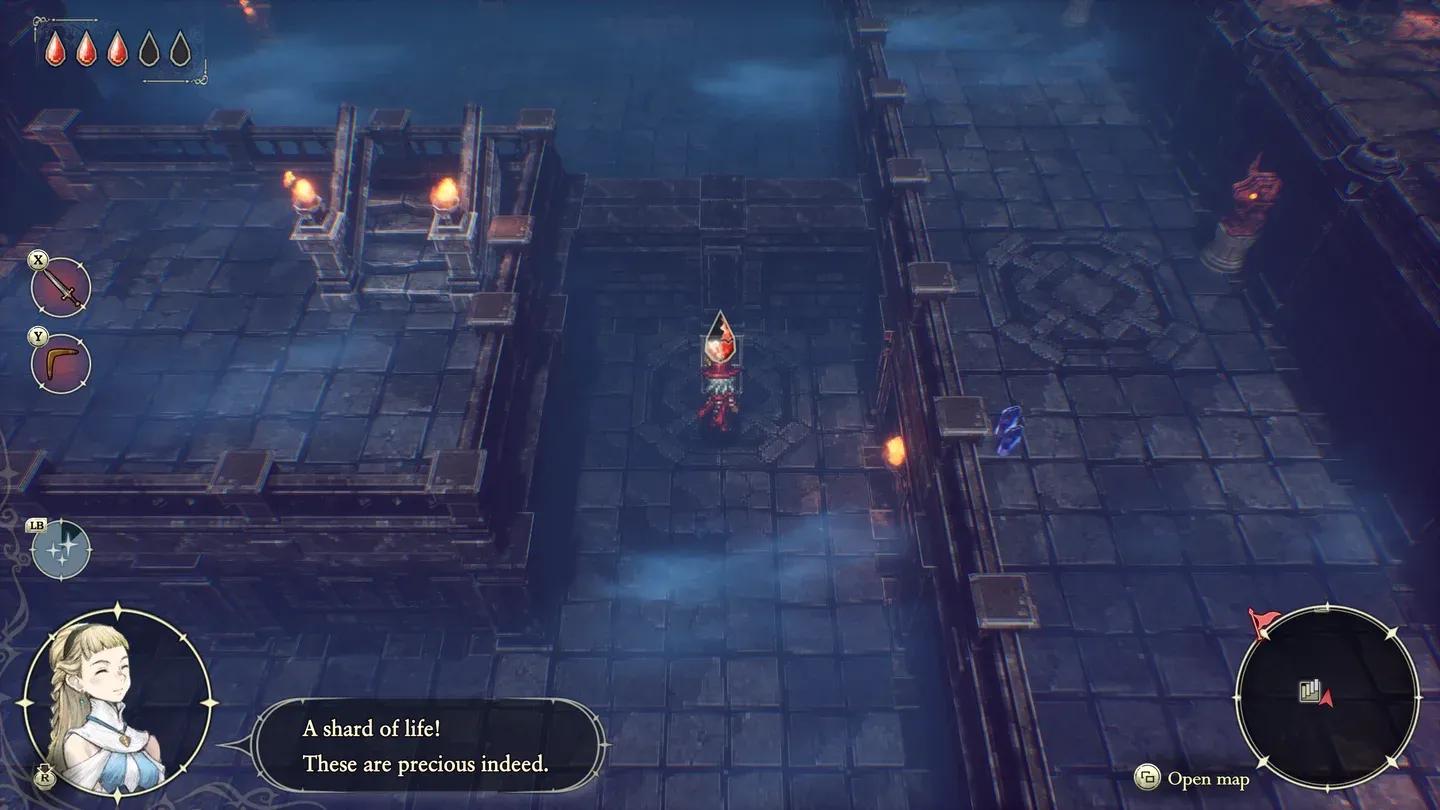
Blue chest shard pickup
All Age of Reconstruction shards (12 total)
This batch introduces the first ability-gated shards. Bombs unlock several, and the Heavy Hammer gates one more.
- Shard 6 — SW Neverwither, destroy the boulder (requires Bombs)
- Shard 7 (Shrine 3) — Neverwither, Secret Shortcut 2 (requires Bombs)
- Shard 8 — Western Hucarea, island on the north side, destroy the boulder (requires Bombs)
- Shard 10 — Forest Ruins, end of the Second Level west path
- Shard 13 (Shrine 4) — Whiterea, through the easternmost exit of Secret Shortcut 3
- Shard 14 — Northern Caves, climb the ladder in the north section, break vases with a Spear to reach the chest
- Shard 15 — Northern Tower, Sublevel One, east room after a jumping puzzle
- Shard 16 (Shrine 6) — Westerea, south of Heurich's camp, swim through the water
- Shard 17 — Westerea, east of the Southern Westerea guidepost, down a long path to a ladder
- Shard 18 (Shrine 8) — Eddartrayl, through Secret Shortcut 4, defeat 2x Great Bow Guardian
- Shard 19 — Western Eddartrayl, up the center spiral cliff
- Shard 20 — Southern Caves - Marshlands Exit (requires Heavy Hammer)
- Shard 21 — SW of Water Ruins (requires Dive); north end of Western Hucarea, dive west and jump the gap, needs Flutterer's Cape
- Shard 28 — S side of E Neverwither, south of the Neverwither guidepost
- Shard 29 — Grandtree, fall down the large chasm on First Level
- Shard 30 — Dragonpillar, bottom of the dungeon (requires Warp)
- Shard 32 — Doorway Ruins, Sublevel Two, southwest section across a gap
- Shard 43 (Shrine 7) — N Garretbelt; press floor switches 6, 5, 2, 1, 4 (requires Flutterer's Cape)
All Age of Magic shards (8 total)
The Age of Magic shards lean heavily on dungeon completion. Vacuum is required for one of the trickiest.
- Shard 33 — Eastern Hucarea, north of the Western Gate
- Shard 34 (Shrine 11) — Eastern Hucarea, through Secret Shortcut 1, multi-room pillar puzzle
- Shard 35 — Water Ruins, Sublevel Two, raise and lower water levels to reach the SW section while submerged
- Shard 36 (Shrine 13) — Eddartrayl, exploding pot chain puzzle in the south
- Shard 37 (Shrine 12) — Westerea Marsh, hit NW switch then SE switch, exit north
- Shard 38 — Rainbow Lotus, end of the dungeon (requires Sprint on Sublevel One)
- Shard 39 (Shrine 14) — Eddartrayl, through Secret Shortcut 5
- Shard 40 — Whiterea, through Secret Shortcut 3 northeast exit
- Shard 41 (Shrine 15) — Whiterea, through Monster Trail 4 (requires Dive), defeat enemies
- Shard 44 — Ice Ruins, past the Vacuum puzzle (requires Vacuum)
- Shard 45 — Garretbelt, through Monster Trail 5 northeast exit
- Shard 46 — Fire Ruins, Garretbelt, end of the dungeon path
- Shard 47 (Shrine 17) — S Garretbelt, through Secret Shortcut 4, defeat all enemies (requires Flutterer's Cape or Warp)
All Age of Budding shards (remaining total)
The final Age has the densest cluster of shards and the most ability requirements. Copy and Warp are both needed for the last few.
- Shard 48 (Shrine 19) — Western Hucarea, hit all switches in the shrine
- Shard 49 — Western Hucarea, island in the north water area
- Shard 50 (Shrine 21) — SW of Water Ruins (requires Dive), defeat enemies
- Shard 51 — Desert Caves, Sublevel Two, follow the linear path
- Shard 52 (Shrine 20) — Eddartrayl, through Southern Caves, defeat enemies
- Shard 53 — Southern Caves, between the Desert and Marshlands exits
- Shard 54 (Shrine 22) — N Westerea, through Secret Shortcut 3 and Monster Trail 6, flutter to the end
- Shard 55 — N Garretbelt, through Secret Shortcut 7
- Shard 56 (Shrine 24) — N Garretbelt, through Monster Trail 5 northeast exit, maze required
- Shard 57 — Mount Phoenix, end of the dungeon path on upper levels
- Shard 58 (Shrine 23) — E Neverwither, through Monster Trail 6; mirror puzzle: hit W switch, E switch, then N switch
- Shard 59 — N Whiterea, northeast of the Northern Whiterea guidepost across a gap
- Shard 60 — Dragonpillar, Sublevel Three (requires Warp)
How do Shrines of Life work?
Each Shrine of Life is a self-contained mini-dungeon with a single reward: one Shard of Life. They split into two types. Combat shrines lock the exit until every enemy is defeated, and puzzle shrines require block-pushing, switch-hitting, or mirror-rotating to clear. A few combine both. The game's map marks shrine locations with a distinct icon once you're in the same region, so you won't stumble past them without noticing.
For the tougher shrines, here are the solutions worth knowing:
- Shrine 5 (Whiterea, Age of Safekeeping): Push the north block north, east, north. Push the east block east, north, east, north, west, north, east, north, west onto its switch. Push the north block west and south. Push the west block west, north, west, north, east, south onto its switch.
- Shrine 16 (Neverwither, Age of Safekeeping): Hit switches in this order: red, yellow, red, blue, red, yellow, green, yellow.
- Shrine 23 (E Neverwither, Age of Budding): Work backwards from each switch. The west switch is hit from the north side, the east switch from the west side, the north switch from the east side.
What's the most efficient order to collect all 60 shards?
The cleanest approach is to collect shards as you unlock each ability, rather than backtracking all at once. After getting Bombs, sweep through Neverwither, Western Hucarea, and Eastern Hucarea for the boulder-gated shards. After the Heavy Hammer, grab Shard 20 in Southern Caves immediately. Once Dive is unlocked, the western Hucarea island shard and several Westerea shrines open up. Warp unlocks Dragonpillar shards in both Reconstruction and Budding. Vacuum is the key to Ice Ruins and the Garretbelt shrine cluster.
For weapons and other collectibles that complement your HP gains, the all weapon locations guide covers every sword, hammer, bow, and more across all four Ages. If you're also working on accessory slots to stack more gear alongside your extra health, check out the guide on how to unlock all three accessory slots through the Temple of Trials.
HP increase after 4 shards
Finishing the collection
With all 60 shards collected, Elliot ends up with significantly more health than at the start, which makes a real difference heading into the Northern Tower gauntlet and the final boss sequence on Mount Phoenix. The game never locks you out of any shard permanently, so even if you reach the endgame with gaps in your collection, you can load back after any ending using the Clear Save system and finish the hunt.
For everything else you might have missed across Philabieldia, the full The Adventures of Elliot: The Millennium Tales guide collection has you covered, from manuscripts and cats to Magicite farming and the true ending steps.