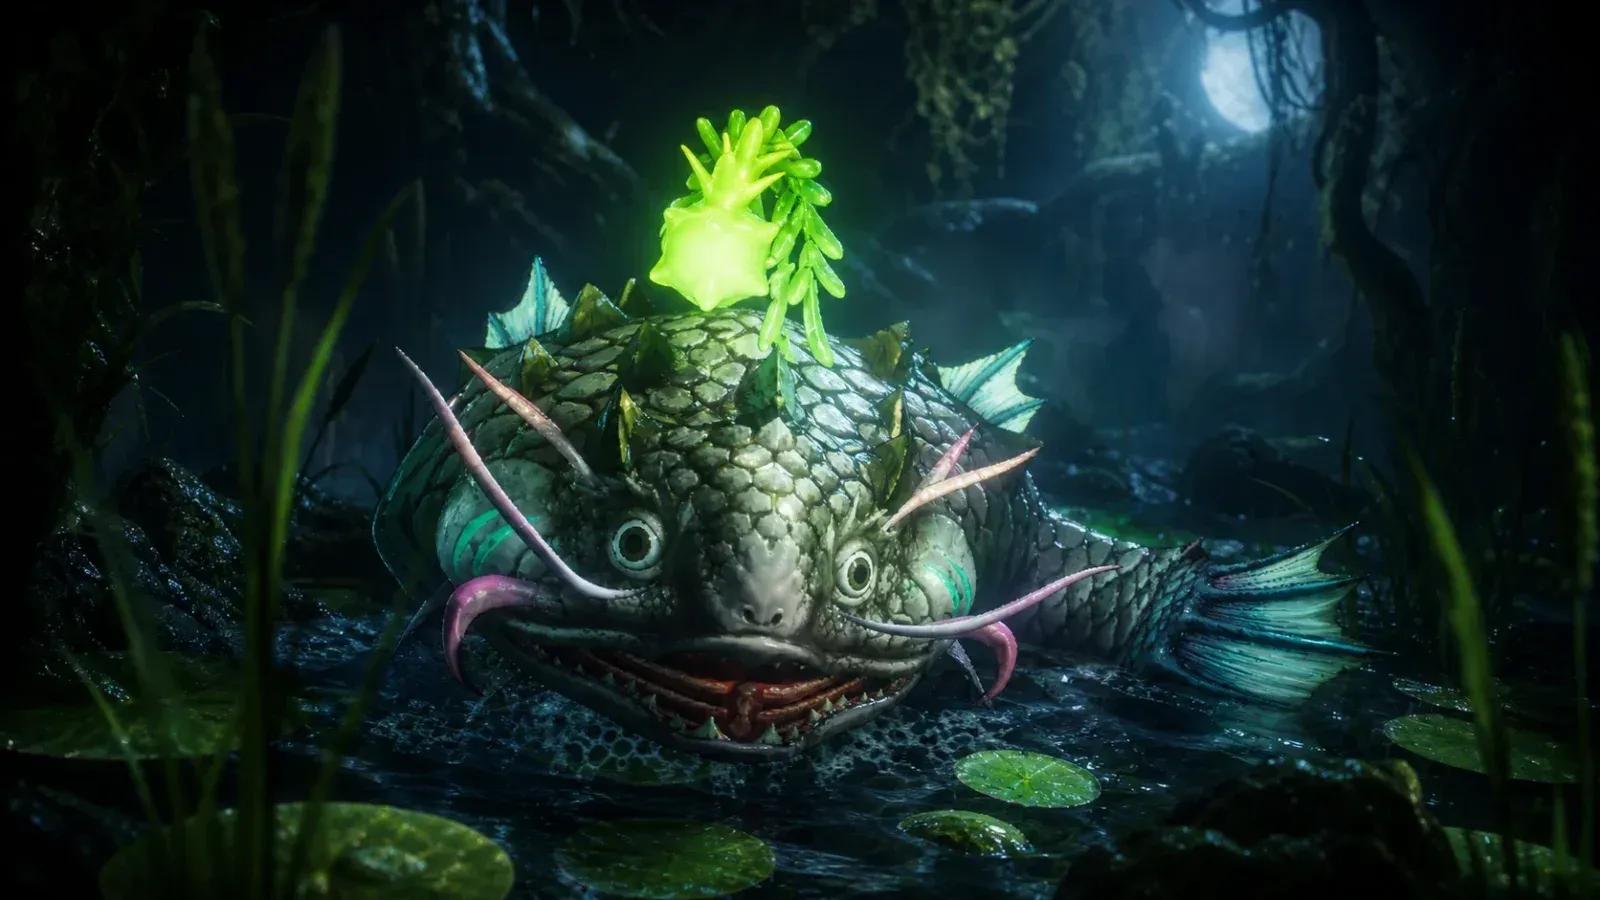

The Adventures of Elliot: The Millennium Tales has some genuinely tough boss fights, but Lord of the Maw earns a special kind of frustration. This colossal fish guards the Rainbow Lotus dungeon and has a habit of becoming a gold drain if you walk in underprepared. Deaths rack up fast, revival costs eat your Tul reserves, and the chaotic arena makes every mistake feel expensive. The good news: once you understand two core mechanics, the fight becomes manageable on any platform.
Why does Lord of the Maw keep killing you?
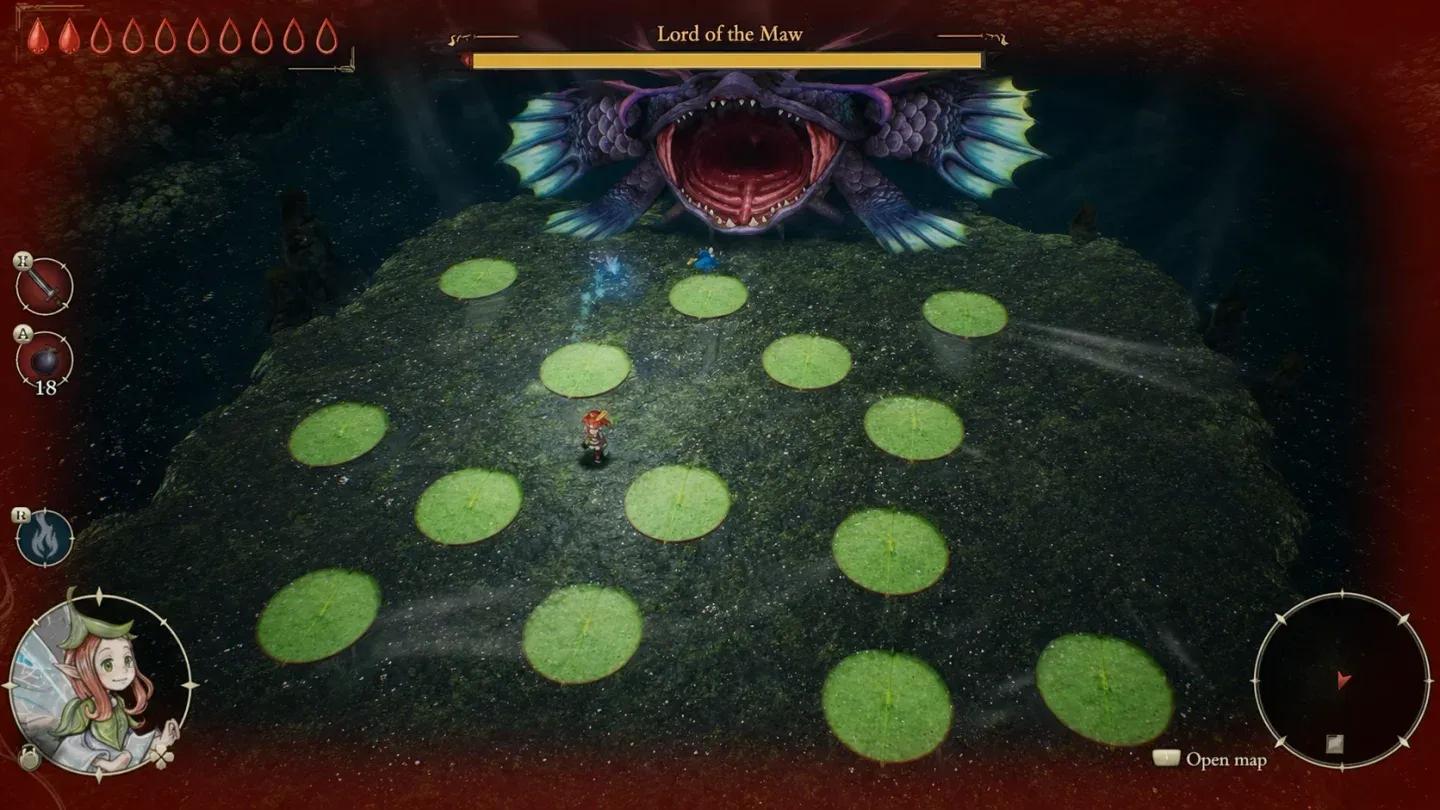
The fight is less about raw damage output and more about arena control. The boss occupies the edge of the screen, which compresses your movement space and makes getting cornered a constant risk. Three specific mechanics trip up most players.
The Inhale is the deadliest move in the kit. When Lord of the Maw sucks in air, anything caught in the pull gets chomped for massive damage, often enough to one-shot a player who hasn't built up their health stats yet. The Lilypad Wave arrives in the second phase and punishes anyone who thinks standing on a lilypad is enough protection. It isn't. Frog minion spam fills the arena throughout the fight, and if you ignore them entirely they'll block your movement at the worst possible moments.
The "money sink" reputation comes from players who enter without the right loadout and spend the entire fight reacting instead of executing a plan.
Inhale attack incoming
What gear do you need before entering?
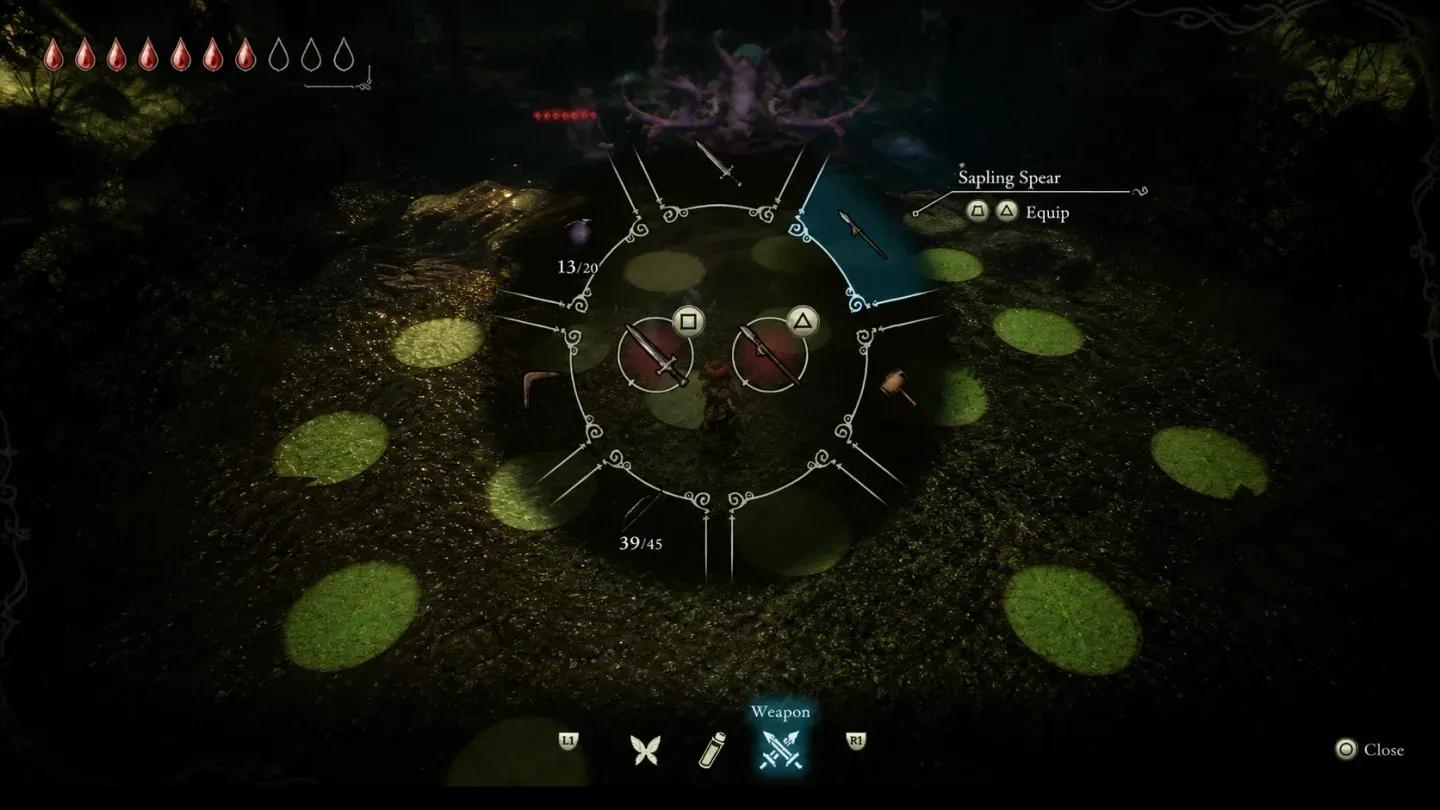
Two items are non-negotiable.
The Cape costs 1,000 Tul and is mandatory for the second phase. Without it you cannot hover over the tidal wave, which means you take unavoidable damage every single time the mechanic triggers. If you haven't bought it yet, do that before touching the boss door.
Bombs need to be hot-swapped to your primary item slot before the fight starts. You can supplement your supply by farming drops off the frog minions the boss summons, but going in with a full stock is the safer play. Keep Faie's Ignite ready as a secondary damage source throughout.
If your health stats feel fragile and you're dying in one or two hits, spend time in the Marshlands or Westeria leveling up before attempting this dungeon. Being under-leveled here turns every phase into a coin flip.
Phase 1: Orb weaving and the bomb-stun window
The fight opens with Lord of the Maw firing waves of water orbs across the arena. When you see the boss lurch backward, move to the far edge immediately. The orbs spread as they travel, so your job is to read the gaps and move through them rather than trying to jump over them. Jumping without the Cape equipped makes the timing extremely tight and isn't worth the risk.
Frog minions spawn throughout this phase. Don't treat them as a priority unless they're directly blocking your path or you're running low on bombs. When they drop items, grab them.
The Inhale is your damage window, and it's the only reliable one. The moment you hear the boss pull air in, switch to bombs immediately and drop one directly in front of his mouth. He swallows it, takes significant damage, and enters a stunned state. That's when you close the distance, activate Faie's Ignite, and land as many heavy hits as possible before he recovers. Then back off to the far side of the arena.
Bomb stun timing is key
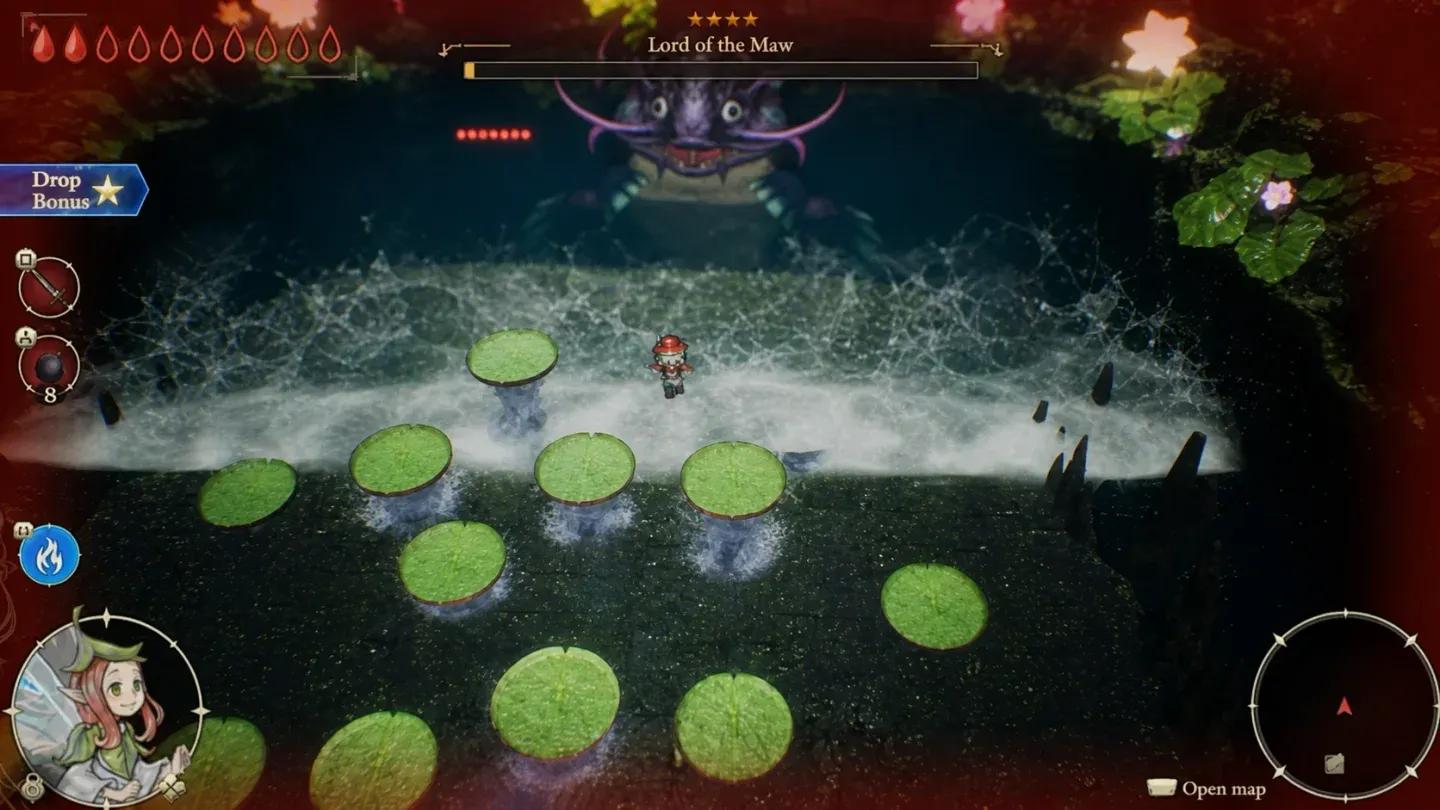
Phase 2: How do you survive the tidal wave?
Below 50% health the arena transforms. Water ripples appear under several lilypads, signaling an incoming tidal wave. Run to a lilypad as soon as you see the ripples.
Here's what most players get wrong: standing on the lilypad doesn't protect you. The wave hits high enough to deal damage even there. You need to wait until the wave is right in front of you, then jump and immediately hover using the Cape to clear the water's height. Timing the jump too early means you land back on the pad before the wave passes. Timing it too late means you're already in the water.
Whirlpools also appear in this phase. When spinning whirlpools cover sections of the arena, stop attacking entirely and focus on dodging until they dissipate. Trying to squeeze in extra hits during whirlpool spawns is how players burn through their healing items.
The bomb-stun tactic from Phase 1 still works here. If you run out of bombs, prioritize killing frog minions to restock before the next Inhale.
Cape hover clears the wave
Is the Moonmirror worth the effort?
Absolutely. The Moonmirror is a critical item for late-game puzzles and the main story path through the Age of Reconstruction. Clearing Lord of the Maw is a genuine mid-game checkpoint, and the reward reflects that.
The fight rewards patience over aggression. Attacking outside of the stun window is almost never worth the risk. Play small, hit hard during the bomb window, and retreat immediately after. That discipline is what separates players who clear this cleanly from players who burn through their Tul on revivals.
For more on tackling the game's toughest encounters, the full strategy guides collection for The Adventures of Elliot: The Millennium Tales covers everything from boss fights to resource farming. If Lord of the Maw isn't your only obstacle, the Rathomobile boss guide breaks down another major fight in similar detail. And if you're planning your run time, check out how long it takes to beat The Adventures of Elliot before committing to a completionist playthrough.