
Keeping a train from derailing while the world actively tries to stop you is harder than it sounds. OPUS: Prism Peak fans who enjoy methodical puzzle-solving will find Unrailed 2: Back on Track pulls in the opposite direction — pure chaos, constant pressure, and split-second decisions that punish hesitation. Developed by Indoor Astronaut, Unrailed 2 is a co-op roguelite where you mine resources, craft rails, and lay track in real time while a train barrels forward without waiting for anyone. This guide covers everything from biome-specific hazards to boss prioritization, upgrade paths, and the co-op role splits that actually work.
How does Unrailed 2: Back on Track actually work?
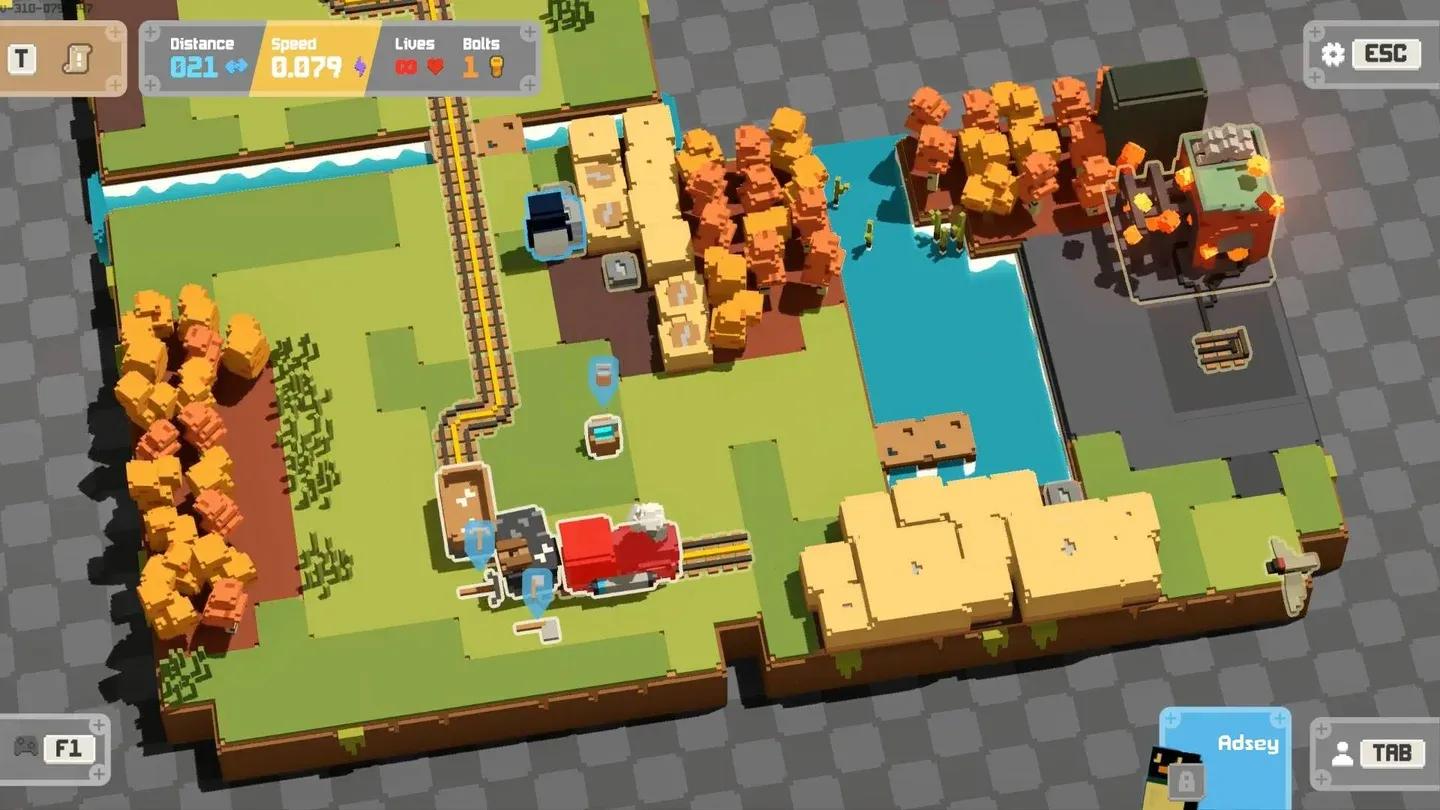
The core loop is deceptively simple: gather wood and stone, craft rails, place them ahead of the moving train, and don't let it run out of track. That's it. Except the train never stops, the terrain keeps changing, bosses show up to wreck your progress, and your teammates are also shouting about a river that just appeared.
The map generates procedurally, so no two runs play out the same way. You cannot memorize layouts or pre-plan routes beyond a few seconds of scouting. Every decision — which resource cluster to hit, which path to take around an obstacle, whether to fight the boss or keep building — happens in real time with consequences that compound fast.
Lay track before the train arrives
Solo play is technically possible, but the game is built for co-op. One player juggling gathering, crafting, scouting, and building simultaneously is a recipe for a very short run. Two to four players, each covering different responsibilities, is where the game finds its rhythm.
What are the best co-op roles to assign?
Roles in Unrailed 2 are not locked to characters or menus. They emerge from team communication and situational awareness. That said, having a loose structure before a run starts prevents the two most common failure modes: everyone chasing the same resource node, or nobody staying near the train to actually place track.
The four roles that efficient teams naturally settle into are:
- Gatherer: Stays in resource-rich areas, mines wood and stone in bulk, and feeds materials back to the crafting zone. Two gatherers work well in early biomes with dense resources.
- Builder: Stays close to the train, crafts rails from available materials, and places them continuously. This is the most pressure-heavy role and benefits from a calm, methodical player.
- Scout: Moves ahead of the train's current path to read upcoming terrain, identify resource clusters, and flag hazards before they become emergencies. A good scout buys the team 10 to 15 extra seconds of reaction time on every terrain shift.
- Support: Handles emergencies — clearing sudden obstacles, repairing disrupted track, managing boss threats, and filling in wherever the team is short.
The best teams rotate these roles dynamically. When a gatherer spots a boss incoming, they shift to support. When the builder has a full stockpile, they can briefly scout. Rigidity kills runs faster than resource shortages.
How do biomes change your strategy?
Each biome in Unrailed 2 rewrites the rules for how you gather, move, and build. Treating every environment the same is one of the fastest ways to end a run prematurely.
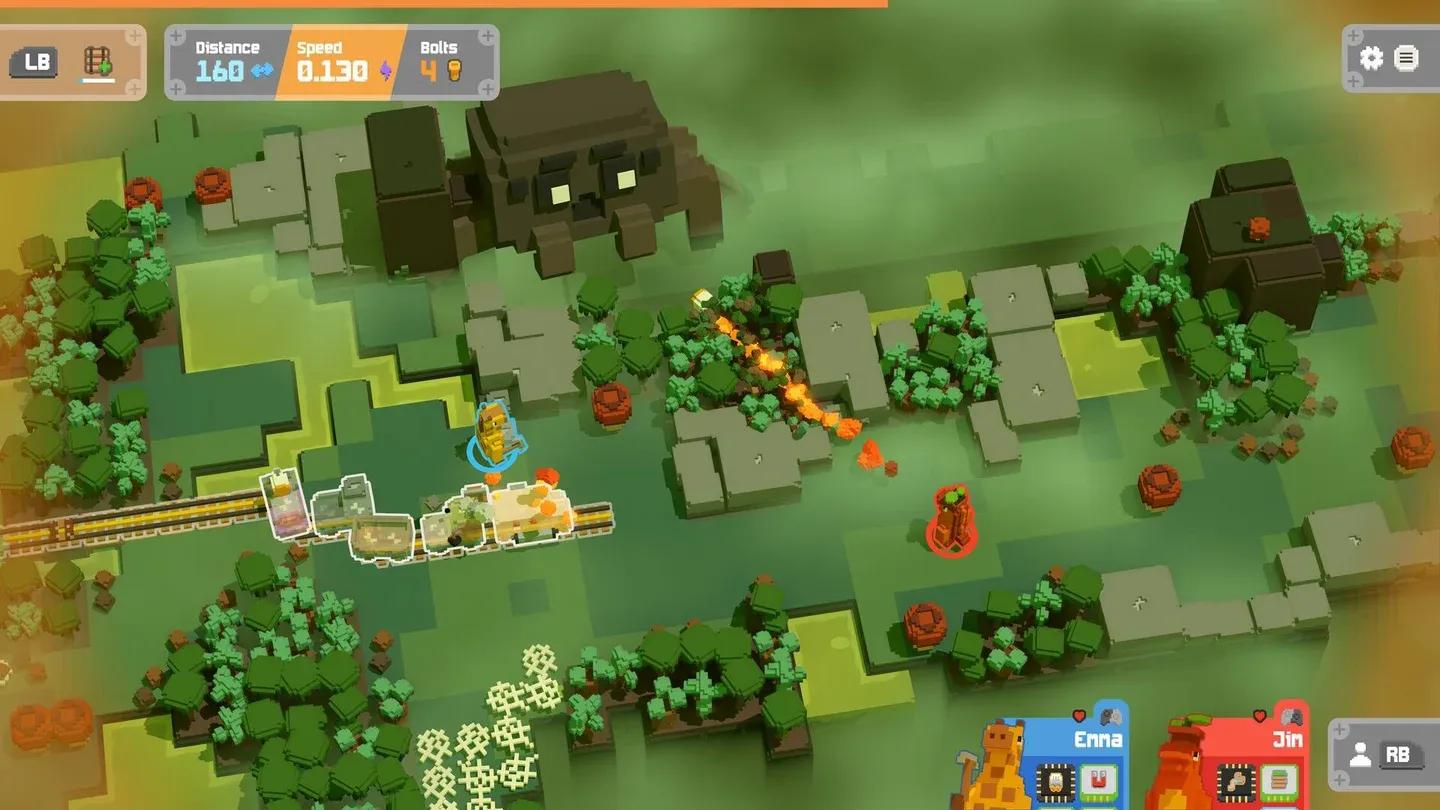
Forest biomes are the most forgiving starting point. Wood is everywhere, obstacles are predictable, and the terrain rarely surprises experienced players. The main challenge is density — trees block straight-line routes and force curved track placement, which costs more material per distance covered.
Desert biomes cut visibility and introduce heat-based hazards that slow player movement. Gathering trips take longer, which puts pressure on the builder to stretch existing stockpiles further. Pre-batching rails before entering a desert section helps significantly.
Snow biomes add slippery terrain that affects precise movement. Players overshoot resource nodes, misjudge track placement angles, and generally move less efficiently than they expect. Slowing down slightly and accepting shorter gathering runs per trip is more effective than fighting the terrain.
Later biomes combine multiple hazard types simultaneously — moving terrain, aggressive wildlife, unpredictable weather, and restricted resource availability all appearing in the same stretch. These sections demand the tightest role discipline and the clearest communication of any part of a run.

Desert biomes slow gathering speed
How do you handle boss encounters without losing momentum?
Bosses appear at junction points between biomes and are designed specifically to disrupt your railway. They block track placement, destroy existing rails, or spawn hazards that force players away from construction. The instinct to stop everything and fight the boss is usually the wrong call.
The most effective approach splits the team. One or two players shift to managing the boss threat while the remaining players keep building. The goal is not to eliminate the boss quickly — it's to neutralize enough of its disruption that construction can continue at a reduced pace. A run that maintains 70% construction efficiency during a boss encounter will survive. A run that halts completely to fight will not.
Prioritization during boss fights:
- Keep at least one player on track placement at all times
- Address boss actions that directly block the train's path first
- Ignore boss actions that create inconvenience but don't threaten derailment
- Return to full construction roles as soon as the boss threat drops below critical level
Staying in a biome longer increases difficulty but also increases rewards. The bosses guarding each biome junction are the gatekeepers to better loot and faster progression, so learning their disruption patterns across multiple runs pays off.
What train upgrades and progression options matter most?
Upgrades in Unrailed 2 split into two categories: run-specific upgrades that affect your current session, and permanent unlocks that carry across every future run.
Engine upgrades increase speed, durability, or efficiency. Faster engines raise the difficulty ceiling but reward skilled teams with faster biome progression and higher-tier rewards. Don't rush engine speed upgrades until your team consistently handles current-speed sections without scrambling.
Wagon upgrades provide functional benefits. Storage wagons let you carry more raw materials, reducing the number of gathering trips required per stretch of track. Crafting-enhanced wagons speed up rail production. The right wagon combination depends on where your team's bottleneck actually sits — if gatherers are keeping up but builders are falling behind, crafting wagons help more than storage ones.
Character upgrades persist between sessions. Movement speed, gathering efficiency, and crafting speed improvements accumulate over time and make a meaningful difference in later biomes where every second counts. These permanent upgrades also help newer players scale into harder content without hitting a wall immediately.
Branching path choices add another layer to each run. Safer paths offer fewer rewards; riskier routes provide more resources but stack additional hazards. The risk-reward calculation shifts depending on how well-stocked your train is and how confident your team feels about handling additional pressure.
Wagon upgrades shape your run strategy
What mistakes do beginners make most often?
After enough runs, the same failure patterns show up repeatedly. Knowing them in advance saves a lot of early frustration.
Chasing resources too far from the train is the most common early mistake. A gatherer who sprints 30 seconds away from the crafting zone returns to find the builder out of materials and the train dangerously close to the end of the track. Keep gathering trips short and frequent rather than long and infrequent.
Overcrowding the track-building zone creates confusion and misplaced rails. Three players standing in the same three-tile area trying to build simultaneously waste more time than one focused builder with reliable material supply.
Ignoring biome transitions catches teams off guard. The shift from a forest to a desert doesn't announce itself loudly, and teams that don't adjust gathering and movement strategies within the first 20 seconds of a new biome often fall behind before they realize what changed.
Skipping early stockpiling hurts in later stages. The first biome is the easiest time to batch-craft rails and build a buffer ahead of the train. Teams that spend the early game keeping pace rather than getting ahead find themselves with no margin for error when difficulty spikes.
Game modes: which one should you play?
Unrailed 2 offers several distinct modes beyond the standard run:
- Endless: The core roguelite experience. Progress through biomes, fight bosses, unlock permanent upgrades.
- Versus: Competitive mode supporting up to 4v4. Two teams race to outlast each other on parallel tracks.
- Classic: All the new biomes without bosses or player upgrades, closer to the original Unrailed formula.
- Time Attack: A 20-minute challenge session that tests how far your team can push within a fixed window.
- Terrain Conductor: A custom map creation and sharing mode where players build and publish their own layouts for the community.
For new players, Classic mode removes the boss and upgrade complexity so you can focus on mastering the core building loop before adding those layers back in.
For players who want to explore more adventure games with cooperative mechanics and layered progression, the genre has plenty to offer alongside Unrailed 2.
Resource management: the system that decides every run
Resource management is not a secondary concern in Unrailed 2 — it's the foundation everything else sits on. No materials means no rails. No rails means derailment. The entire strategic layer of the game exists to keep material flow consistent under pressure.
The most effective resource habits:
- Batch craft whenever possible. Gather a large haul and produce multiple rails at once rather than single-crafting between each gathering trip.
- Optimize movement routes between resource nodes and the crafting zone. Unnecessary detours compound over time.
- Prioritize high-yield clusters when scouting identifies them. A dense resource node 15 seconds away beats three sparse ones at 5 seconds each.
- Stockpile before difficulty spikes. Biome transitions, boss encounters, and speed increases all create demand surges. Having reserves going in is far better than scrambling during.
For players just starting out, the OPUS: Prism Peak beginner strategies and core mechanics overview offers a useful contrast in how different games approach resource and progression systems — sometimes understanding one game's design philosophy sharpens your thinking in another.
The full collection of Unrailed 2 strategy guides covers additional mechanics in more depth if you want to keep building on these fundamentals.