
Unrailed 2: Back on Track is Indoor Astronaut's chaotic cooperative track-builder where you and up to seven other players race to lay rails ahead of a moving train across procedurally generated biomes. The original Unrailed had a devoted following, and this sequel expands on nearly every system: branching stage paths, boss encounters, an overhauled cartridge system, and a new 4v4 battle mode. Whether you're just surviving your first few biomes or trying to push deep into the hardest maps, the difference between a smooth run and a catastrophic derailment usually comes down to a handful of decisions you make at stations.
What's new in Unrailed 2 compared to the original?
The sequel keeps the core loop intact but adds several systems that change how runs feel. The biggest addition is the track junction, which appears at maintenance areas between biomes. Here you can preview the difficulty and rewards of upcoming stages before committing to one, giving you actual strategic agency instead of just rolling forward blindly.
Boss fights now mark every biome transition. Survive one and your train speed resets downward, which is a genuine relief after spending a full biome watching that number creep up. The previous game ended your run the moment the locomotive was destroyed, but Unrailed 2 introduces multiple lives through specific locomotive types and extra life cartridges, so a single mistake no longer has to erase everything.
The 8-player 4v4 battle mode is in the game but details on its win conditions haven't been fully revealed yet. There's also a Terrain-conductor mode for building and sharing custom maps online.
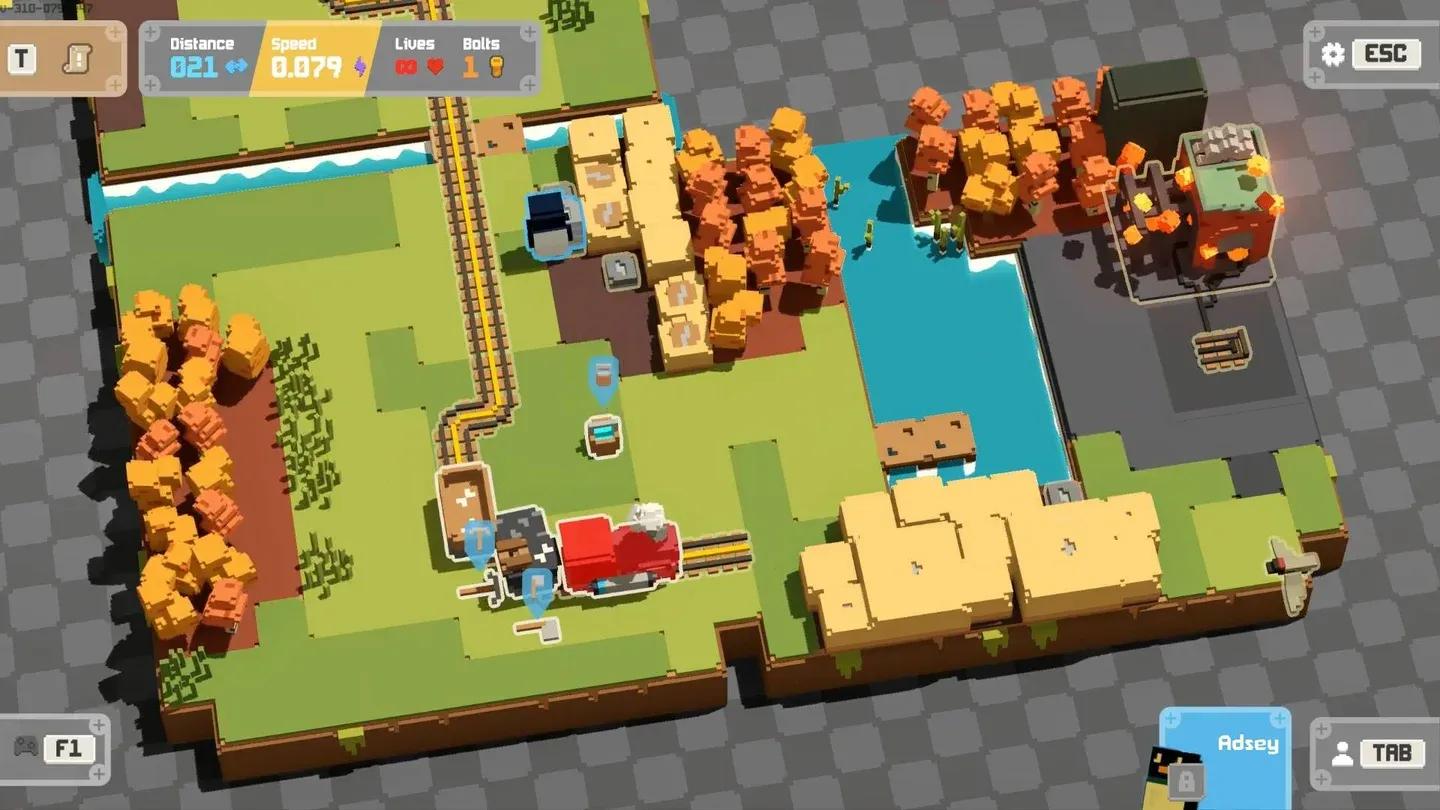
Biome path selection screen
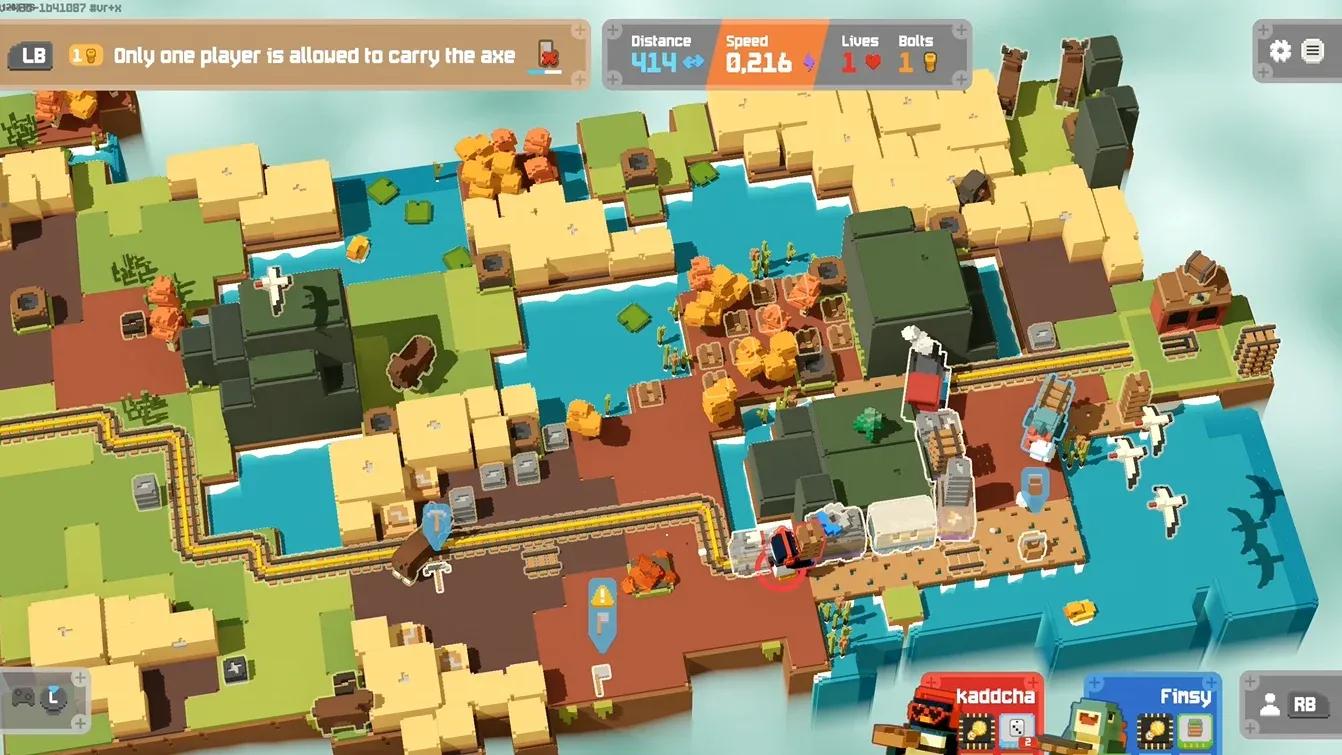
How does train speed work, and why does it matter?
Train speed increases the longer you stay in a single biome without crossing to the next one. Once speed climbs past 0.3, the game becomes genuinely punishing. If you're not confident in your team's coordination, cross into the next biome before hitting that threshold. The speed resets after each boss fight, so boss encounters are as much a relief valve as they are a threat.
This mechanic has a direct implication for resource prep: if you're sitting at a station with spare time, stack extra wood and rails at the destination point. Resources left near the endpoint carry over to the next round. Holding materials in your hands also works, since you keep them when the next stage begins. A few pre-built rails at the start of a fresh biome can be the difference between a smooth opening and an immediate scramble.
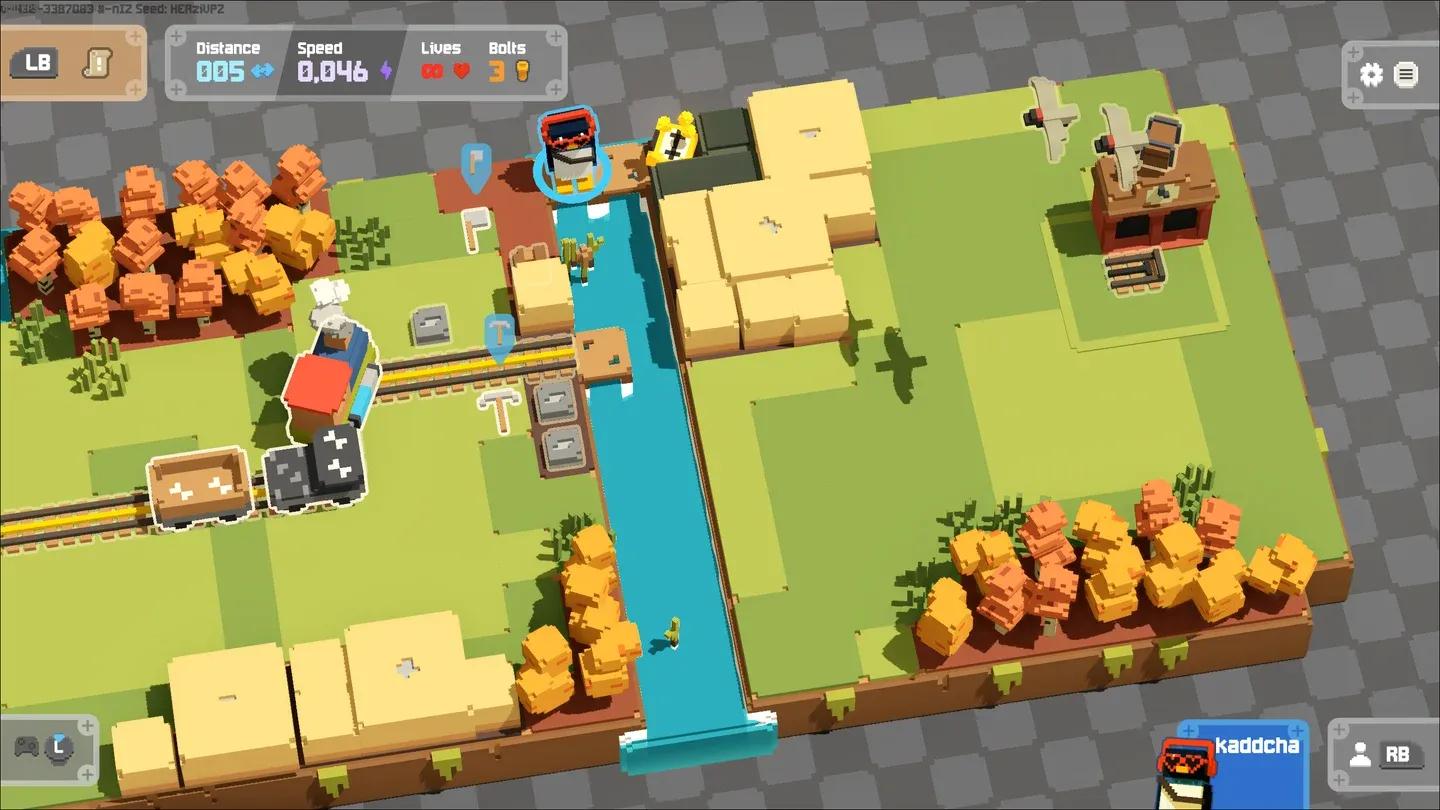
Station types explained
Stations are the breathing room between the chaos. Each run gives you access to several station types, and knowing what each one offers changes how you spend your bolts.
Shop
The shop station sells 3 extensions and 4 trains. Standard prices are 4 bolts for an extension or a plain train, and 5 bolts for a train that already has an extension attached. If a debuff extension is on a train, the price drops to 3 bolts. Sale icons at stations reduce each of those costs by 1 bolt. There's a revert button, so bad purchases can be undone.
Smithy (Blacksmith)
The blacksmith station is where you upgrade train levels and manage extensions. Placing a train on the workbench gives you three options: remove all extensions, destroy the train while keeping its extensions for use elsewhere, or upgrade the train's level. Upgrade costs scale steeply at higher levels.
The jump from level 4 to 5 and 5 to 6 is steep. Plan your bolt spending accordingly and don't blow everything at early shops if you're aiming for high-level trains.
Box station
The box station gives you a chance at free trains, extensions, or even cartridges. The cartridge reward is rare and only one player can claim it, unlike the cartridge exchange or storage stations. Always check what's available here before spending bolts at the shop.
Slot machine station
Each spin costs 4 bolts. Spin 4 times and a reward is guaranteed. The two machines offer either a random cartridge (shared by all players when won) or a speed reduction for the train. There's also a small chance of earning an extra life. If you already have an extra life, the life reward won't appear.
Cartridge exchange station
Three machines, all free to use. The left machine swaps any marked cartridges for empty slots. The two right machines replace existing cartridges with randomly displayed ones, filling empty slots first. All machines can be used multiple times per visit. This is one of the most underused stations by new players.
Biome crossing station
This is where you face the biome boss. Survive and the train slows down. After clearing, each player picks one of three cartridges, and you choose from two biome paths. There are no work signs, train lockers, or revert buttons here. Once you're in, you're committed.
Cartridge storage
Reward for completing an extremely difficult map. You pick one of two cartridge types on arrival. The difficulty to reach this station is described as absolutely extreme, so treat it as a late-run bonus rather than something to plan around.
??? Station
One per biome, usually appearing after the 5th station. Talk to the stranger here to receive a special train unique to that biome.
Shop station bolt prices
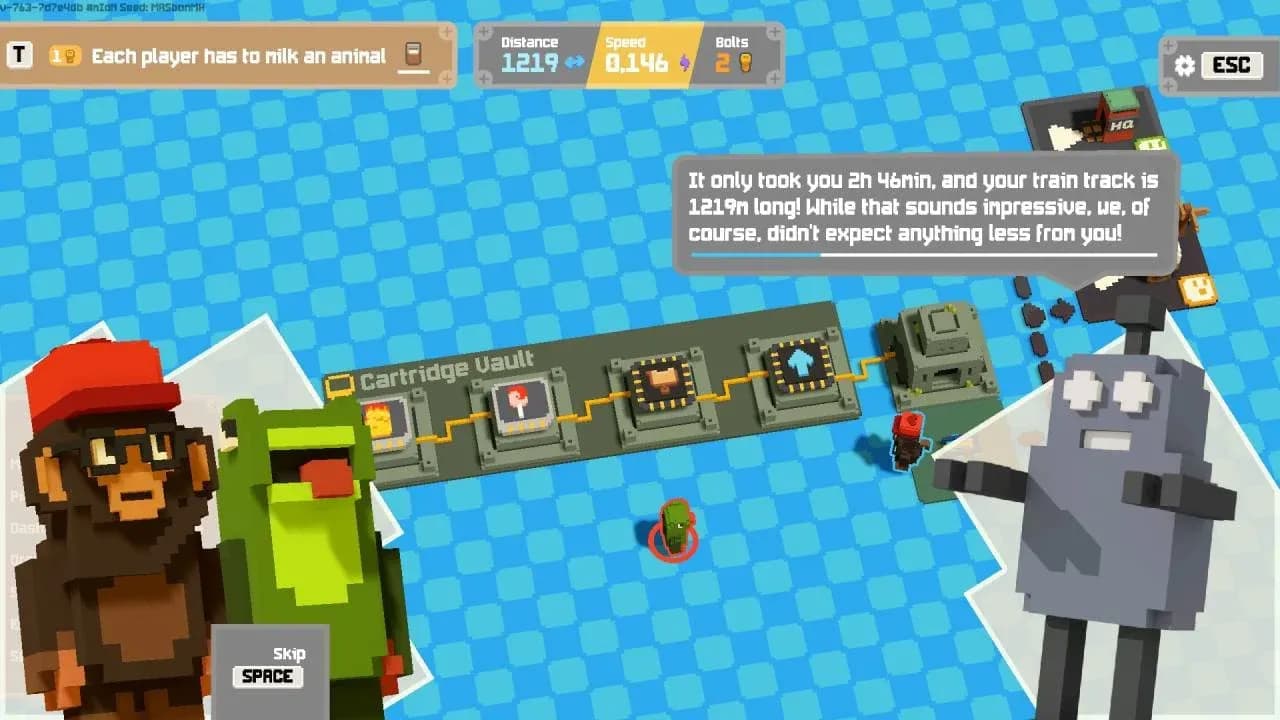
What are the best cartridges to prioritize?
Cartridges are equippable abilities that stack when you pick up duplicates. They're discovered during play and can be permanently unlocked in the lobby using Hexnuts, the currency you earn proportional to your playtime. Unlocked cartridges don't carry over from the start of a run; instead you begin with 3 cartridge slots and build from there.
Installing a cartridge requires drilling a compartment first, which costs Hexnuts, and purchasing the cartridge itself costs the same amount again. Prioritize rail crafting tables and storage boxes when upgrading trains, since those directly support the core loop of laying track.
Action cartridges
- Cast (rare, 35 Hexnuts): Throws items toward a target at 6m range, with +1m for each additional throw cartridge stacked. This is one of the highest-impact cartridges for keeping the supply chain moving.
- Jetpack (common, 35 Hexnuts): Fly over water or clouds for 2 seconds, +2 seconds per level. Essential in biomes with lots of water.
- Ghost (rare, 35 Hexnuts): Phase through any obstacle for 1 second, +1 second per level. Pairs well with ghost train extensions to prevent long trains from getting stuck.
- Stomp (common, 35 Hexnuts): Mine surrounding resources in a 2m radius by rolling, +1m per level.
- Haste (common, 35 Hexnuts): Move at dash speed for 2 seconds, +2 seconds per level.
- Saddle (rare, 35 Hexnuts): Ride animals with milk buffs for 20 seconds, +5 seconds per level. Note that saddle cartridges do not stack.
Passive cartridges
- Magnet (rare, 25 Hexnuts): Auto-picks up resources within 2m, +2m per additional cartridge. Massive quality-of-life upgrade for resource collection.
- Multi tool (rare, 20 Hexnuts): Mine with the wrong tool at 50% speed, +15% per additional cartridge. Reduces the penalty for grabbing the wrong equipment.
- Load (rare, 25 Hexnuts): Carry one extra item. Simple and consistently useful.
- Extra life (rare, 25 Hexnuts): Survive death once per cartridge. If the game ends while you have extra lives, the run reloads and you replay the same map.
- Turbo-Ax / Turbo-Pickaxe (common, 5 Hexnuts each): 20% faster chopping or mining. Cheap and worth grabbing early.
- Discount tag (rare, 35 Hexnuts): +10% chance of a sale at stations. Useful if you're building a bolt-heavy strategy.
- Lollipop (rare, 15 Hexnuts): +15% chance of easier maps. Good if you're struggling with difficulty spikes.
Cartridge equip screen layout
Essential tips for surviving longer runs
Manage the dynamite team carefully
Dynamite production efficiency scales with upgrades. An unupgraded dynamite setup can become a liability rather than an asset, so either invest in it properly or avoid relying on it until you can.
Ghost train and ghost extensions are not optional at length
As your train grows longer, it gets stuck more easily on tight turns and difficult terrain. A ghost train or ghost extension placed in the middle of your train prevents this. On harder difficulty levels this stops being a nice-to-have and becomes mandatory.
Dash carefully in multiplayer
Holding Shift to dash is fast, but running into a teammate causes a collision that wastes time for both players. In tight spaces or during critical moments, the collision penalty is worse than just walking.
Animals give real buffs
Certain biome animals produce milk when you bring them a basket. Drinking the milk gives you a buff specific to that animal type. The practical applications vary: water baskets clear mole holes and sandworm holes instantly, frogs clear cobwebs from a distance, and crabs temporarily fill in sea water.
Use the revert button
The shop, smithy, and box stations all have revert buttons. If you accidentally buy the wrong thing or upgrade incorrectly, revert immediately rather than accepting a bad purchase.
Smithy upgrade workbench
Building a better run from the start
The early game is about bolt conservation and cartridge discovery. Spend at the smithy only when you have a clear plan for which train you're investing in. Box stations offer free value, so always stop and check them. The cartridge exchange station costs nothing and can dramatically shift your build mid-run.
For deeper strategy and more guides covering Unrailed 2 and other strategy games, the full Monster Train 2 guide collection has resources worth bookmarking. The systems in Unrailed 2 reward players who understand the economy behind bolt spending and cartridge stacking, and once that clicks, runs that used to fall apart at the third biome start feeling manageable.