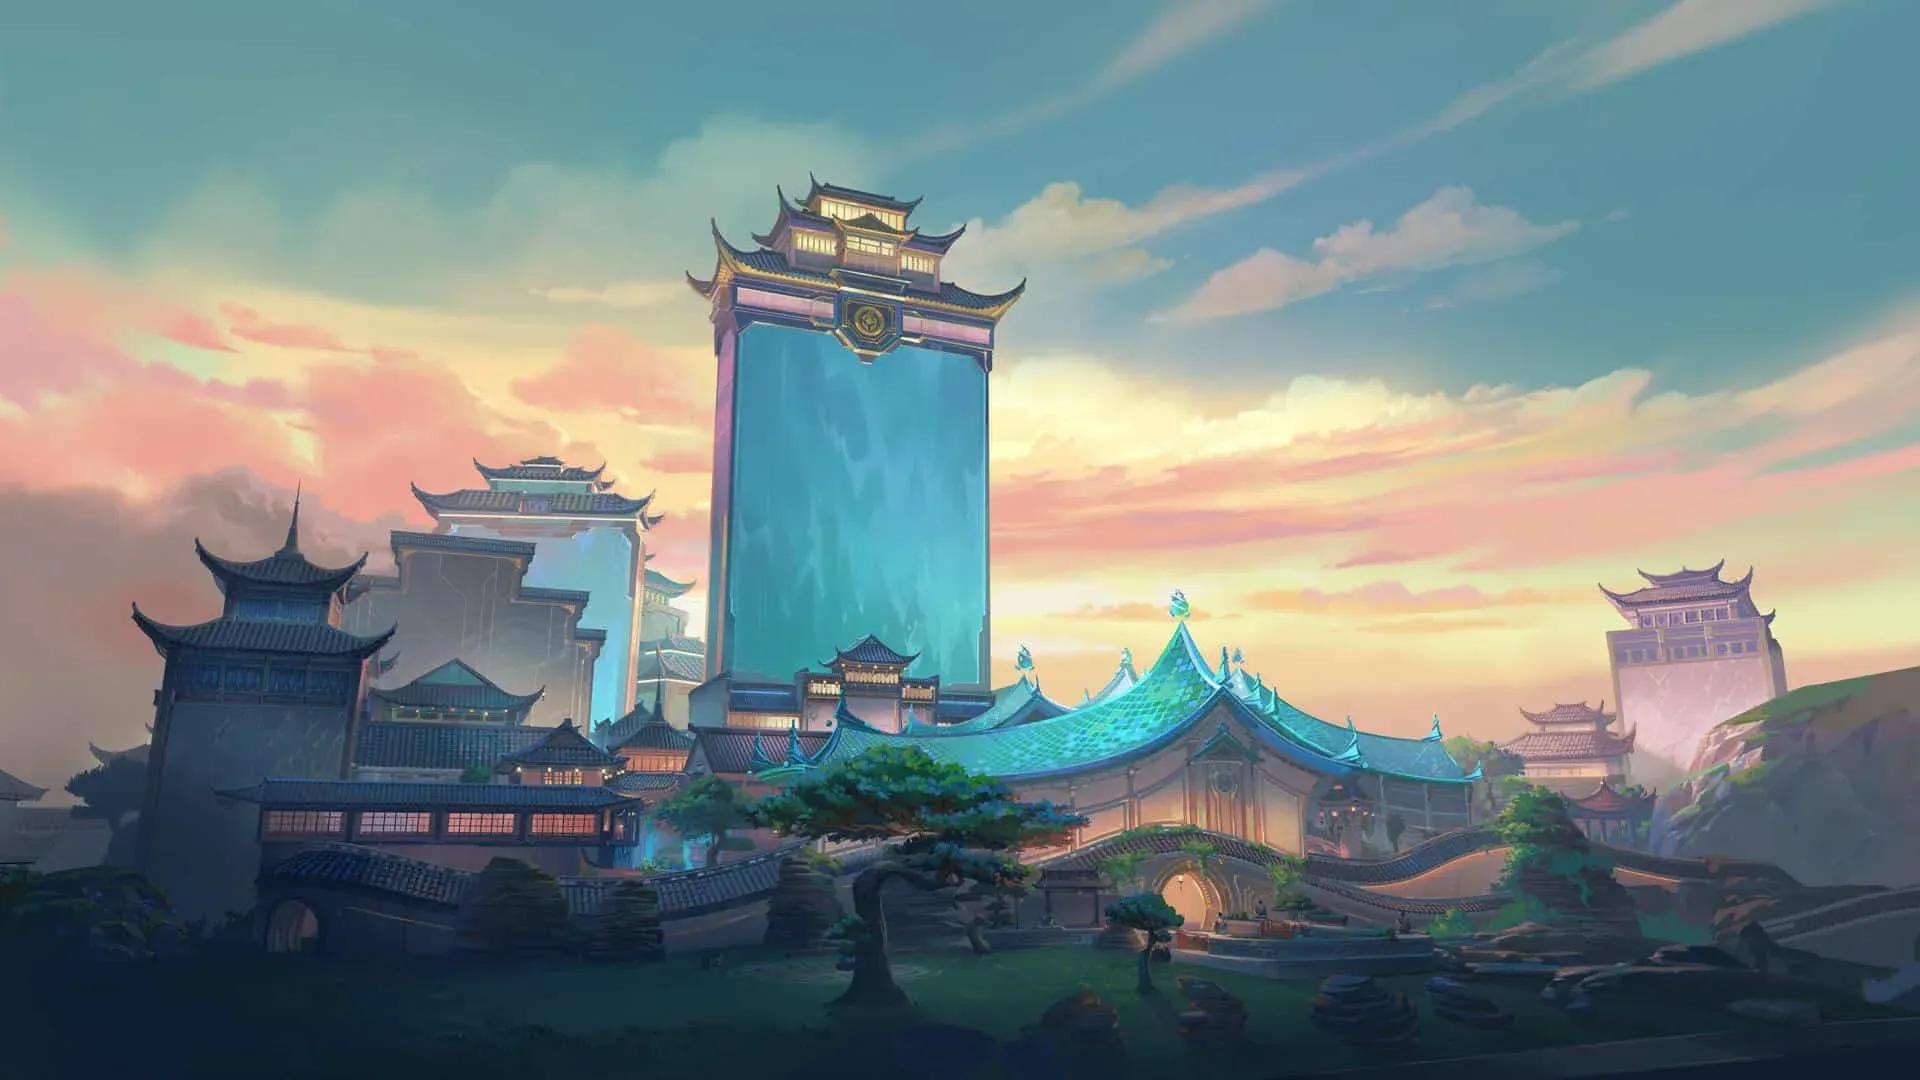

Valorant's newest map drops players into a Radiant training academy and monastery set high in the mountains of China, with architecture inspired by the Zhangjiajie National Forest Park in Hunan Province. Summit launched on June 24, 2026 as part of Season 2026, Act 4, entering the Competitive pool immediately alongside a dedicated Summit-only queue. What sets it apart from every other map in the game is a set of permanent reactive walls that can be triggered mid-round, physically reshaping sightlines and rotation paths in ways no other map attempts.
Summit Map Layout
Summit runs a classic three-lane structure with A Site and B Site, but it plays larger than Ascent or Sunset. The attacker spawn feeds directly into both A Lobby and B Lobby, giving quick access to either side without forcing a commitment early.
The defender spawn sits at the bottom center and acts as the connector between both sites. Mid is the defining zone on this map. Mid Top flows into Mid Tiles, Mid Fountain, Mid Bend, and Mid Bottom, with the Fountain acting as the central junction for rotations to either site. Mid Bottom branches into B Link and Mid Window, opening up lurk and split-push routes that punish teams slow to rotate.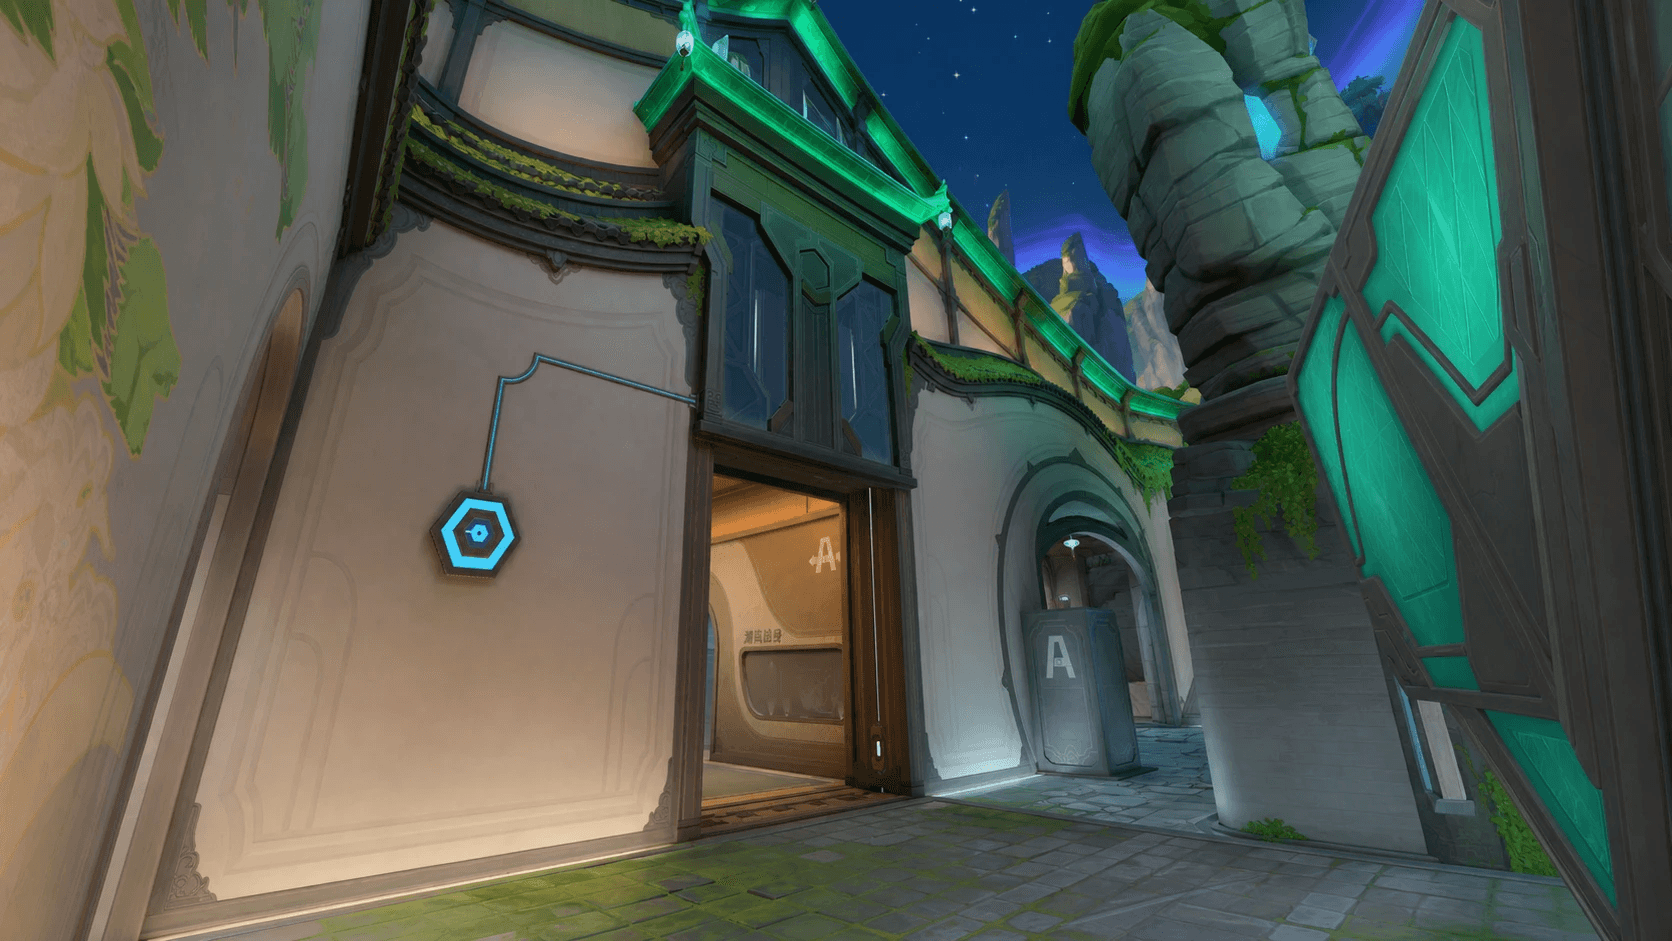
A Site is notably smaller than B Site. A Link connects A Site to Mid Bend and Mid Fountain, making fast rotations possible when mid control is established. B Site is the larger of the two, and it connects directly to the reactive wall mechanic on the defender side, which changes how the site plays depending on whether the wall is up or down.
The comparison to Haven is worth making: Summit's mid connectivity rewards teams that play for map control rather than defaulting straight to site. Teams that ignore mid will consistently find themselves out-rotated.
All Summit map callouts you need to know
Summit is larger than most maps, so knowing the right callout at the right moment matters more here than on a compact map like Bind. These are the callouts to learn first.
A Site callouts
- Garden — the open area approaching A Site
- A Link — the connector between A Site and Mid
- A Wall — the reactive wall position on the A side
- CT — the defender-side angle on A
- Boxes — the cover positions on site
Mid callouts
- B Link — the route from Mid Bottom to B Site
- Double Box — the cover structure in mid
- Mid Wall — the reactive wall in the center of the map
- A Link — the route connecting mid to A Site
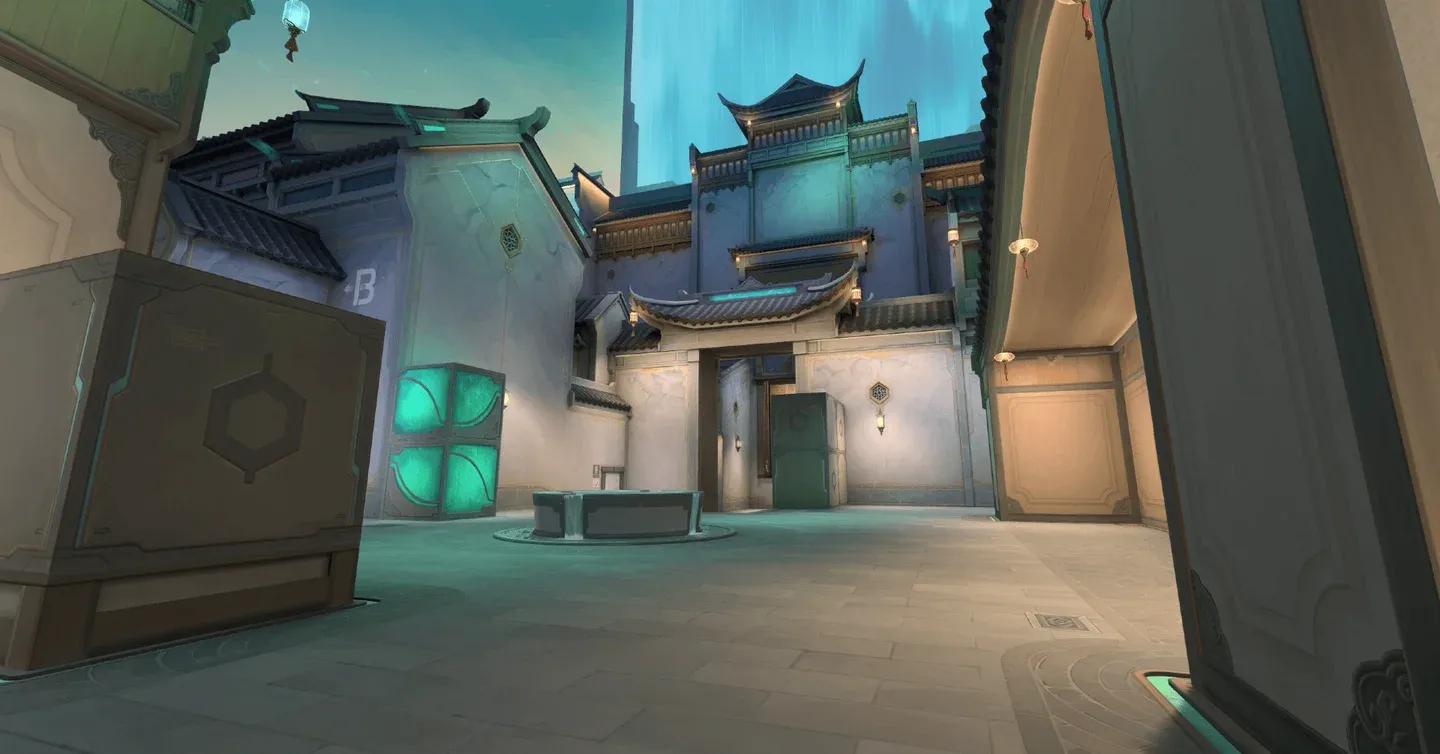
B Site callouts
- Triples — the triple box stack near B
- Plant — the primary spike plant spot
- Close Box — the near-side cover on B
- B Wall — the reactive wall on the B side
- B Link — the mid-to-B connector
A Site key callout positions
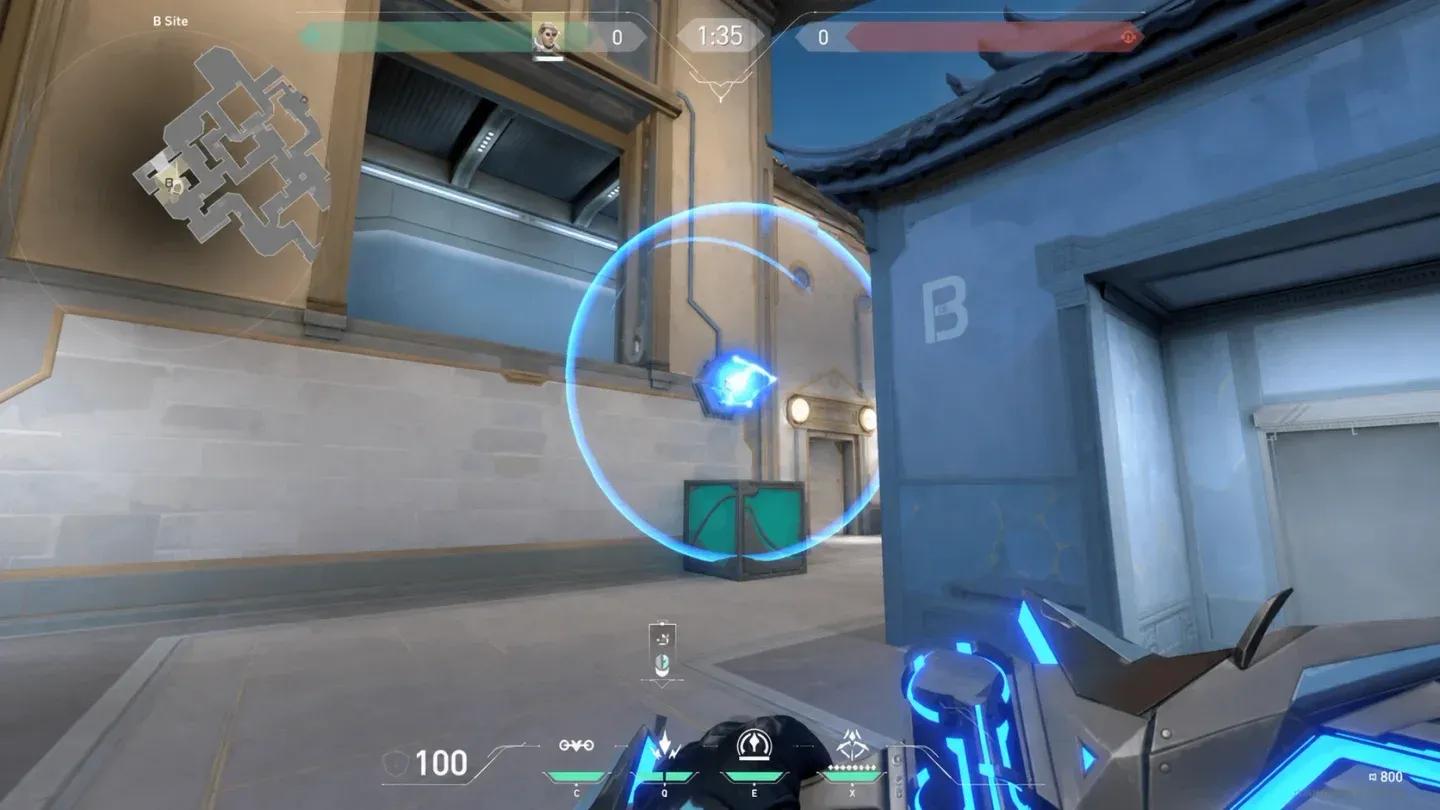
How do the reactive walls work on Summit?
The reactive walls are Summit's defining mechanic and the thing you need to understand before anything else. There are three wall locations across the map, each with a button positioned directly beside it. Two right-clicks on the button is enough to bring a wall down permanently for the rest of that round.
Once activated, the wall does not come back. It blocks sightlines, cuts off rotation paths, and physically eliminates any player caught underneath it when it closes. That last point is not a tooltip footnote: players under a falling wall die. This applies even to characters in invulnerable states, including Yoru and Clove during their ultimates.
Summit full minimap layout
Sova players can trigger the walls with a single shock dart, making it possible to drop a wall instantly and catch enemies off guard without physically approaching the button. That's one of the stronger early-round plays on Summit for teams that run Sova.
Vents also open up after walls are activated, creating new angles for bouncing flashes and utility through areas that were previously closed off.
Best agents for Summit
Summit rewards agents that can control space and interact with the map's specific mechanics. Here's a breakdown by role.
Sage is arguably the strongest single pick on this map. Her walls interact directly with Summit's reactive wall mechanic, and her slow orbs can funnel enemies into dangerous positions near wall buttons. The map's defensive structure also suits her playstyle well, making her a comfort pick that genuinely performs.
Cypher benefits from a specific trick worth knowing: if you place a camera through a reactive wall before activating it, the camera survives the wall closure and stays active on the other side. That gives you hidden intel on a side of the map that your team can no longer physically see.
Sova and Skye are the top initiator picks because the vents scattered across Summit give their utility more bounce and reach than on most other maps. Sova's shock dart wall activation is a legitimate tactical tool, not just a gimmick.
Omen is the default controller pick, with Viper viable on the attack side. Duelists are less important here than on maps like Bind or Haven, but Jett and Raze are the right choices if your team composition needs one.
What are the best strategies for Summit?
Control mid or lose site fights
Summit's mid section connects both sites through multiple routes. Teams that establish Mid Fountain control can rotate to either site faster than defenders can respond. The Mid Wall is a key decision point: activating it early can shut down defender rotations, but it also removes your own flexibility. Decide as a team before committing.
Use the Cypher camera trick on defense
Place a Cypher camera through a reactive wall before triggering it. The camera stays operational after the wall closes, giving you a hidden vantage point that enemies cannot destroy. On A Site, this is particularly effective for holding the smaller, tighter angles without overcommitting players.
Play vents for utility, not for peeking
The vents across Summit are best used for sending flashes and grenades into areas you cannot safely peek. Exposing your position to use a vent negates the advantage. Send utility through, then take the fight from a safer angle.
Sage walls on defense are mandatory
A Site's smaller footprint means a well-placed Sage wall can completely shut down an attacker push. Combine that with the reactive wall mechanic and you have a defender setup that forces attackers into very specific entry points. Sage's slowing orbs near wall buttons also create genuine kill opportunities that most players don't anticipate in their first few games on Summit.
Getting started on Summit
Summit is a map that punishes players who treat it like any other three-lane layout. The reactive walls change what "holding an angle" means round to round, and the mid connectivity means positional awareness matters more than raw aim in a lot of situations. Spend your first few games learning which walls to activate and when, rather than defaulting to standard Valorant habits.
For broader Valorant fundamentals that apply across every map, the Valorant beginner's guide covering agents, aim, and economy is worth a read before you queue into ranked. If you want to know which agents are performing best in the current meta beyond Summit specifically, the Valorant agent tier list for ranked breaks down the strongest picks right now. For everything else Riot has added this season alongside Summit, the full Valorant guides collection has you covered.