
What's the Best Build in Voidling Bound?
Voidling Bound has nine playable species, each with a distinct combat identity, and picking the wrong one before you understand the game is a fast way to feel lost. The best overall build centers on Nimiod, a turret-focused species that combines area damage, stamina recovery, teleport safety, and a powerful Ultimate window into one of the strongest kits in the game. That said, Nimiod has a learning curve, and there are better starting points depending on how you like to fight.
Best builds by playstyle
Before going deep on Nimiod, here's the full breakdown of which species fits which role. The best build is always the one that matches how you actually play, not just the one with the highest ceiling.
Nimiod turret positioning
Best overall build: Nimiod turret setup
Nimiod is the strongest overall choice because its kit does several things at once. Turrets deal area damage and restore stamina when you stay near them. An infinite-jump movement system keeps Nimiod active in fights. The Ultimate places 6 turrets simultaneously, grants invulnerability during movement, and boosts both attack and crit. That combination of sustained damage, recovery, and burst potential is hard for any other species to match.
The catch is that Nimiod cannot reload until it lands, so the build is not just about attacking harder. Stamina management is a constant priority. You need to fight around your turrets, not in spite of them.
When building mutation paths, prioritize whatever strengthens the core loop: more reliable damage output, better area control, safer uptime, or stronger turret synergy. Nimiod played as a basic shooter wastes most of what makes it good. The turrets are the build.
Nimiod Ultimate burst window
Best beginner build: Kwipeck balanced setup
Kwipeck is the right starting point if Nimiod feels like too much to manage early on. Its kit covers ranged damage through an SMG-style Primary, burst damage from a rocket Secondary, dash movement for safety, melee as a backup option, and an AoE Ultimate that handles grouped enemies without much setup.
Nothing about Kwipeck requires managing clones, turrets, form swaps, or stamina flight. That simplicity is the point. You can focus on learning Voidling Bound's combat rhythm without juggling extra systems.
Once you have a feel for the game, move into a more specialized species. Kwipeck has a lower ceiling than Nimiod, but it is the cleanest way to start.
Best defensive build: Kerapin shield setup
Kerapin solves a specific problem: taking too much damage. Its shield lets you attack through protection, which creates a safer rhythm than any of the aggressive melee options. Mines add space control and delayed burst, while medium-range burst shots keep damage consistent without forcing you into bad positions.
The Rolling Ultimate adds movement and explosive follow-up damage, so Kerapin is not purely passive. It just punishes reckless play less than most species.
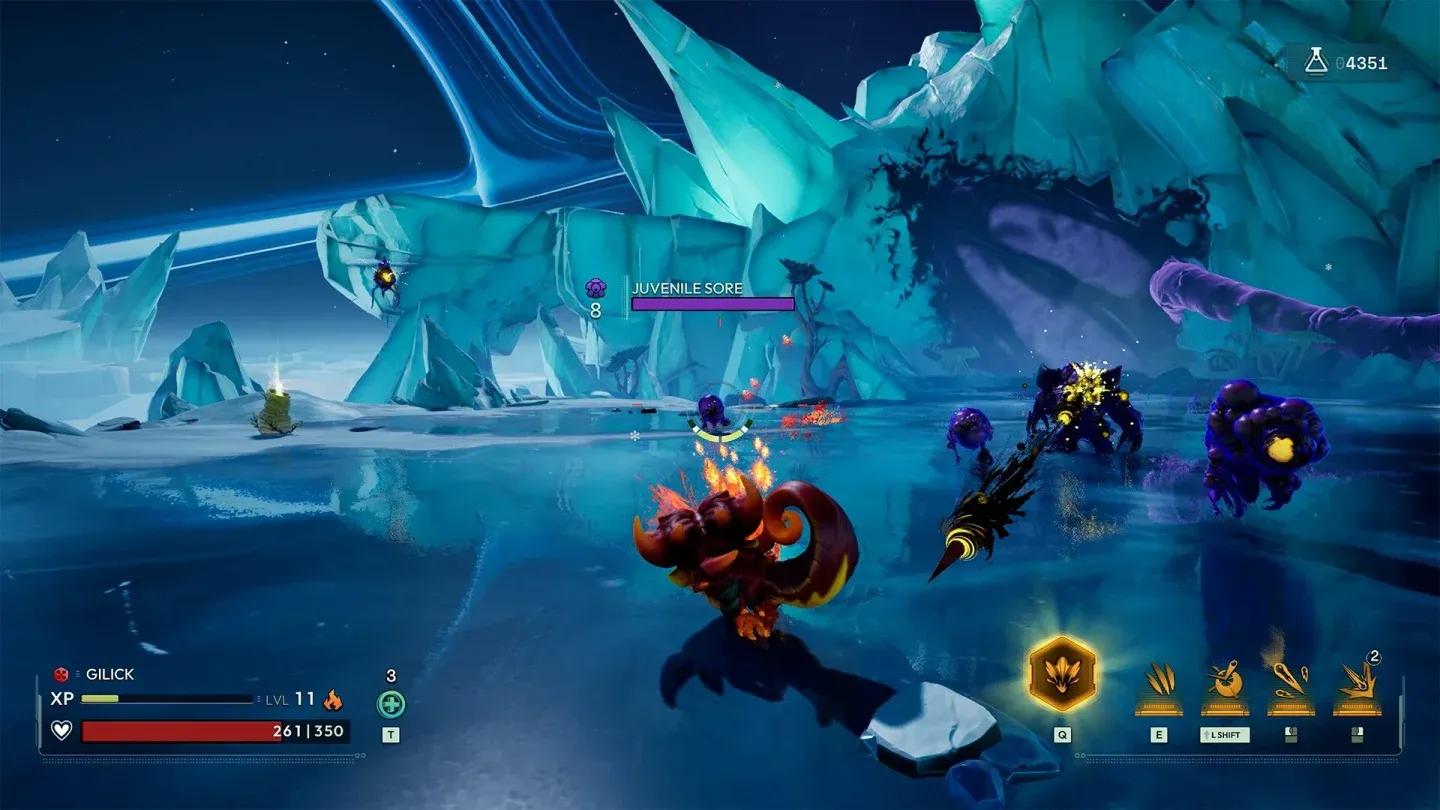
Best close-range build: Gilick brawler setup
Gilick works like a shotgun fighter with a defensive answer built in. The Primary rewards close positioning, the Secondary slam closes distance aggressively, and the counter stance absorbs incoming hits and punishes enemies around you. The cone Ultimate then delivers strong burst damage to everything in front of you.
Gilick is a better introduction to close-range play than going straight into Morfang. You get the aggression with some protection underneath it.
Best melee build: Morfang aggression setup
Morfang is the opposite of Kerapin. There is no shield, no defensive stance, and no safe spacing. The build is built around closing distance, staying on enemies, and keeping pressure up before they can control the fight. Ambush damage rewards aggressive openings, and constant damage uptime is the goal.
Use Morfang if the build style you want is straightforward: get close, hit hard, and keep hitting. Players who prefer spacing or reactive play will find it punishing.
Best clone build: Gwigoon duplicate setup
Gwigoon's Secondary creates duplicates, which adds battlefield chaos and gives enemies more targets to manage. Build around keeping clone pressure active. You can play it at range and let duplicates work independently, or push forward with your clones and overwhelm groups together.
Gwigoon suits players who enjoy minion-style gameplay and want a build that creates problems indirectly rather than through direct attacks alone.
Best mobile build: Anami harassment setup
Anami is small, fast, and better at avoiding punishment than any heavier species. The build runs on mobility and pressure: keep moving, stay evasive, and let homing or elemental attacks maintain damage output while you stay hard to pin down.
Anami's best defense is positioning. If enemies cannot reliably hit you, the harassment adds up over time.
Best advanced build: Ur-Sek form-swap setup
Ur-Sek is the most technically demanding species available. It has two forms, Ur (the larger, heavier half) and Sek (the smaller, faster half), and each form has its own ability patterns. The Ultimate swaps between forms and heals, and Ur-Sek has the fastest Ultimate charge time of any currently available species.
That fast charge is the engine of the build. Frequent form swaps let you adjust between heavier and lighter ability patterns mid-fight, and healing windows keep the build alive through transitions.
Ur-Sek is not a good starting pick. Spend time with Kwipeck or Nimiod first, then come back to it once you understand the combat flow.
Ur-Sek form swap abilities
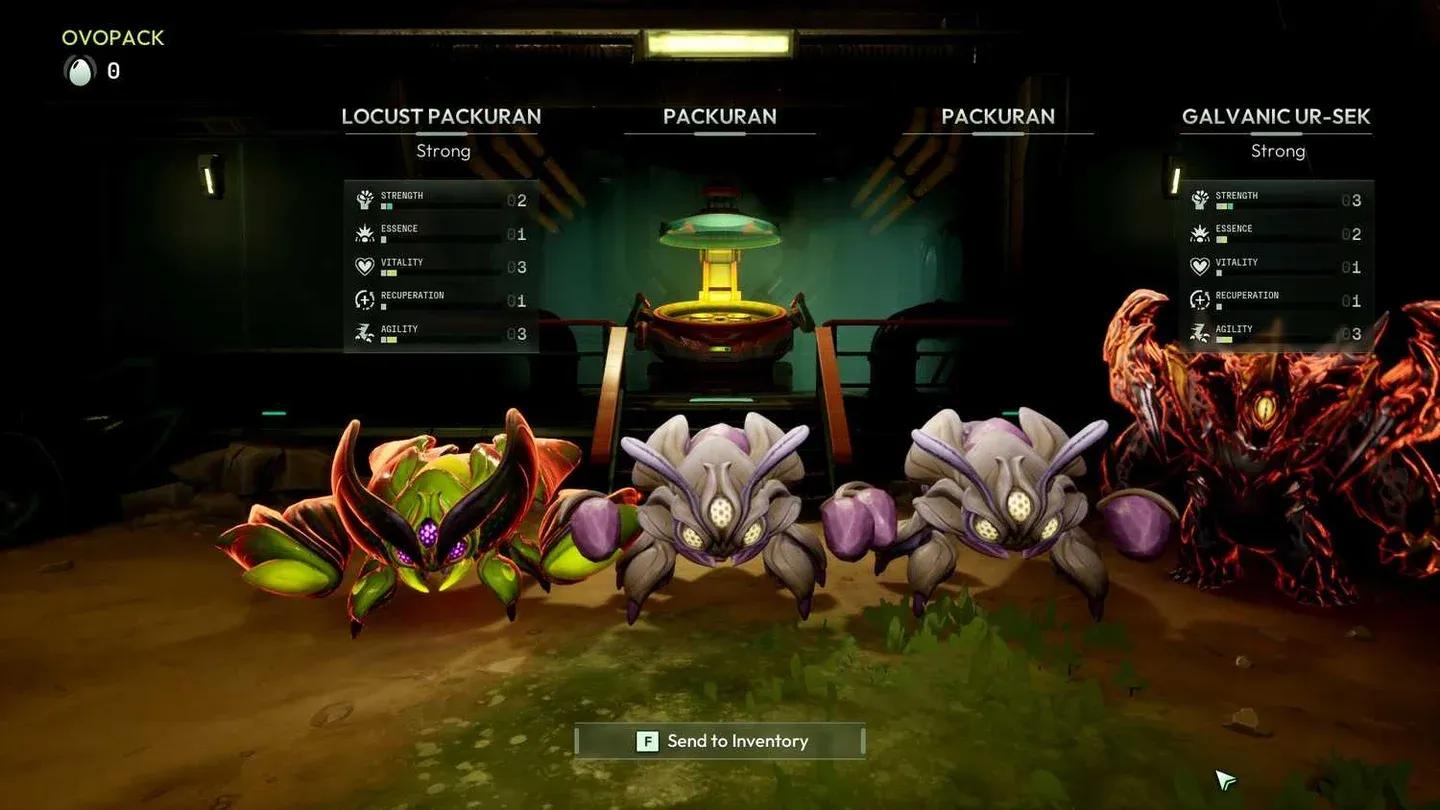
Best heavy build: Packuran control setup
Packuran is the heaviest species in the current roster, but its kit goes beyond raw size. Continuous laser-style beams provide steady damage and space denial. Summoned hatchlings add extra battlefield presence. Miniature wormholes create unusual fight setups and control opportunities.
Build Packuran around dominating space rather than chasing enemies. Its control tools are the identity, not just its size.
How to pick the right build for you
The single most useful build tip in Voidling Bound is to build around what your species already does, not what you wish it did. Nimiod wants turrets. Kerapin wants shield uptime. Gwigoon wants clone pressure. Forcing any of them into a role they were not designed for wastes both the species and your upgrade investment.
For players who want to squeeze more performance out of any species, optimizing your hardware setup helps too. Check out the Voidling Bound best PC settings guide to cut stutters and keep your frame rate stable during heavy turret and Ultimate moments.
If you are still exploring which species fits your style, the full Voidling Bound strategy guides collection covers everything from species breakdowns to combat mechanics in one place. Voidling Bound sits comfortably among the better adventure games available right now, and the build depth is a big part of why.