
Introduction
Voidling Bound stacks seven distinct power systems on top of each other, and the order you use them matters more than how fast you unlock them. Rush the Splicing Station before your parent line is ready and you burn 5 rare Polychrome Mutagens on a candidate that was never worth keeping. Skip the Cerebrum Enhancer because Evolution feels more exciting and your whole species falls behind. This guide walks every system from first Evolution Chamber choice through endgame Catalyzer tuning, with a clear answer for which system fixes whichever problem your build has right now.
What does each upgrade system actually do?
Before spending a single Mutagen, understand that these systems do not all solve the same problem. Each one operates at a different layer of your roster.
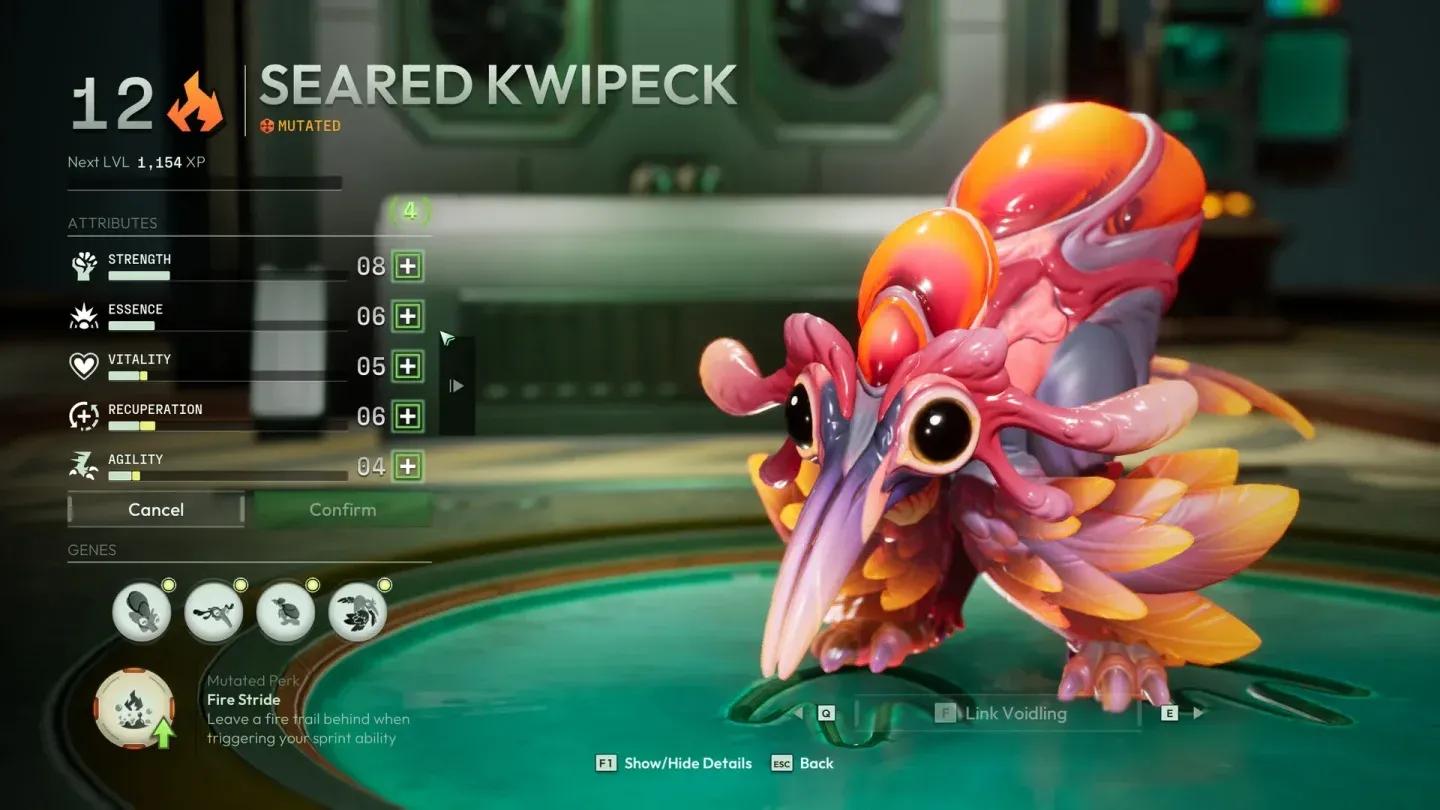
Splicing Station gene selection
| System | What it changes | When it matters |
|---|---|---|
| Attributes | Damage, health, stamina, cooldowns, fire rate, movement, and critical stats | Every run from the start |
| Evolution Chamber | Individual evolution nodes, elements, abilities, movement tools, status effects, perks | Early and mid game |
| Cerebrum Enhancer | Species-wide upgrades that apply to future Voidlings of the same species | As soon as you know your main species |
| Training Room | Lets backup Voidlings level up while you complete missions with another creature | Mid game |
| Pheromone Nest (Breeding) | Same-species offspring with inherited traits, stronger stat lines, and Dual Natures | Mid to late game |
| Splicing Station | Custom genes, abilities, elemental affinity, looks, and up to 3 mutated perks | Late game, after Breeding is done |
| Catalyzers | Endgame stat modifiers equipped through the Catalyzer Injector, up to 5 at once | After Void Strikes and Abyss open |
Think of these as layers. Evolution changes one Voidling. Cerebrum Enhancer upgrades an entire species. Training keeps your bench relevant. Breeding builds better next-generation candidates. Splicing customizes a final planned creature. Catalyzers tune an already strong endgame build.

What is the right build order from early game to endgame?
The table below is the practical sequence. Follow the "Best Move" column for your current stage and avoid the listed trap.
| Stage | Main goal | Best move | Avoid this |
|---|---|---|---|
| Early game | Make one Voidling reliable | Attributes, Evolution Chamber, and Cerebrum Enhancer on the creature you actually play | Splitting resources across every species at once |
| Early cleanup | Unlock useful genes and Golden Egg variants | Evolve your main species, collect Golden Eggs, inspect rare variants before releasing | Ignoring Golden Egg Voidlings because they are not on the normal genetic tree |
| Mid game | Build stronger parent candidates | Use Breeding to improve stat lines and combine Natures within the same species | Releasing high-stat Voidlings or rare Natures before understanding Breeding |
| Before Splicing | Lock in the parent line | Finish Breeding before Splicing the final candidate | Splicing a parent candidate early, because spliced Voidlings can no longer breed |
| Late game | Create a custom endgame build | Use Splicing to combine discovered genes, abilities, elements, and mutated perks | Spending Polychrome Mutagens without a clear plan |
| Endgame | Push Abyss and Void Strike power | Equip Catalyzers, test their order, and swap to fine-tune | Treating Catalyzers as early progression |
How do Attributes shape your Voidling's combat feel?
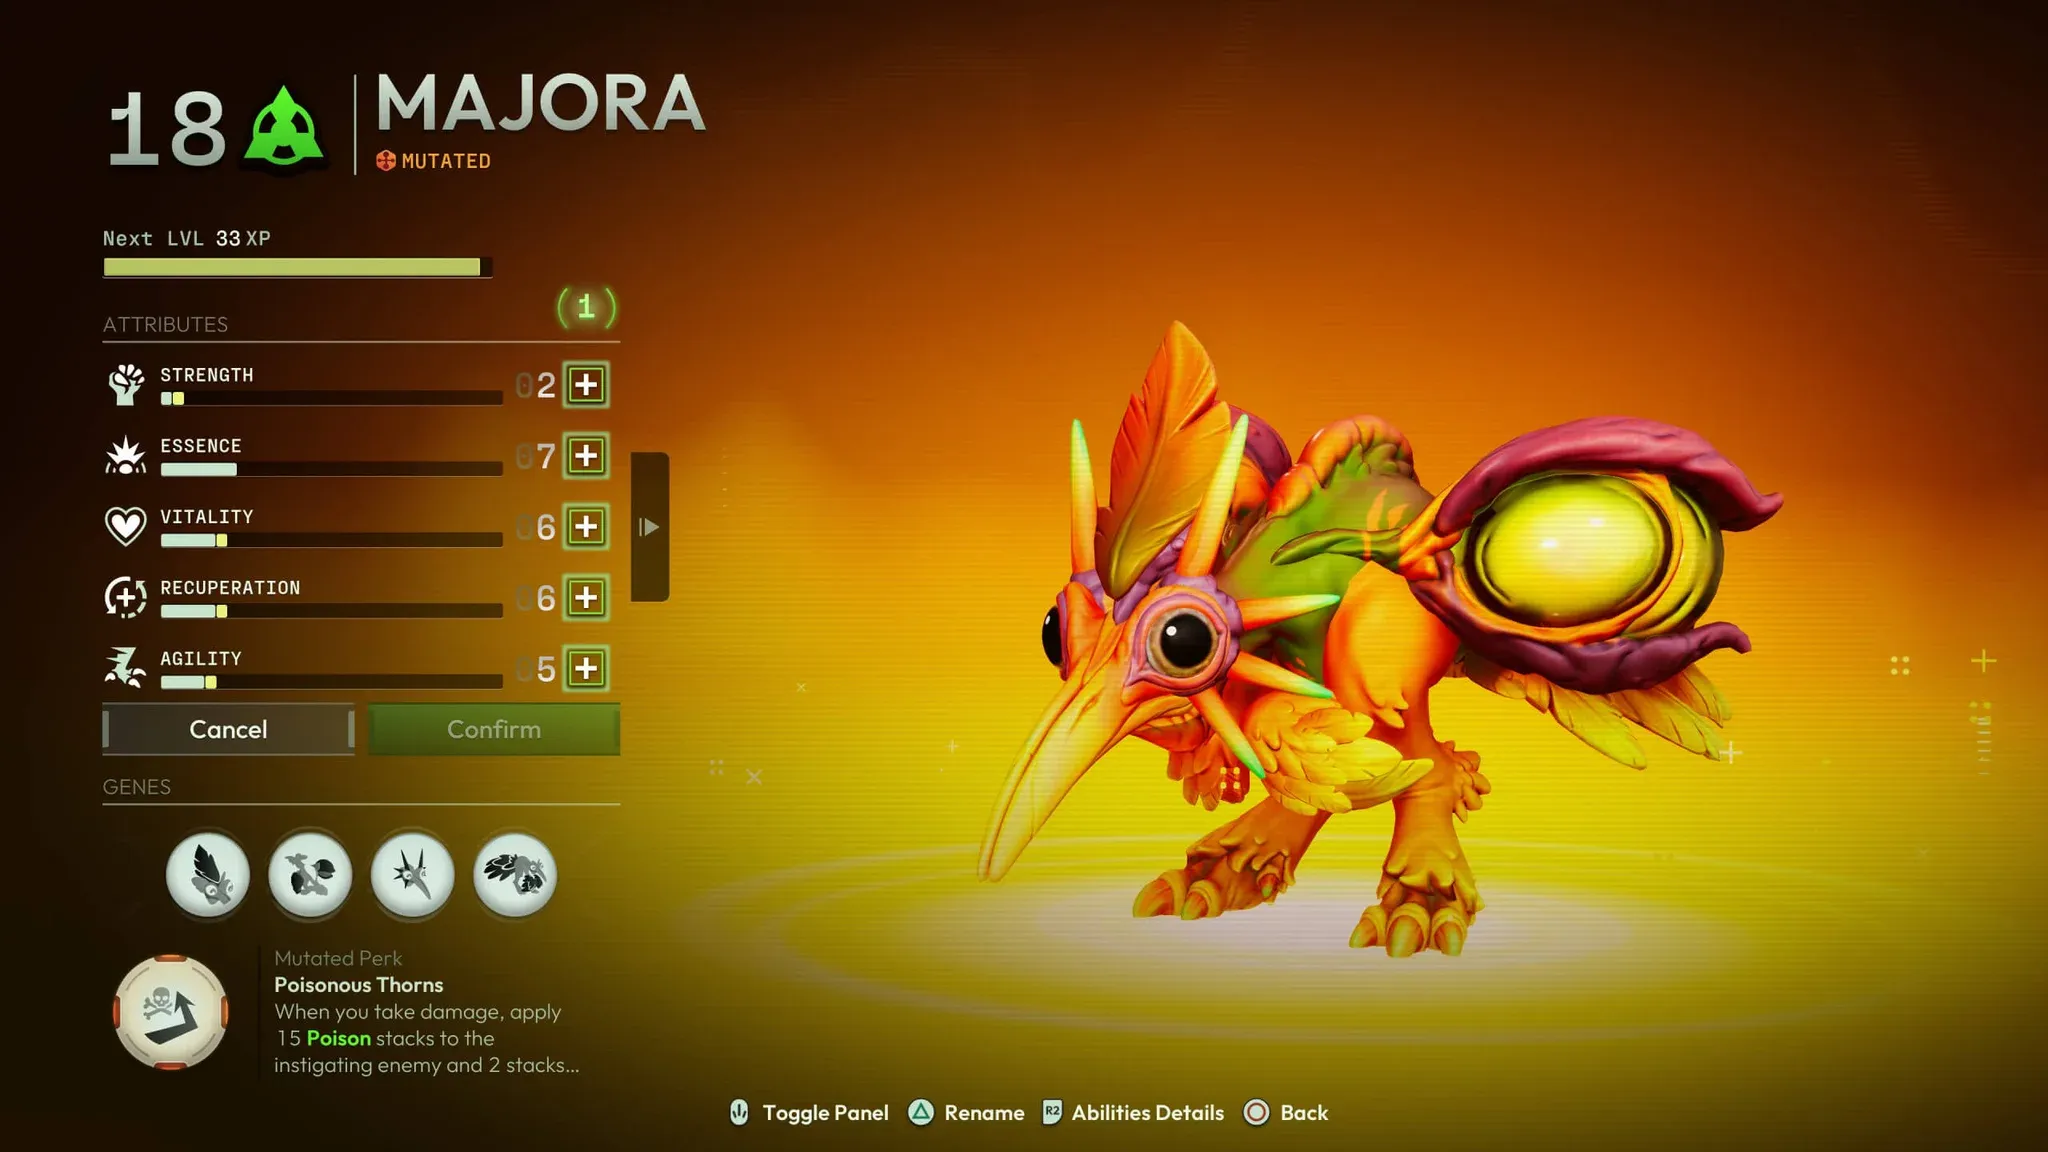
Attributes are the foundation every other system builds on. A Voidling with wrong attribute investment will feel broken regardless of how many evolution nodes it has.
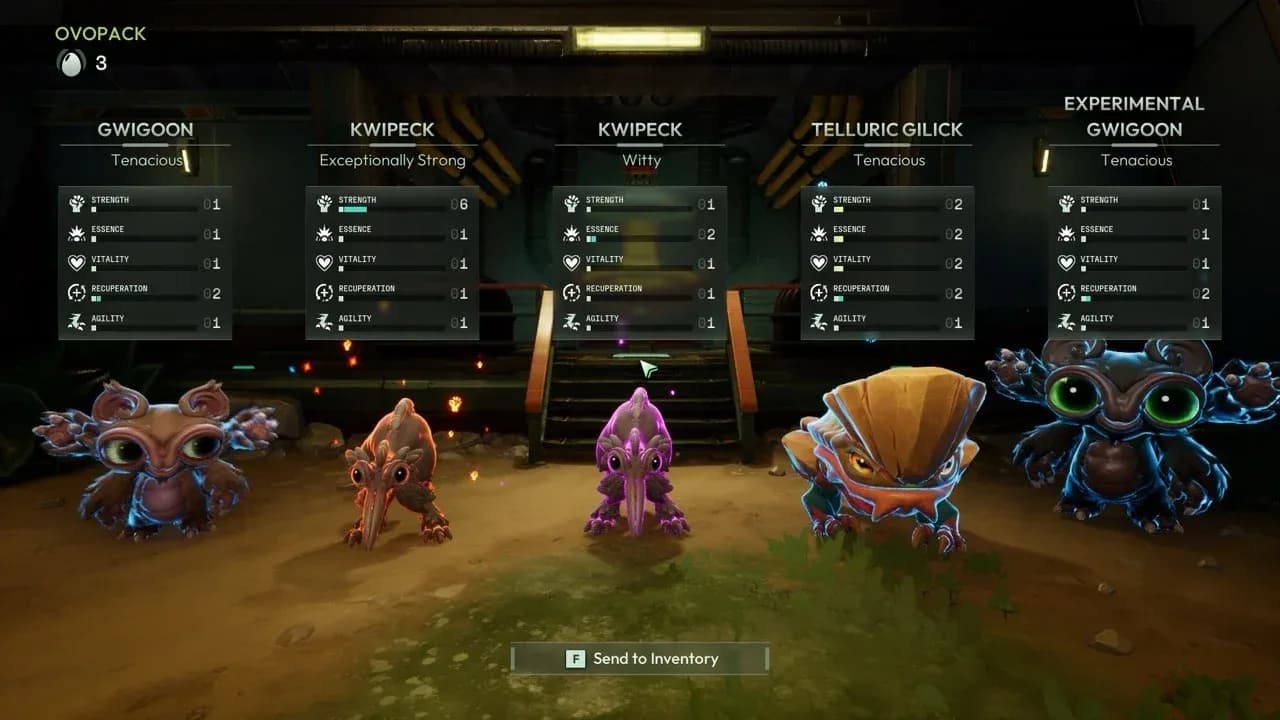
Attribute stat allocation screen
| Attribute | What it improves | Best use |
|---|---|---|
| Strength | Attack power and critical damage | Pick when your Voidling survives well but clears feel slow |
| Essence | Elemental damage bonus and status effect damage multiplier | Pick for Poison, Burn, Frostbite, Static, or Disintegrate builds |
| Vitality | Health, armor, and stamina | Pick when you are dying or burning through healing too fast |
| Recuperation | Reload duration, cooldown reduction, ultimate fill rate, and healing multiplier | Pick for ability-heavy builds or Voidlings that feel sluggish between attacks |
| Agility | Fire rate multiplier, movement speed, and critical chance | Pick for fast ranged builds, mobility builds, and crit-friendly playstyles |
Voidlings are capped at level 20, meaning you get 20 total attribute points. Through Breeding, however, you can raise the base attribute values of offspring, which makes it possible to reach 20 in all attributes on a well-bred candidate.
The safest early pattern: Vitality if you are dying, Strength if fights drag too long, Recuperation if the Voidling feels sluggish between actions. Save heavy Essence investment for builds that can actually apply status effects consistently.
How does the Evolution Chamber work?
The Evolution Chamber uses Mutagens to unlock abilities, elements, movement tools, status routes, and perks on a single Voidling. It costs 20 Mutagens of one element type to evolve a Voidling from common to mutated rarity. Each species has two main elements, and the evolution paths branch from there.
Evolution Chamber Mutagen paths
Every node you pick should answer one question: what problem is this solving for my current build? A primary attack upgrade smooths out mission clears when your basic attack is your main tool. An element change only makes sense if you check the Atlas Terminal weakness icons first and confirm the matchup. Status routes feel weak if you cannot keep stacks active consistently, so do not chase Poison or Burn nodes unless the build can actually apply them.
Evolution nodes also matter for Splicing later. Genes and perks you discover through evolution become available at the Splicing Station. That gives you a second reason to evolve broadly across your roster over time, even on Voidlings you do not actively use.
What does the Cerebrum Enhancer do that Evolution cannot?
Evolution changes one Voidling. The Cerebrum Enhancer upgrades the species itself using Research Samples collected from missions. Those upgrades apply to future Voidlings of the same species, which means every new candidate you hatch or breed from that species starts from a stronger foundation.
This is the system most players undervalue because individual evolution choices feel more immediate. The payoff compounds over time. If you plan to keep using Kwipeck, Gilick, Kerapin, Gwigoon, or any other species long-term, early Cerebrum Enhancer investment makes every future version of that creature stronger.
Focus Research Samples on the species you actually use most. Spreading upgrades thin across every creature you own produces a roster of mediocre Voidlings instead of one or two genuinely strong lines.
How does the Training Room help your bench?
The Training Room uses equipment purchased from Michael to level up Voidlings while you are out on missions. You place a Voidling into a training slot and it trains up to a target level, with the time required depending on its current level. The key detail is that training happens while you play, so your bench does not have to sit idle.
The best Training Room targets are a different-element backup for faction matchups, a same-species parent candidate you want ready for Breeding, a Golden Egg variant you plan to test later, or a newly hatched species that is too underleveled for current missions.
How does Breeding work and when does it matter?
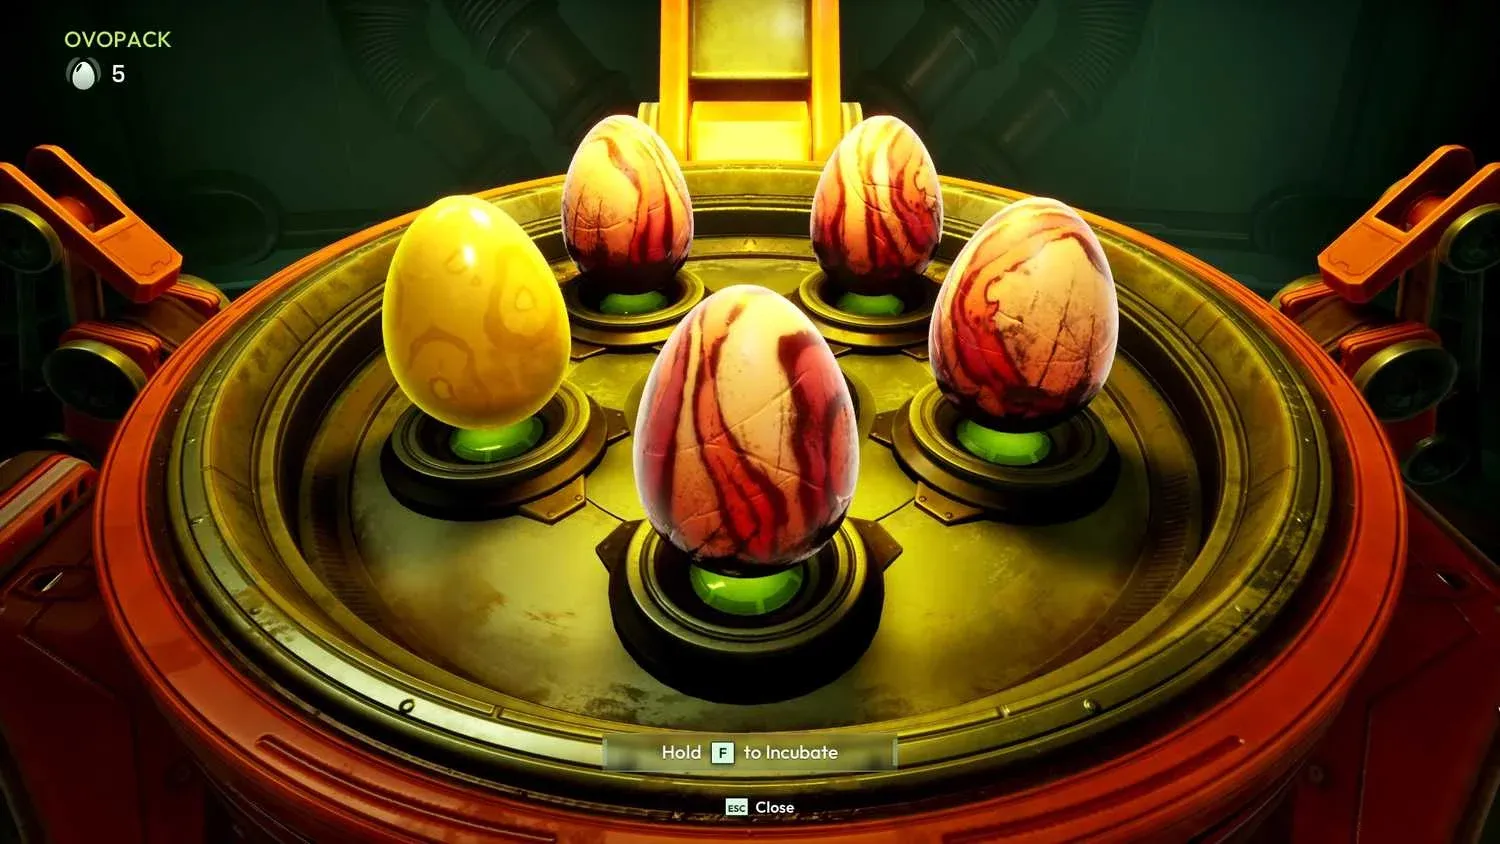
Breeding opens through the Pheromone Nest and only works within the same species. Two same-species Voidlings produce offspring that inherit a base stat between the two parents, though this inheritance starts at 50% reduction. Visiting Henry and purchasing Hatchery upgrades raises that inheritance toward 100% of the parent values.
Breeding is also the only route to Dual Natures, which are stronger Nature combinations that come from pairing parents with compatible or rare Natures. A Voidling with a good Nature can be more valuable as a parent than a higher-level one with a mediocre Nature.
Before releasing any duplicate, check:
- Total stat potential
- Nature and Nature rarity
- Whether it belongs to a species you plan to keep using
- Whether it came from a Golden Egg
- Whether it could become a better parent than your current main
Eggs can appear after missions once the Pheromone Nest is running, so keep completing normal missions while Breeding is active rather than waiting at the ship.
Pheromone Nest breeding menu
What does the Splicing Station do and how much does it cost?
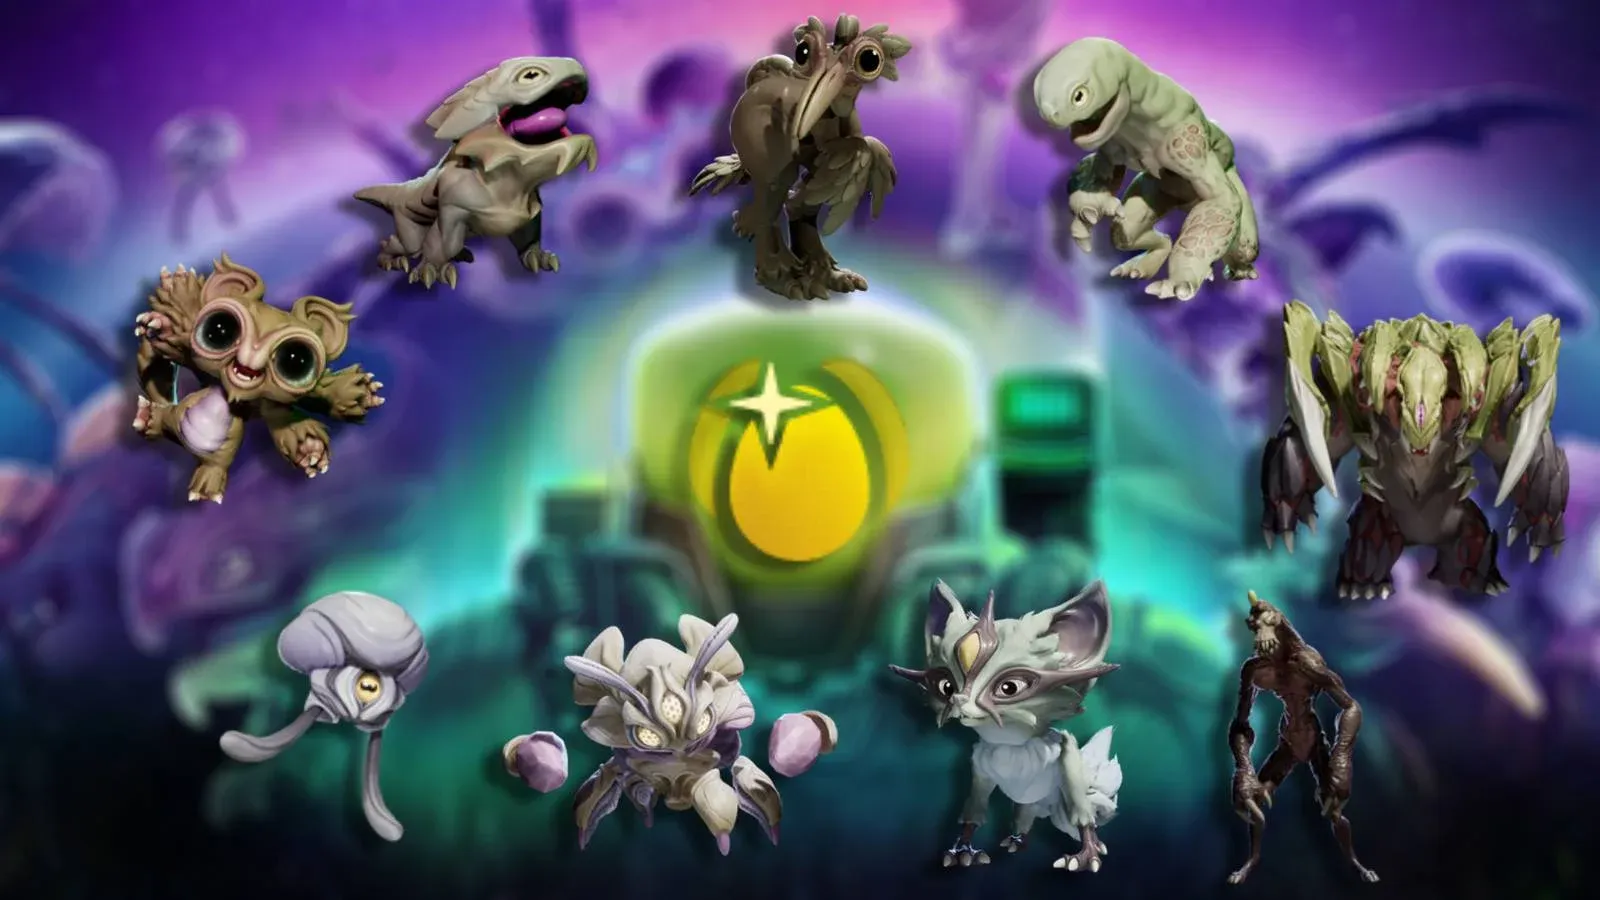
Splicing is the final customization layer. The Splicing Station lets you take a Voidling and reshape it using genes, abilities, elemental affinity, looks, and up to 3 mutated perks drawn from any species you have already discovered through evolution.
The cost is 5 Polychrome Mutagens per Splice. Because Polychrome Mutagens are rare, every Splice should be a planned decision, not an experiment.
| Splicing feature | What it does | Why it matters |
|---|---|---|
| Gene editing | Uses genes discovered through evolution across your roster | More evolved species means more Splicing options |
| Ability and element changes | Reshapes abilities and elemental affinity | Builds around multiple faction matchups instead of one fixed route |
| Mutated perks | Up to 3 mutated perks from any discovered Voidling | One of the main reasons Golden Egg variants and rare genes are worth keeping |
| No Breeding after Splicing | Spliced Voidlings cannot breed | Makes Splicing a final-leaning commitment, not a casual test |
Golden Egg Voidlings matter here because they can contain unique genes, unusual Natures, and perks outside the normal evolution tree. Hatch them, inspect the result, and hold onto rare variants until you are certain their genes or perks are not worth keeping for a future Splice.
How do Catalyzers work in the endgame?
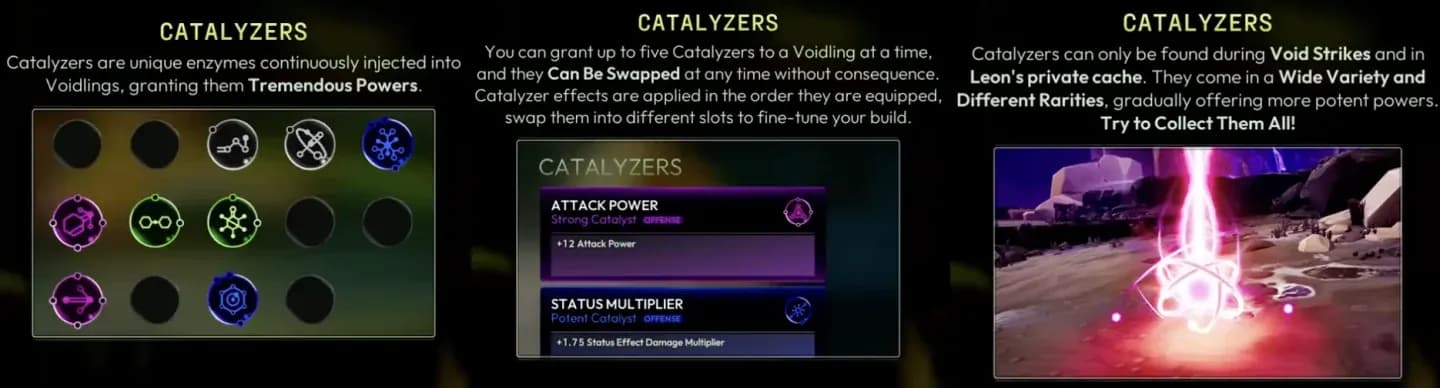
Catalyzers are equippable modifiers that push a Voidling beyond its normal thresholds. They are gathered in the Abyss or purchased from Leon after finishing the story. A Voidling can equip up to 5 Catalyzers at once through the Catalyzer Injector, and the order they are equipped in can affect how their effects apply.
Unlike Splicing, Catalyzers are swappable. That makes them good for testing endgame setups after your core build already exists. If a configuration feels wrong, change the order before abandoning the build entirely.
Do not plan your early game around Catalyzers. Build a reliable foundation through Evolution, Breeding, and Splicing first, then use Catalyzers to answer questions like whether you need more damage for deeper Abyss floors or faster ability uptime for Void Strike runs.
Which system fixes your current build problem?
| Problem | Use this system | Why |
|---|---|---|
| My Voidling dies too fast | Attributes, Evolution Chamber, Cerebrum Enhancer | Vitality, survival perks, and species upgrades fix durability faster than rare systems |
| My damage feels too low | Evolution Chamber, Attributes, element matchup | A better attack node, Strength or Essence investment, or correct element changes a weak matchup |
| My backups are underleveled | Training Room | Backups gain experience while you clear missions with your main |
| I found good duplicates but do not know what to keep | Breeding | Same-species candidates with good stats or rare Natures can become better parents |
| I want stronger Nature combinations | Breeding | Dual Natures only come from Breeding, so parent quality matters before late customization |
| I want custom abilities, genes, or mutated perks | Splicing Station | Splicing is the custom-build layer, but the 5 Polychrome Mutagen cost makes planning essential |
| Abyss or Void Strikes feel too hard | Catalyzers | Catalyzers tune endgame builds after Evolution, Breeding, and Splicing choices already work |
Common mistakes that waste rare resources
- Spending Mutagens without a build goal. Picking evolution nodes because they are available, rather than because they solve a real problem, can lock you into a path that does not match your playstyle or next mission matchup.
- Ignoring the Cerebrum Enhancer. Species-wide upgrades feel less exciting than individual evolution but compound heavily over time. Upgrade the species you actually use.
- Releasing duplicates too fast. A lower-level Voidling with a rare Nature or strong stat potential can be a better parent than your current main. Check before releasing anything.
- Splicing without a plan. Five Polychrome Mutagens is a real cost. Lock in the genes, abilities, element, and mutated perks before committing.
- Forgetting the Training Room. Useful backup Voidlings fall behind if you only level your main. Assign candidates to training while you clear missions.
- Treating Catalyzers as early progression. They are an endgame tuning layer. Build a reliable foundation first.
For more on optimizing your setup, the full Voidling Bound guides collection covers Mutagen farming routes, Golden Egg locations, Quacky checklists, and mission-by-mission collectible cleanup. If your PC is struggling to keep up with late-game content, check the best PC settings guide to cut stutters before they cost you an Abyss run. Voidling Bound sits comfortably among the best modern adventure games for players who enjoy deep creature-building systems with real mechanical stakes.