
Buried treasure is one of the most rewarding things to chase in Windrose, but the game does a decent job of hiding the steps between "I want treasure" and "I have treasure." You need the right tool, you need to read the clues, and in at least one case, you need to be ready to fight for it. This guide covers every buried treasure location confirmed in the game so far, including how to get your Shovel and what to expect inside each chest.
How do you get a Shovel in Windrose?
No Shovel, no digging. That is the whole equation. The Shovel is crafted at the Workbench and requires 3x Copper Ingot and 10x Wood. Getting there takes a few steps if you are starting fresh.
First, you need a Stone Pickaxe, which costs 3x Stone and 3x Wood (the Wood comes from Scattered Logs). That lets you mine Copper Ore from the Copper Cave. From there, you need two more crafting stations:
- Charcoal Kiln: 20x Clay and 25x Wood
- Smelting Furnace: 15x Clay and 30x Stone
Both of those require Clay, which has its own collection process. Once you have the Kiln and Furnace running, you can smelt Copper Ore into Copper Ingot, and the Shovel recipe will unlock automatically. The tutorial quest walks you through most of this, so following it is the fastest path if you have not already.
info
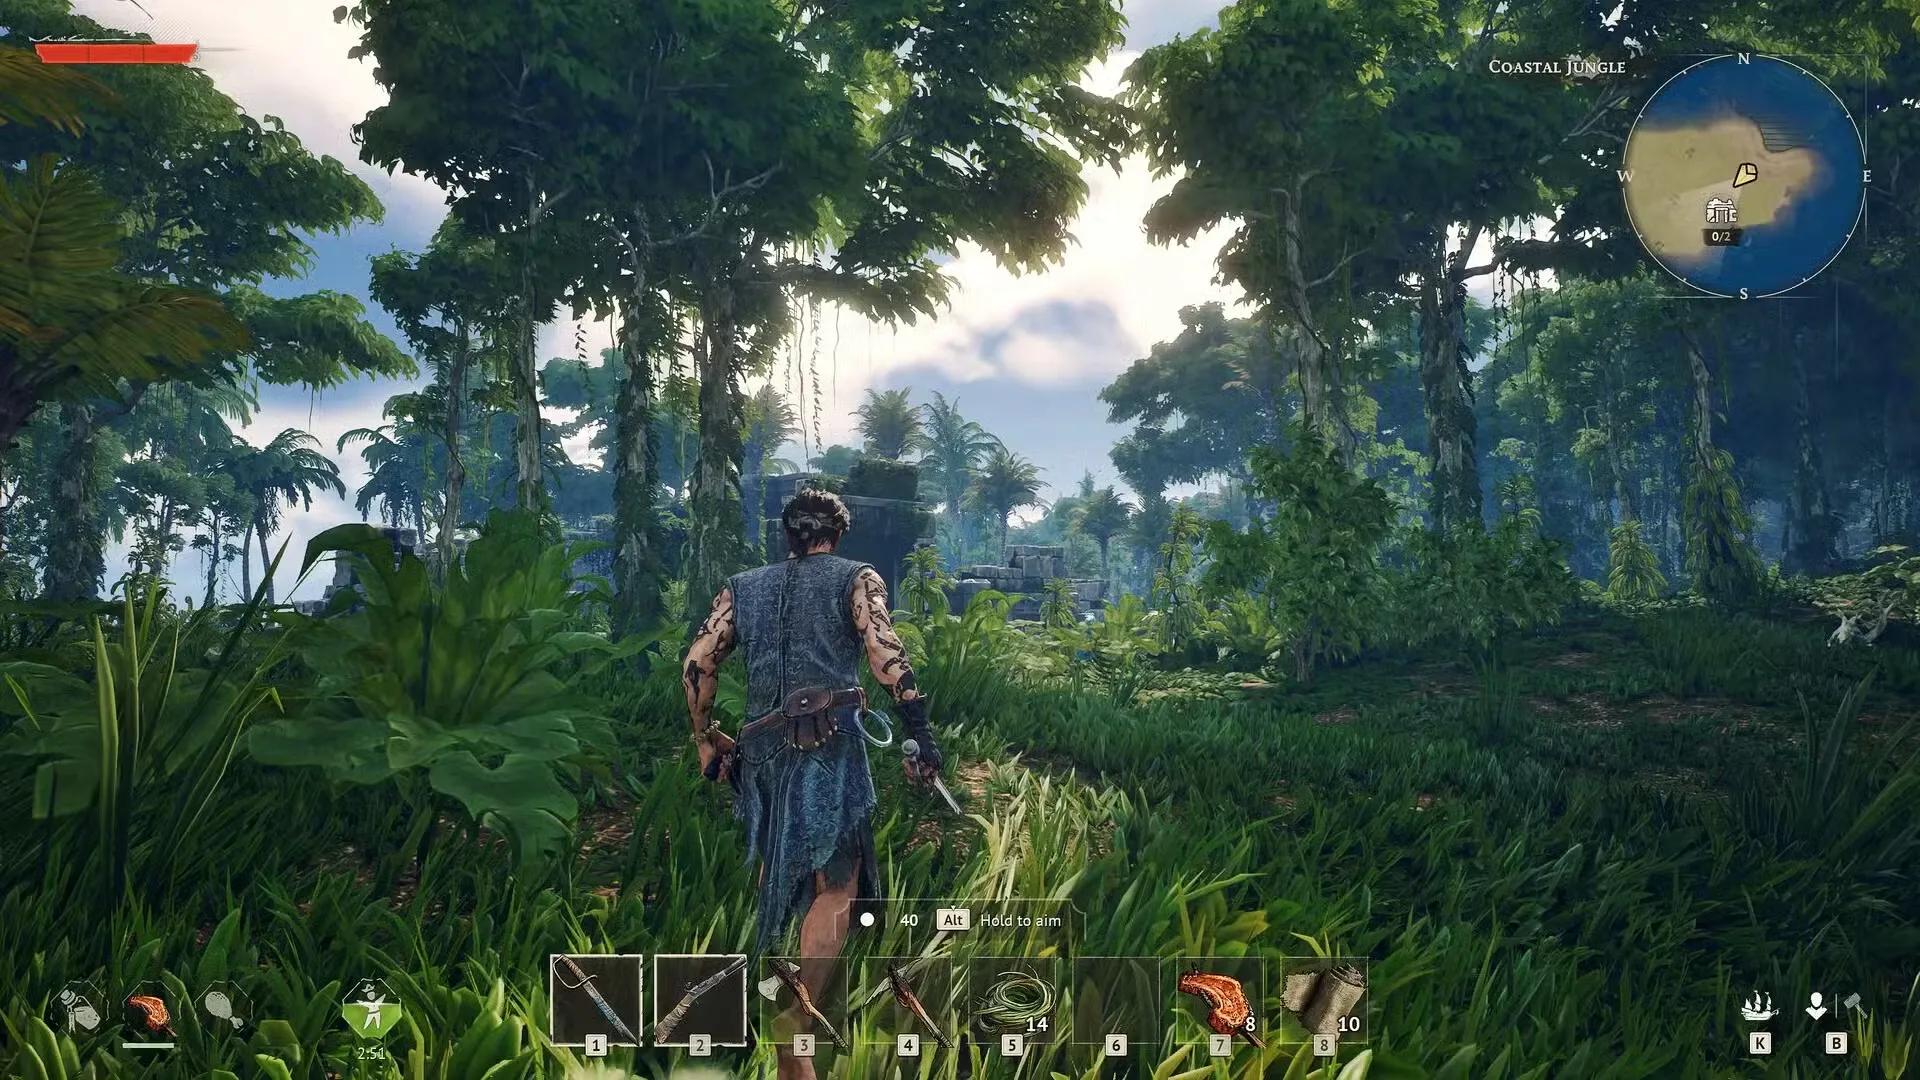
The Shovel doubles as a weapon. When you equip it, a radial menu appears with Weapon, Dig, Raise, and Flatten options. Scroll between them using Z or X until Dig is highlighted before you try to uncover a chest.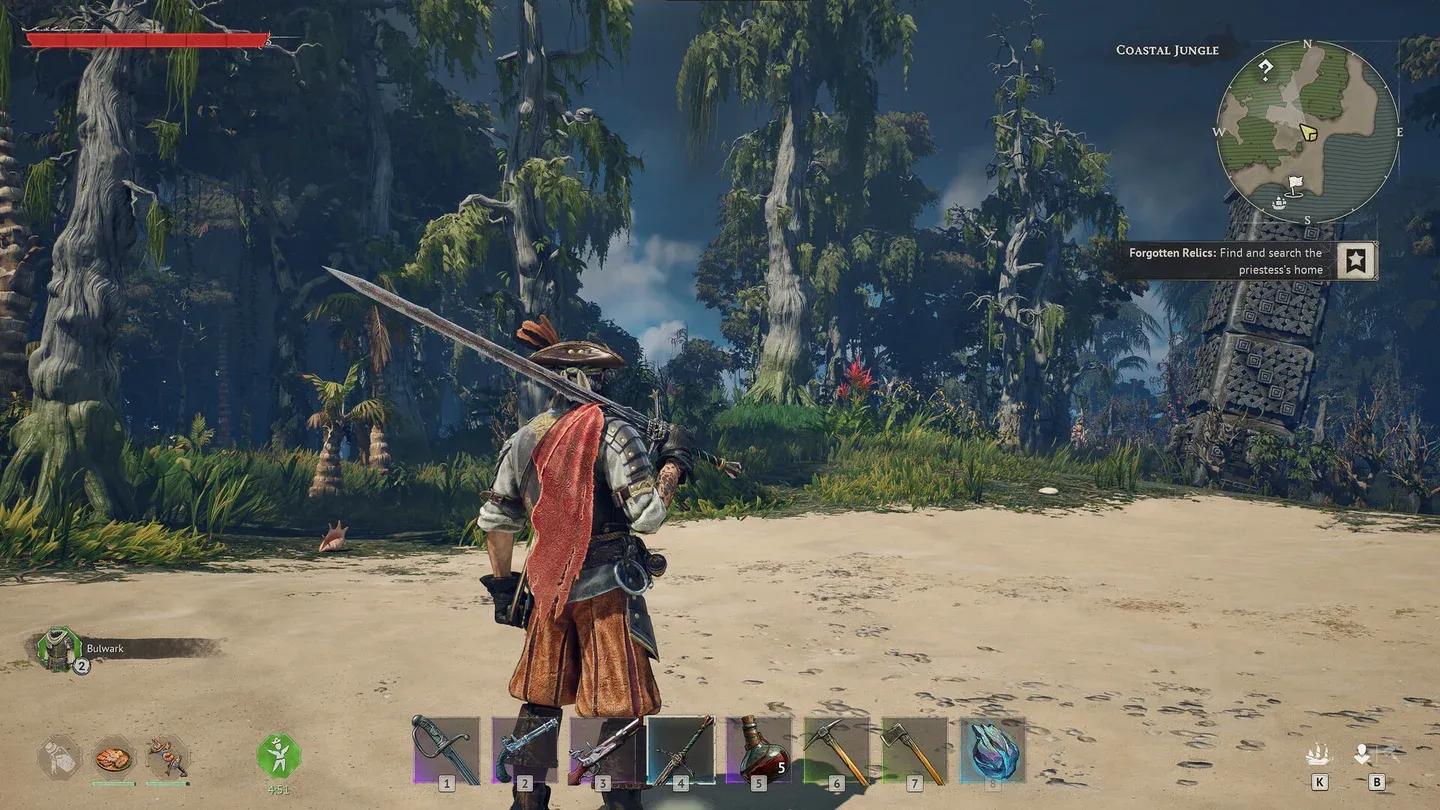
Crafting the Shovel at Workbench
Fifteen Men on a Dead Man's Chest side quest
This is the first buried treasure most players will encounter. On the starting island, head to the Pirate Remains Point of Interest in the east. You will find a boat there, and next to it a Decrepit Chest containing a Blurry Sketch of the Island, which kicks off the Fifteen Men on a Dead Man's Chest side quest.
From the Pirate Remains POI, go northwest (before you reach the Ancient Ruins) and follow the quest marker. You will arrive at a patch of dirt surrounded by four Skeletons.
What happens when you dig this chest?
This one is a trap. The moment you interact with the chest after digging it up, four Drowned enemies spawn and attack. Take them all down before you can loot. The rewards for completing the quest are:
- 5x Guinea
- 4x Silver Ingot
warning
Do not interact with the chest the second you see it. Make sure you have enough healing items before triggering the Drowned ambush, especially early in the game when your supplies are thin.
Exquemelin's Treasures locations
These treasures are tied to a traveler named Alexandre Exquemelin, whose notes are scattered across Traveler's Camps throughout the islands. Each note points you toward a buried chest marked by a tree with a red rag tied around it.
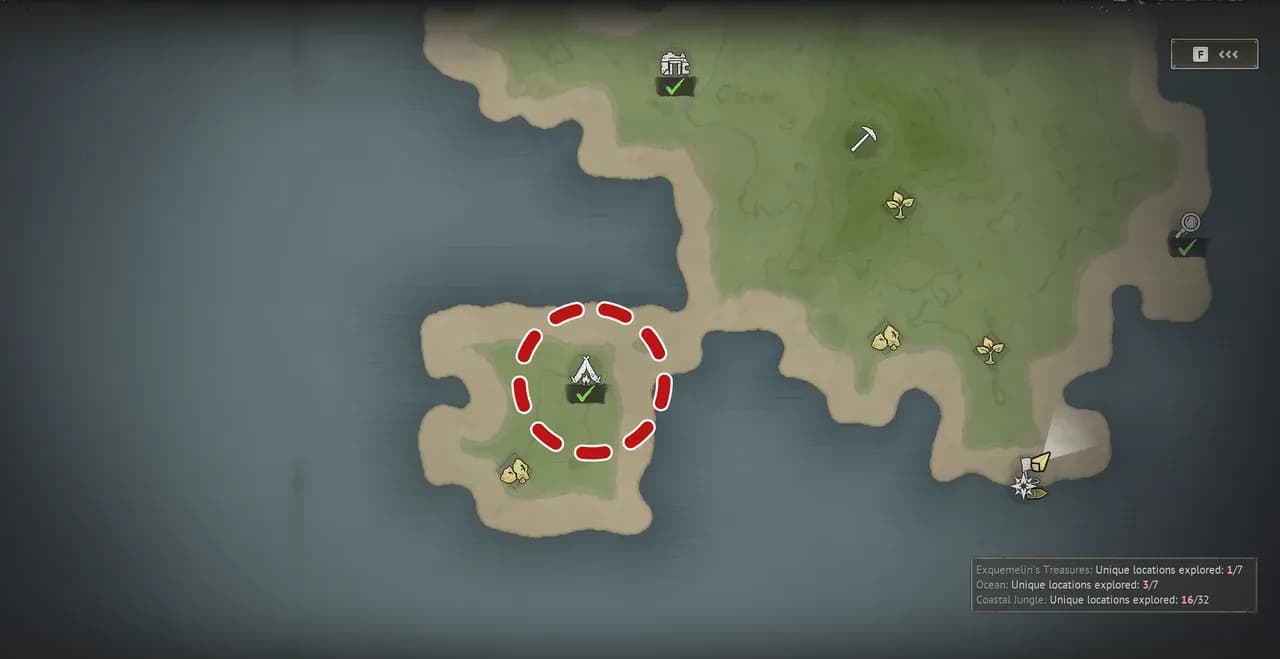
Exquemelin's Treasure 1
The Traveler's Camp in the southwest of the first island is your starting point. The camp is empty with no enemies, just a tent and a dead campfire. Loot the chest outside the tent to find a note called Twist of Fancy, the first of seven notes in the Traveler's Journal Collection.
The note references a nearby tree marked with a red rag. Face west from the camp and look for a white tree with the rag wrapped around it. Dig on the southwest side of the tree. You will see sparkles in the ground before the chest fully appears. Loot inside is randomized. According to IGN's testing, one run produced 10x Homemade Gunpowder, 5x Healing Potion, and 5x Great Healing Potion.
Exquemelin Treasure 1 red rag tree
Exquemelin's Treasure 3
Treasure 3 is on a later island that features a Fisherman's Hut, Traveler's Camp, Smuggler's Cache, Copper Deposit, and Jungle Cave. You will also encounter the Sacrificial Lamb side quest there, and the island appears as part of the Underground Network side quest.
Head to the Traveler's Camp and loot the tent chest to pick up the note A Hat Worth Boarding For. Go north from the camp to find the red-cloth-marked tree, then dig on its northwest side. IGN's documented loot from this chest included 5x Elixir of Cruelty and a Gold Temple Jug.
info
Loot in Exquemelin's chests is randomized, so your haul will likely differ from documented examples. The chest locations themselves are fixed, but what is inside changes between playthroughs.
Blackbeard Crew Maps
Once you leave the starting island, Blackbeard Pirate Camps start appearing. Looting chests in these camps can turn up treasure maps for Blackbeard's Crew. There are three confirmed maps, each leading to a separate buried cache.
Island positions are randomized in Windrose, but the points of interest on each island remain consistent. Use those landmarks to identify the right island rather than relying on a fixed map position.
How do you find each Blackbeard map?
The First Map island is one you visit during the Rescuing the Crew main mission. The Second and Third Maps both tie into the Revenge Is Best Served Cold quest. For the Second Map specifically, you need to kill Lieutenants and Musketeers to get the keys that open the locked chests in the Ancient Ruins outpost.
What does X mark on the Blackbeard treasure maps?
Once you have a map, the dig site appears marked on your world map. When you reach the location, look for a grave or a mound of dirt with a skeleton nearby. The skeleton is your digging indicator. These chests consistently contain Piastre, Silver Ingots, and Blackbeard Style Books for your ship.
info
The X locations on your world map may differ from other players' maps because island placement is randomized. Use the skeleton near the dig site as your confirmation that you are in the right spot rather than trusting any specific coordinate.
The Blackbeard Crew treasure chain is worth prioritizing once you have cleared the starting island. The Style Books you pull from those chests are some of the better ship customization rewards available at that stage of the game, and the Piastre and Silver Ingots help fund your next crafting push. For more Windrose walkthroughs and tips, browse more guides on GAMES.GG.