
Deadeye Grog is one of the most effective consumables in Windrose, and most players walk straight past the recipe for hours without ever brewing a single bottle. A 15% damage increase that lasts 30 real-time minutes is the kind of edge that makes boss fights noticeably shorter. The catch is that getting there requires a specific workstation, a biome you may not have visited yet, and a crew member most players recruit too late.
What does Deadeye Grog actually do?
Drinking Deadeye Grog grants your character a flat 15% increase to all damage dealt for 30 real-world minutes. The timer pauses when you log out or enter certain safe-zone menus, but dying clears the buff immediately, so pop it after a respawn, not before a reckless charge.
The effect applies only to your character's attacks. Your ship's cannons and recruited NPC crew members do not benefit from the buff, which means it shines brightest during boarding actions and on-foot boss encounters rather than pure naval combat.
You can hold up to 10 grogs per inventory slot, making it one of the most space-efficient consumables in the game. Stack a full slot before any major expedition.
Deadeye Grog buff overview
What you need before you can craft it
Three things gate this recipe, and skipping any one of them means the craft button stays greyed out.
Build and upgrade the Alchemy Table
The Alchemy Table is the only workstation that handles potions and elixirs in Windrose. A basic campfire or cooking spit will not do. To build one, gather these materials:
Clay Pots can be crafted at a Kiln or salvaged from shipwrecks. Once the table is placed, you have one more requirement that catches most players off guard: you must build a roof over it. If the table is exposed to the elements, the craft option stays disabled. A simple 2x2 wooden roof structure is enough to satisfy the check.
After that, upgrade the table to Level 2. A basic Level 1 table only handles simple health poultices. The Deadeye Grog recipe does not appear in the crafting sidebar until you hit Level 2.
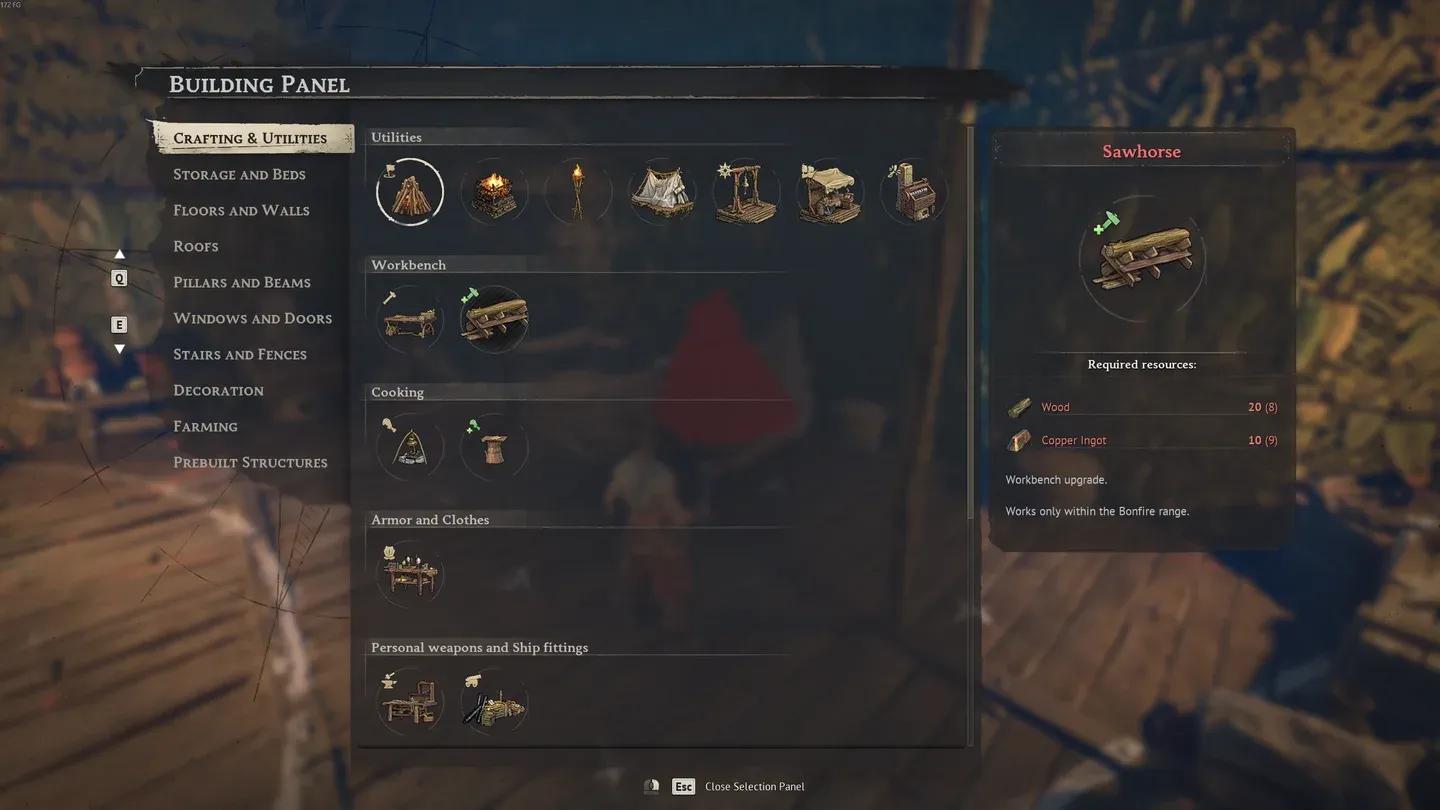
Alchemy Table at Level 2
Gather the ingredients
Here is the full recipe:
Coffee Beans are the ingredient that stops most players cold. They do not exist on the starting tropical islands. You need to sail to the Foothills biome, a region with jagged cliffs and pine-like foliage, and search the interior of the islands for coffee plants (small bushes with red berries). Alternatively, Brethren of the Coast provisioners carry small stacks in their trade inventory if you have enough Piastres to skip the farming.
Madeira is the other ingredient worth planning for. It is a rarer fortified wine, most reliably found in Officer's Chests on larger ships or purchased from high-end vendors in Tortuga. Raiding merchant vessels in the Coastal Jungle or Foothills is the most consistent farm route.
Rum Bottles are plentiful everywhere. Enemy pirates drop them regularly, and they appear in nearly every supply crate in the game. You will likely have four before you even start looking.
How to recruit Rosalinda Mercer
Once you are brewing Deadeye Grog regularly, Rosalinda Mercer turns a solid system into an efficient one. She is located in the Tortuga Market. Recruiting her costs 500 Piastres.
Her two bonuses are worth every coin:
- She doubles the production of clay bottles, which removes the container bottleneck that hits every serious alchemist eventually.
- She grants a 30% chance to produce an extra Deadeye Grog per craft without consuming additional ingredients.
That proc chance compounds significantly when you brew in bulk. Never craft one grog at a time. Wait until you have enough materials for a full stack of 10, then run the whole batch at once. Rosalinda's bonus fires independently on each craft, so a large batch will net you two or three free grogs on average.
Can you get Deadeye Grog without crafting it?
Yes, though it is unreliable. High-level bounty targets and Elite pirate captains in the Foothills have a small chance to drop Deadeye Grog from their personal loot pool. Floating Barrels in the Cursed Swamps and Foothills occasionally contain a single bottle. In multiplayer sessions, it is a tradable item that players exchange for rarer metals like Tumbaga or Mire Metal.
These sources are inconsistent enough that building the Alchemy Lab is always the better long-term investment. The scavenging route is fine for your first bottle, but you will want a reliable supply before tackling any serious boss chain.
Quick reference: full crafting checklist
- Build Alchemy Table (5x Wood, 2x Clay Pot) and place it under a roof
- Upgrade the table to Level 2
- Sail to the Foothills biome and collect Coffee Beans, or buy them from Brethren of the Coast provisioners
- Secure 4x Rum Bottles and 2x Madeira
- Recruit Rosalinda Mercer in Tortuga Market (500 Piastres) for the 30% extra craft bonus
- Brew in batches of 10 to maximize Rosalinda's proc rate
For more Windrose strategies and survival tips, browse more guides on GAMES.GG.