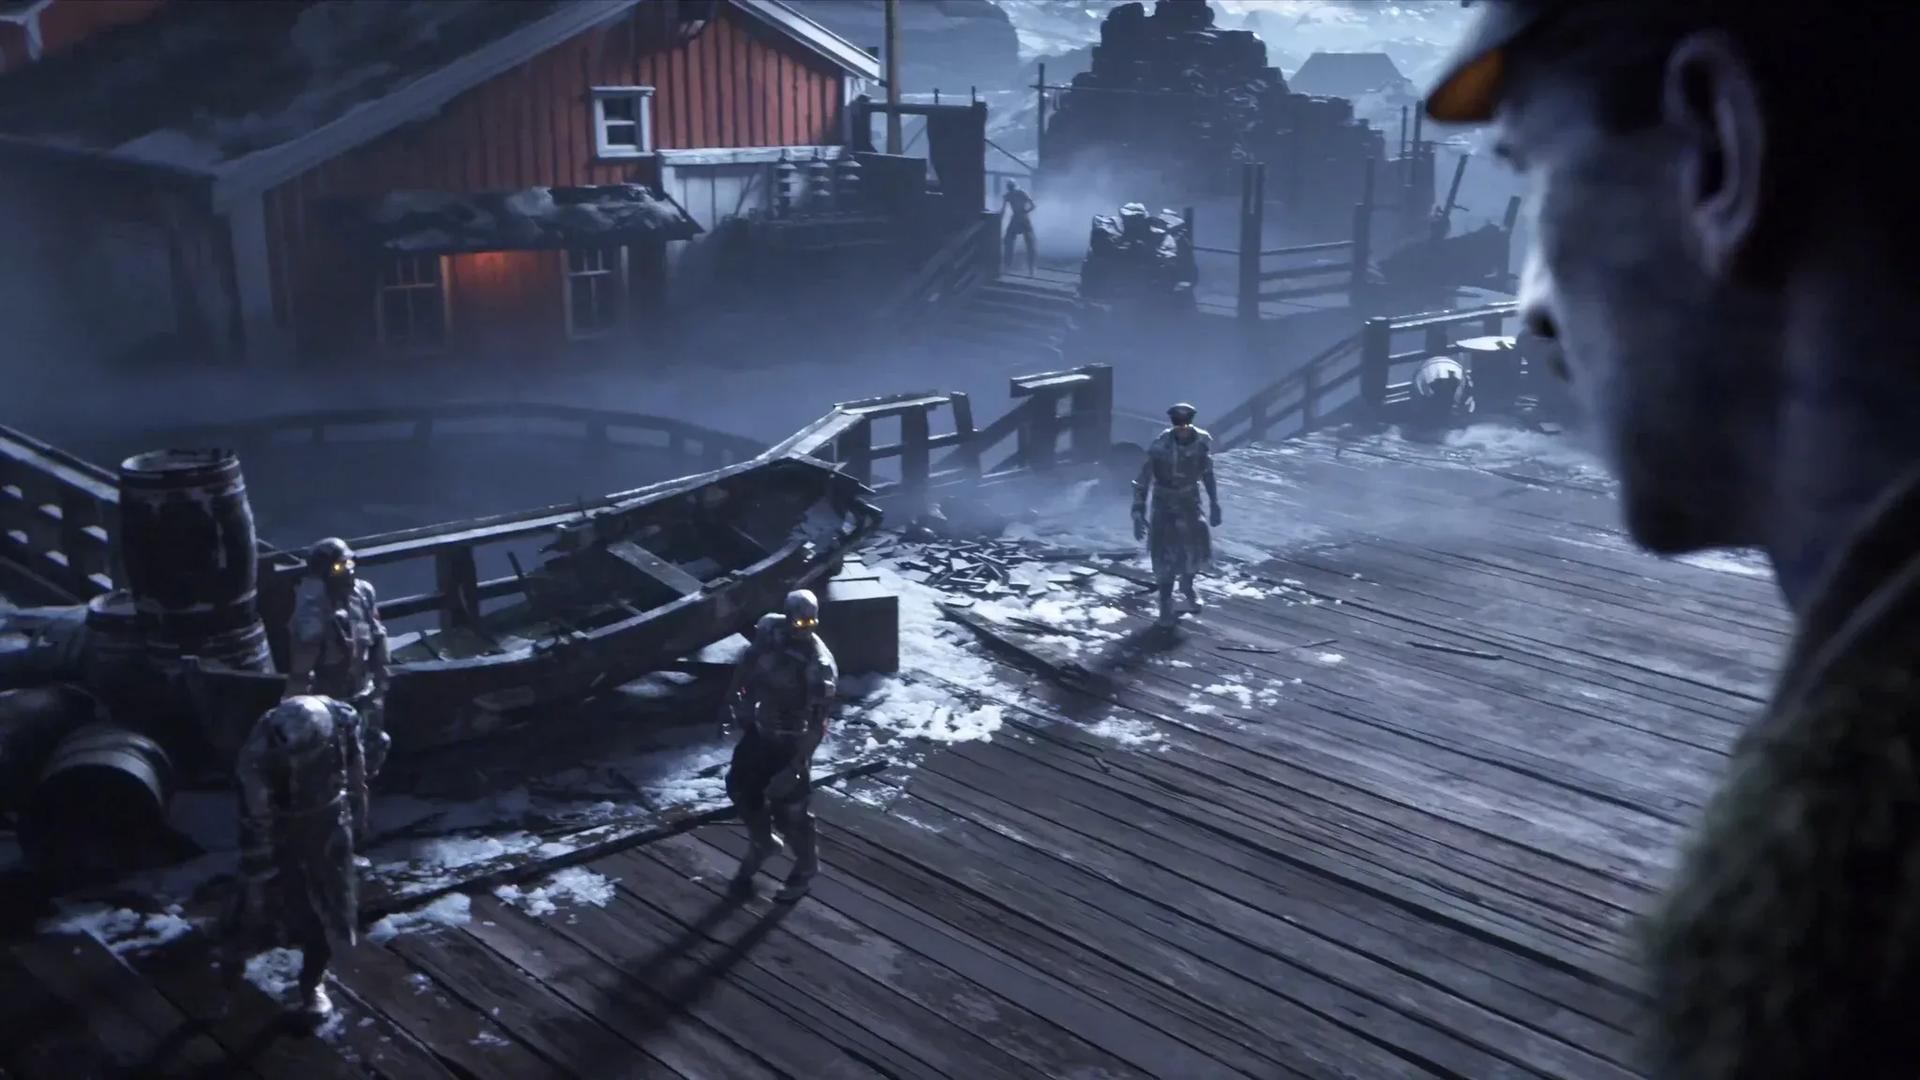

Totenreich is built around an undead fishing village, so it makes sense that Treyarch hid one of the more memorable quest steps behind an actual fishing mechanic. There are 11 fishing spots spread across the map, each one capable of dropping useful loot every round, and one of them will eventually surface the green Irradiated Ravager fish you need to progress the main easter egg. This guide covers every spot, how the fishing system works, and exactly what to do once that glowing fish breaks the surface in Call of Duty: Black Ops 7.
How does fishing work in Totenreich?
Before you can cast a line, you need a Fishing Rod. These are scattered across the map in barrels and inside huts. They have a white outline, so they stand out even in the middle of a horde. Walk up and interact to add one to your inventory.
Once you have a rod, look for the red pole holders at each fishing spot. Interact with one to place your rod, then wait. The rod will eventually turn blue, which is your signal to interact again and pull in your catch.
Wait for the blue rod signal
Loot from fishing includes boots (which spawn purple-eyed zombies), Armor Plates, Self-Revive Kits, and weapon upgrade materials. Every spot resets once per round, so running the fishing circuit between rounds is a genuinely efficient way to stock up on supplies.
Fishing resets each round, so make a habit of hitting two or three spots per round rather than trying to clear all 11 at once. You will collect upgrade materials faster this way.
Where are all fishing spots in Totenreich?
The spots are spread across seven distinct areas of the map. Here is a full breakdown of every location:
Eidskallen Landing (2 spots)
The first spot is on the dock when facing west toward the giant robot's claw hand, just past the Coda 9 Wall-Buy. The second is to the left of that same Wall-Buy and the Ammo Crate, on the bottom left pier facing the Lighthouse.
Eidskallen Square (2 spots)
Head to the western edge of Eidskallen Square and look for the shore zipline facing Fishery Island and Dry Dock. That is spot one. Spot two is to the right of the Mystery Box, beside the zipline that faces toward the Lighthouse.
Fishery Island (2 spots)
The first is in the north section above Pack-a-Punch, facing Storm Bridge. The second is on the eastern side, looking back across toward Eidskallen Square.
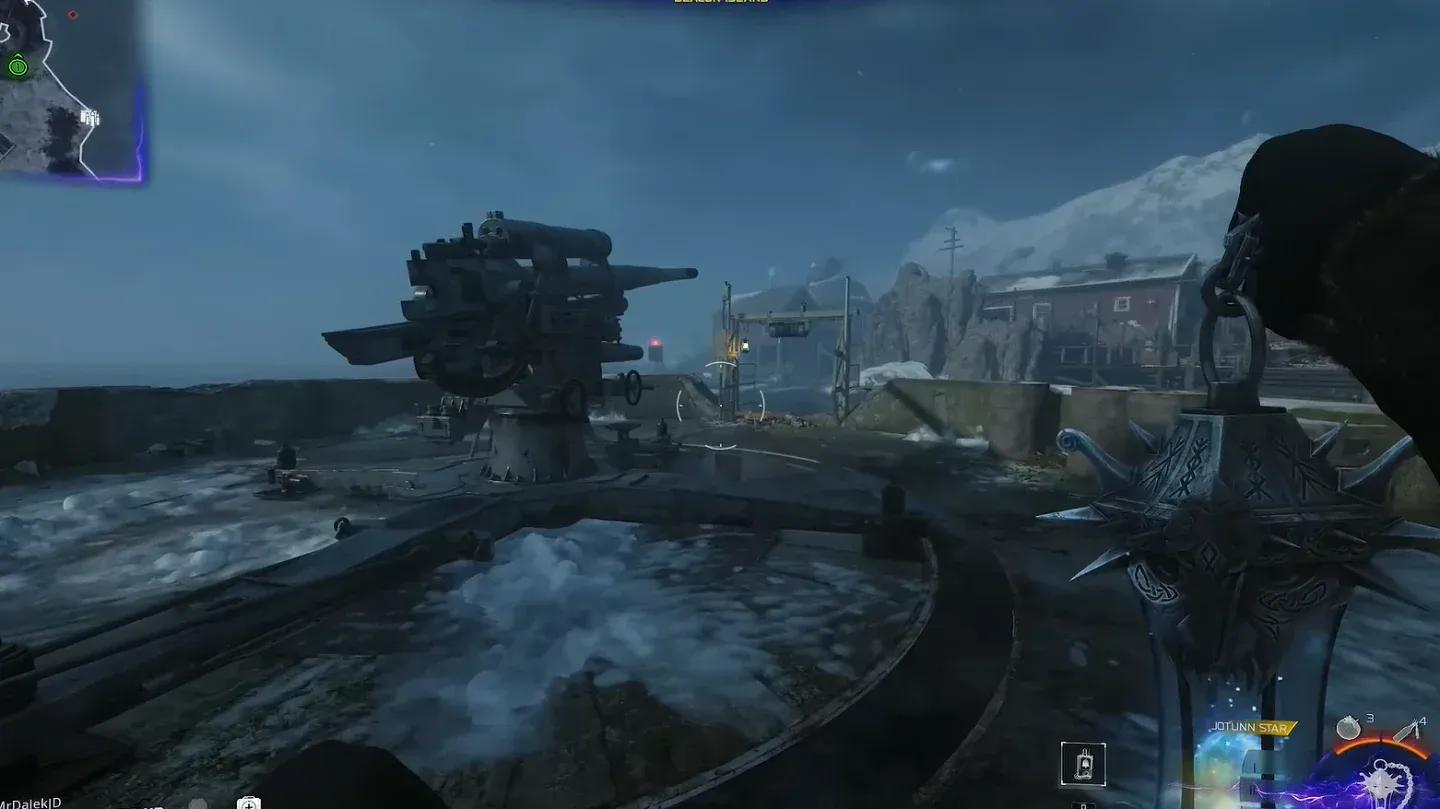
Beacon Island (2 spots)
Both spots are near the Flak Gun. One sits to the east of it, the other to the south.
Dry Dock (1 spot)
Go upstairs directly above PhD Flopper and face Fishery Island. The pole holder is right there.
Tyr's Foot (1 spot)
Stand to the right of the Warden 308 Wall-Buy and face Fishery Island. The spot is easy to miss if you walk past the wall-buy without turning around.
Tyr's Shoulder (1 spot)
Head southwest from Tyr's Shoulder while facing Fishery Island. This is the most isolated of the 11 spots, so it often gets skipped during busy rounds.
Fishing spots in areas you have not yet unlocked will not be accessible until you spend the points to open those sections. Prioritize opening Fishery Island early since it has two spots and sits near Pack-a-Punch.
How do you get the green fish (Irradiated Ravager)?
At a specific point in the Totenreich Main Quest, you will need to acquire Uranium. That step requires you to find the Irradiated Ravager, which appears as a glowing green fish jumping out of the water at one of the 11 fishing spots.
The green fish can appear at any of the 11 locations, and it is not guaranteed to be at the first spot you check. The process is straightforward: scan each spot visually and watch the water. If no green fish jumps out, move on to the next location.
Once you spot it, interact with the fishing line and pull it up. This transforms the catch into an immune ravager enemy. The ravager will not spawn immediately. You need to finish the current round first.
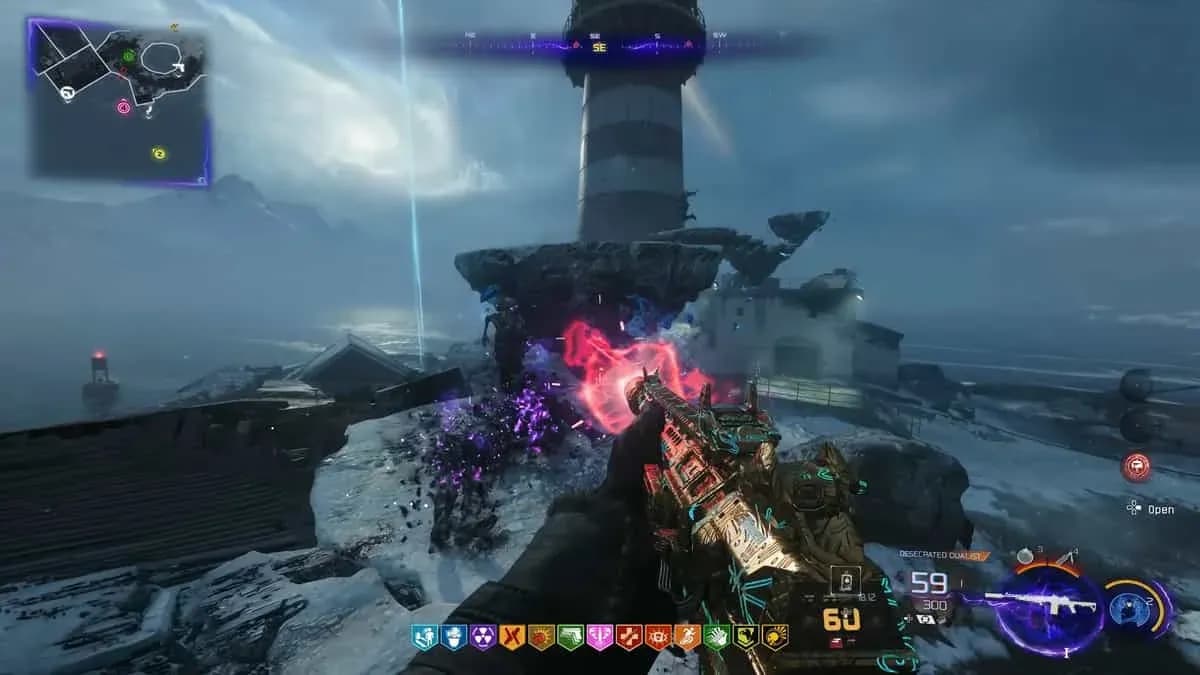
How do you kill the Ravager?
On the following round, the ravager spawns somewhere on the map and you need to track it down. The fight has a specific structure:
- Deal roughly one third of the ravager's health bar
- It teleports to a new location on the map
- Find it again and deal another third
- It teleports a second time
- Track it down one final time and finish it off
After the third phase, the ravager dies and drops the Uranium you need to continue the main quest.
The ravager is immune to certain damage types when it first spawns. Focus fire and track its teleport locations quickly, since it will still be surrounded by regular zombies during the fight.
Ravager teleports across three phases
For players working through the full easter egg, this fishing step connects directly to broader progression. If you are also hunting collectibles, check out the guide to all Totenreich Relics and the walkthrough for getting the Jotunn Star Wonder Weapon, both of which tie into the same map progression.
Is fishing worth doing outside the main quest?
Absolutely. The per-round reset means you can realistically pick up multiple Armor Plates and Self-Revive Kits per game just from fishing, without spending any points at machines. Weapon upgrade materials are the rarer drop, but they appear often enough that fishing spots near your regular rotation are worth checking consistently.
The boots drop is the odd one out. Pulling in a pair of boots spawns a purple-eyed zombie, which is more of a surprise than a threat, but worth knowing about so you are not caught off guard mid-round.
For more Totenreich secrets, including the hidden fish easter egg on Beacon Island involving Olaf's Cod Cranker, the full Cod Cranker guide has everything you need. For a broader look at everything Treyarch has packed into this map, the full Black Ops 7 guide collection covers all quests, wonder weapons, and easter eggs.