

The Murau Temple is the first real test of Dave the Diver's new turn-based combat system, and it does not ease you in gently. Between multi-stage stone cube puzzles, a gauntlet of bats, frogs, and scorpions, and a 700 HP boss waiting at the bottom, this dungeon can derail a run if you go in unprepared. Here's everything you need to clear all three floors and walk out with the ancient breathing apparatus.
What to expect before entering Murau Temple
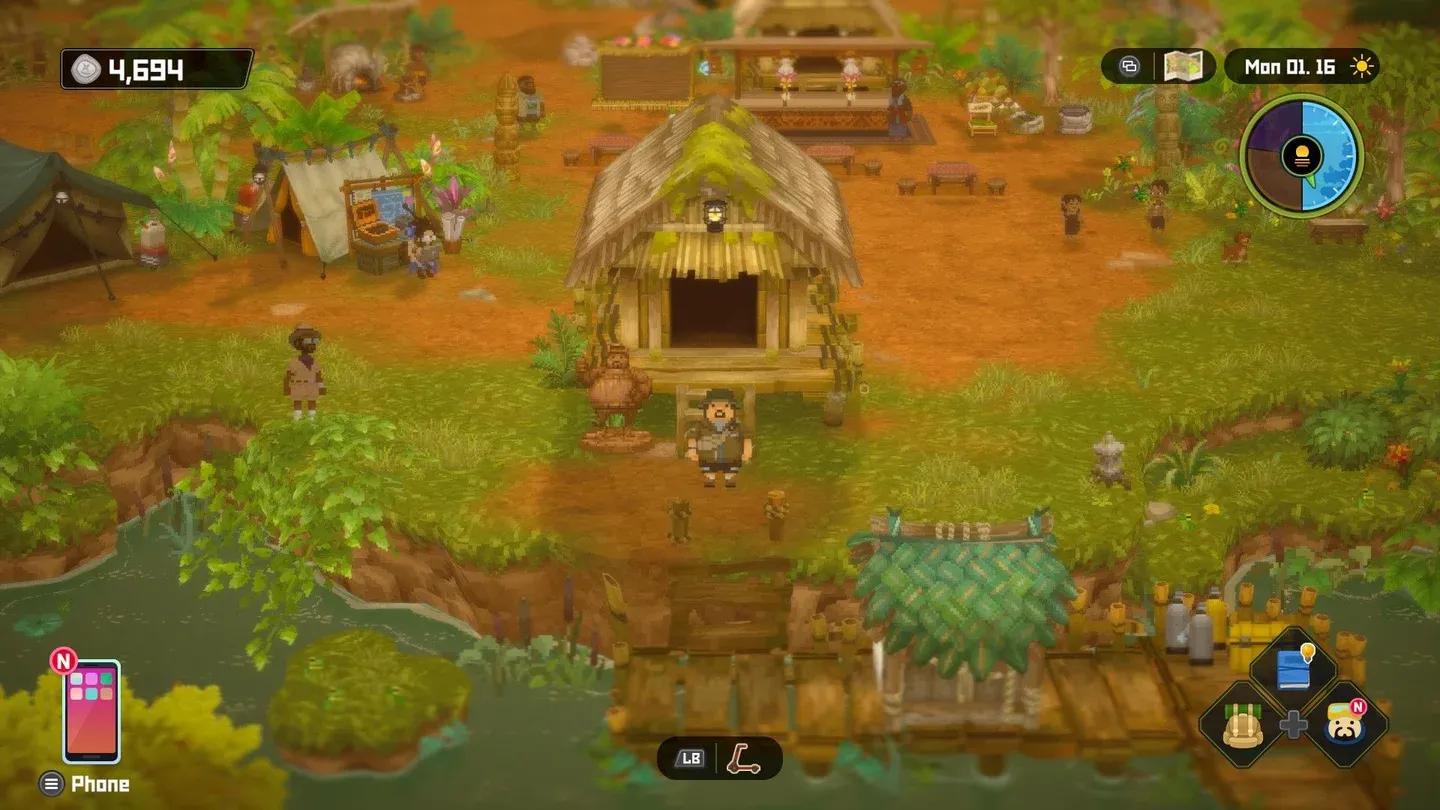
The Ancient Ruins function as a pseudo-dungeon that only becomes accessible once DAVE THE DIVER's turn-based combat system is unlocked. The enemies inside are generally less threatening than the monkeys and bats lurking outside the entrance, but the stone cube puzzles ramp up in complexity with each floor. Stock up on food at the campfire near the entrance before heading in, and make sure Cobra has a full AP bar. She does the heavy lifting here.
First cube puzzle, ground floor
How to solve the ground floor puzzles
The first puzzle you hit is straightforward: push the large stone cube onto the square panel marked with a blue crystal. That opens the locked door ahead.
Head right past the door and attack the bat in the hallway. This kicks off a fight with a Fruit Bat and a Vampire Bat. Kill the Fruit Bat first since it drops in a couple of hits, then focus on the Vampire Bat. That enemy heals itself by dealing damage, so hitting it with Cobra's Incendiary Shot to apply the burn status effect cuts off that life gain entirely.
After the fight, open the chest at the end of the hall to collect a piece of Bronze Armor. Equip it on Cobra rather than Dave. Dave has the HP to absorb punishment; Cobra needs the protection more because she's your primary damage source throughout the dungeon.
Return to the junction after the first door and head north. Fight the Sticky Frog, then move west to the second cube puzzle. Rest at the campfire here before attempting it.
For this puzzle:
- Push the cube into the opening to bridge the gap.
- Cross the gap using the top of the cube and pull the lever.
- The lever raises the ground the cube is sitting on.
- Push the cube north onto the panel to unlock the door to B-1.
Murau Temple B-1: the rotating floor puzzle
Head downstairs and go right. Defeat the vampire bat, then open the chest against the wall to pick up a Herbal Drink, which restores 50 HP. Continue south until you reach the most complex puzzle so far.
This one uses two stone cubes and a lever:
- Push the left cube until it lines up with the lever and raised platform in the center.
- Use the cube as a walkway to reach the lever, then interact with it to raise part of the floor near the right cube.
- Push the left cube right, then south, creating another walkway to reach the elevated right cube.
- Push the right cube all the way right until it drops onto the square panel.
That unlocks the door to B-2.
Go north, kill the Whip Scorpion, and open the chest to grab a second piece of Bronze Armor. Put it on whoever missed out on the first one. Then follow the path south through the tunnel, staying ready for bat and frog encounters.
The rotating floor puzzle in B-1 uses a turning wheel that repositions L-shaped and T-shaped floor sections:
- Go up the ramp and hold Right Trigger next to the wheel to interact with it.
- Rotate the wheel until you can access the southern lever, then throw it to raise a stone platform to the right of the T-shaped section.
- Return to the wheel and turn it twice to reconnect the L and T sections.
- Head to the northern lever and interact with it to raise the stone cube.
- Push the cube right until it sits in front of the square panel.
- Circle around the T-shaped section to reach the cube's other side and push it south onto the panel.
B-1 rotating floor solution
How to complete Murau Temple B-2
On B-2, Cobra explains that you need both a Sun Crest and a Moon Crest to open the main door and reach the ancient scuba gear.
Getting the Sun Crest: Head left into the large room and pick it up. Two crickets and a Whip Scorpion immediately attack. Use Dave's Big Swing to hit all three at once, then switch Cobra to her Sniper Rifle for single-target damage on the scorpion. Once they're down, the gate lowers. Place the Sun Crest in the slot beside the main door.
Getting the Moon Crest: Enter the right chamber that opens after placing the Sun Crest. This puzzle has two levers, two rotation wheels, and platforms that raise and lower into water.
- Head right across the T-shaped platform to the lever and chest. Open the chest for another Herbal Drink, then throw the lever to raise a stone platform to the south.
- Return to the wheel and rotate it until the L and T-shaped platforms form a path heading south.
- Follow that path to the second lever and interact with it.
- Head north to the second wheel near the plus-shaped platform with the stone cube on it.
- Rotate the platform once to the left so the cube is right next to you.
- Push the cube into the middle, return to the wheel, and rotate the platform a second time to the left.
- Push the cube onto the square panel to lower the gate blocking the Moon Crest.
Bring the Moon Crest back to the main room, slot it in, and rest at the campfire. The boss is right ahead.

Moon Crest puzzle, floor B-2
How to beat the Giant Goby boss
The Giant Goby has 700 HP, making it the toughest enemy in the turn-based sections up to this point. The fight has no complicated gimmicks, but it punishes players who ignore its one dangerous move.
Giant Goby attack breakdown
The High Jump is the only real threat. When the Goby leaps into the air, you cannot attack it that turn. Use Defend on both Dave and Cobra, because the slam on landing hits hard if you're not guarding.
Recommended strategy for the Giant Goby
- Open with Cobra's Incendiary Sniper Rifle skill to deal damage and apply the burn status effect. Burn deals passive damage each turn, which is the fastest way to chip down 700 HP.
- Use Dave primarily as support. His Body Slam works, but his real value here is items: feed Cobra Grilled Snake Meat to keep her AP full so she can keep firing her strongest skills.
- Net Throw from Dave can paralyze the Goby for a turn, which is a free round of damage from Cobra.
- Candy restores HP if things get tight.
- When High Jump triggers, Defend with both characters. No exceptions.
After the Goby goes down, head north to collect the ancient breathing apparatus. Your dog companion will flag an elevator to the left, next to a chest containing a Sunang Bracelet. Grab it, take the elevator to the top of Murau Temple, and you'll be transported back to the village automatically.
Preparing for the full dungeon run
A few things make the whole Murau Temple run smoother:
- Prioritize Cobra's equipment. Both Bronze Armor pieces drop early, and she benefits from the defense more than Dave.
- Use the campfires. There are multiple rest points across the dungeon. Cook meat before each major puzzle section, not just before the boss.
- Kill Fruit Bats before Vampire Bats. Fruit Bats die in two hits and dealing with them first means fewer enemies healing off your HP during the harder fight.
- Save Herbal Drinks. You find two during the run. Hold them for the Giant Goby fight rather than burning them on random encounters.
For more content across the DLC, the Dave the Diver Into the Jungle strategy guides cover everything from new fish species to village mechanics. If you want to know what you're catching in Utara Lake while you're not exploring temples, the complete fish guide for the In the Jungle DLC breaks down every species by depth zone. And once you've unlocked the new restaurant content, check out the full new recipe list for Into the Jungle to see everything available from default dishes to Artisan Flame unlocks.