

How to survive your first dive in Deep Rock Galactic: Rogue Core
Deep Rock Galactic: Rogue Core drops you into procedurally generated caves with a timer ticking, enemies spawning, and a Rift Gate waiting at the bottom. Every run is a one-way trip from the Ramrod to extraction, and the gap between a clean clear and a failed run usually comes down to understanding what the mission system is actually asking you to do. This guide breaks down every stage of a mission, from the terminal selection screen to boarding the Drop Pod after the boss falls.

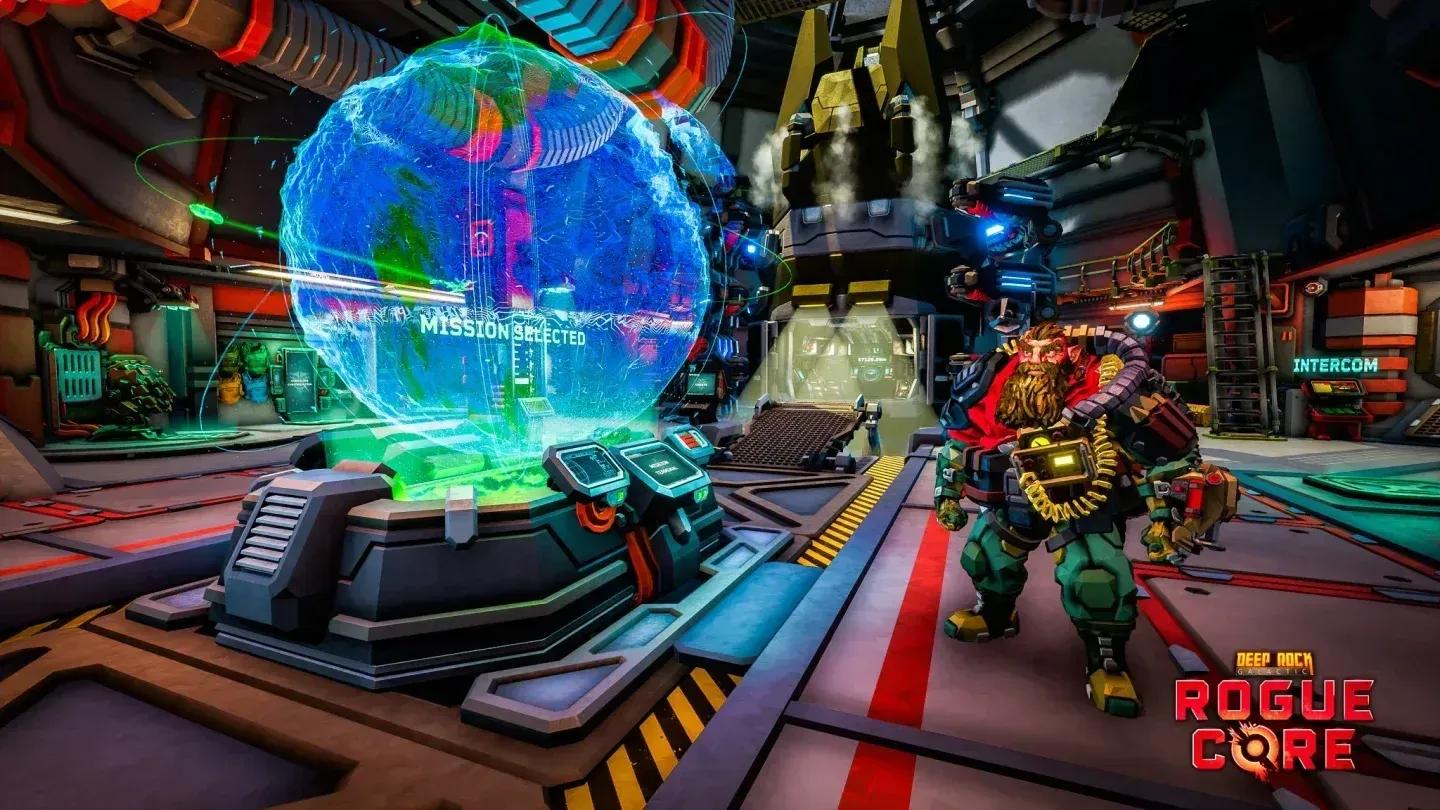
Mission terminal depth selector
What happens before you drop?
Everything starts at the Mission Terminal, which refreshes every 30 minutes with new assignments. Before locking in, you're choosing four variables that define the entire run:
- Depth (1-4): the core difficulty slider. Depth 1 is the entry point; Depth 4 is where enemy damage multipliers reach 3.55 to 4.25 depending on squad size, and environmental damage doubles.
- Complexity (Simple/Average/Complex): how maze-like the caves are. Average adds a +0.1 hazard bonus, Complex adds +0.2.
- Facility Length (3-10 stages): more stages mean more Expenite to mine and more upgrades, but the run gets harder with every stage you clear.
- Timer Difficulty: Cautious gives you 50% more time with a +25% XP reward, Standard is the baseline at +50% XP, and Reckless cuts your time by 25% in exchange for +75% XP.
For a solo Standard run, each stage timer sits at 11 minutes. A full squad of 4 on Standard gets 9 minutes per stage. Reckless squeezes that to 6:45 for a full team.
Your Clearance Level also gates what missions you can access. Clearance Level 2 requires 2 Intel to unlock Depth 2 sites. Clearance Level 6 opens Depth 4 at 26 Intel. If a mission shows up locked in the terminal, check which Intel tasks are blocking your progression.
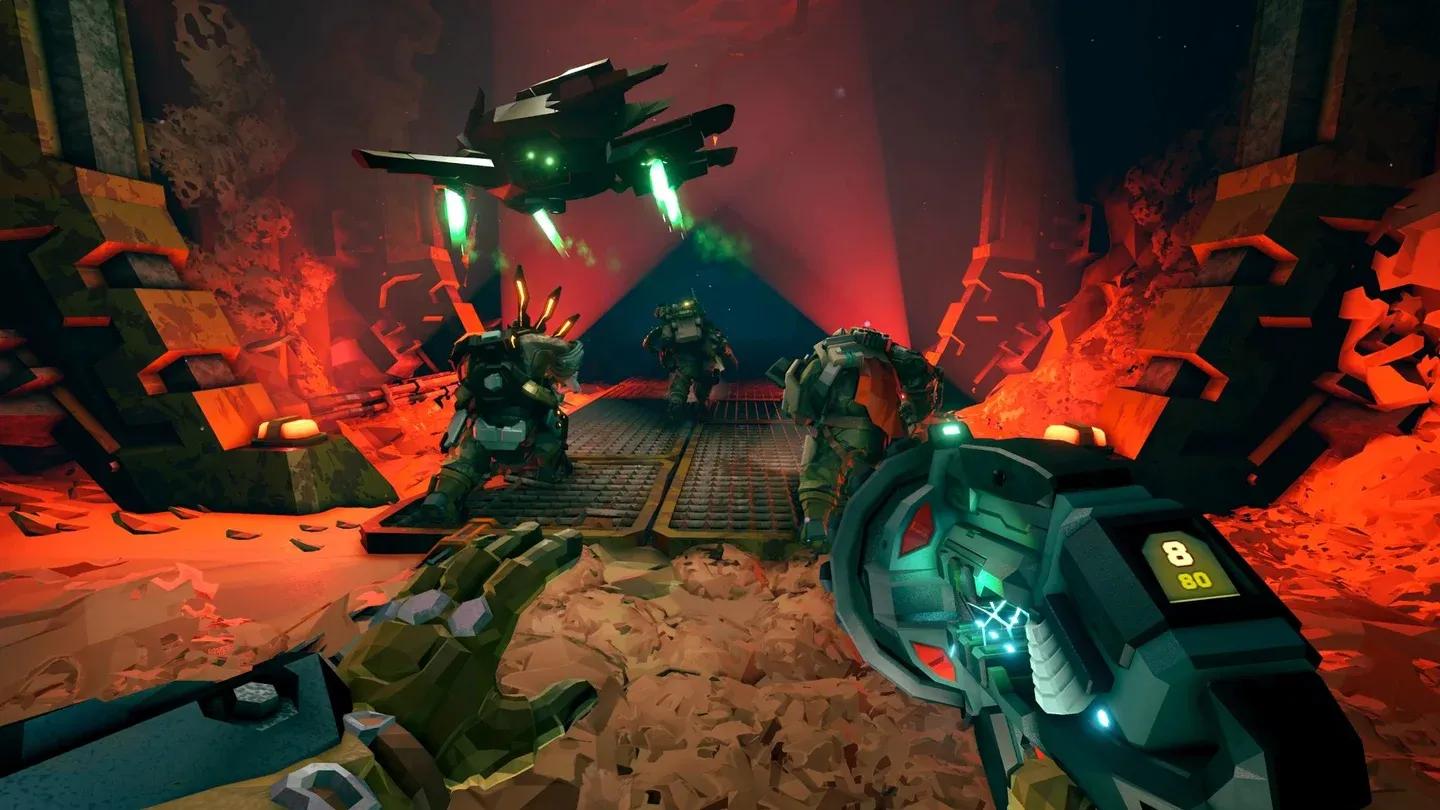
How does the mission actually start?
Once you board the Drop Pod, the run begins. You land in the caves and immediately encounter a Greyout Barrier. Two Barrier Drones must be placed to tear through it. After crossing, you reach an abandoned outpost with a Weaponry Container and a Grenade Container. Call the R.E.P.D. (Ellis) and have every player stand around the crates to open them and pick loadouts.
After leaving this starting room, the stage timer activates. A cable runs from the outpost toward the elevator. Follow it when you're ready to progress, but don't ignore the rest of the cave. Expenite veins, Bio-Boosters, and Workbenches all spawn in the areas surrounding the cable path, and skipping them means missing upgrades.
R.E.P.D. upgrade selection
What should you do during each stage?
The main loop within a stage is simple: mine Expenite, deposit it at Ellis, spend it on upgrades, fight off enemy waves, and reach the elevator before the timer runs out.
Expenite veins glow green on cave walls and yield roughly 8 units per meter of vein length. Expenite Buckets scattered around the cave give 30 units each when kicked. Depositing at Ellis lets you select Expenite Upgrades that stack for the rest of the run.
Enemies spawn periodically throughout each stage, with a full swarm event arriving at regular intervals. The timer marker on your HUD shows when the next swarm is incoming. If the timer fully expires, the situation goes Critical: an endless horde of Corespawn and ReaperWorms flood the cave. The tentacles from ReaperWorms can grab and remove players from the round entirely, and they cannot be killed. Getting out before Critical is not optional at higher depths.
Between stages, you'll also find Data Terminals that reveal points of interest on the map. Activating them is worth a few seconds of your time since they can show you Bio-Booster locations and Expenite Events you'd otherwise walk past.
How do Risk Vectors work?
After activating the elevator and descending to the next stage, the squad votes on a Risk Vector. Each card pairs a negative modifier with a reward. Two cards are offered by default; reaching Clearance Level 5 unlocks a third option.
Risk Vectors stack across the entire run, so the choices you make early compound into later stages. Here's a breakdown of what's available:
Note that the same Risk Vector cannot appear twice in a single run, so each vote is a unique offer. The stage before the boss skips the Risk Vector selection entirely.
What happens at the boss stage?
The final stage replaces the elevator cable with a cave path leading to the Rift Gate. Two confirmed Gatekeepers defend it:
- Gotoorak: uses reverse gravity, stomp attacks, and anti-gravity slams to control the arena.
- Molaktula: teleports around the arena, attacks with tentacle swipes, and spawns immunity crystals that must be destroyed to deal damage.
The Gatekeeper room always spawns at least 2 munitions crates and is identifiable by a large opening in the cave. Squadmates and Bosco can revive downed players during the fight. Once the Rift Gate is destroyed, the Greyout Barrier collapses, OMEGA reestablishes contact with the Ramrod, and the mission counts as a success.

Rift Gate boss arena layout
How does Depth change enemy behavior?
Depth isn't just a number. It changes enemy damage, attack rate, projectile speed, movement speed, and wave timing in ways that compound with stage progression.
At Depth 4, environmental damage also doubles compared to Depth 1-3. Waves arrive faster at every depth as you push deeper into the facility. Stage 6 of any mission has an enemy count modifier of 2.0x and a damage modifier of 1.75x over Stage 1 values, regardless of Depth.
What is Intel and why does it matter for progression?
Intel is the long-term progression currency in Rogue Core. Completing specific Intel Tasks during missions adds Intel to your total, which raises your Clearance Level and unlocks harder content.
Clearance Level 1 (Hoxxes IV) tasks include things like reclaiming a facility, recovering cameras from Salt Pits and Crystalline Caverns, summoning a Gatekeeper, and processing 500 Expenite into the R.E.P.D. Completing these grants Security Override Alpha and access to Complexity 2 facilities.
You don't need to complete every task to advance. Two Intel tasks completed simultaneously can push you past multiple Clearance Levels at once since progress on shared requirements carries over. Intel Tasks also don't require mission success, so a failed run can still tick progress on certain objectives.
For a full breakdown of what to unlock first, the guide to unlocking Security Override Alpha walks through the exact Intel task requirements for Clearance Level 2.
Intel task progression tracker
How do Alterations change a run?
Alterations are mission-wide modifiers that appear at Altered Sites, unlocked at Clearance Level 7. They function differently from Risk Vectors in that they apply to the whole mission rather than stacking between stages.
Negative Alterations include Double Corespawn Speed (enemies move 100% faster) and Double Corespawn Health (enemies have double HP). Both add +20% XP on completion. Jumble randomizes every upgrade selection from all upgrade pools, excluding Bio-Booster decks and Workbenches, and still grants the +20% XP bonus without a direct combat downside.
Positive Alterations like Double Expenite and Half Corespawn Health can make runs significantly more forgiving or lucrative.
Tips for getting the most out of every run
- Mine Expenite before swarms arrive. The window between spawns is your best opportunity to gather resources without taking damage.
- Follow the power cable. If you get disoriented in a complex cave, the cable always leads toward the elevator.
- Don't skip Bio-Booster containers. Cards from your Reclaimer's bound decks stack for the entire run. Missing one early means weaker scaling in later stages. Check out the Bio-Booster hacking guide for tips on unlocking class modifiers.
- Collect Security Cameras. They boost your Reclaimer Points reward, which speeds up Enhancement Chip acquisition for permanent upgrades.
- Vote carefully on Risk Vectors. Invisible Enemies and Regenerative Enemies are brutal on higher depths. If your squad isn't confident, Efficient Upgrades or an extra Equipment Crate rewards are usually the safer picks.
For everything else you need to build a strong run, the full Deep Rock Galactic: Rogue Core strategy guides cover Expenite upgrades, team compositions, and performance settings in detail.