

Deep Rock Galactic: Rogue Core takes everything familiar about Hoxxes and turns the difficulty dial up several notches. Missions are the entire game here: procedurally generated cave systems that change every run, stacking difficulty modifiers, and a timer that never stops pressuring you. Whether you're figuring out why the Barrier Drones matter or trying to understand how Depth 4 enemy damage compares to Depth 1, this guide covers the full mission loop from drop pod to Gate Keeper.
How does a mission start in Rogue Core?
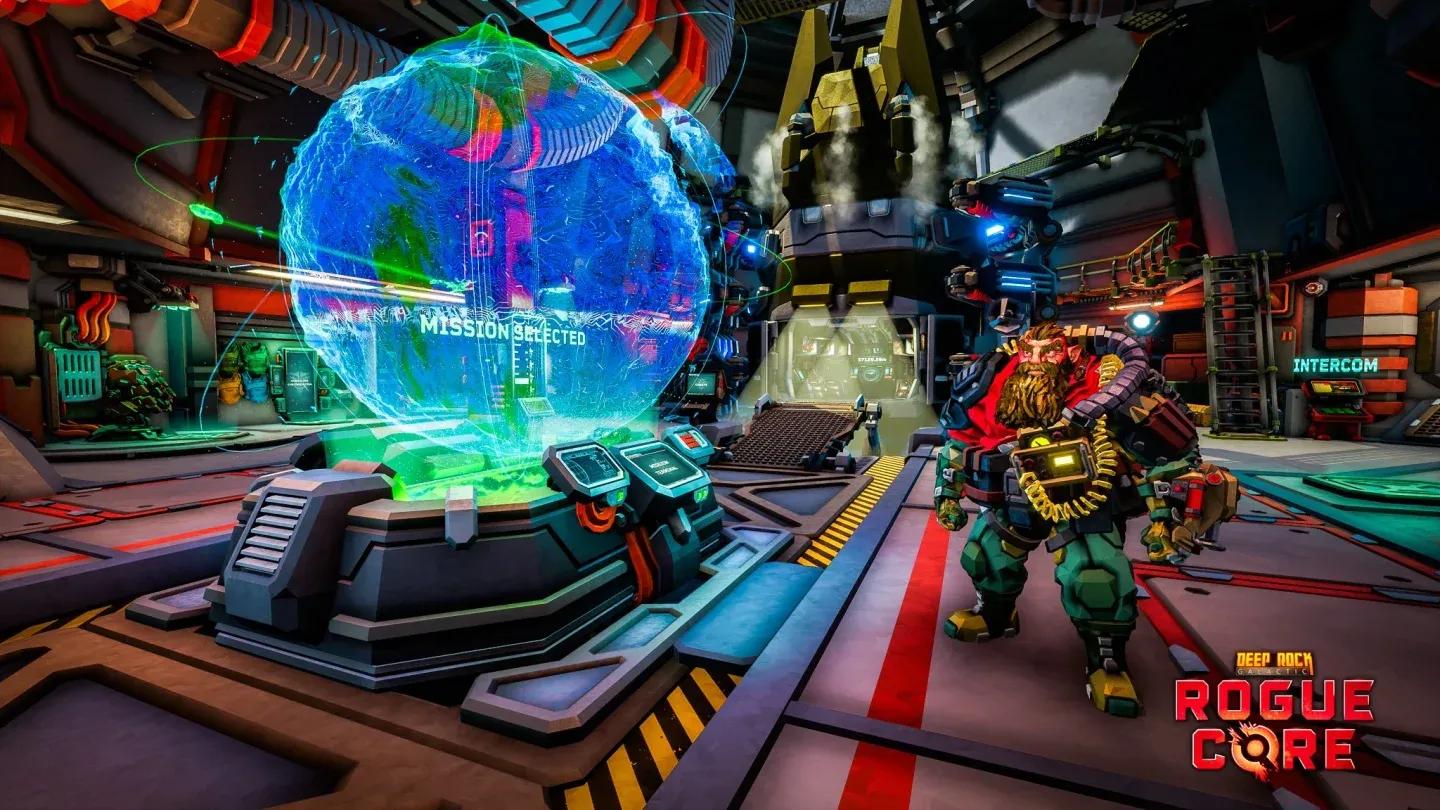
Every run begins inside the Drop Pod descending into Hoxxes. Once you land, OMEGA prompts you to place 2 Barrier Drones to open a tear in the Greyout Barrier. Walk through and the drones break behind you, sealing the entrance. There's no going back.
Down the tunnel you'll find an abandoned outpost with a Weaponry Container and a Grenade Container. Open these using R.E.P.D. with all players standing nearby. This is where you choose your weapons, traversal tools, and (in solo play) any of Cooper's upgrades. Pick carefully because your next chance to adjust your loadout is at a Workbench deeper in the cave.
After leaving the outpost and traveling further in, the mission timer activates. A marker on the timer shows when the next swarm is incoming. Follow the cable from the abandoned outpost to find the elevator, which is your path to the next stage.

Set up Barrier Drones first
What happens during the main gameplay loop?
Once the timer starts, the cave opens up. You can roam freely, collect Expenite to fuel R.E.P.D. upgrades, access Bio Boosters, use Workbenches, and trigger Expenite Events. Enemies spawn periodically, with full swarms arriving at timed intervals.
Data Terminals scattered through the cave are worth activating: they reveal points of interest on the map so you can decide whether to push deeper or head for the elevator. The cave can extend past the elevator without a cable, and those areas can still contain Workbenches, Bio Boosters, Expenite Events, and XP, so exploration pays off.
The timer only pauses when you're upgrading or the game is fully paused. If it runs out, the situation turns Critical: an endless horde of Corespawn and ReaperWorms floods the cave. ReaperWorm tentacles can't be killed, and if their grab attack connects, that player is removed from the round entirely. Getting grabbed is a run-ender in practice, not just a setback.
As you push deeper through the stages, the biome gradually corrupts. The environment shifts toward the Deep Core Biome as Corespawn corruption spreads, changing the visual and tactical feel of the later stages.

Upgrade at Workbenches mid-run
How does stage progression and the elevator work?
Reaching the elevator ends the current stage. Before activating it, you get to select a Risk Vector, a paired risk-and-reward modifier that stays active for the rest of the run. Two Risk Vector cards are offered by default, though reaching higher Clearance Levels unlocks a third option.
When the next stage loads, any players left behind or grabbed by tentacles respawn in a cocoon near the start of the new stage. Teammates must shoot them free before reviving them, and the Corespawn will launch a large attack the moment this happens, so coordinate the rescue.
The final stage works differently. No Risk Vector is offered beforehand, and the elevator generates no cable. Instead you navigate a cave system to reach the Gate, seal the Gate Keeper, and complete the mission. The Gate Keeper room always spawns at least 2 munition crates and is clearly marked by a large opening. Sealing the Gate collapses the Greyout Barrier, OMEGA regains connection to the Ramrod, and the run ends in success.
What is Intel and why does it matter?
Intel is Rogue Core's long-term progression system. Each Clearance Level has 4 Intel tasks, and completing them grants Intel points that unlock the next level. You don't need to finish every task to advance: multiple tasks can progress simultaneously, and if two tasks share the same requirement, both tick up together.
Clearing Clearance Levels unlocks harder content across the board: deeper Depths, longer missions, new biomes, Turrets, Anomalous Sites, and more Expenite Events. For reference, here's what the first few Clearance Levels unlock:
Any in-mission event that requires a Clearance Level can be accessed by all players as long as the player who initiates it meets the requirement. This applies to Grenade Crates, Expenite Events, and Turret activation, so having one high-Clearance player in a squad opens content for everyone. If you want to understand exactly how to unlock Security Override Alpha, check out the step-by-step Security Override Alpha walkthrough.

Track Intel tasks at the terminal
What are Risk Vectors and how should you pick them?
Risk Vectors are the run-modifying cards you choose between stages. Each card contains one risk (a buff to enemies or a negative condition) and one reward (a bonus for the next stage or the rest of the run). They stack with each other and with Alterations, and each specific vector can only appear once per run.
Here's a breakdown of the current Risk and Reward options:
For deeper build decisions around Bio Boosters, check the Bio-Booster hacking guide to see how class modifiers interact with your Risk Vector choices.
How does Depth affect enemy difficulty?
Depth is the primary difficulty slider, running from 1 (easiest) to 4 (hardest). The differences aren't cosmetic: enemy damage, attack rate, projectile speed, and movement speed all scale up with each tier. Here's the full breakdown for a solo player vs. a 4-player squad:
A solo player at Depth 4 takes 3.55x base enemy damage. A 4-player squad at Depth 4 faces 4.25x damage multipliers. Environmental damage also doubles at Depth 4 specifically, jumping from 1.0 to 2.0, which makes hazardous terrain far more punishing in the late game.
Depth also affects enemy count scaling per stage. By Stage 6 at any depth, enemy counts hit a 2.0 multiplier, large enemy resistance reaches 2.25x, and the number of special enemies climbs to 4. The first stage of any run has a 1.4x wave interval multiplier, meaning waves arrive more slowly at the start, giving you time to orient before the pressure builds.
How do mission timers work?
Before launching, the host picks one of three timer modes. Shorter timers reward more XP but leave less time to explore and upgrade:
For a solo Standard run, each stage timer sits at 11:00. A 4-player squad on Standard gets 9:00 per stage. On Reckless solo, that drops to 8:15. The timer pauses only during upgrades or a full game pause, so every second you spend running between objectives counts.
What are Alterations?
Alterations are mission-wide modifiers unlocked at higher Clearance Levels (accessible from Clearance Level 7 onward for Altered Sites). Unlike Risk Vectors, Alterations apply to the entire mission from the start. Each one grants a +20% XP bonus.
Jumble is a special case: it randomizes your upgrade choices completely (guns can appear in other upgrade slots) but doesn't directly buff enemies, making it a chaotic but not inherently harder experience. The Bio Booster deck and Workbench function normally under Jumble.
Choose Risk Vectors between stages
Building toward harder content
The mission systems in Rogue Core connect tightly. Your Intel tasks push you toward specific mission types, your Clearance Level gates which Depths and biomes you can access, and your Risk Vector choices shape how hard each run gets in exchange for better rewards. Getting comfortable with Depth 1 and 2 before pushing further is the practical approach, especially since enemy damage at Depth 3 and 4 scales aggressively with player count.
For team-based runs, understanding how squad size affects enemy scaling is worth the time. A 4-player squad at Depth 3 faces 3.2x enemy damage, which demands coordinated builds and clear roles. The Rogue Core team composition guide covers how to structure your squad around these scaling values.
For everything else, the full Deep Rock Galactic: Rogue Core guide collection has you covered across builds, upgrades, and system-specific walkthroughs.