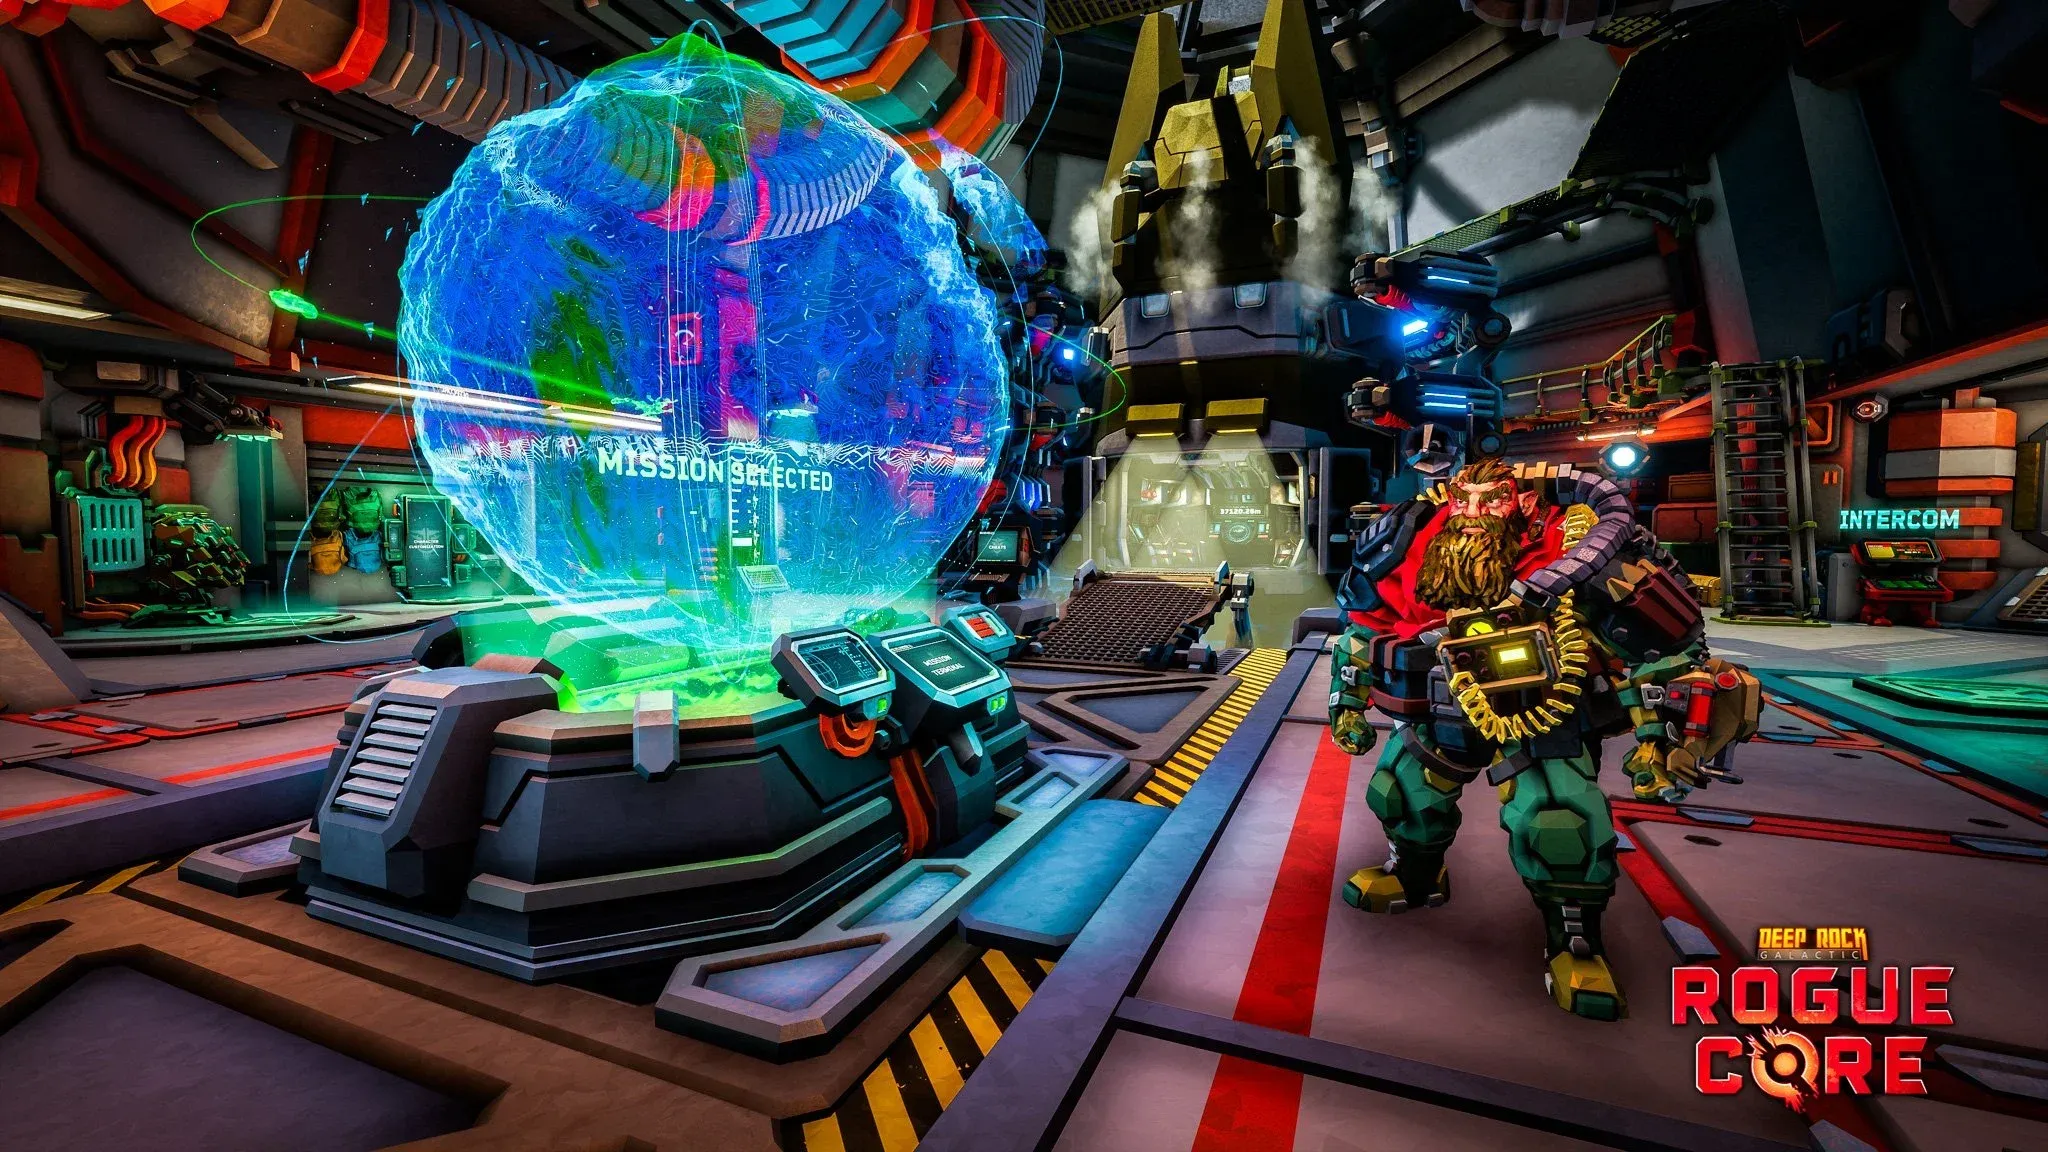

Deep Rock Galactic: Rogue Core is not the same game as Deep Rock Galactic with a new coat of paint. Ghost Ship Games rebuilt the loop around a roguelite structure where every run is timed, enemies are relentless, and the base difficulty already sits at roughly Hazard 3 from the original game. The good news: once you understand what the game actually wants from you, those early deaths start making sense. This guide covers every system that matters for your first runs, from picking a class to managing the Aggression Meter before it kills you.
How does Rogue Core differ from Deep Rock Galactic?
Three things separate Rogue Core from its predecessor in a meaningful way. First, the pace is brutal. Every level runs on a timer, and falling behind even once can collapse an entire run. Second, cave generation is more linear than in Deep Rock Galactic, which means less wandering and more fighting. Enemies show up constantly and hit hard. Third, all equipment and weapons are randomized per run, though permanent character progression carries over between attempts through the Ramrod's Enhancement system.
The Ramrod is your home base, and it has three systems you need to understand before dropping into a facility:
- Operations Command: Complete directives to earn Reclaimer Points. Directives are broad goals, not targeted tasks.
- Enhancements: Permanent upgrades bought with Reclaimer Points. There are 4 tiers, with higher tiers requiring enough lower-tier purchases to unlock first.
- Loadout: Where you select your class and equip up to 8 Enhancement slots. Enhancements do nothing if they are not equipped here.
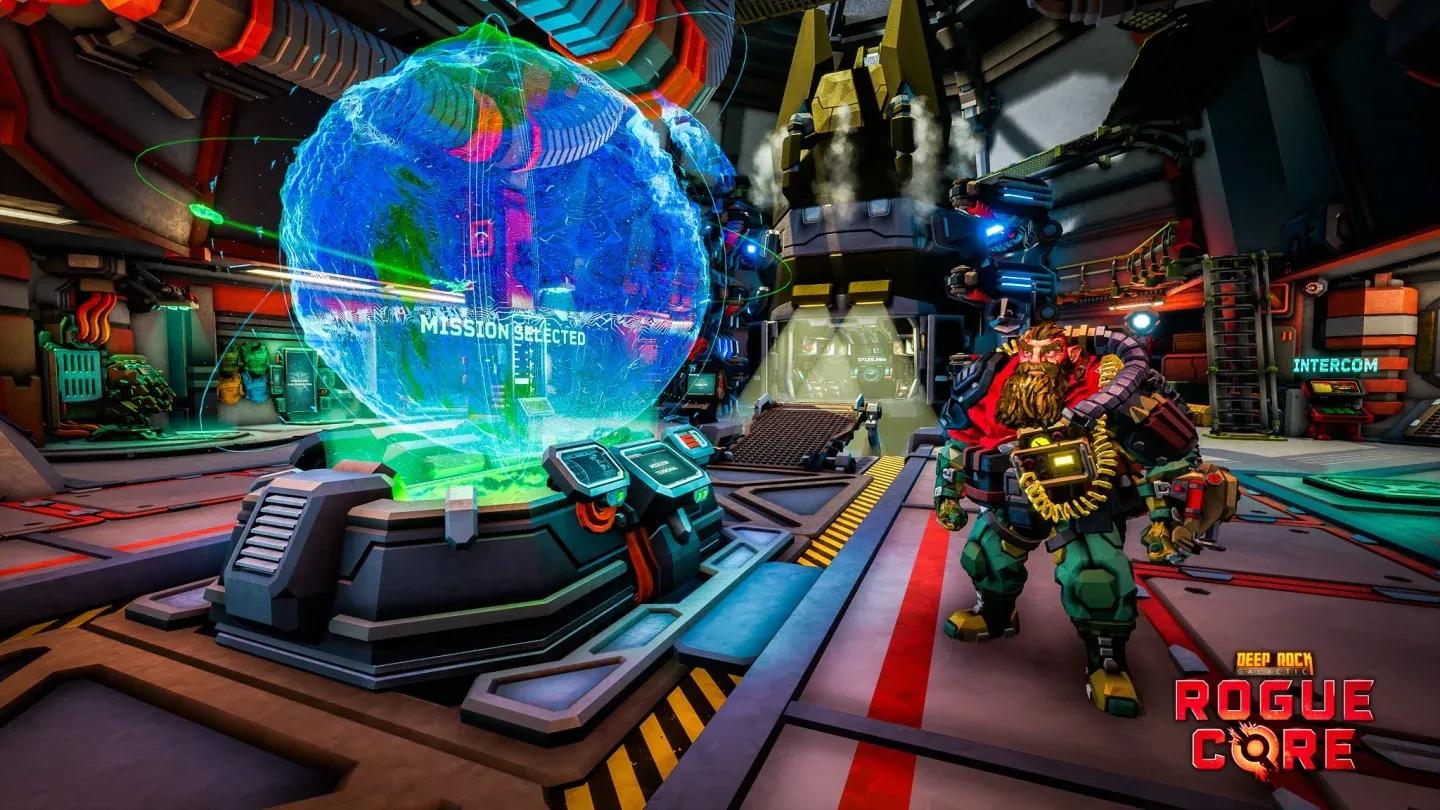
Ramrod loadout before each run


How to choose mining facilities efficiently
The Mission Terminal on Hoxxes IV shows every available facility.
| Factor | Range | What It Means |
|---|---|---|
| Depth | 1 to 4 | Primary difficulty check |
| Length | 4 to 6 levels | How long the run lasts |
| Complexity | 1 to 3 | How hard the terrain is to navigate |
| Alterations | Variable | Special modifiers always active |
For your first runs, stick to Depth 1 or 2 with shorter lengths. Completing Intel Tasks inside facilities raises your Clearance Level, which unlocks harder missions and new resources. Prioritize Intel Tasks early because Clearance Level gates progression.
Which class should you choose?
Rogue Core has five playable classes, and duplicate picks are not allowed on a team. Every player must run a different class. Here is what each one does:
Spotter
The Spotter is an offensive and support hybrid. His Crit Dart marks enemies so all damage against them counts as a critical hit for 5 seconds, or creates a marked zone on terrain lasting 10 seconds. He has 3 charges with an 18-second cooldown each. His Sonar Radar auto-scans within 35m every 4 seconds and can be activated to highlight enemies and supplies for all players for 10 seconds (24-second cooldown). Ranger's Pocket lets him resupply himself or an ally with ammo after using a resupply pod.
Slicer
The Slicer is pure aggression at close range. Slice deals exactly 560 damage to all enemies in front of him, enough to one-shot most non-elite enemies, with a 20-second cooldown. Blitz is a dash in any direction including straight up, on a 4-second cooldown. Shield Belt protects the Slicer and nearby teammates from ranged attacks for 15 seconds, but carries a 90-second cooldown.
Retcon
The Retcon is the tankiest class in the game. Rewind Time lets her designate a moment, and after 20 seconds she reverts to that exact state, recovering health, armor, and ammo even if she dies during those 20 seconds (75-second cooldown). Rage builds as she takes damage and doubles her damage output for 20 seconds when activated. Contingency Plan auto-revives her once per mission at full armor and health if the mission would otherwise fail.
Guardian
The Guardian keeps the team alive through crowd control and armor recovery. Concussive Barrage fires 12 munitions that stun all enemies in front of him for 6 seconds. Repulsion Field pushes all nearby enemies back for 4 seconds per charge. Both abilities share 2 charges with a 20-second cooldown each. Armor Beacon places a zone lasting 15 seconds that restores armor up to 50% of maximum for all teammates within 6m, on a 120-second cooldown.
Falconer
The Falconer provides ranged support and remote revives. Shock Drone fires 4 salvos dealing 25 to 35 damage each while electrocuting enemies en route to a target, with 5 charges on a 10-second cooldown each. Thunder Rod places a 15-second zone granting electrical bonus damage equal to each teammate's base damage within 8m (120-second cooldown). Remote Drone Revive revives a downed ally from any distance using the Shock Drone, also on a 120-second cooldown.
How to survive the Aggression Meter
Every run uses the same core loop: grab upgrades, fight enemies, reach the elevator before the Aggression Meter fills. The meter appears as a transparent diamond in the top-left corner of the screen and fills with a green outline over time.
- White blips on the meter mark exactly when enemy waves will spawn.
- Critical Threat is the maximum aggression state. Endless enemy hordes begin spawning.
- Cosmic Nightmare Tentacles appear at Critical Threat and pull players off the ground, removing them from the game until a teammate frees them in the next level.
The meter does not wait for you. Mining every vein in the cave, exploring dead ends, and ignoring the power cable all bleed time that the Aggression Meter will punish. Follow the power cable because it always leads to the elevator.
How to mine Expenite efficiently
Green ore deposits called Expenite are your primary upgrade currency during a run. Mine them with your Pickaxe, then call your drone to deposit what you have collected. Filling the bar in the top-right corner of the screen hits a breakpoint and awards an upgrade.
Key numbers from the source material:
- The first breakpoint requires 120 Expenite.
- Each subsequent breakpoint requires 10 more than the previous one.
- Expenite buckets yield roughly 30 or more Expenite when kicked and appear in open areas.
- Expenite Lootbugs have a 5% spawn chance as non-hostile enemies. Killing them yields a large amount.
- Expenite events can appear on any level and reward a significant amount on completion.
Only mine green Expenite and red Red Sugar (which restores health). Every other ore vein yields nothing. Mining anything else is wasted time.
For a full breakdown of what you can earn with Expenite, the Deep Rock Galactic: Rogue Core guide to all Expenite upgrades covers every upgrade by rarity with priority recommendations.
How to prioritize assets in the field
Interactable assets appear throughout each level. Most offer a choice from a list that your whole team picks from. Here is the priority breakdown:
High priority:
- Workbenches: Pin the toolbox location, retrieve it, and carry it back. The carrier moves slowly and cannot attack, so teammates must cover them. On success, each player can upgrade a weapon or ability, or earn a new weapon.
- Bio Boosters: Hack the terminal by timing inputs on a red and blue wire mini-game. Success gives a choice between two class-specific upgrades. These tend to be stronger than standard Expenite upgrades. Check out the guide to hacking Bio-Boosters for the exact timing steps.
- Data Terminals: Match the correct button inputs on both sides of the terminal. All points of interest are revealed on your Terrain Scanner and you earn Reclaimer Points.
Situational:
- Munition Crates: Restore armor and ammo by 50% of maximum, with charges up to the number of players. Only use them when you actually need what they offer.
- Armor Crates: Same as Munition Crates but ammo-only. Skip if your ammo is already fine.
Low priority:
- Security Cameras: Yield Reclaimer Points but require you to hunt them down in isolated spots.
- Cosmetic Boxes: Only worth grabbing if they appear right before the Gatekeeper and take only a few seconds.
How do negotiations work?
Negotiations are the only moments when gameplay pauses. When your team earns a new piece of equipment or upgrade, everyone picks from the same list in a randomized order. Use the heart icon to signal which asset you want to your teammates. If your build is already strong, let a teammate take the next upgrade instead. Selfish picks that ignore team composition slow everyone down.
How to pick Risk Vectors
Risk Vectors are modifiers chosen after reaching the elevator between levels. Each one includes a risk and a reward that persists for the rest of the run. Pick the Vector whose reward lines up with your team's current loadouts. One practical example from the source material: Invisible Enemies pose little threat to a team with a Spotter who can mark them constantly. The Luck modifier, which raises item rarities, is best picked as early as possible to maximize how many upgraded items it affects.
Solo mode: how to use Cooper effectively
Rogue Core is built for co-op, but Solo Mode gives you robotic teammates with Cooper as your main helper. He has three revives per mission as a safety net, but he is most useful as a task distributor:
- Use your Laser Pointer to direct Cooper to mine Expenite or Red Sugar you cannot reach.
- Use the Laser Pointer to mark priority targets so Cooper focuses fire on dangerous enemies.
- Certain assets can upgrade Cooper directly, so do not ignore upgrade options that mention him.
- In Solo Mode, you can take all the highest-rarity assets for yourself since there are no teammates to share with.
Common mistakes that end runs early
These are the patterns that show up most often in failed early runs:
- Playing at DRG's pace. Rogue Core does not let you explore at leisure. The timer is always running.
- Mining everything in sight. Only Expenite and Red Sugar matter. Everything else is a time sink.
- Ignoring your class role. A Guardian who never uses Armor Beacon or a Spotter who never marks enemies contributes almost nothing.
- Hoarding assets in co-op. Taking every rare upgrade for yourself leaves teammates underpowered for later levels.
- Using Munition Crates at full resources. Those charges are wasted and your teammates might need them later.
- Not equipping Enhancements. They do not activate unless you slot them in the Loadout screen before the run.
For everything else you need to get started, the Deep Rock Galactic: Rogue Core ultimate beginner's guide on GAMES.GG covers the Gootoorak boss fight and elevator defense in more detail. The full Rogue Core strategy guide collection is worth bookmarking as you push into harder Depth levels.