

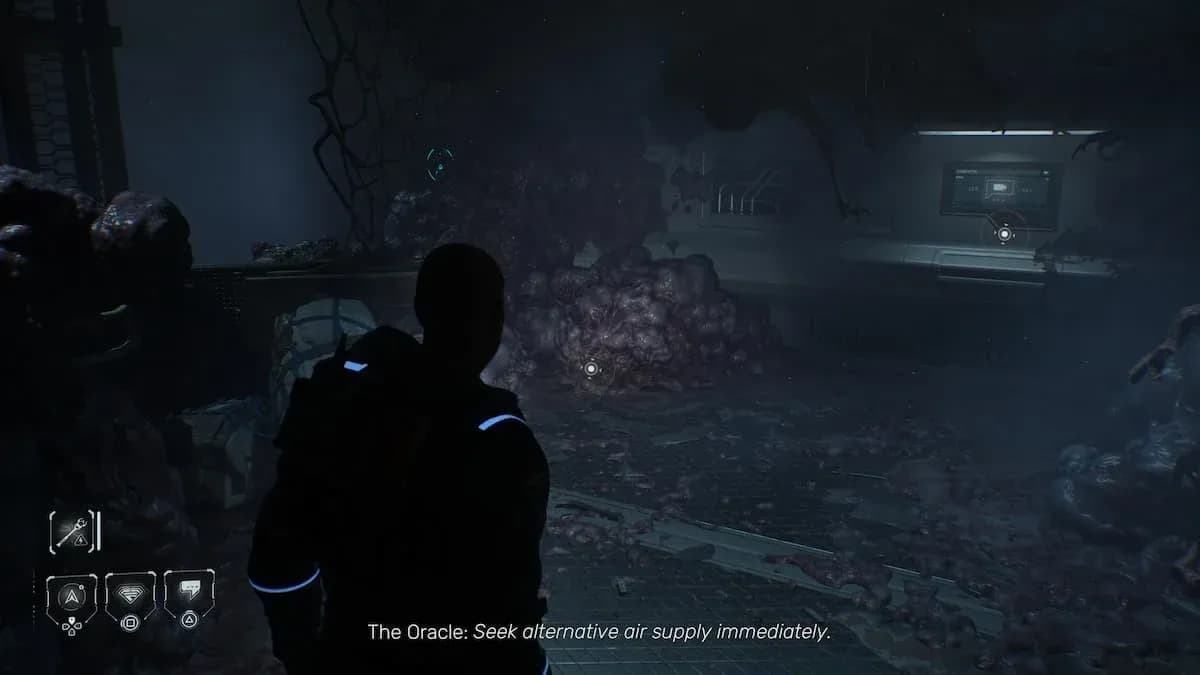
Episode 6 of Directive 8020 is where the alien paranoia stops being atmospheric dread and becomes a full-blown crisis. The Cassiopeia is running out of oxygen after the sabotage in Episode 5, and now you have body doubles walking the halls. With 13 potential deaths packed into a single episode, this is the most lethal chapter in the game, and according to The Dark Pictures Wiki, it holds the distinction of being the first time in the entire franchise where every character can die before the final chapter.
What makes Hostile Takeover so punishing is how heavily it depends on decisions you made episodes ago. Choices from Episodes 2, 3, and 5 all feed directly into who survives here. This walkthrough covers the full path from the Hydroponics power puzzle through the biometric scanner showdown and the final Storm decision at Bridge Ops.
How does Episode 6 begin?
The episode opens with a flashback conversation between Stafford and Young before cutting to the present, where you spot figures moving outside Hydroponics. The door is unpowered, so you cannot simply walk through. Who you control at this point depends on who is still alive: if Stafford survived Episodes 1 through 5, you play as him here.
Your immediate objective is to find a power cell to restore the door. Getting there requires crawling through the vents.
How to solve the Hydroponics power puzzle
Once you emerge from the vents, you will see a large mechanical crane in the center of the room. The power cell you need is locked behind a door on the opposite platform, and a gap in the walkway blocks the direct route. Head down to the lower level and work through the debris to reach the crane controls.
Before operating the crane itself, look for the power control unit to your left past a shelf as you come out. This unit controls the crane's drop mechanic. The sequence matters here:
- Redirect power from the crane control to the Door option and go through the door to the left.
- Hop through the broken window and collect the Datapad (this also counts as the Making the Call secret).
- Switch power back to the crane control.
- Use the crane panel to move the container and bridge the gap.
- Climb the stairs opposite the crane panel and take the power cell from the now-accessible room.
- Use the previously locked door to exit rather than the vents, then plug the power cell into the unpowered door.
Do not skip step 1. Redirecting power to the Door option is how you grab the Making the Call secret. If you head straight to the crane panel without doing this first, you will miss it permanently.
Where are all 6 secrets in Episode 6?
Before entering Hydroponics and triggering the next major story beat, there are 6 secrets hidden in the surrounding area. Collecting them all here is worth doing on any run.
There is also a Simms Recording in the Geoscience lab near where you first take control. Override the door and watch the video on the wall inside.
For a complete breakdown of every collectible across all 8 episodes, the Directive 8020 secrets guide has every location mapped out.

Simms
What happens in the Hydroponics confrontation?
Once you step into Hydroponics, the episode escalates fast. Body doubles of the present characters appear, and a fight sequence breaks out. The outcome depends on whether you lose the fight and which characters are alive to participate.
For Eisele specifically, her fate in this section is determined by whether you powered up the incinerator during Episode 5's Close Encounter scene:
- If Eisele successfully evaded the Stafford duplicate in Episode 5, she escapes Waste Management after burning it.
- If she was caught in Episode 5 but escapes here during her second chance, she survives.
- If she was caught in Episode 5, volunteered to go to Hydroponics in Episode 5, and then fails to evade the monster here, she does not make it.
For Cernan, the branching outcome traces back even further, to whether he evaded Williams in Episode 3.
How does the Williams scanner scene work?
After the fight, the surviving crew assembles for the Accusations scene, debating whether Williams is human. What plays out here depends on whether you drugged Williams back in Episode 5.
Shooting Williams when you drugged him in Episode 5 locks in his death right before the scanner would have cleared him. This is one of the most avoidable deaths in the episode.
Who controls the biometric scanner scene?
After the Accusations scene, the group rushes to the biometric scanner at Bridge Ops in a sequence called Split Up. Who holds the gun during the scanner sequence depends on whether Stafford is alive:
- Stafford alive: Stafford enters holding the gun and runs the scanner procedure.
- Stafford dead:Cooper takes control of the situation.
Each surviving crew member goes through the scanner one by one. Whoever goes last triggers the critical moment: a clone appears alongside them, and you must decide which one is real.
For Eisele, there is an additional node that unlocks if Stafford is alive and you witnessed the Word of Advice path between them in Episode 2. For Cernan, an extra node appears if Stafford is dead and you saw the Confide scene in Episode 3.
What happens if you order the crew member through the scanner?
If you tell either Eisele or Cernan to go through the scanner alongside their mimic, the mimic will stab them through the chest. This applies to Cernan if Eisele is already dead, and to Eisele if she is still alive at this point. The safe play is to identify and shoot the duplicate rather than ordering anyone into the machine.
Scanner twin identification moment
What happens after the scanner?
If you shot the impostor, timed out, or ordered them to test in the machine, the group gets attacked by the entity. Surviving this requires passing a series of QTEs:
This is also your first opportunity for one of the game's endings to trigger.
How does Episode 6 end at Bridge Ops?
Survivors regroup at Bridge Ops, where Briana Young heads to the Cockpit to speak with whoever is still alive. The conversation there feeds into character traits:
- Stafford alive: The Crown Falls scene plays, giving you options to raise either his Supportive or Resolute trait.
- Stafford dead, Eisele alive: A different scene plays, with choices to raise either her Sympathetic or Rational trait.
Note that Stafford gains a Recoil node here if he shot the human Eisele during the scanner scene. It does not appear if he correctly shot the impostor.
The episode closes with the Storm Turning Point, where the surviving crew learns what Directive 8020 actually means for them and must make a decision about the incoming ship Andromeda:
Who makes this call depends on the survival chain: Stafford decides if he is alive, then Eisele, then Young if both are gone.
The Storm decision at Bridge Ops
Episode 6 survival checklist
Here is a quick reference for keeping the key characters alive through Hostile Takeover:
- Williams: Drug him in Episode 5, then do not shoot him during Point Blank.
- Eisele: Power the incinerator in Episode 5 and evade the Stafford duplicate during Close Encounter.
- Cernan: Evade Williams in Episode 3, then evade the creature during Split Up.
- Scanner scene: Shoot the duplicate rather than ordering anyone through the machine.
- Attack QTEs: Pass all QTEs if Stafford is alive to secure the Escape outcome.
For everything else across the full game, the Directive 8020 guides hub has walkthroughs for every episode, all character destinies, and every secret location.