

Episodes 7 and 8 of Directive 8020 are where everything converges. The story drops its biggest revelations, the stealth sections get genuinely punishing, and the choices you make carry real weight for who survives. This walkthrough covers every objective from the moment you step onto Tau Ceti f through the reactor overload that ends the game, including the exact probe serial number and how to navigate the life form encounters without losing anyone.
Episode 7: Revelation walkthrough
How does Episode 7 begin?
Episode 7 opens with a flashback cutscene set two days before departure. You play as Young and have to pick a dialogue response. The choice here is largely cosmetic for immediate story flow, so go with whatever fits your read of the character. Once the scene shifts back to the present, you take control of Cernan.
Following the drone and finding Anders
Your first task is to follow the drone as Cernan. Move forward through the area until a cutscene separates Anders from the group. From there, crouch through the narrow passage, head left, and interact with the rocks to trigger the scanner objective.
Activate the scanner and follow the trail it reveals. The path will eventually fork, and this is the most consequential navigation moment in the episode. The real Anders is in the cave with stalactites (rocks hanging from the ceiling), which is the path to the right at the fork. Taking the left path leads to the impostor instead. Finding the real Anders unlocks the Stalactites story node. Finding the impostor unlocks Cavern.
While moving through the narrow passage after the fork, you will receive messages from a contact claiming to be Anders. The game flags this contact as fake once you check the real profile, so trust the scanner trail over the comms.
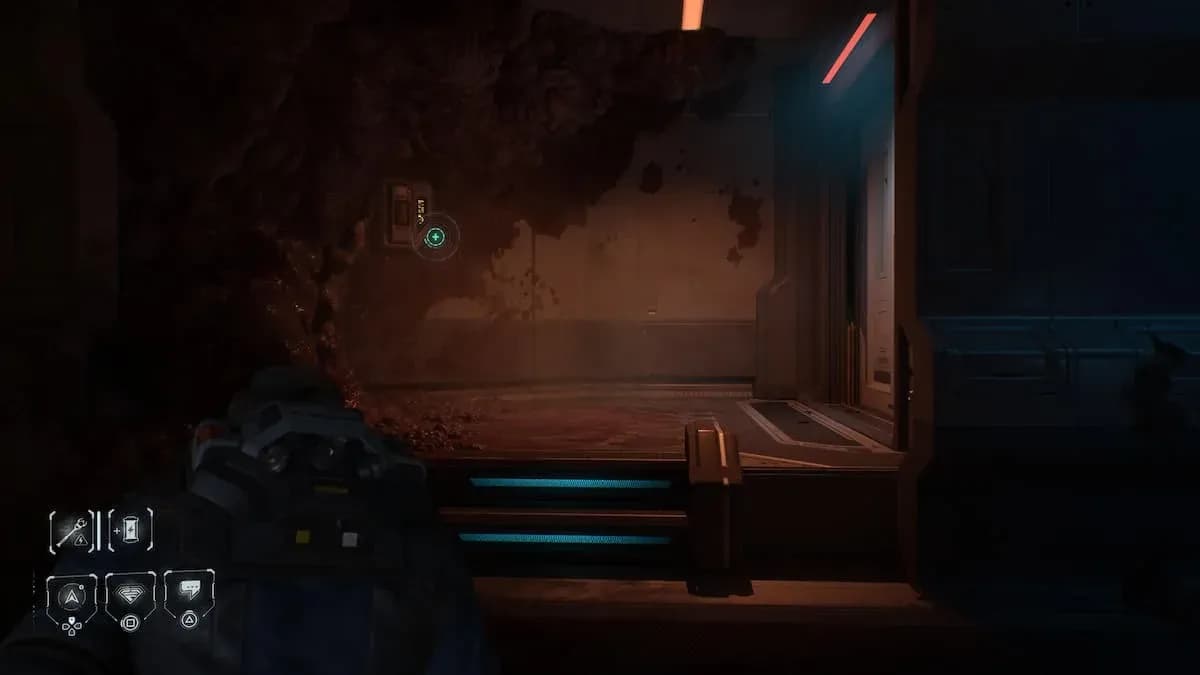
Reaching and repairing the Charybdis probe
Once you locate Anders, follow her to the Charybdis probe. A cutscene plays when you get close enough. Wait for Young, then approach the probe to begin repairs.
What is the Charybdis probe serial number?
The code is 2540. Here is exactly where each digit comes from:
After pulling the spare chip from the rear console, look right and you will find a deactivated drone on the ground. That is where the middle digit hides. Once you have all four digits confirmed, insert the replacement chip into the front compartment, open the terminal, and enter 2540. Young sends the SOS signal, and a message reveals something the story has been building toward since Episode 1.
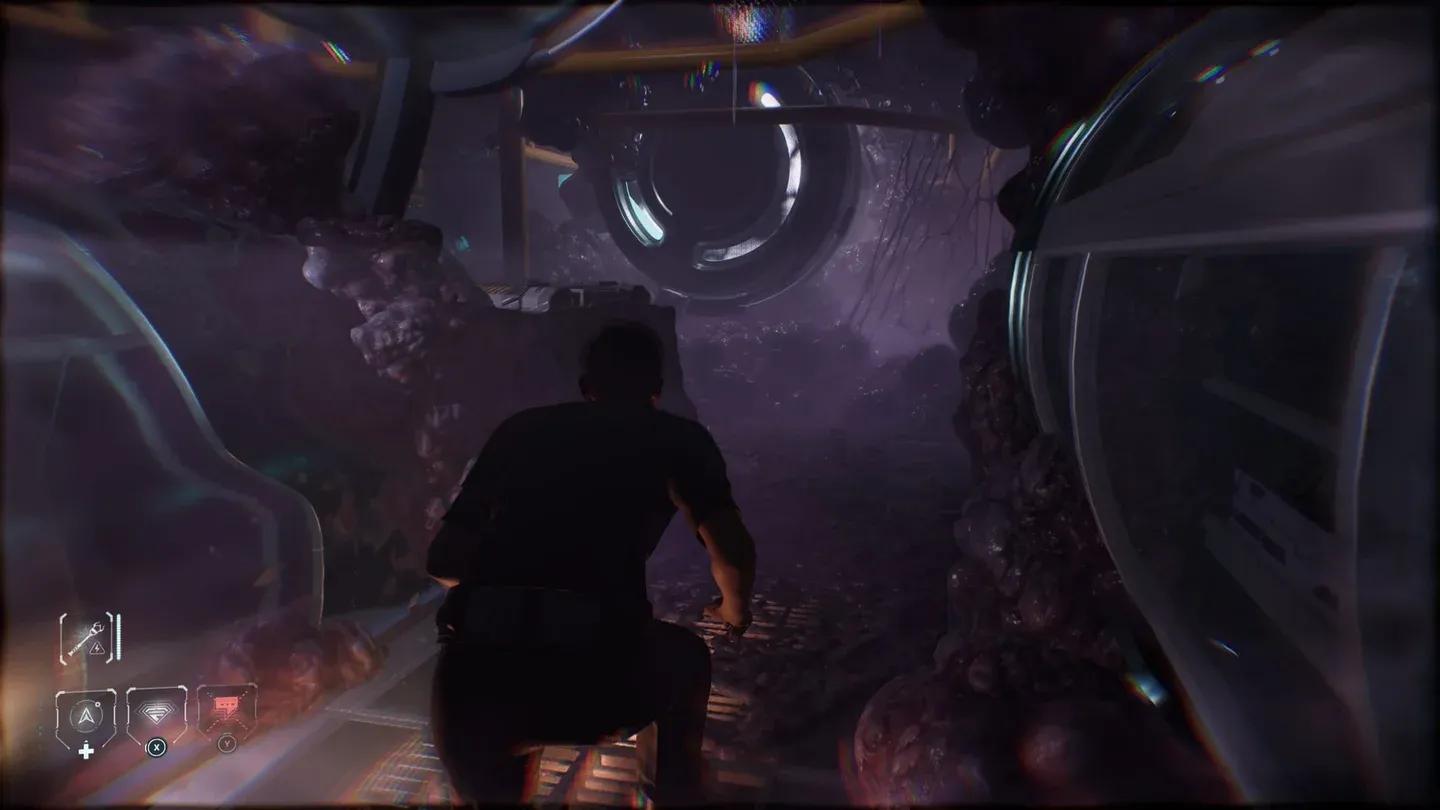
How to survive the infested deck (Pod Room)
Back on the Cassiopeia, the crew must navigate a series of stealth sections. Young goes first through the Pod Room.

Pod Room stealth sequence
- Move slowly forward and wait for the life form to drift toward the center.
- Hug the right side of the room and keep moving until the creature blocks your path to the door.
- The door has no power. Use the scanner to trace the red wire, then head into the bathroom to restore power.
- A utility strap can distract the creature if you need to create an opening, but you will need to move close to the panel first.
- After restoring power in the bathroom, exit through the vent using the wedge tool, then continue to the reactor elevator.
Press the button prompts quickly when the elevator sequence triggers.
Cernan's route through Geoscience
Cernan plays next. After regrouping at Bridge Ops, you need a power cell to access the Geoscience Lab. Head straight, enter the room on the right, go through the door on the left, climb the stairs, and use the utility strap on the door at the far end. Collect the power cell and sprint to the lab.
Once inside, a lockdown triggers. The life form starts on the left side, so move right while avoiding broken glass and head downstairs to restore power to the lower area. The creature may move toward you mid-route. If it does, circle carefully using available cover.
Scanning the area after powering the lower junction will show current flow rather than a visible red wire. Follow the current to each circuit:
- Power the lower Power Junction.
- Head upstairs when the life form reappears and power the second circuit.
- Find the final circuit on the upper floor and redirect power to the right side.
The exit door opens, but the creature appears again. Wait for it to pass the doorway, then head left and proceed through the next door with the wedge tool.
The Run sequence and Episode 7's ending
Multiple life forms converge, and your only option is to sprint. A cutscene during the chase reveals the truth behind the Cassiopeia's situation. As Eisele, you then face a branching choice. This guide tested the Probe option, but the story accommodates multiple choices.
What you see at Bridge Ops depends on who is alive. If Williams is alive, the scene unlocks Insider, where he reveals he knew about the program all along. If Mitchell is alive and you found the real Anders, a different scene plays. If Williams died earlier, those nodes are locked out entirely.
Episode 8: Come True walkthrough
How does Episode 8 begin?
Episode 8 opens with a launch day flashback. As Young, you choose a dialogue option and then make a wish, which functions as a Turning Point decision. This guide selected "our humanity is more important than our survival" during testing. Think carefully before committing, as Turning Points carry meaningful weight. For a full breakdown of how the Turning Points system works across the whole game, the Directive 8020 Turning Points guide covers every branching node.
Back in the present, Eisele makes another choice. Williams then states he wants to stay behind. You can order him to come with you or approve his decision.
Elevator shaft purge terminal
How to purge the elevator shaft
Stafford and Eisele need fuel, which means heading downward. The first major stealth section here runs through the Crew Lounge.
As Stafford:
- Activate the left circuit near the stairs to power the Crew Lounge.
- Move through the lounge from the left side. The life form patrols mostly on the right.
- When the creature turns left, interact with the nearby panel to distract it, then exit through the right door.
As Eisele: A crew member ahead is almost certainly a life form in disguise. Approach it and hit the correct button prompt to escape. Stafford gets out, but Eisele stays trapped.
- Wait on the left side for the creature to move away.
- Follow behind it, then hide behind the object in the center of the area.
- Use the scanner to track the creature's position.
- When it moves away again, continue forward to find a door that needs a power cell.
- Head to the far left end of the path to find the power cell, then carefully return and insert it.
- After the door opens, go upstairs. The life form will grab you at the top. Hit the button prompt to break free and regroup with Stafford.
Mess Hall stealth (as Stafford):
- Broken glass covers the floor, so move left and navigate from the center section.
- Find the locked door, then head toward the lit area on the right and scan the electricity icon on the wall.
- Redirect power through the left side to open a nearby door.
- Use the wedge tool to enter the room and collect the power cell.
- Wait for the life form to move near the northern door, hide in the center, then insert the power cell when it shifts left.
- Continue to the terminal and purge the elevator shaft.
Getting to the hangar
After purging the shaft, use the wedge tool to open the elevator door and ride it up. The path to the hangar becomes blocked, so backtrack, collect a power cell, and insert it into the circuit to open the vent route.
On the other side, use the utility strap on the left console to open a new path. From there, a series of power redirects and Server Control Panel interactions clear the way forward. There are several secrets located to the left and north of the final control panel area before you regroup with Eisele. If you are chasing collectibles, do not rush past that section.
For a full map of collectible locations across all 8 episodes, the complete secrets guide has every one documented.
Hangar escape sequence
The final run and reactor overload
After the cutscene, sprint through the hangar while hitting the correct button prompts. Use the vent at the end of the sequence to escape.
Back as Eisele, the life form has returned. Run again, pressing prompts correctly to survive. The creature grabs Stafford, and you face a split-second decision: help him or abandon him. This guide chose to help during testing.
After the choice, repeatedly press the button prompt shown on screen, then input the reactor overload sequence. The final step requires pressing two buttons simultaneously.
The ending cutscene that follows depends on how many crew members survived across all 8 episodes. Pressing the correct prompts during the sequence can still save characters at this late stage. Who you kept alive through earlier decisions determines which version of the ending you see.
Key choices summary for Episodes 7 and 8
For everything else the game has to offer beyond these final two episodes, the full Directive 8020 guides collection covers every system, secret, and survival strategy in one place.