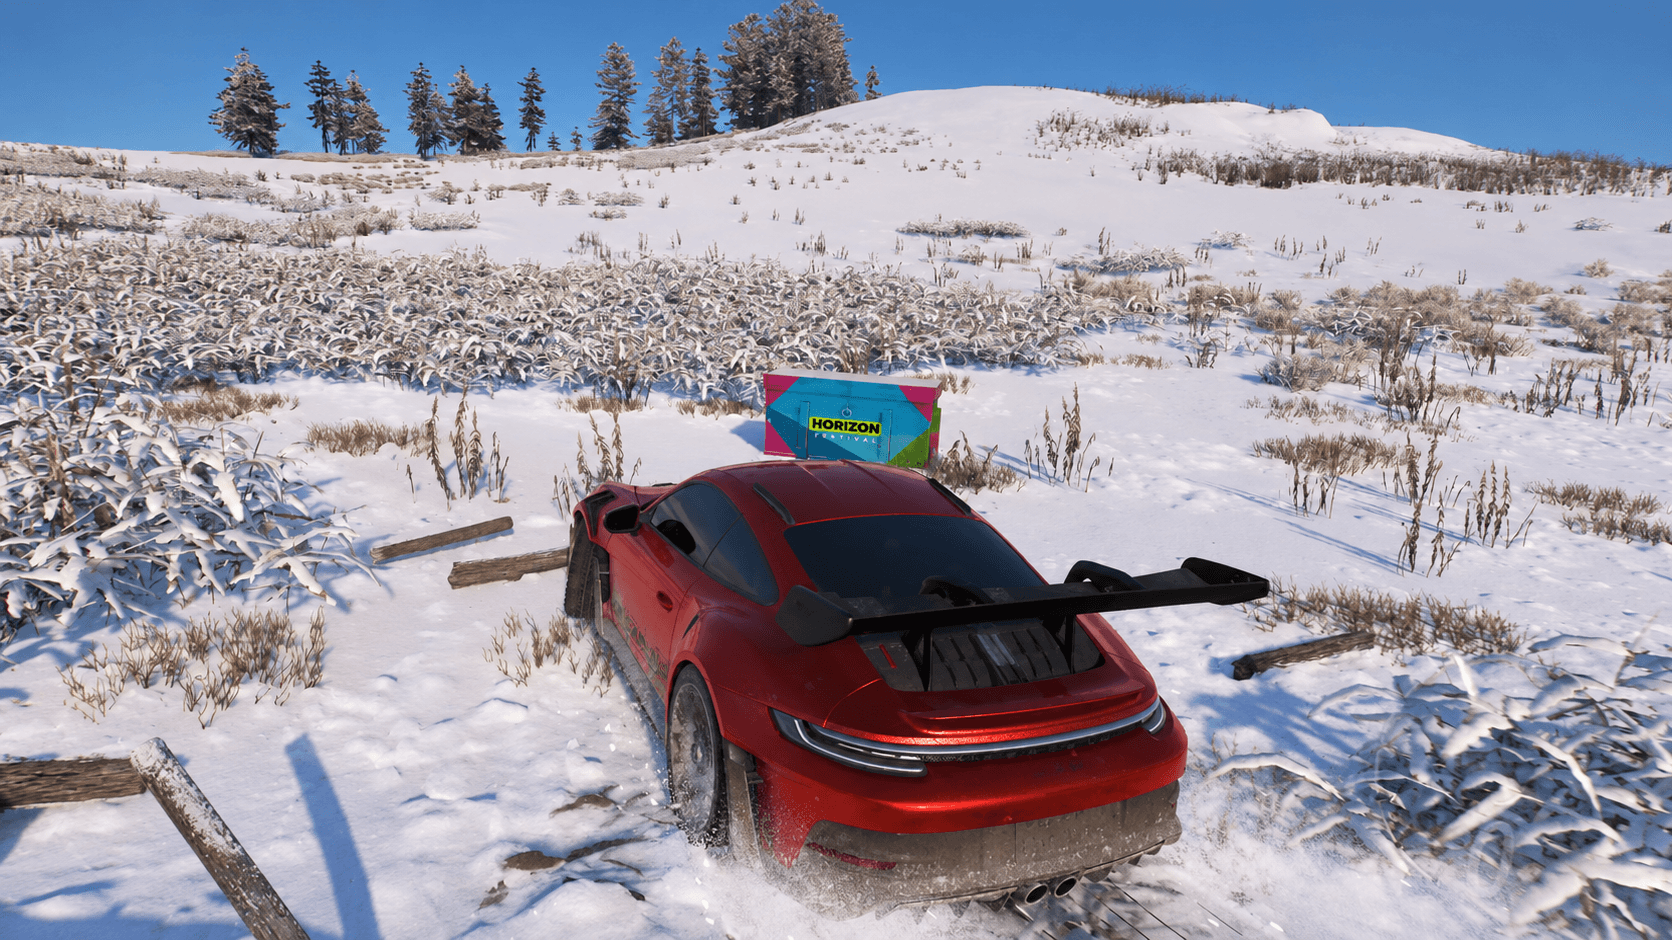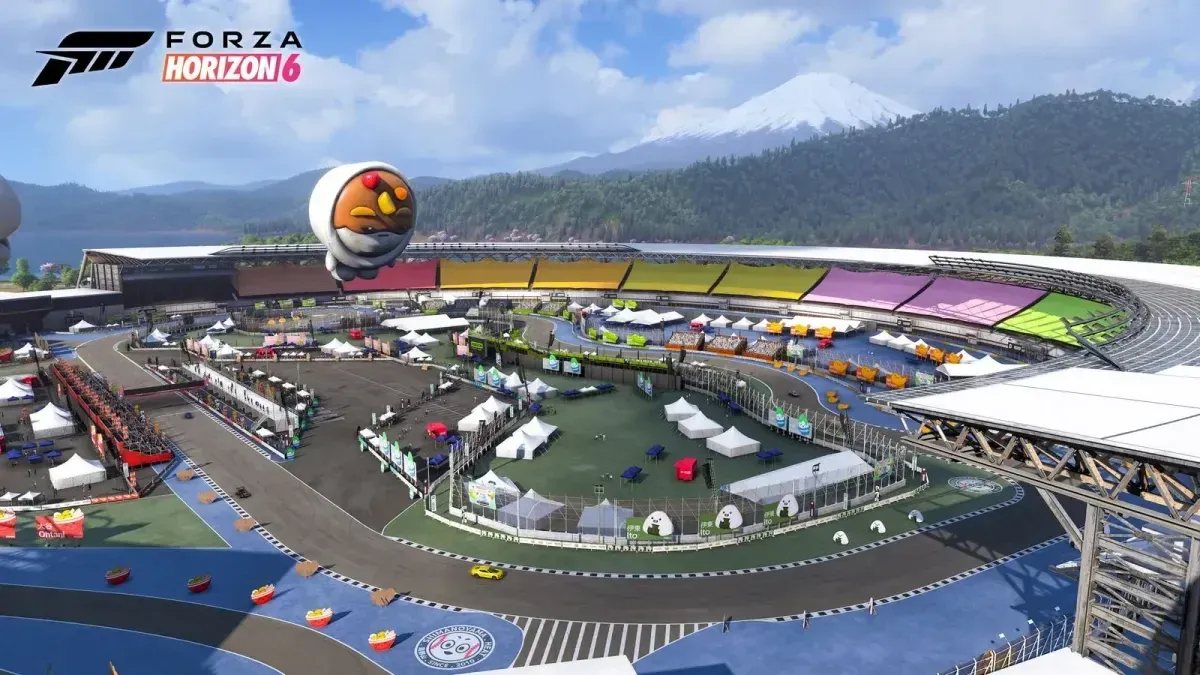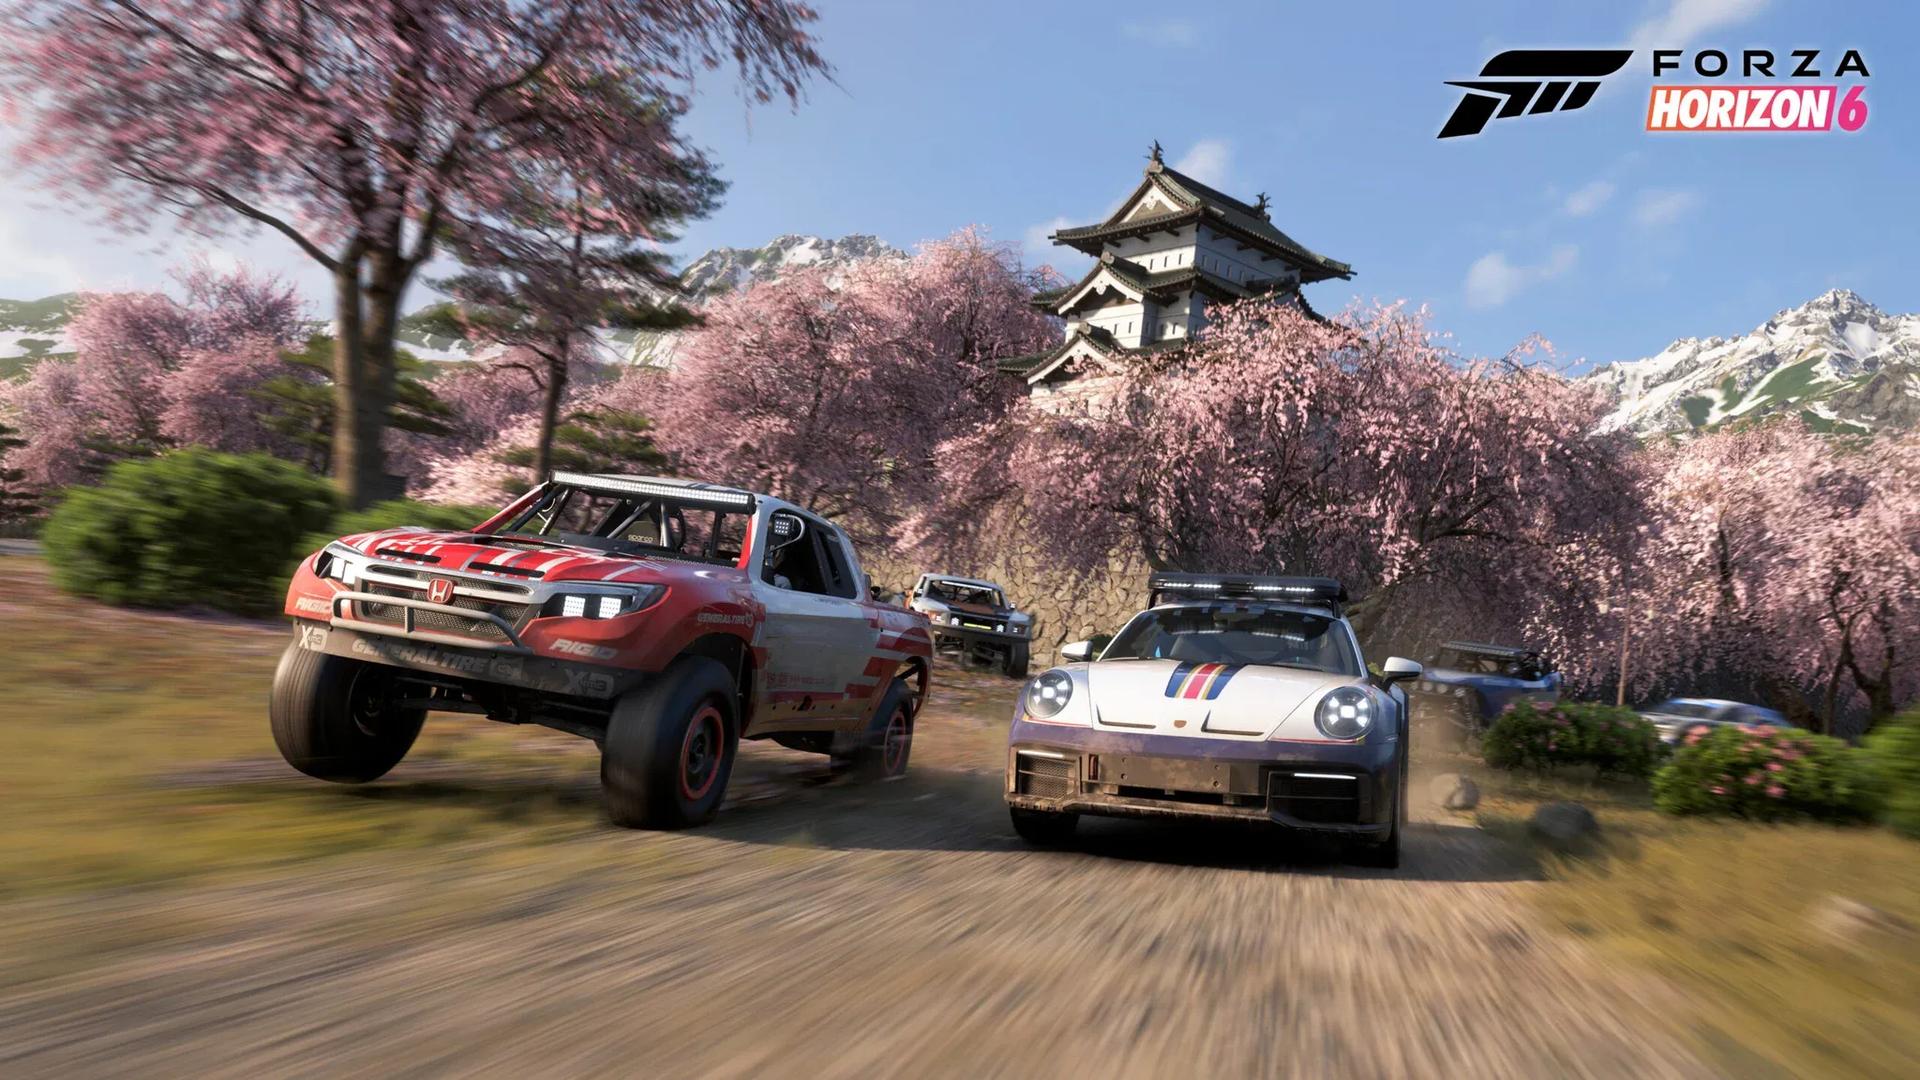

There are exactly 400 collectibles scattered across Forza Horizon 6's open world: 200 Regional Mascots and 200 Bonus Boards. Smash every last one and you'll unlock two achievements, Gotta Smash 'Em All and A Few Splinters Is Nothing! The good news is that every single collectible is available from the moment you start the game, so there's no waiting for story progress or locked regions.
What are the two collectible types in Forza Horizon 6?
The 400 collectibles break down into two categories, and understanding the difference helps you plan your route.
- Regional Mascots (200 total): Physical objects you smash by driving through them. They show up on your minimap as a purple Face icon when you get close.
- Bonus Boards (200 total): Breakable boards placed throughout the map. These display as a purple H icon once you're in range.
Both types work the same way: drive straight into them and they break. No special car required, no timing needed, just hit them and move on.
Treasure Map purchase screen

How do you find all collectible locations?
You have two ways to track down all 400 collectibles, depending on whether you want to spend money.
Option 1: Buy the Treasure Map
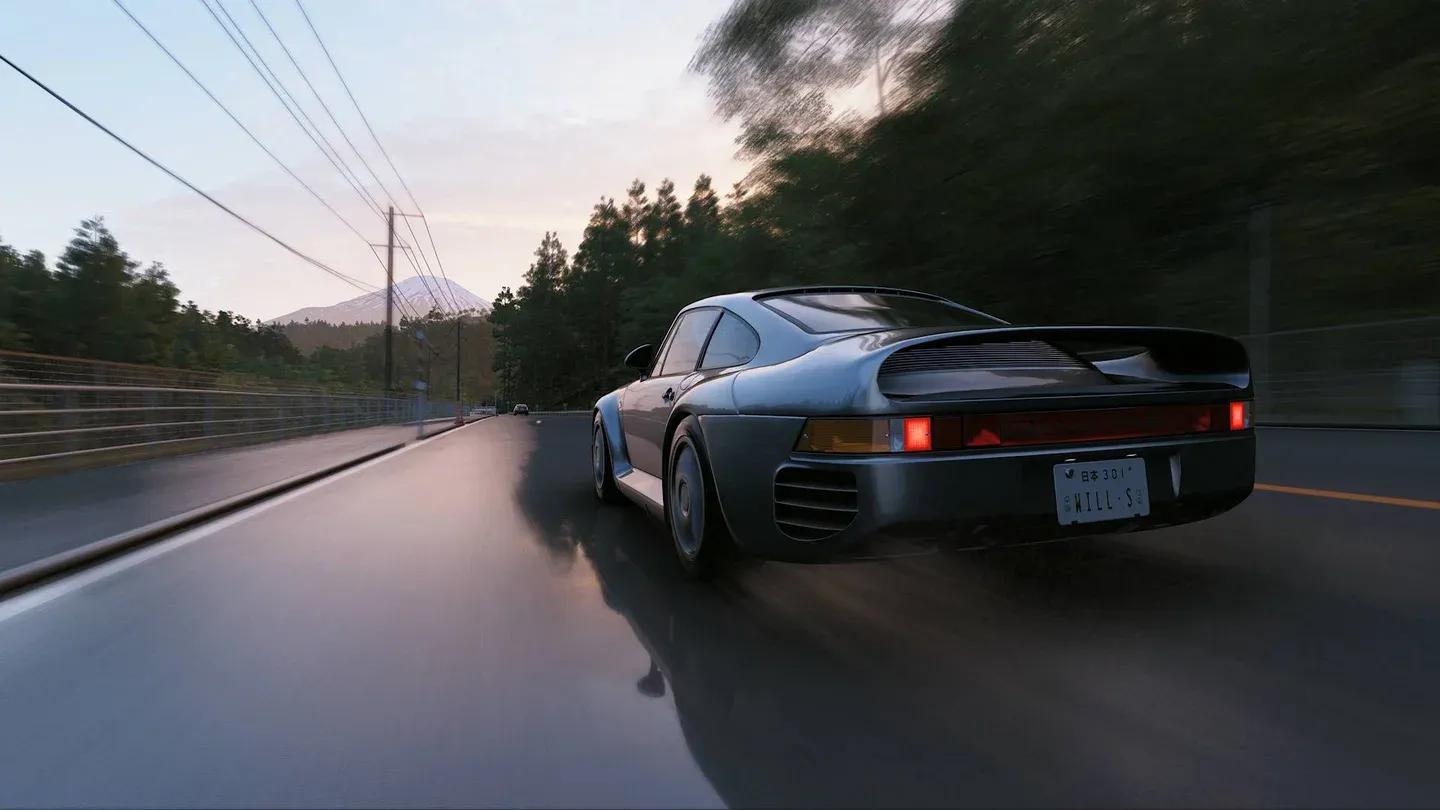
The in-game Treasure Map costs $2.99 and immediately reveals every collectible on your map, including Mascots, Bonus Boards, Treasure Cars, and Barn Finds. If you're chasing 100% completion and don't feel like hunting blind, this is the quickest route.
Option 2: Use a community map
If you'd rather not spend anything, a complete visual map showing all 400 collectible positions exists. Every Mascot and Bonus Board location is marked, so you can clear regions one at a time without opening your wallet.
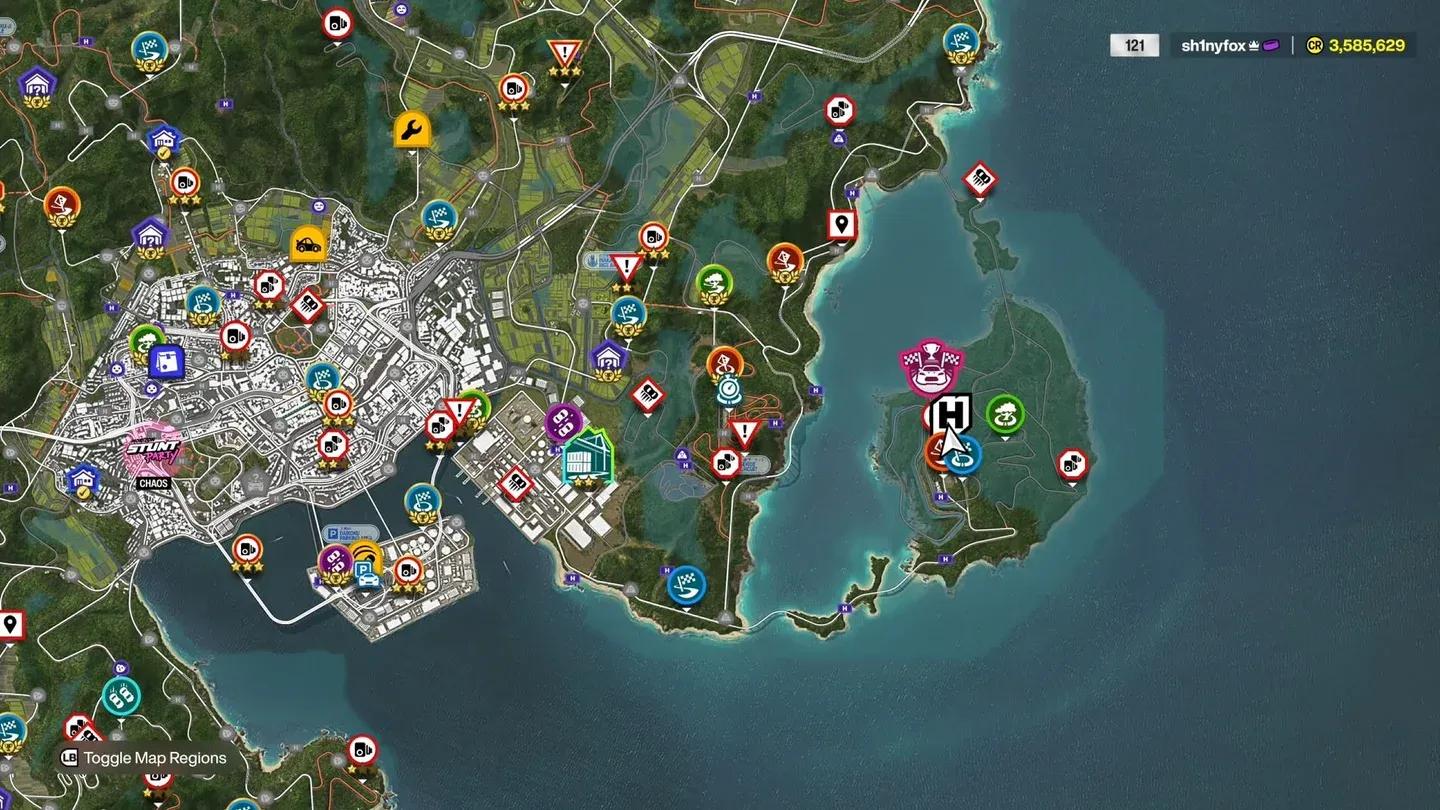
Bonus Board minimap marker
How do navigation and fast travel work for collectibles?
Once a collectible shows up on your map, you have two shortcuts to reach it without manually driving the entire distance.
- Fast Travel: Open the map, select the collectible's location, and fast travel straight to it. You need fast travel unlocked first.
- Autodrive: Press Down + Left on the d-pad to turn on Autodrive and let the game steer your car to the selected spot automatically.
Both shortcuts make grinding through 400 collectibles much less painful, especially when you're down to the last scattered few.
Mascot icon on the map
Achievements tied to collectibles
Smashing all 400 collectibles unlocks exactly two achievements:
| Achievement | Requirement |
|---|---|
| Gotta Smash 'Em All | Smash all 200 Regional Mascots |
| A Few Splinters Is Nothing! | Smash all 200 Bonus Boards |
Neither achievement gives partial credit, so you need the full 200 in each category. Progress tracks separately, so you can finish one before the other without any issue.
Tips for efficient collectible hunting
After clearing the map region by region, a few habits speed up the process.
- Filter the map: Use the in-game map filter to show only Mascot and Bonus Board icons. Hiding race events, drivatars, and other clutter makes it easier to spot what's left.
- Work by region: Clear one geographic area completely before moving to the next. Backtracking across the full Japan map wastes time.
- Use a fast car: Any car breaks collectibles, but a faster car means less time driving between locations. Road speed matters more than off-road capability for most runs.
- Check the grayed-out icons: Completed collectibles stay visible on the map as grayed-out markers. If an icon is still purple, you haven't hit it yet.
Collectibles are just one piece of what makes exploring Japan's map worthwhile. For other hidden content, the Forza Horizon 6 Barn Finds guide covers all 15 hidden cars, and the full Forza Horizon 6 guides collection has everything else you need to hit 100% completion.