
Danger Signs are some of the most satisfying PR Stunts in Forza Horizon 6. You line up a run, hit the ramp at the right speed, and watch your car sail hundreds of meters through Japan's skies. Getting 3 stars on all of them is a different story. Required distances range from 213.4m on the easier end up to 640.1m for the hardest jumps, and hitting those marks means knowing exactly which car to use, where to start your run-up, and how fast to hit the ramp. This guide covers every Danger Sign location, the wristband access tier required to unlock each one, and the exact setup you need to clear 3 stars.
What are Danger Signs and why do they matter?
Danger Signs are ramp-based PR Stunts scattered across Japan's map. Each one scores you based on distance traveled after launch. Hit the minimum distance threshold and you earn 1 star; clear the 3-star target and you earn maximum Skill Points, which feed directly into your Car Mastery progression. Maxing out Car Mastery on your main vehicles unlocks permanent credit multipliers, so the Skill Points from 3-starring these jumps are worth banking quickly.
Some Danger Signs are gated behind wristband access tiers. If a sign isn't appearing on your map yet, check your current wristband level and progress the story until the next tier unlocks.
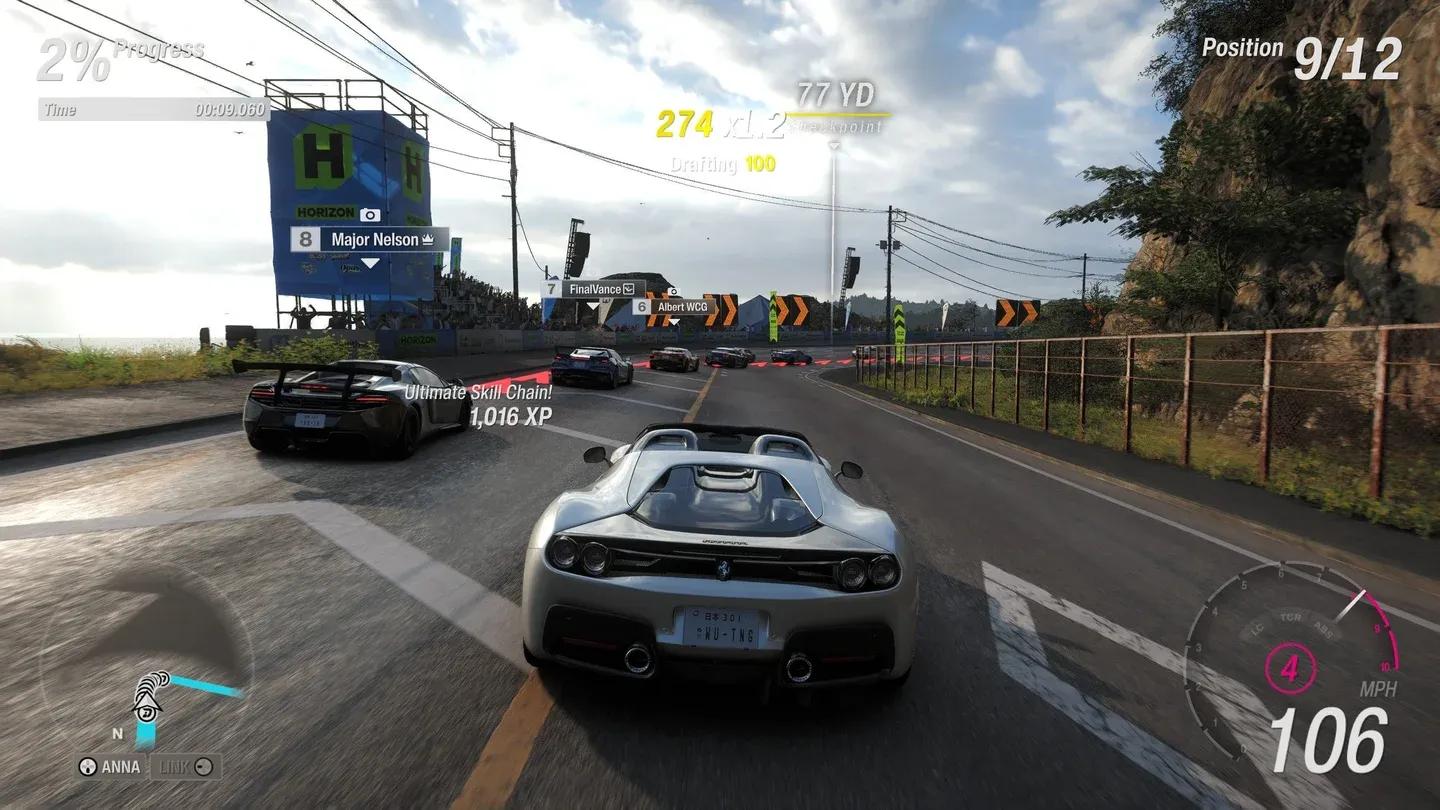
Danger Sign ramp launch
All Danger Sign locations by region
The 20 Danger Signs are spread across nine regions. Below is the full breakdown with unlock requirements, 3-star target distances, recommended cars, and starting position tips.
Tokyo City
Tokyo City Dockside Danger Sign sits on the eastern side of Tokyo City and requires Purple Wristband access. The 3-star distance is 548.2m. Start from the southeastern side of the dock and hit the ramp at 220 mph minimum. The 2015 Ultima Evolution Coupe 1020 handles this well with the THE ANCO tune (Share Code: 263 249 250).
Tokyo City Lookout Danger Sign is at the border between Shimanoyama and Ohtani, also behind a Purple Wristband. This is the longest jump in the game at 640.1m for 3 stars. Start from the northwestern hill past the tarmac road west of the sign and hit the ramp at 210 mph. If you can't reach that speed cleanly, install a power tune on your car before attempting.
Nangan Region
Irokawa Launch Danger Sign is on the southern side of Nangan and requires Purple Wristband access. Target distance: 426.7m. Start from the far side of the road southwest of the sign and hit at 230 mph. The 2018 Ferrari FXX-K Evo 'Welcome Pack' is the recommended car here.
Nangan Heights Danger Sign is on the northeastern side of the same region, also Purple Wristband locked. Required distance is 396.2m. Same starting point logic applies: come from the road southwest of the sign at 230 mph, and stay centered on the ramp through the entire approach.
Sotoyama Region
Clifftop Crest Danger Sign is on the southern side of Sotoyama behind a Blue Wristband. Required distance: 274.3m. Start from the northern hill past the asphalt road and hit at 140 mph. The Mercedes-AMG ONE clears this comfortably.
Alpine Heights Danger Sign is on the northern side of Sotoyama and requires a Pink Wristband. Target: 335.3m. Descend from the eastern hill via the sky track and hit the ramp at 160 mph. The 2019 Toyota Tacoma TRD Pro Forza Edition works well here.
Takashiro Region
Farmland Falls Danger Sign is on the southern side of Takashiro, gated by Purple Wristband access. At 548.6m, this is one of the longer required distances. Start from the northeastern intersection and hit the ramp at 180 mph. Use the Toyota Tacoma TRD Pro Forza Edition with the MMM30099 tune (Share Code: 775 649 971).
Highlands Danger Sign sits on the southeastern side of the same region behind a Pink Wristband. Required distance: 487.7m. Start from the northern intersection and approach at 180 mph. The Mercedes-AMG ONE is the recommended car.
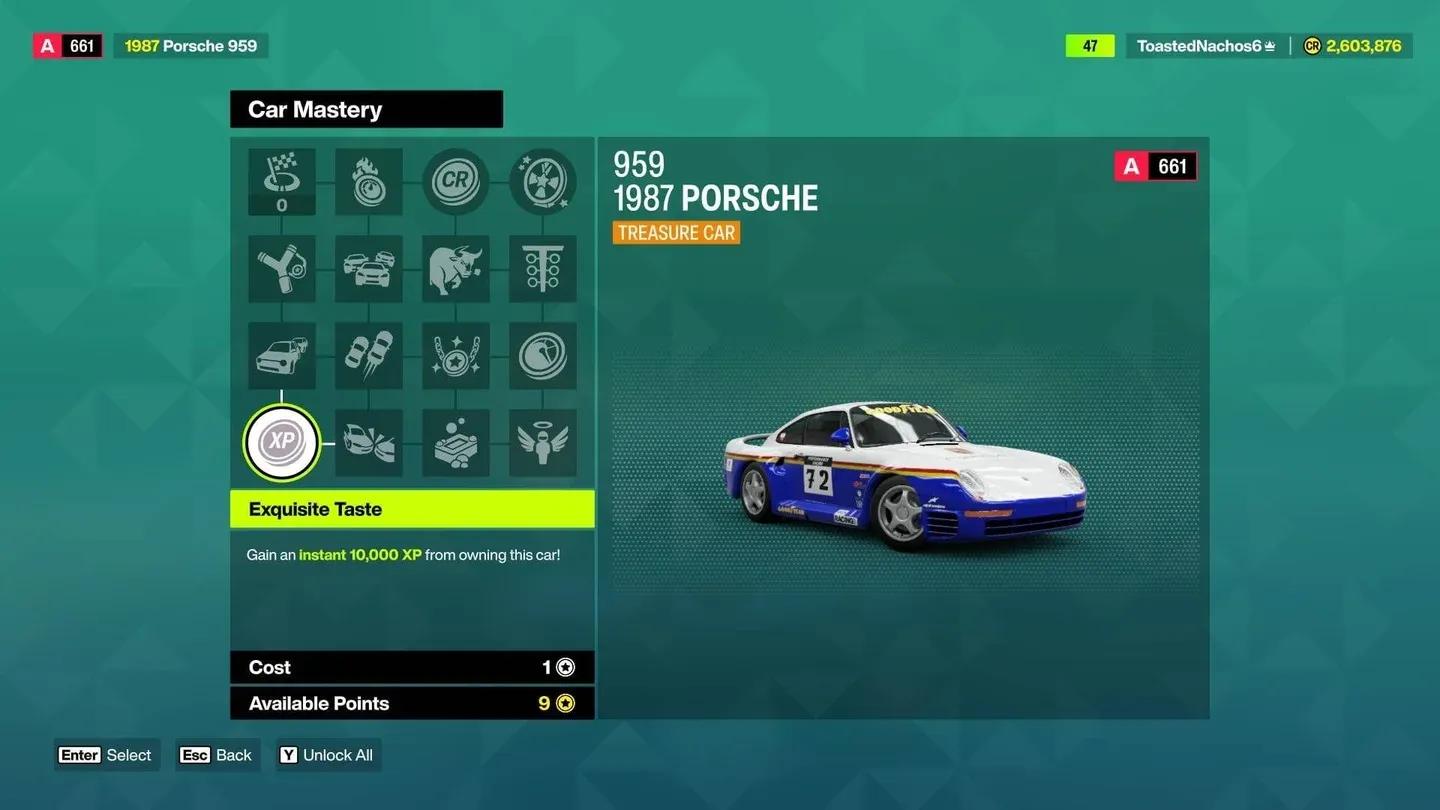
Car Mastery upgrade screen
Ito Region
Azure Drive Danger Sign is on the northern side of Ito and requires Orange Wristband access. Target: 365.8m. Start from the top of the southeastern hill and hit the ramp at 210 mph. The 2015 Ultima Evolution Coupe 1020 with the THE ANCO tune (Share Code: 263 249 250) is the top pick.
Airfield Take-Off Danger Sign is on the western side of Ito behind a Pink Wristband. Required distance: 243.8m. Start from the northeastern road and hit at 170 mph. Land past the Drag Race start gate to confirm a clean run. Same Ultima/THE ANCO tune setup applies.
Seaside Heights Danger Sign is on the southern side of Ito, requiring Orange Wristband access. Target: 335.3m. Start from the northern dirt road and hit the ramp at 160 mph. The Ultima Evolution Coupe 1020 with THE ANCO tune (Share Code: 263 249 250) handles this cleanly.
Hokubu Region
Circuit Leap Danger Sign is on the northern side of Hokubu behind a Pink Wristband. Required distance: 304.8m. Start from the northwestern asphalt road and hit the ramp at 150 mph. The 2018 Ferrari FXX-K Evo 'Welcome Pack' is the recommended car.
Railway Bridge Danger Sign sits in central Hokubu and requires Purple Wristband access. Target: 350.5m. Start from the northern asphalt road and hit at 200 mph. Use the Toyota Tacoma TRD Pro Forza Edition with the MMM30099 tune (Share Code: 775 649 971).
Shimanoyama Region
Highway Jump Danger Sign is on the northeastern side of Shimanoyama behind a Blue Wristband. Required distance: 259.1m. Start from Fuji Unkai House and hit the ramp at 135 mph. The Mercedes-AMG ONE clears this with room to spare.
Stadium Jump Danger Sign is in the central Shimanoyama area, also Blue Wristband locked. Target: 365.8m. Start from the eastern tarmac road and hit the ramp at exactly 200 mph.
Ohtani Region
Shirakawa-go Danger Sign is on the northwestern side of Ohtani and requires Orange Wristband access. Required distance: 335.3m. Start from the northwestern asphalt road and hit at 150 mph. The 2018 Ferrari FXX-K Evo 'Welcome Pack' is recommended.
Mt. Fuji View Danger Sign is on the southwestern side of Ohtani behind a Green Wristband. Target: 228.6m. Start from the eastern road in front of the Mech My Day Horizon Event and hit the ramp at 150 mph. The Mercedes-AMG ONE handles this easily.
Festival Leap Danger Sign is south of the Horizon Festival Site in Ohtani and requires Yellow Wristband access. Target: 274.3m. Start from the north and hit at 200 mph. The Mercedes-AMG ONE is the go-to here.
Minamino Region
Rollercoaster Leap Danger Sign is on the southeastern side of Minamino behind a Green Wristband. Required distance: 213.4m, making it one of the more forgiving jumps. Start from the northeastern intersection and hit the ramp at 160 mph. The Mercedes-AMG ONE works well.
Tanbo Launch Danger Sign is also on the southeastern side of Minamino, requiring Orange Wristband access. Target: 335.3m. Start from the eastern intersection and hit at 200 mph. Use the Toyota Tacoma TRD Pro Forza Edition with the MMM30099 tune (Share Code: 775 649 971).
Wristband access tiers
Complete Danger Sign reference table
Which cars should you use for Danger Signs?
Three cars cover the vast majority of Danger Signs between them. The Mercedes-AMG ONE is the most versatile pick, handling 8 of the 20 signs comfortably with no tune required. The 2018 Ferrari FXX-K Evo 'Welcome Pack' is the better choice for the high-speed Nangan and Tokyo City jumps where you need to sustain 210-230 mph into the ramp. The 2019 Toyota Tacoma TRD Pro Forza Edition is specifically built for the longer off-road approaches in Takashiro and Minamino, where terrain irregularities can kill your speed before you reach the ramp.
For the Ito region signs, the 2015 Ultima Evolution Coupe 1020 is the specialist pick. Three of the four Ito-area jumps list it as the recommended car, and the THE ANCO tune (Share Code: 263 249 250) gives it the extra top-end speed needed for the 210 mph Azure Drive approach.
Tuning share code entry
How do you unlock all Danger Signs efficiently?
The fastest path through all 20 signs follows the wristband unlock order. Start with the two Green Wristband signs (Mt. Fuji View and Rollercoaster Leap) since they have the lowest distance requirements and give you early Skill Points to invest in Car Mastery. Move through Blue Wristband signs next (Clifftop Crest, Highway Jump, Stadium Jump), then tackle the Pink and Orange tier signs once you have your recommended cars tuned.
Save the Purple Wristband signs for last. The Tokyo City Lookout at 640.1m and Farmland Falls at 548.6m are the two biggest challenges in the game, and having fully upgraded Car Mastery on your recommended vehicles before attempting them makes a real difference in top speed and handling consistency.
For the full picture of what's available across Japan's map, check the Forza Horizon 6 complete car list and unlock guide to make sure you have the right vehicles in your garage before you start. If you're also working toward 100% completion, the Forza Horizon 6 trophy and achievement list breaks down exactly which PR Stunt milestones count toward specific Gamerscore rewards.
Danger Signs are just one piece of the collectible puzzle across Japan. If you're going for full map completion, the Forza Horizon 6 collectibles guide covering all Mascots and Bonus Boards is worth bookmarking alongside this one. For everything else the game has to offer, the full Forza Horizon 6 guides collection has you covered.